Welcome to our One Piece card game Meta Tier list for OP11 Fist of Divine Speed (post-banlist). Here, you’ll find the best-performing decks in the tournament scene.
Follow our Twitter and Bluesky accounts to stay connected with our One Piece content.
| S |  |
| A |       |
| B |          |
| C |            |
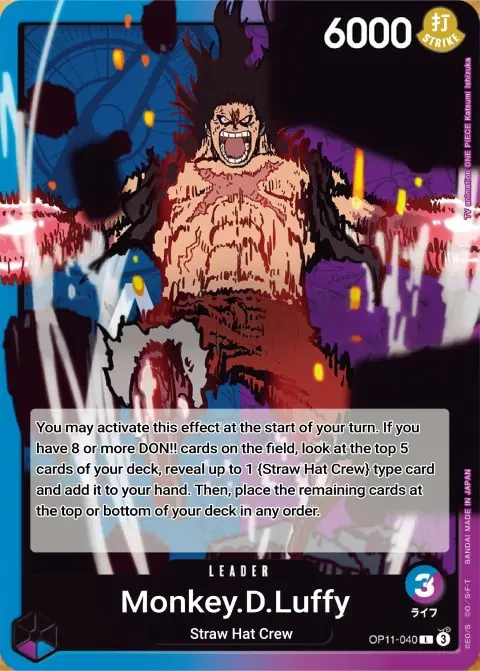
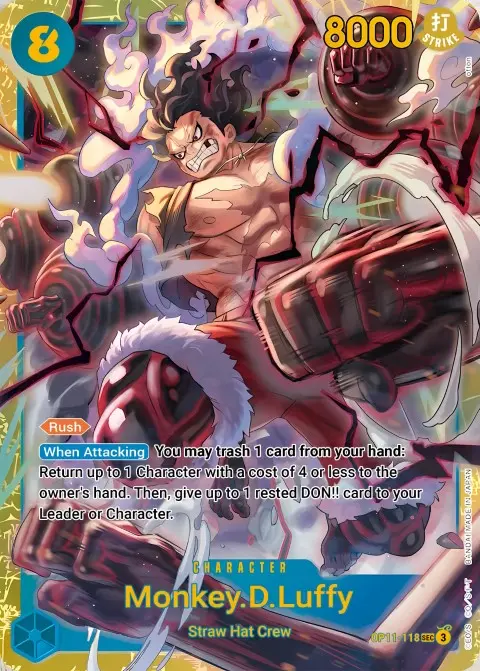
Blue Purple Monkey D.Luffy

Explanation
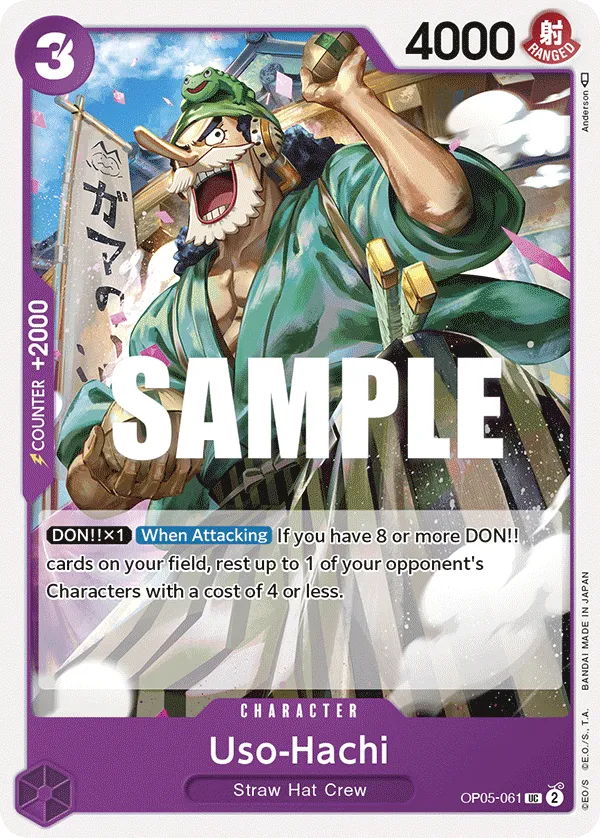
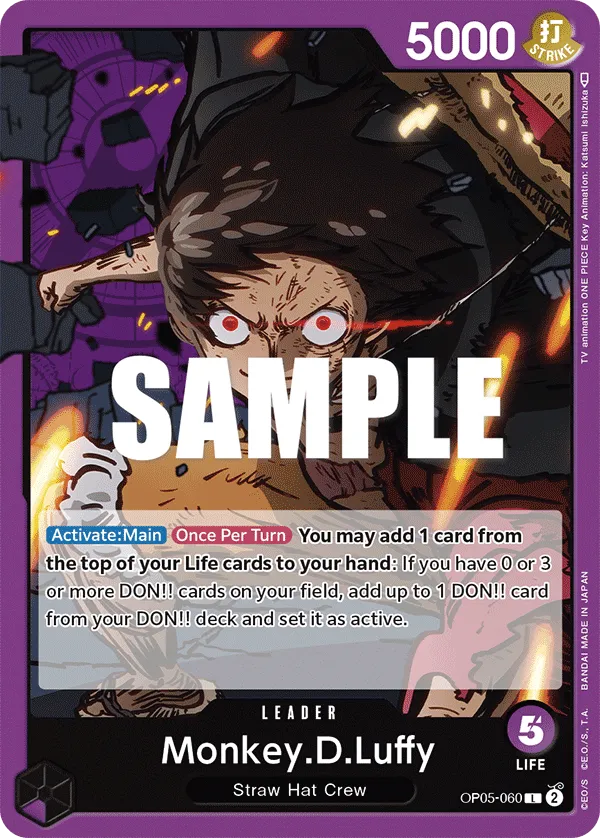
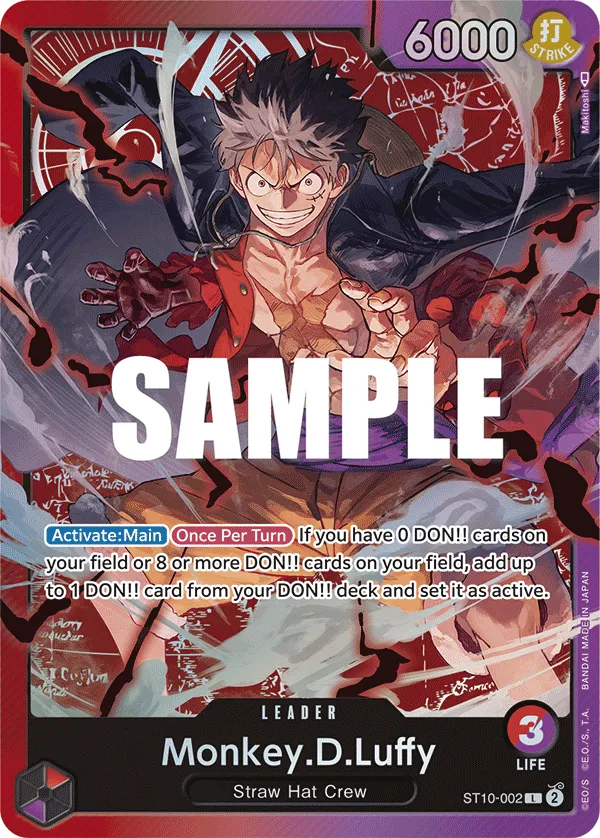
Blue Purple Monkey D. Luffy is a 6,000 Power Leader with 3 Life cards, featuring a built-in search effect. If you have 8 Don!! on your field at the start of your turn, you can look at the top 5 cards of your deck, add a {Straw Hat Crew} card to your hand, and reorder the remaining cards on the top or bottom of your deck as you choose.
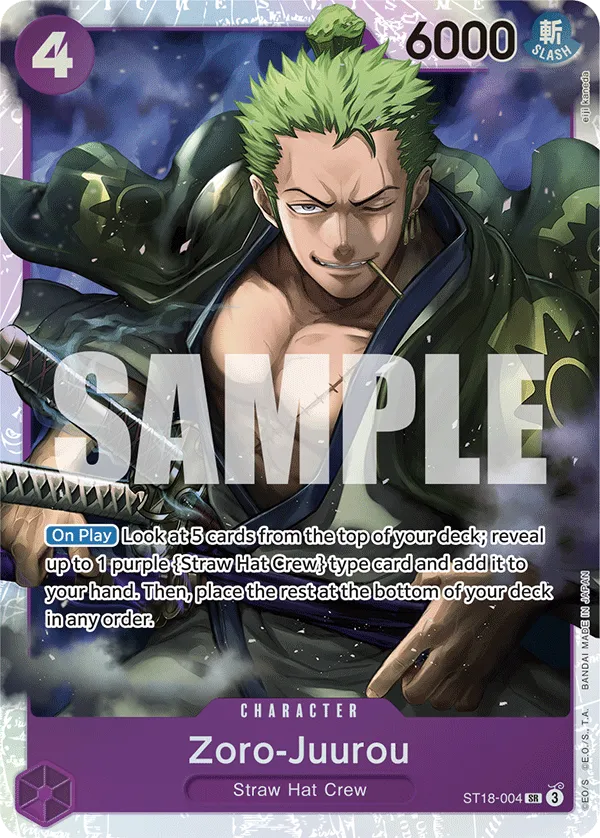
Since the 8 Don!! requirement is crucial for activating this effect early, the deck runs ramp cards like Zoro-Juurou to accelerate its game plan. This allows you to trigger Luffy’s ability a turn earlier and start playing high-cost Characters sooner to dominate the board.
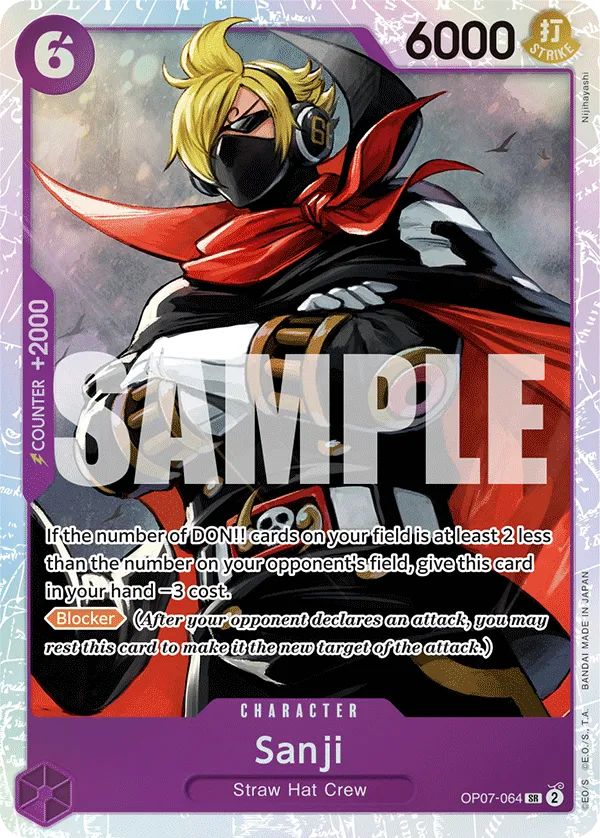
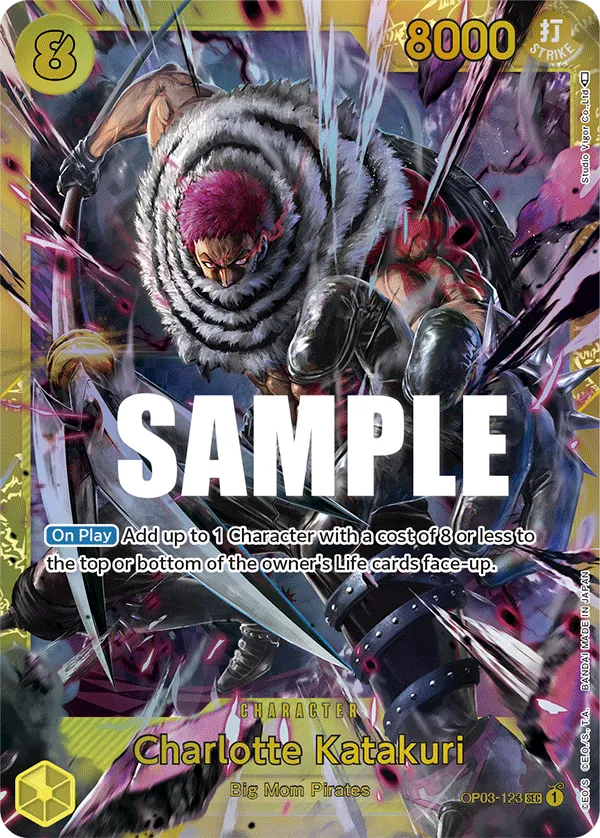
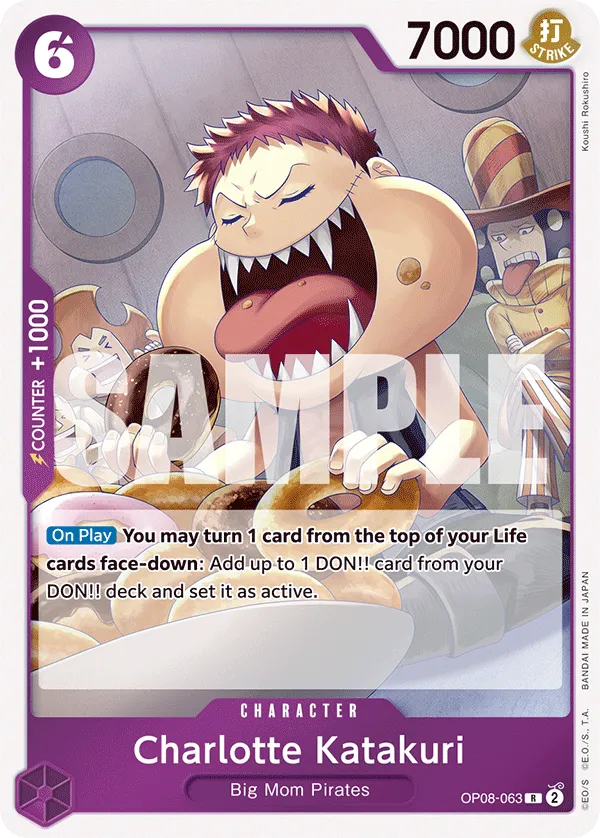
8-cost Charlotte Katakuri acts as a defensive wall, blocking an opponent’s attack. He can turn himself Active at the end of your turn, making him an offensive and defensive threat, letting you attack without losing a blocker.
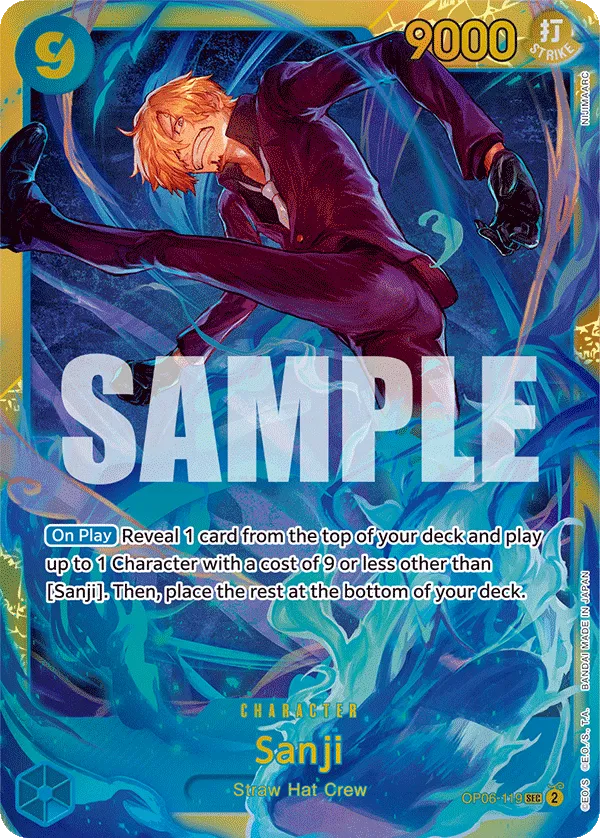
9-cost Sanji is the deck’s strongest play. Thanks to Leader Luffy’s search effect, you can stack your deck to guarantee that Sanji cheats out a high-cost win condition when played.
Green Purple Monkey D.Luffy
Explanation
Green Purple Monkey D.Luffy relies on {Straw Hat Crew} type Characters, returning 2 Don and setting 2 of your Don as Active and +1,000 Power on your Leader. The deramping can be brutal, so it’s best to save it until the late game so you don’t fall too behind on Don. The extra Don you gain allows you to make more plays on a specific turn and even go for aggressive attacks to win the game.
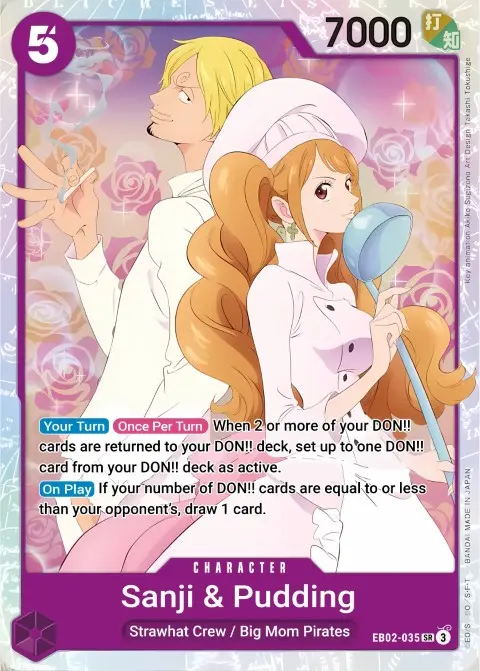
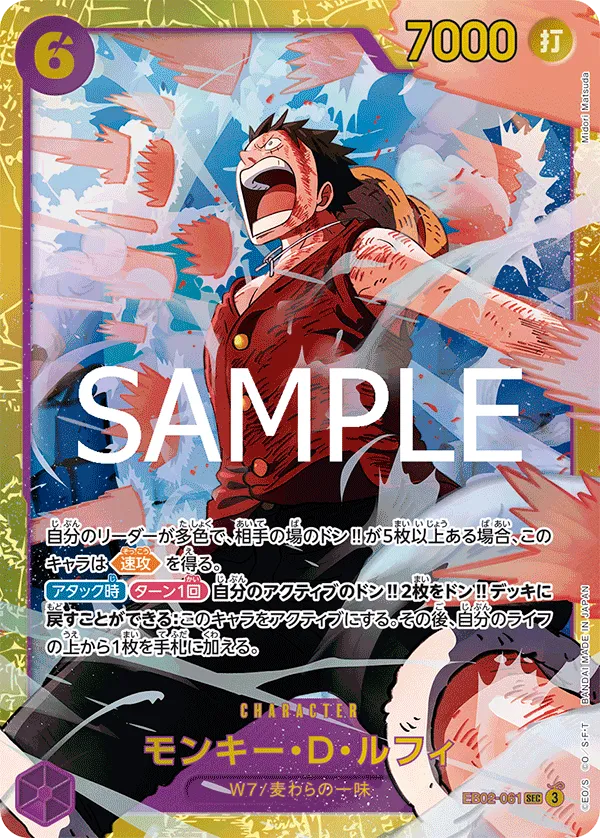
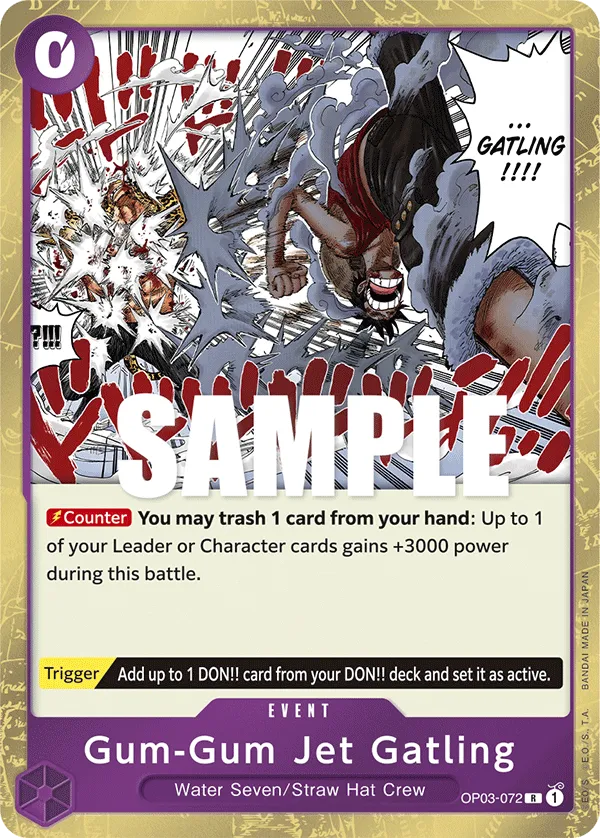
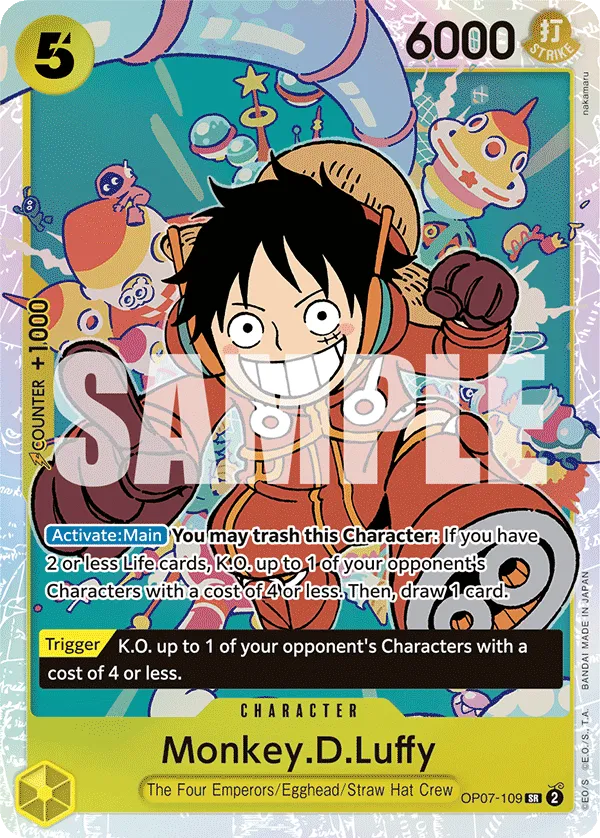
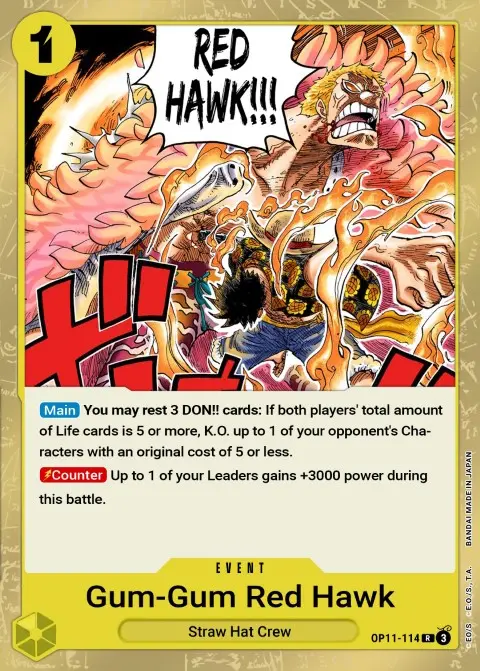
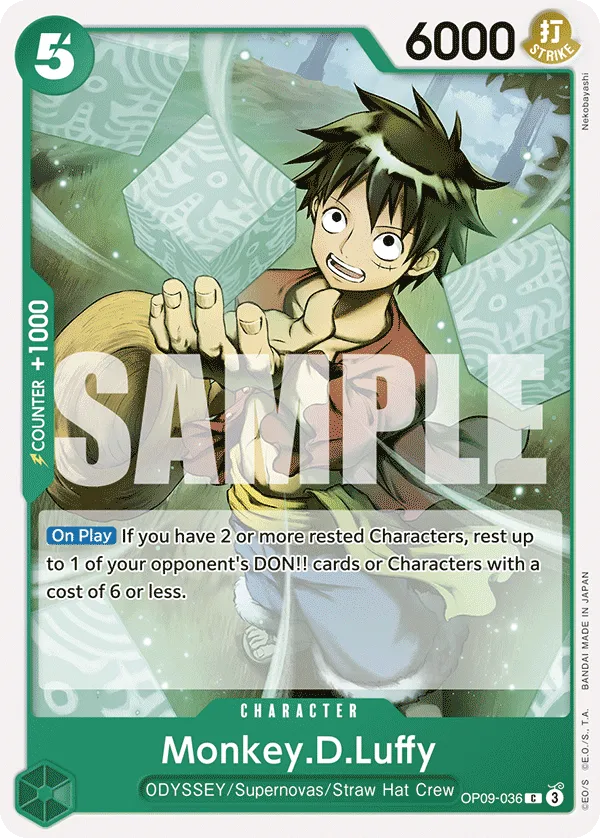
The list has Sanji & Pudding for ramping, make sure even when you deramp, you don’t fall behind your opponent in Don. 6-cost Monkey.D.Luffy is the strongest aggressor, going for two attacks in one turn, and if you combo him with Gum-Gum Giant Pistol, you could win the game if your opponent is at 1 Life card.
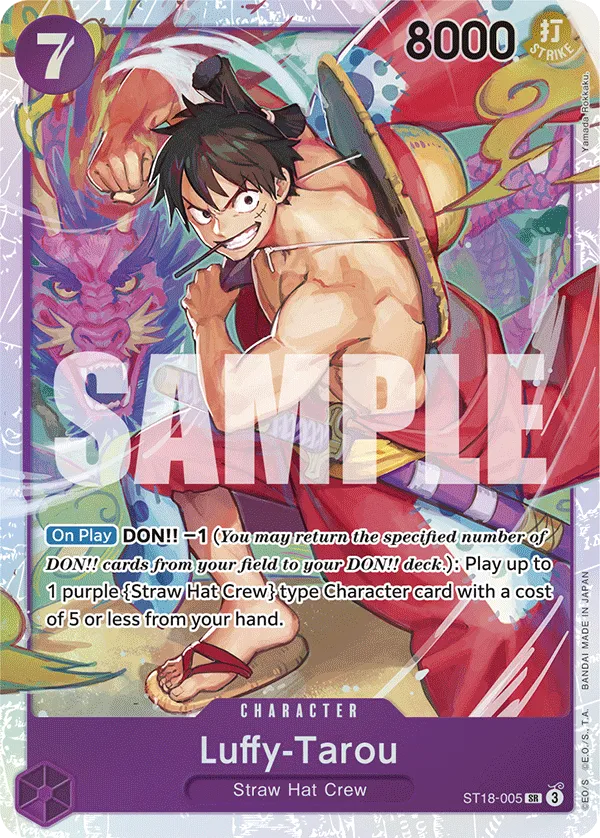
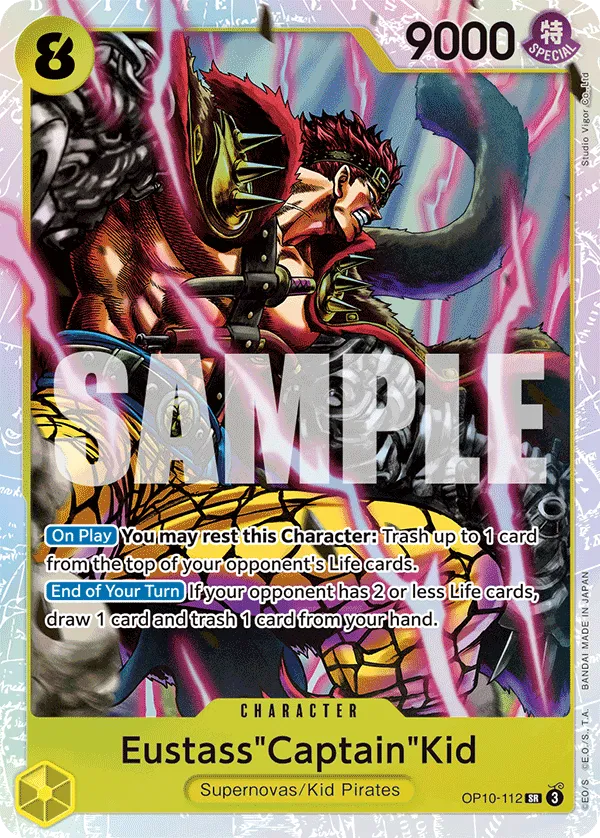
Luffy-Tarou acts as a great play to develop two Characters in one turn, capable of cheating out 4-cost Zoro-Juuro or 5-cost Sanji & Pudding. Other lists run Eustass”Captain”Kid, enabling the birdcage strategy and preventing your opponent from attacking your Leader or rested Characters.
Purple Monkey D. Luffy

Explanation
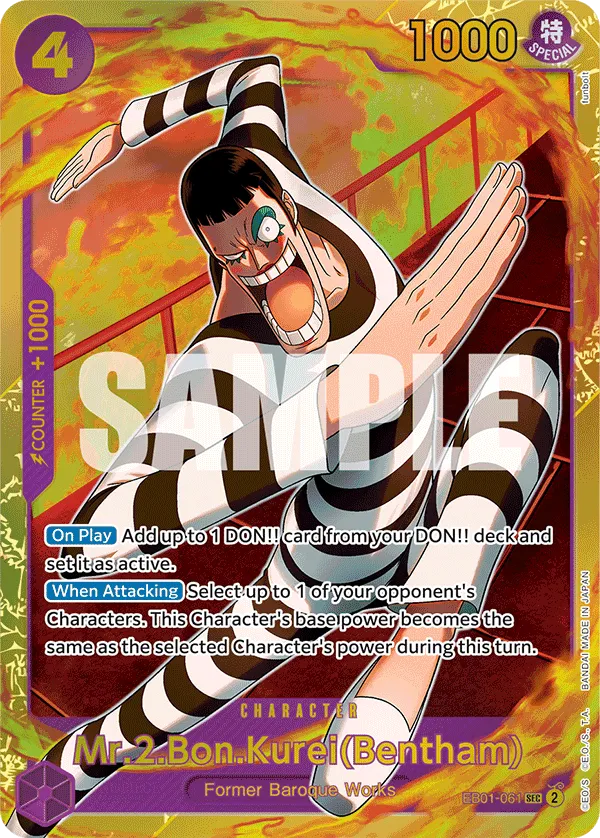
Purple Luffy can start ramping on turn 2, allowing you to play higher-cost characters on earlier turns. You lose a life card when activating Leader Luffy’s effect, so play more defensively to protect your Life cards from opponent attacks. 4-cost Bon Clay and 5-cost Eutass”Captain”Kid help out with the ramp game plan, making sure you play high-cost Characters earlier and you don’t fall behind on your strategy when you deramp.
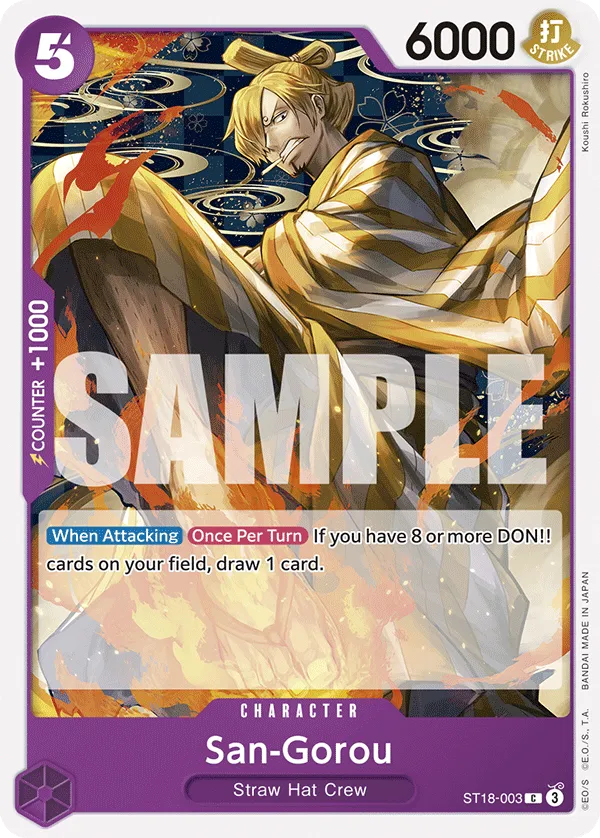
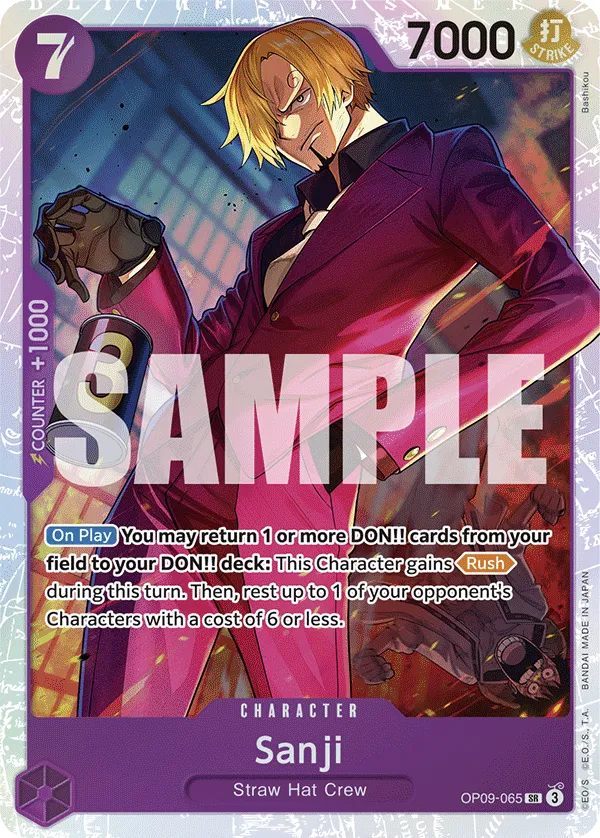
This list has the {Straw Hat Crew} package, using Zoro-Juurou and San-Gorou for the extra resources. 7-cost Luffytaro is the mid-game carry, allowing you to play one of your 5-cost or less Purple {Straw Hat Crew} Characters along with him. This lets you go wider on the field and forces opponents to play more defensively. 7-cost Sanji is a better choice if you’re trying to KO one of the opponent’s 6-cost or less Characters. You can rest that Character and use Sanji’s Rush attack to KO it or at least force Counter cards from the opponent’s hand.
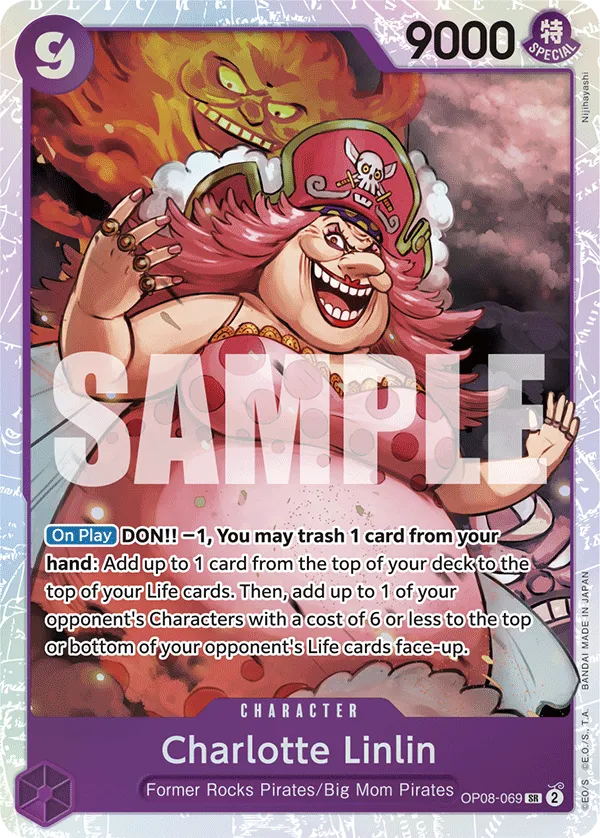
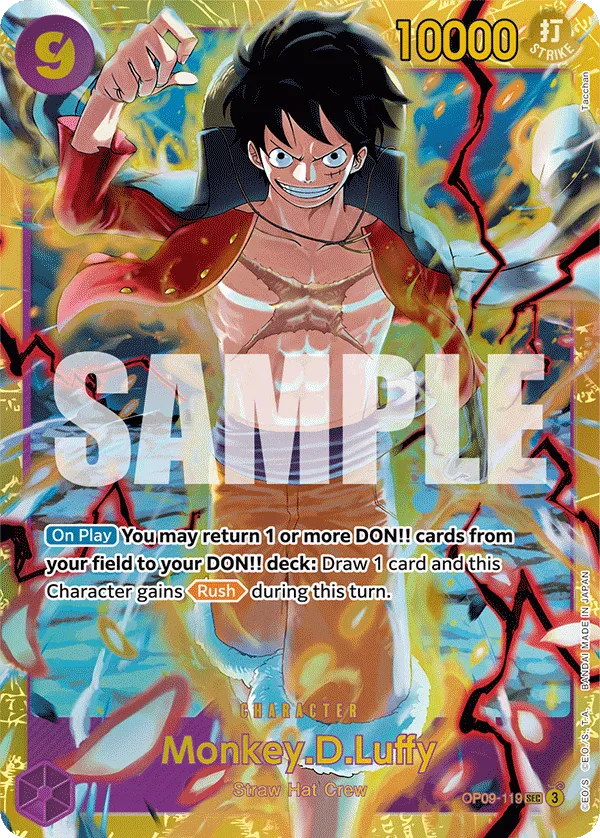
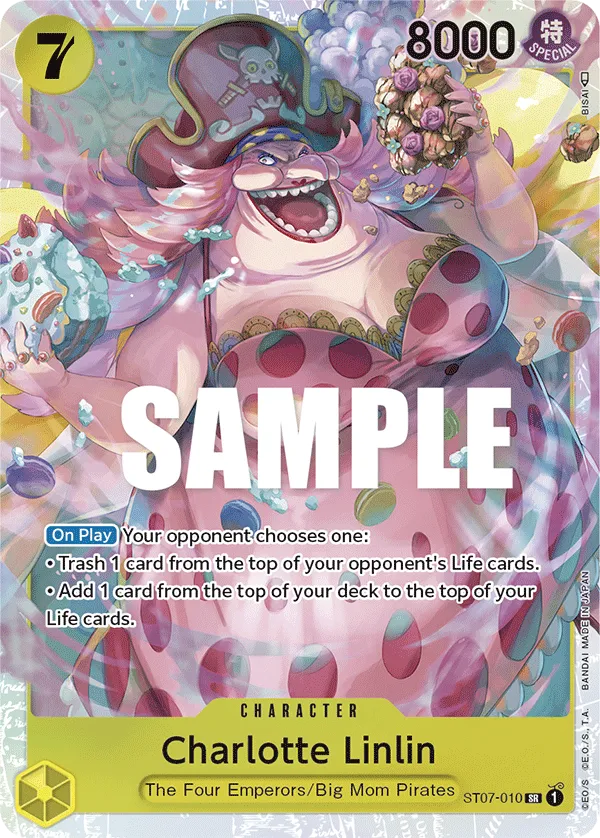
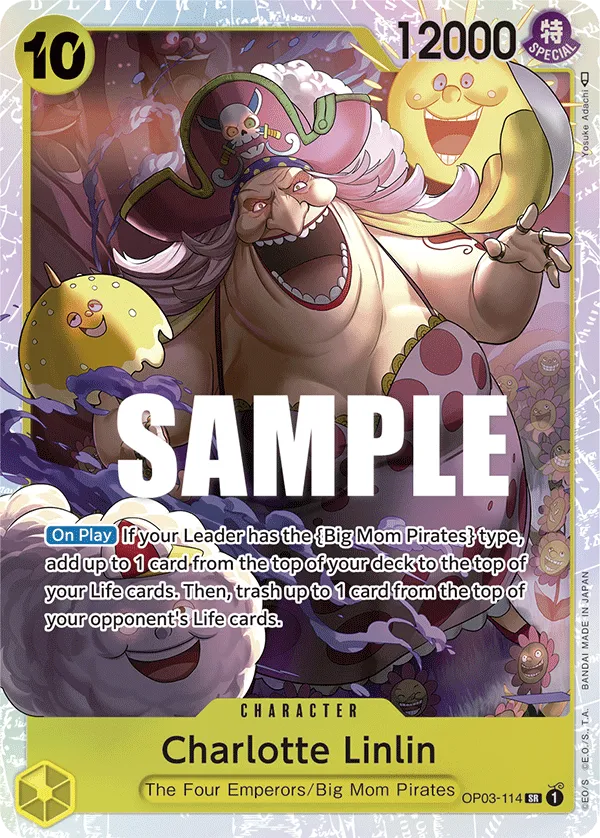
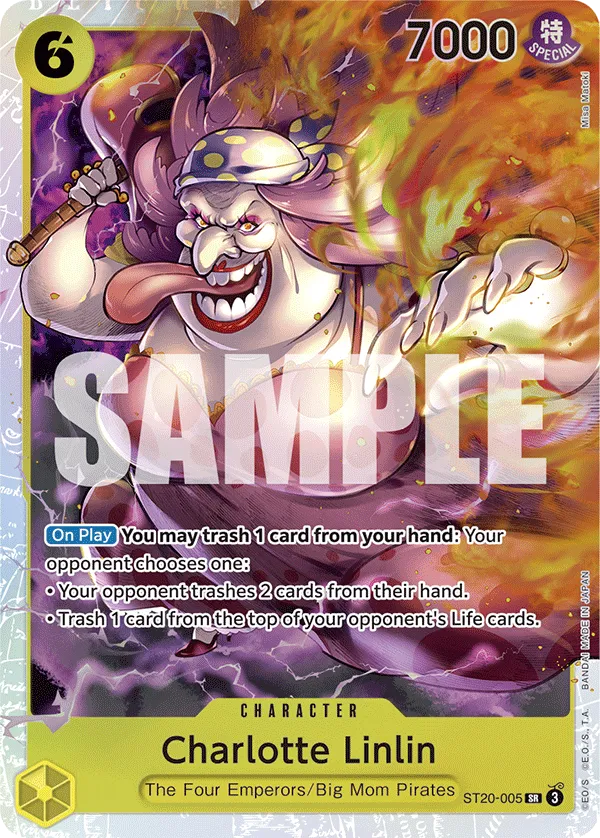
9-cost Charlotte Linlin and 9-cost Monkey D.Luffy are the late-game carries in the deck, both with powerful effects that you’ll want to use in different scenarios. 9-cost Charlotte Linlin is great for removing a Character from play and gaining a Life card, whereas 9-cost Monkey D.Luffy draws you a card and has the Rush attack to either KO a rested Character or go for an aggressive Leader attack.
Red Yellow Belo Betty
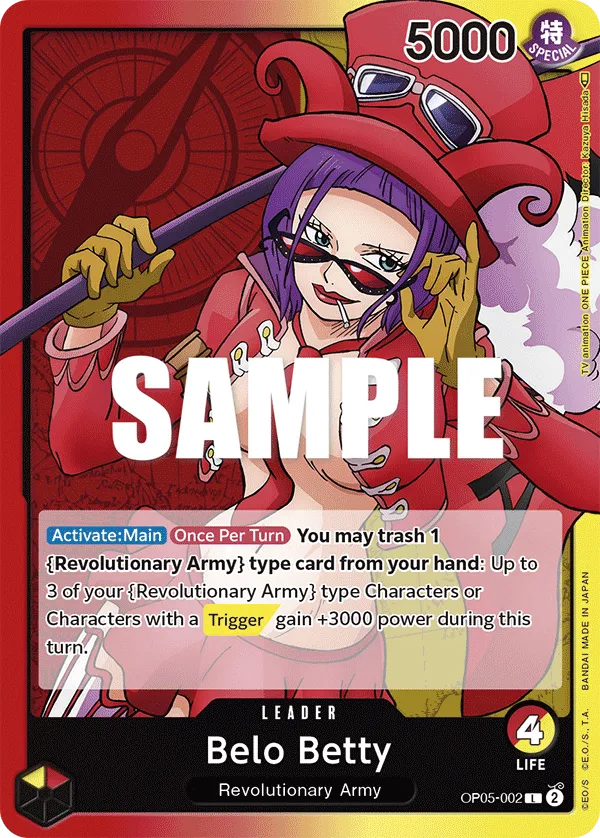
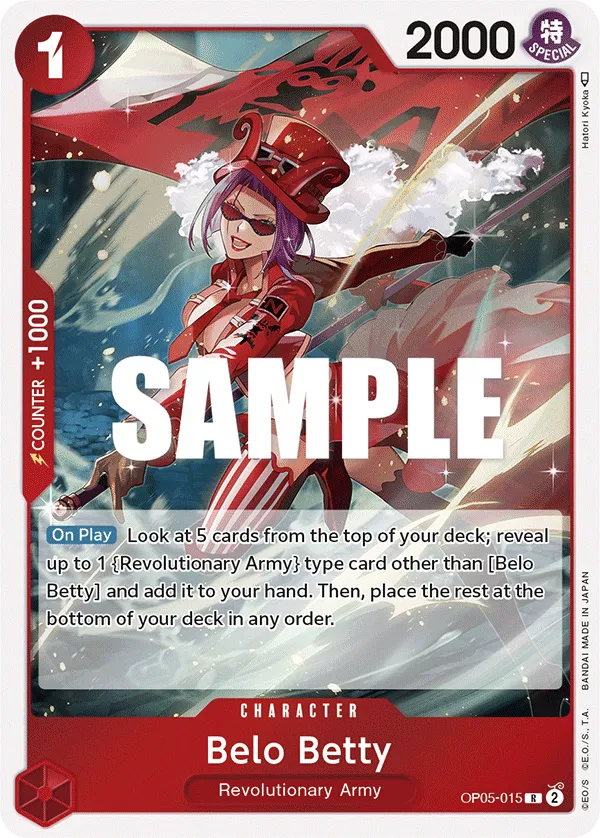
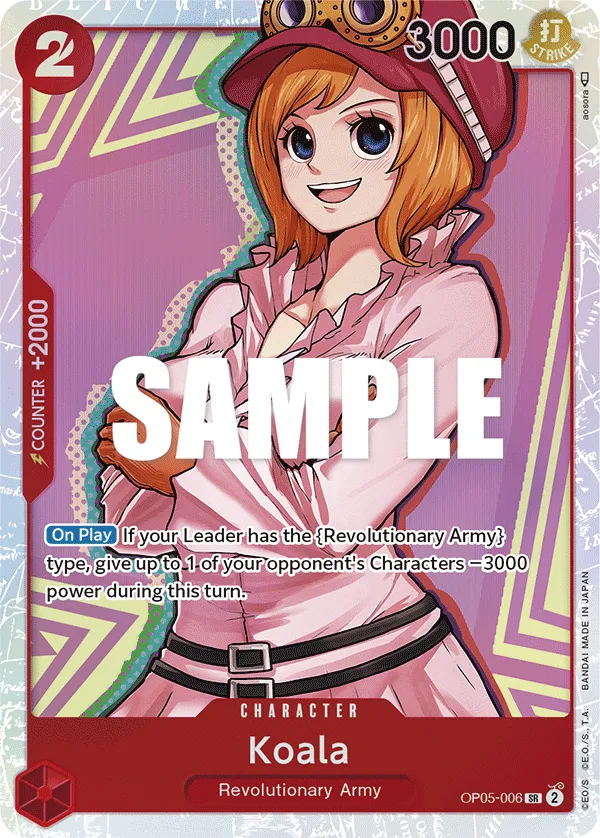
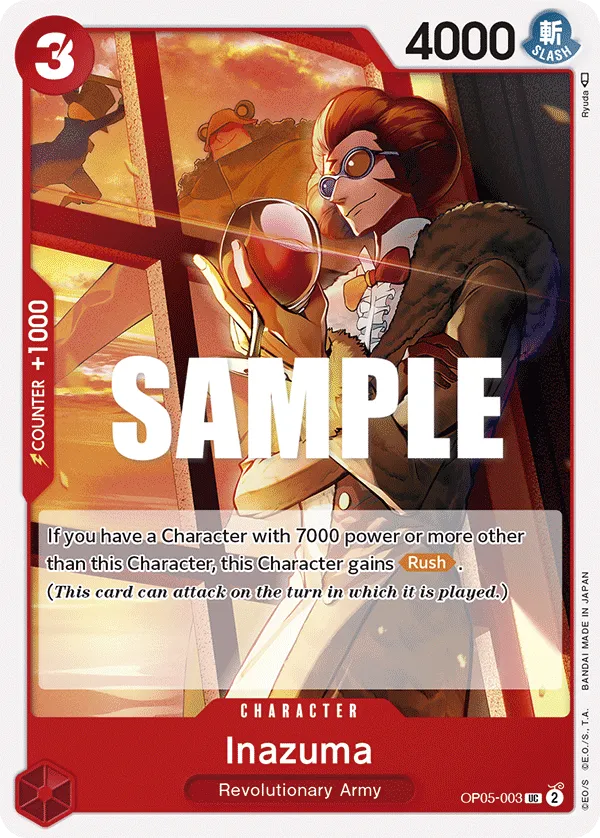
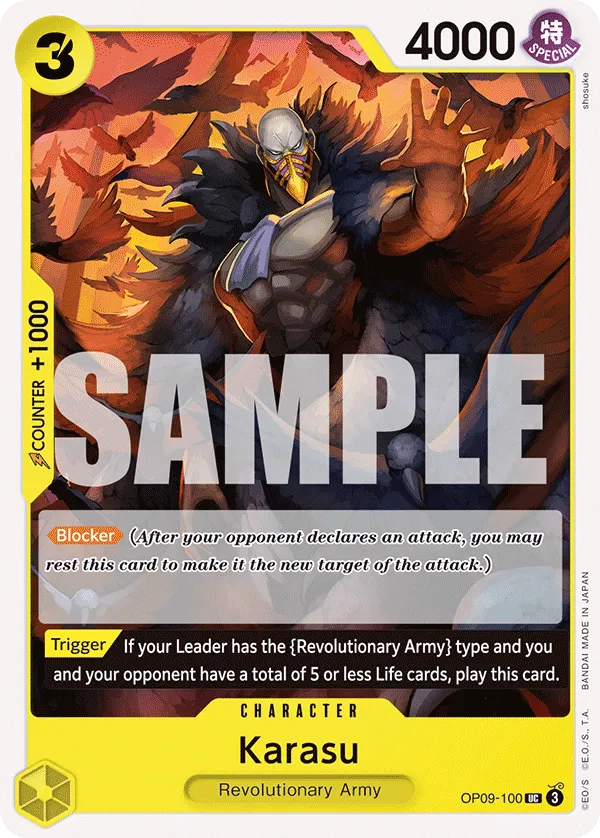
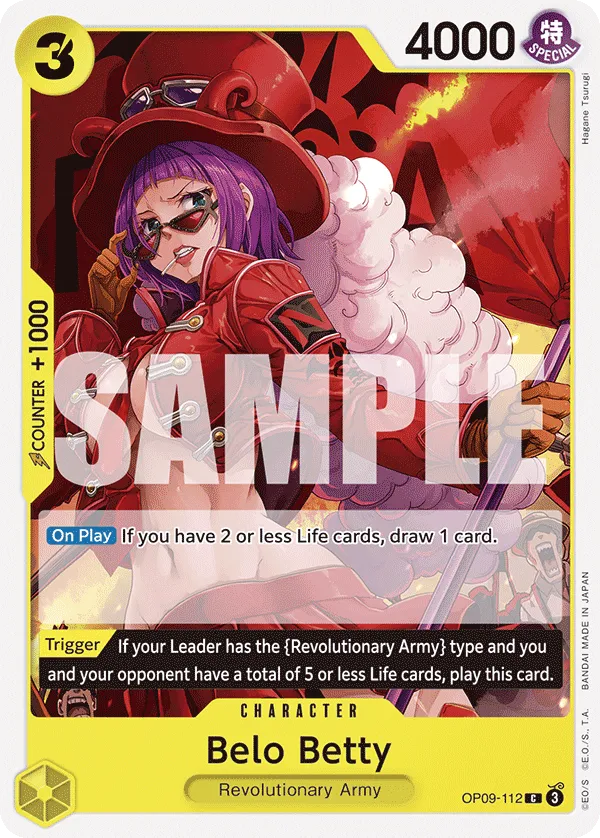
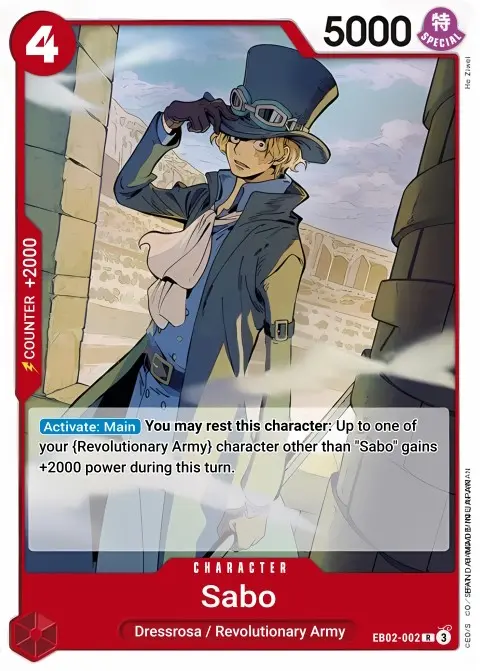
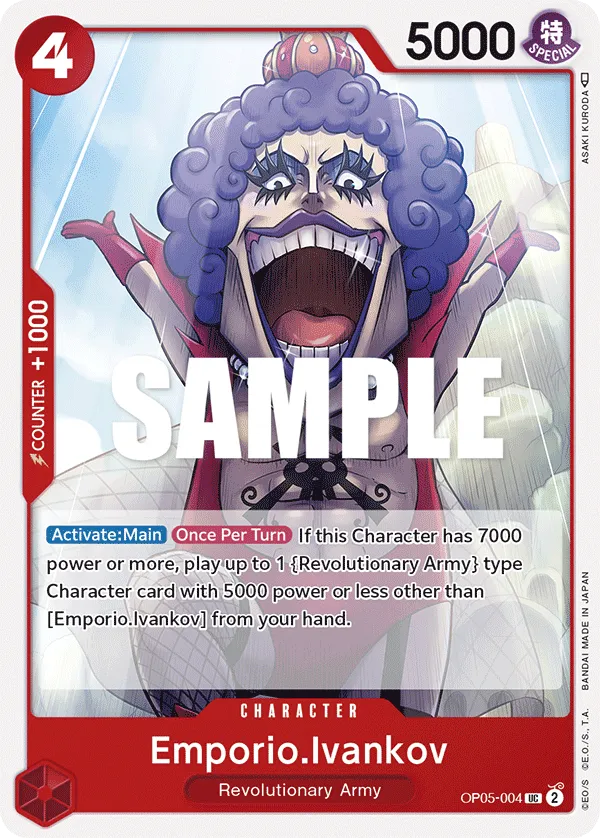
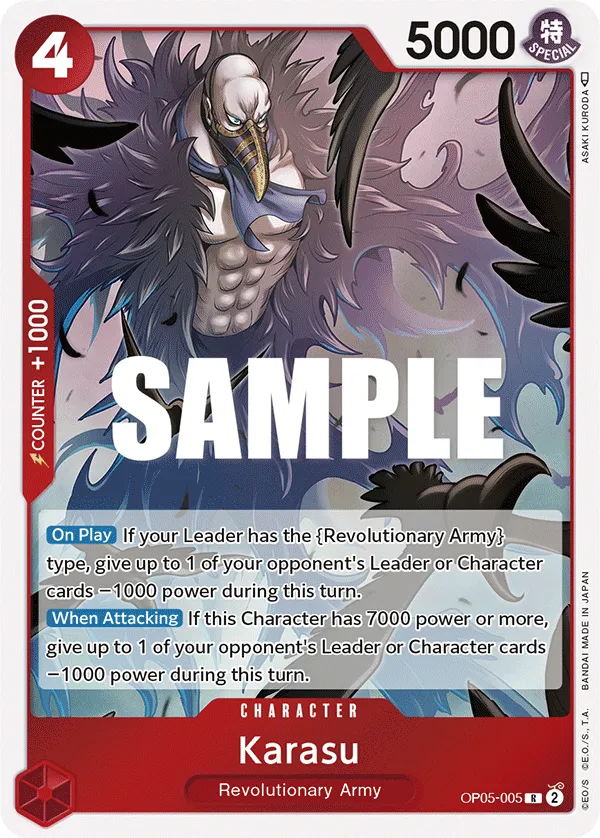
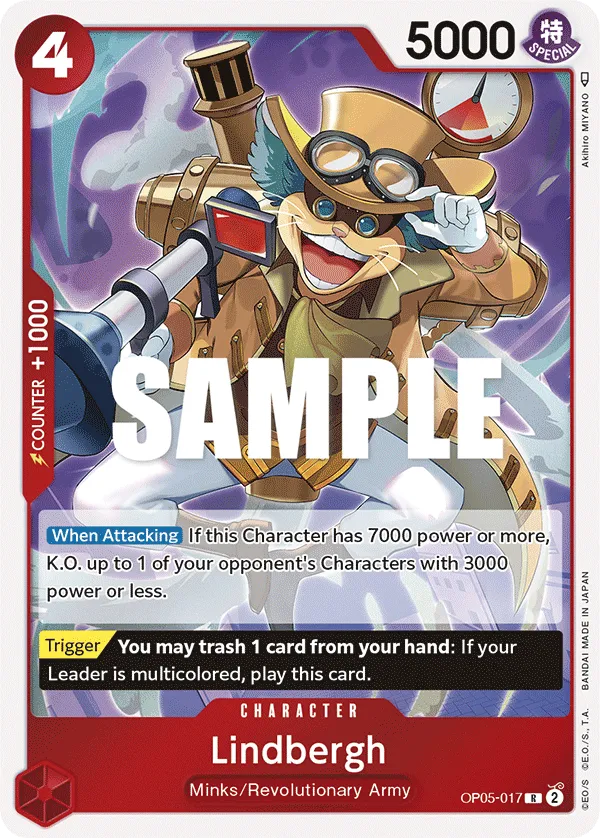
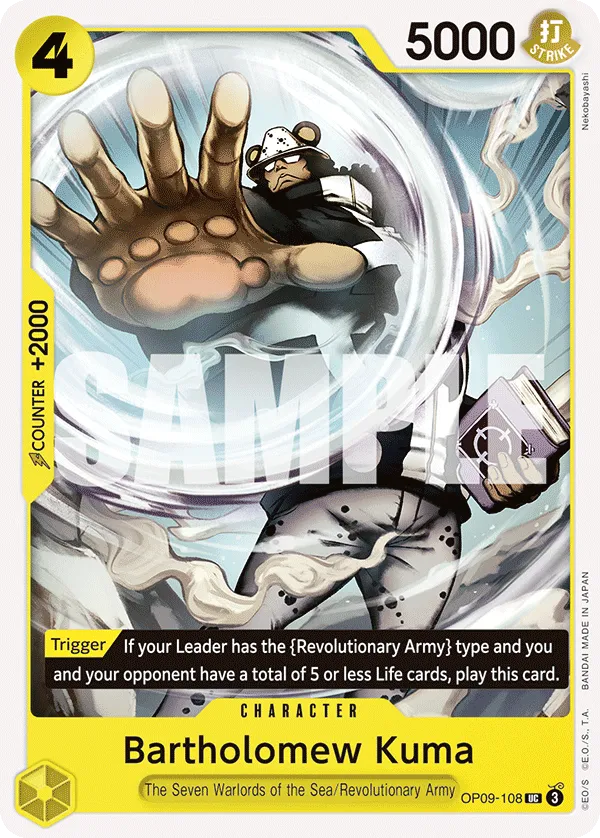
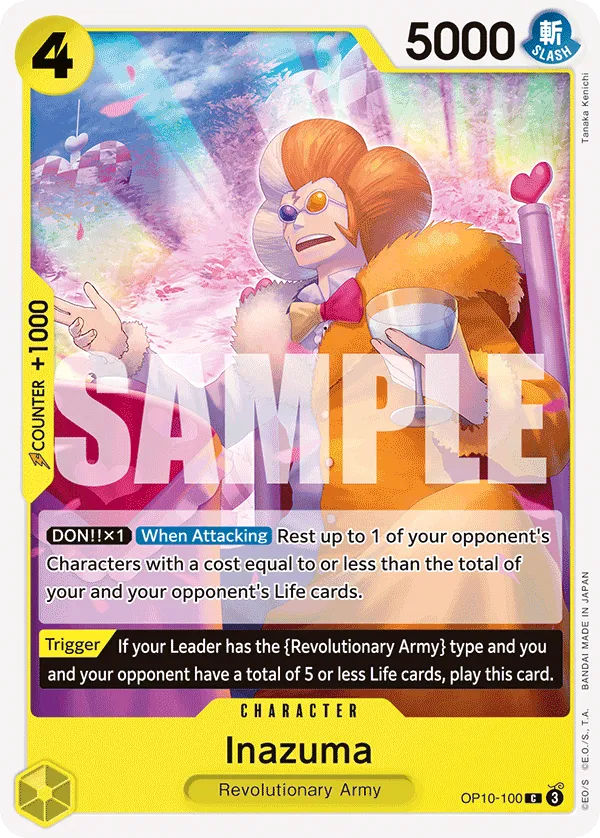
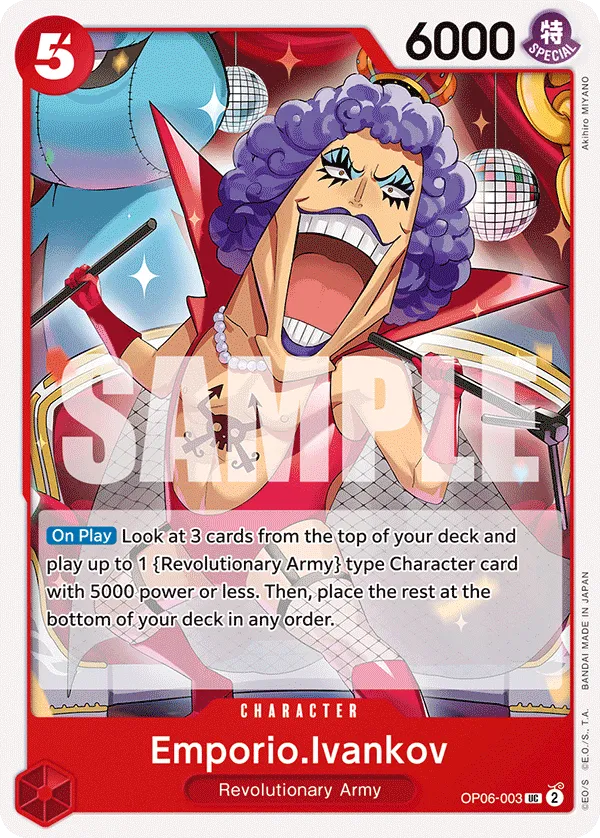
Belo Betty is an aggressive deck, using Trigger and Revolutionary Army cards as part of her game plan. She wants to go wide on the field, and with Emporio Ivankov and Trigger effects, you can easily have multiple Characters in play.
You then use Leader effect to give 3 of your Characters +3,000 Power, turning them all into a threat as they go for attacks. Karasu reduces the Power of one target, and if used on the opponent’s Leader, it can burn their Counter resources as they try to deal with your multiple attackers.
This is a glass cannon deck, focusing most of its resources on attacking the opponent’s Leader as your opponent tries to control your side of the field and slow you down.
Red Zoronoa Zoro


Explanation
The aggressive animal zoo Red Zoro uses OP05 and OP08 Tony Tony Choppers to go wider on the field, developing multiple Characters in one turn. The plan is to attach a Don to your Leader to increase the Power of all your Characters by +1,000 during your turn, making them more aggressive and likely to get their attacks through.
Your main plan is to attack their Leader and drop them low enough so that your Rush attackers become a constant problem for the opposing player, eventually, they’ll fall to 0 Life cards and will struggle to block your attack.
Black Rob Lucci
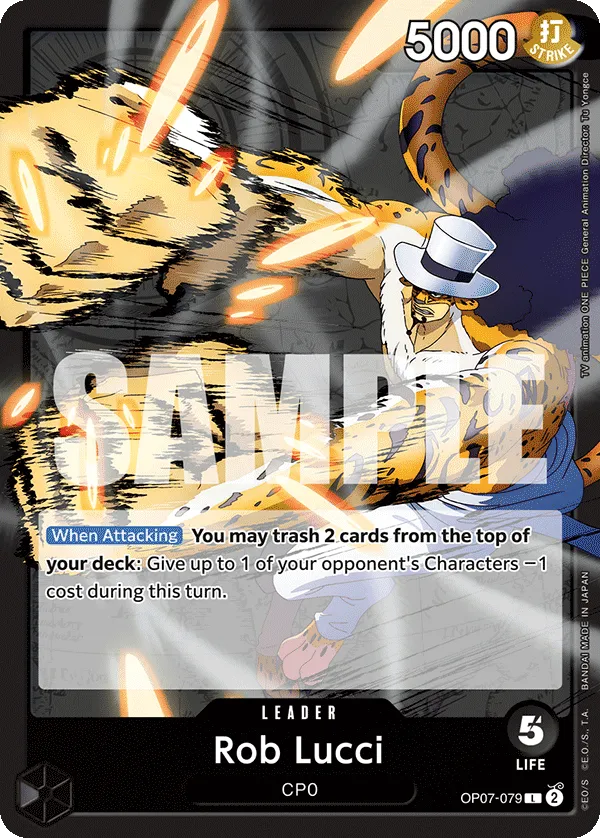

Black Rob Lucci is renowned for his control prowess—if you’re not frustrating opponents by removing their win conditions, you’re doing something wrong. The 4-cost Rob Lucci is the MVP of this deck, capable of KOing two Characters on the turn he’s played. Opponents’ Characters need to be at 2 and 1 cost for Lucci to KO, so we use cost-reduction cards to bring them within range of his KO effect.
The list has other removal options like Jack and 10-cost Kuzan, making sure your opponent doesn’t easily establish a field presence and will eventually run out of resources.
Red Green Smoker
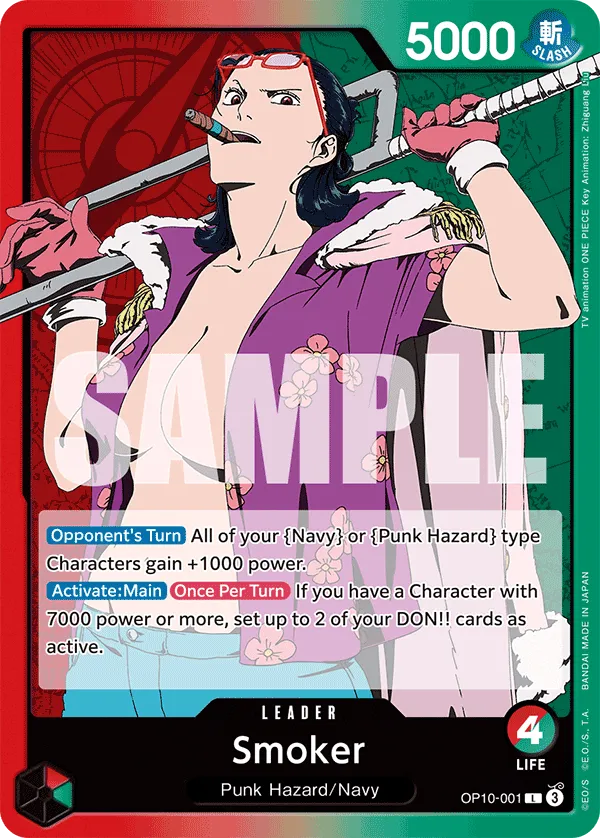
Explanation
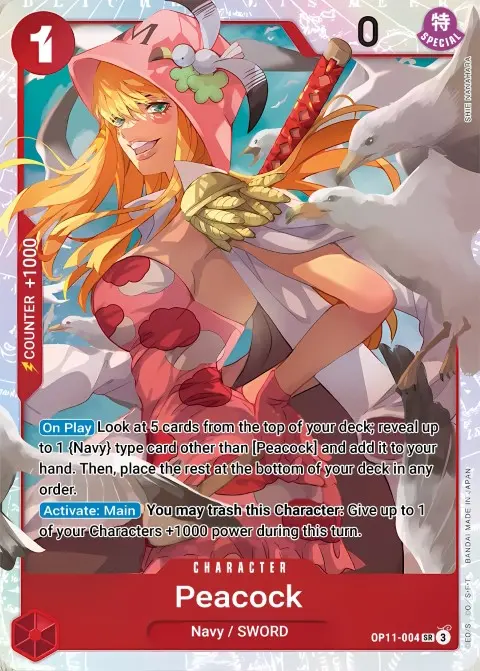
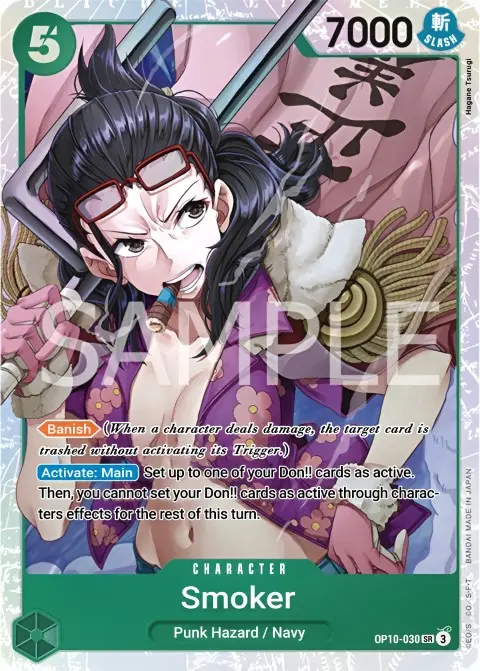
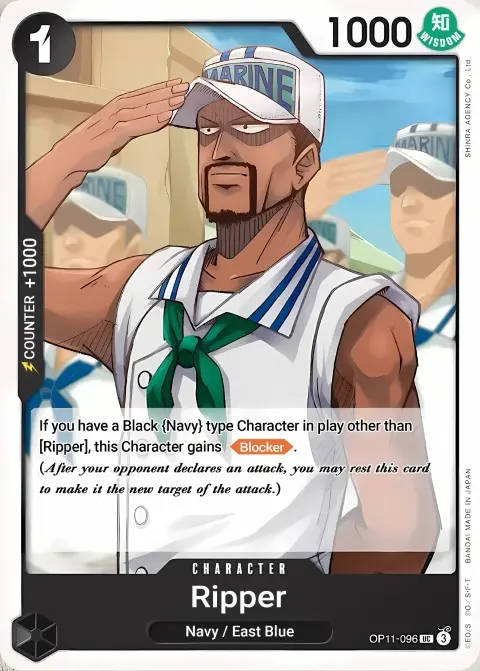
Red Green Smoker has two effects, one can be activated during your opponent’s turn, while the other is activated during your turn. The effect during your opponent’s turn works only on {Punk Hazard} and {Navy} type Characters, giving them +1,000 Power. This is useful when the opponent is trying to KO them, the extra Power can put them out of threat range or demand fewer Counter cards from you. As for the other effect, if you have a Character with 7,000 or more Power, you can set two of your Don as Active. This enables you to make more plays in one turn or develop on the field and maintain your pressure with high-power attacks.
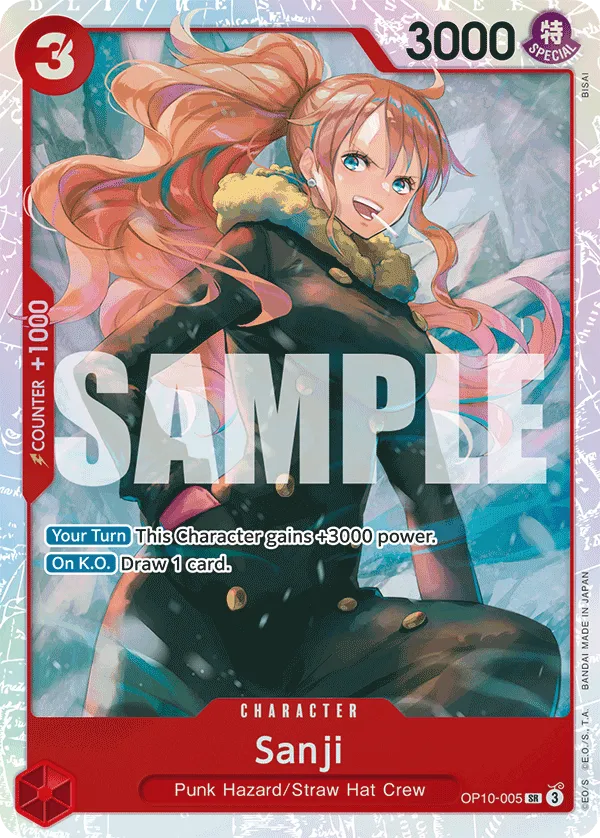
3-cost Sanji and 5-cost Smoker are powerful {Punk Hazard} Characters you can protect with your Leader effect. 3-cost Sanji only has 3,000 Power, but during your turn, he gains +3,000 Power, becoming a 6,000 Power attacker. When KO’d, 3-cost Sanji draws you a card, so you won’t be losing on resources. As for 5-cost Smoker, the Banish keyword means we’ll prioritize attacking the opponent’s Leader with him, forcing them to Counter the attack or trash a Life card. As for the second effect, it sets one of your Don as Active. Combined with your Leader effect, you’re gaining 3 Active Don for one explosive turn.
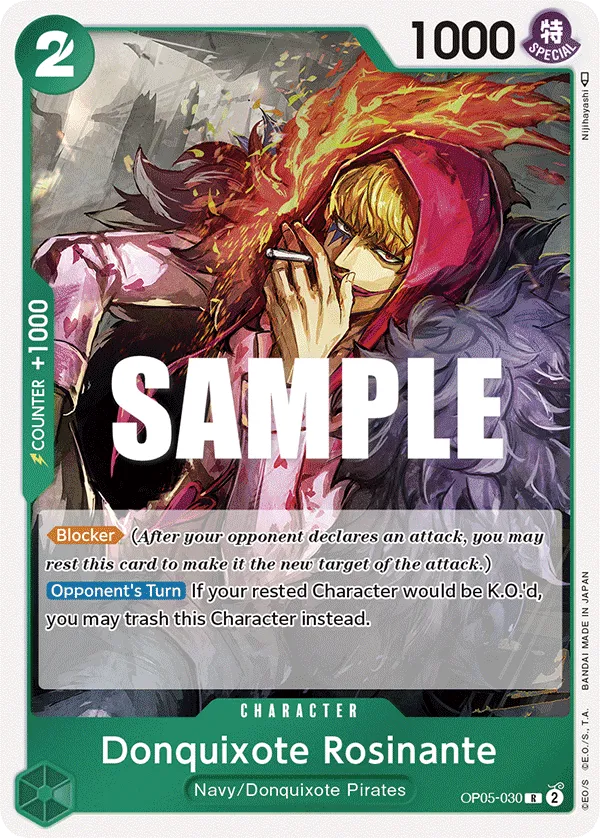
The Fortress strategy adds a defensive wall, preventing your opponent from targeting your Leader or rested Characters, making it harder for them to win the game.
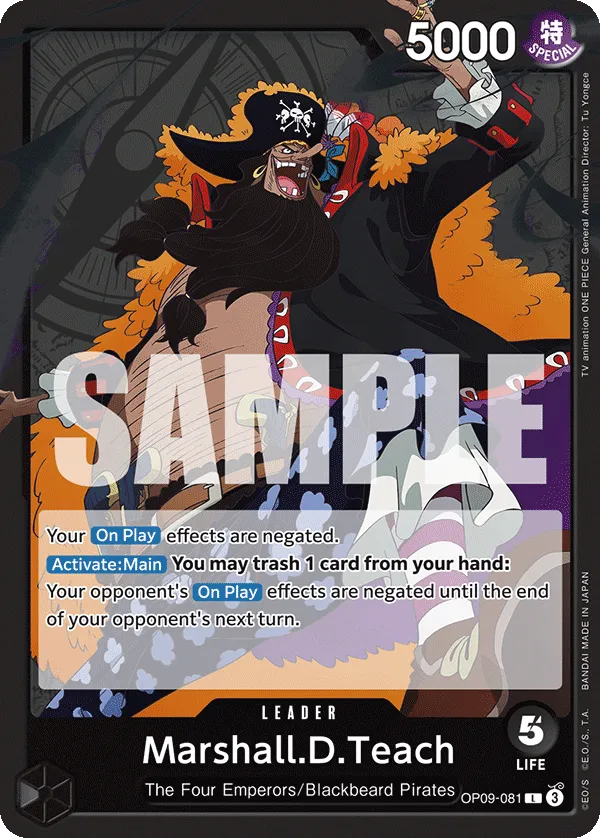
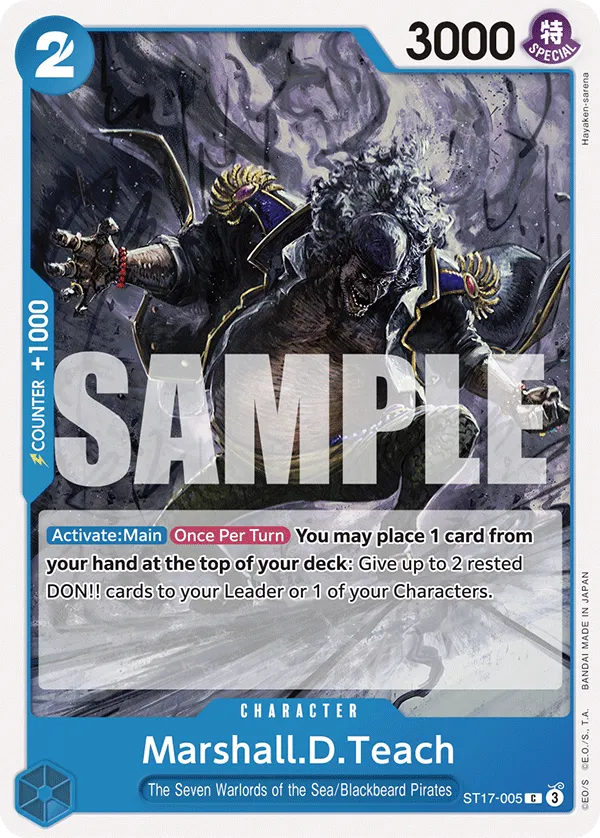
Black Marshall D. Teach


Explanation
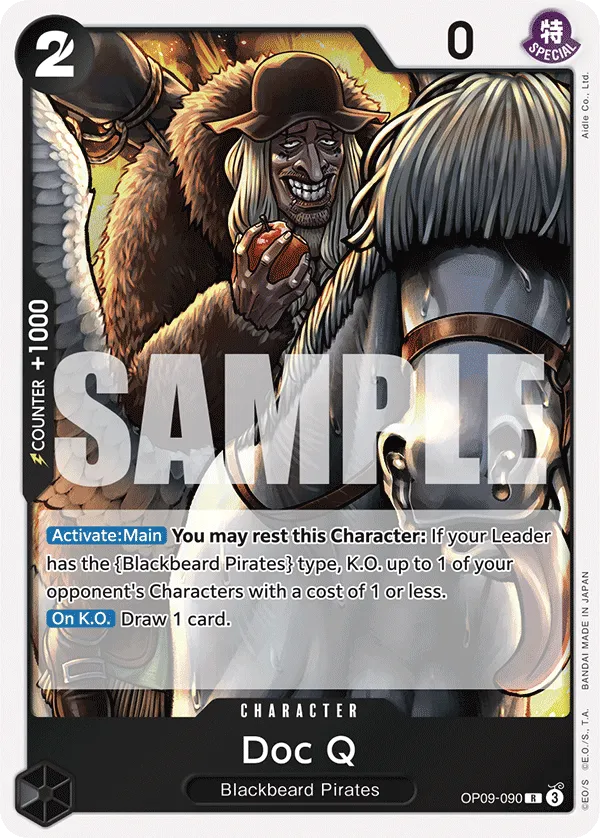
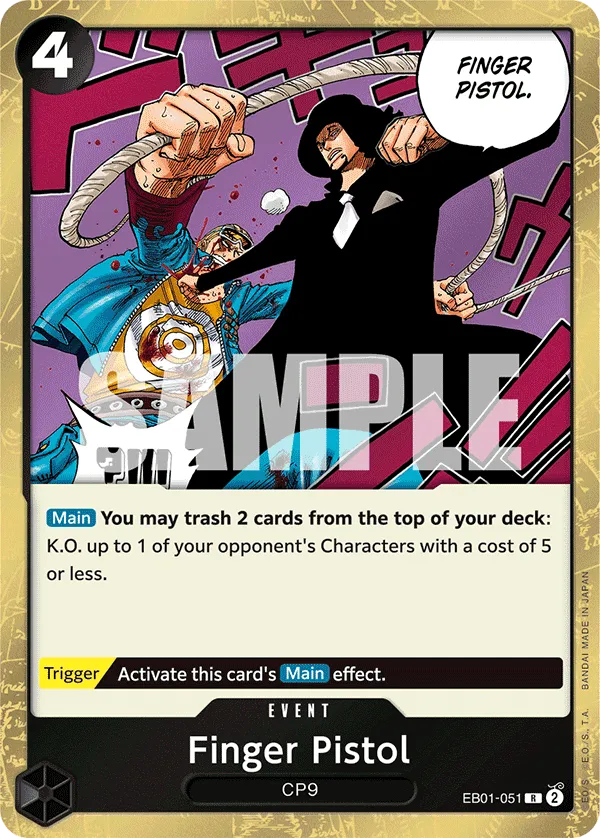
Black Marshall D.Teach shuts down all your On Play effects, so you have to build it differently. We’re avoiding any card with an On Play effect, relying on Finger Pistol, Black Hole, and Doc Q to KO the opponent’s Characters. Marshall D. Teach can prevent opponents from activating their On Play effects, but you’ll have to trash a card to activate it. You’ll usually activate the effect on turns where you expect the opponent will want to use those On Play cards the most. This will completely shut them down from playing out their strategy, setting the stage for a powerful upcoming turn on your side. If they rely On Play effect to KO your Characters, then it can put them in an awkward situation.
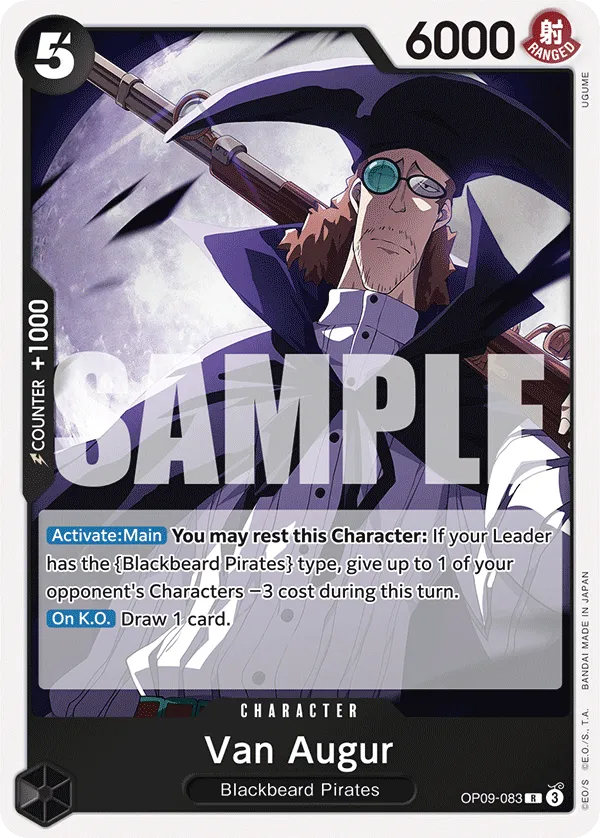
The list has multiple cost-reduction cards to help put things in range to remove. Laboon and Van Augur are the best cost reducers in your list that also pose offensive pressure. Speaking of offensive pressure, Jesus Burgess is one of your toughest attackers. He can’t be KO’d by effects and will gain +1,000 Power for every 4 cards in your trash.
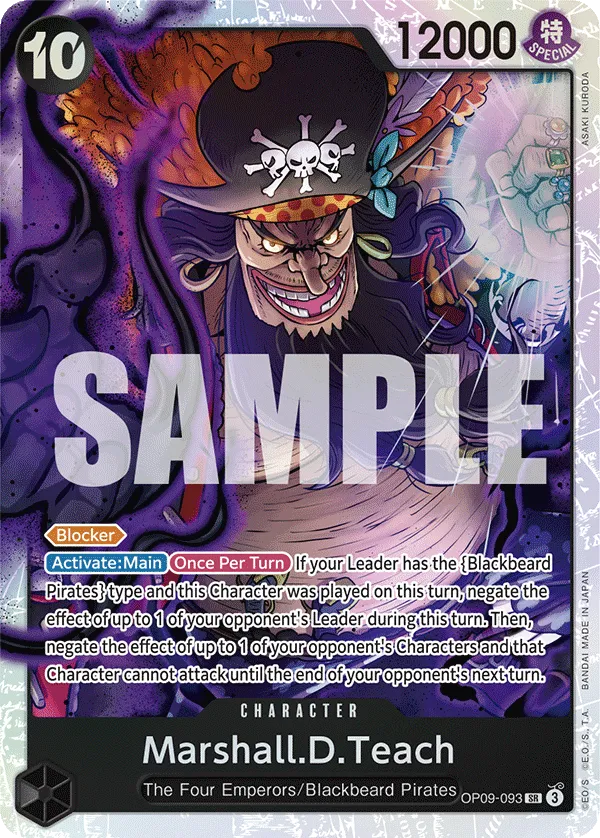
10-cost Marshall D. Teach is this deck’s strongest play, letting you negate the effect of the opponent’s Leader and one of their Characters. He’s also a high-power blocker, creating a wall to block one attack and protect your Leader.
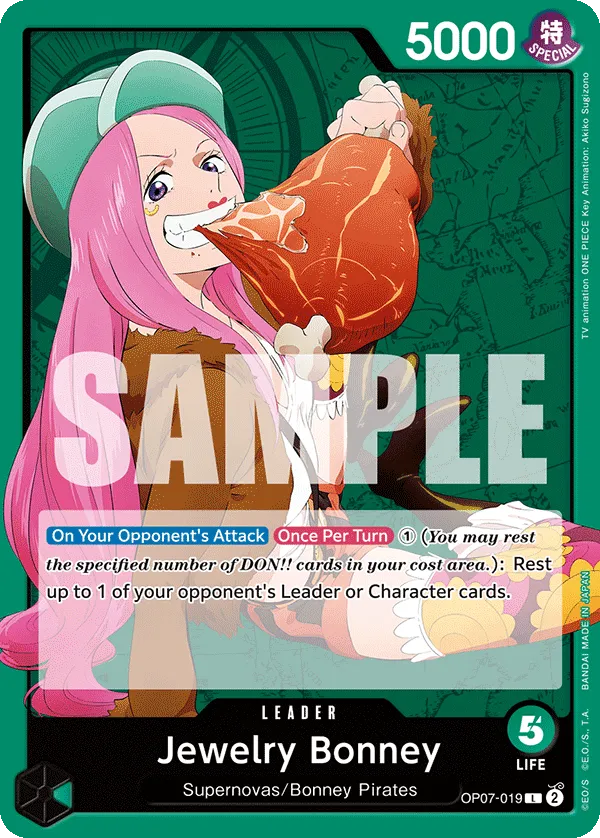
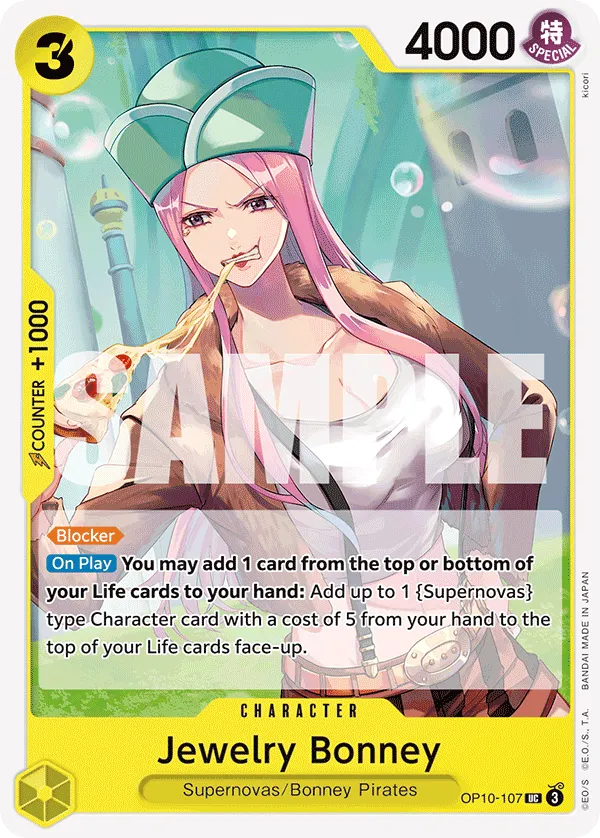
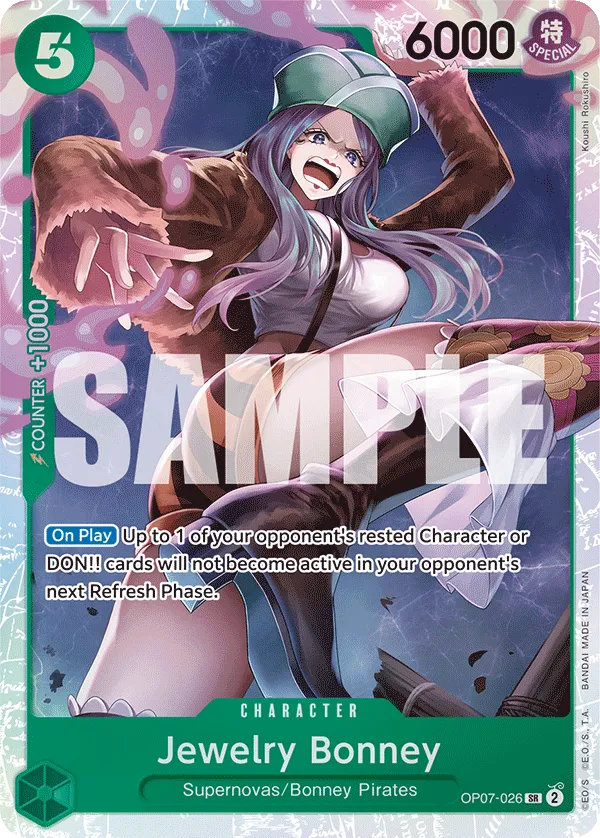
Green Jewelry Bonney

Explanation
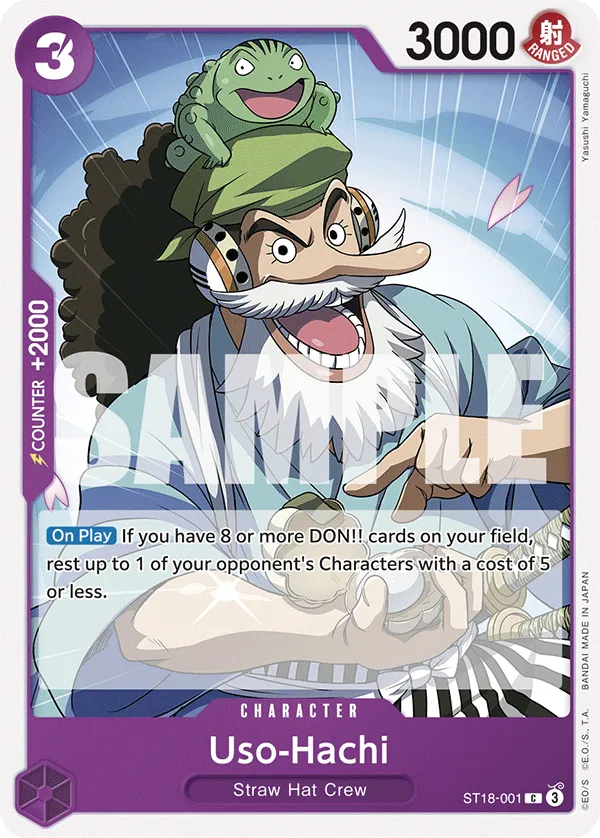
Green Bonney can be frustrating to face, largely due to her ability to rest one of the opponent’s attackers. While the Bonney player needs 1 Active Don to trigger the effect, it significantly slows down the opponent’s offense and preserves the Bonney player’s Counter resources.
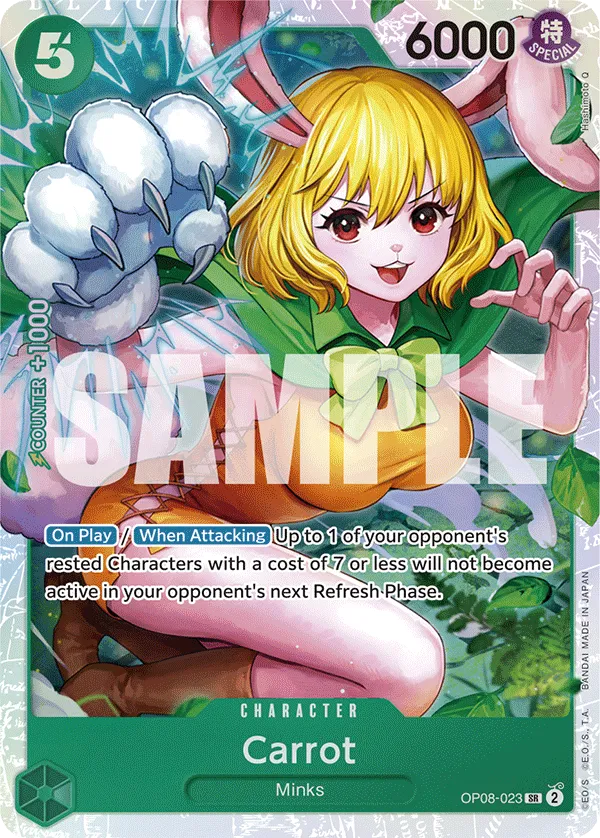
This deck excels at a defensive game plan, stalling out games until high-cost threats start dropping. Blockers and the 5-cost Carrot further reinforce this strategy, buying time to either clear the opponent’s field or transition into a more aggressive stance against their Leader.
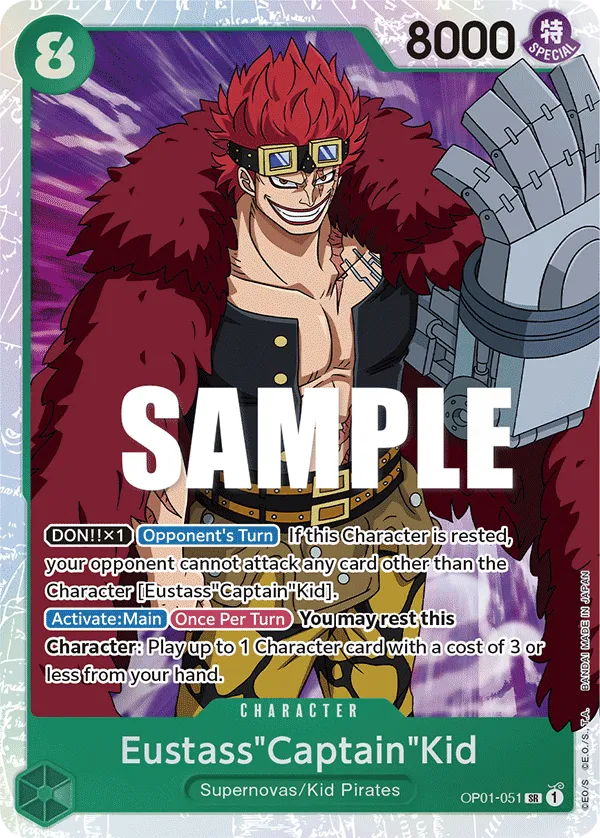
Most players in OP10 are running the Fortress strategy with Eustass”Captain”Kid, forcing opponents to find an answer for the kid or risk losing the game.
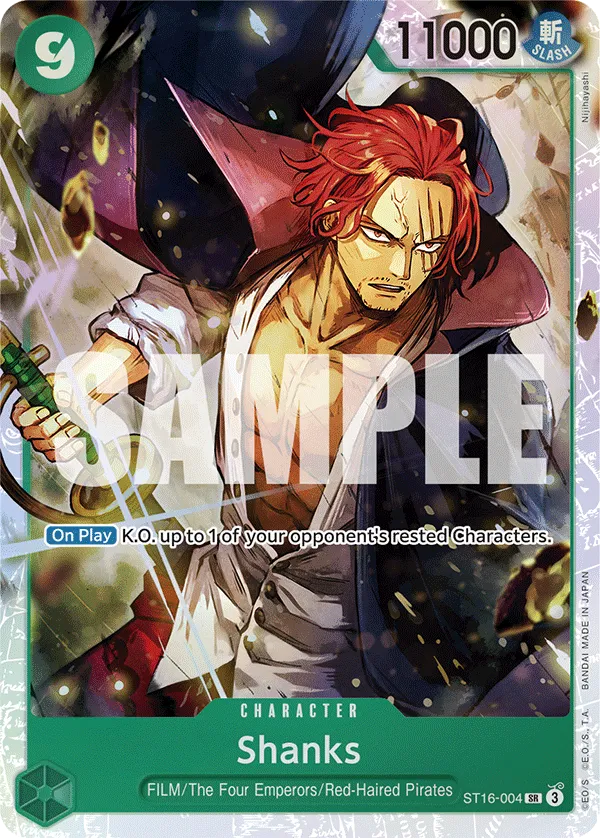
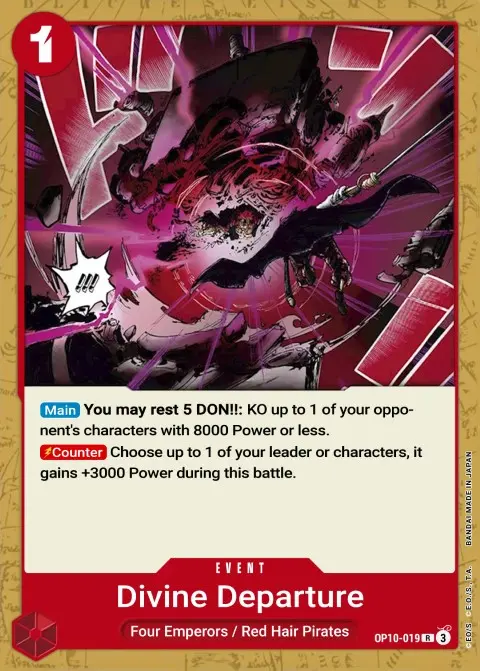
9-cost Shanks can KO a rested Character, saving you from needing to attack it. As for 10-cost Doflamingo, he lost popularity in OP10 but remains a consideration to add to the list. Doflamingo can keep three of the opponent’s attackers rested, reducing the pressure of their upcoming turn.
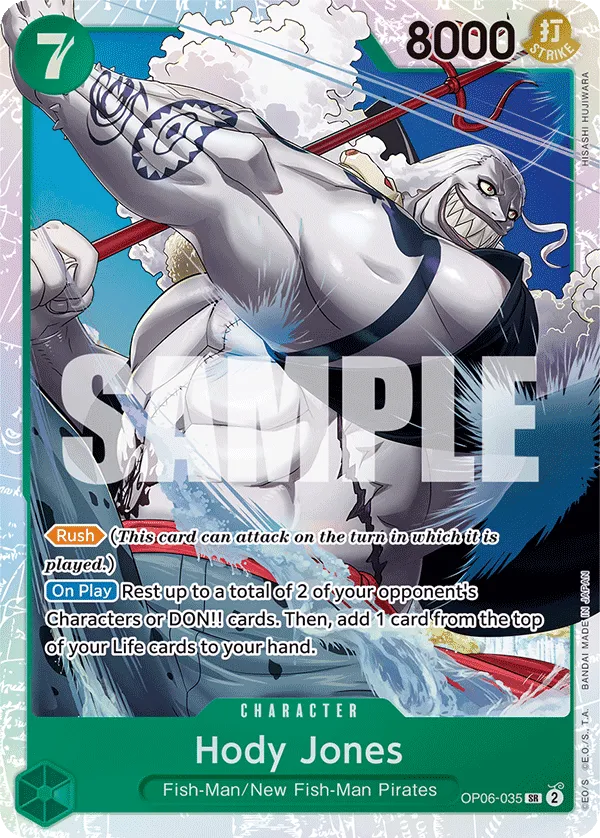
7-cost Hody Jones is your main aggressor, dropping on the field, resting two characters, and going for an immediate attack with his Rush keyword. Whether you focus on clearing the field or attacking the opponent’s leader will depend on the game’s current state.
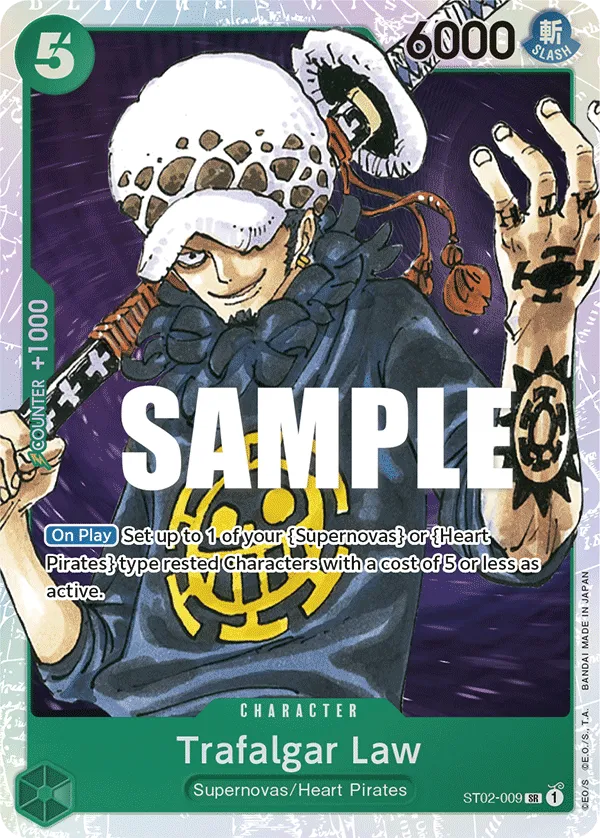
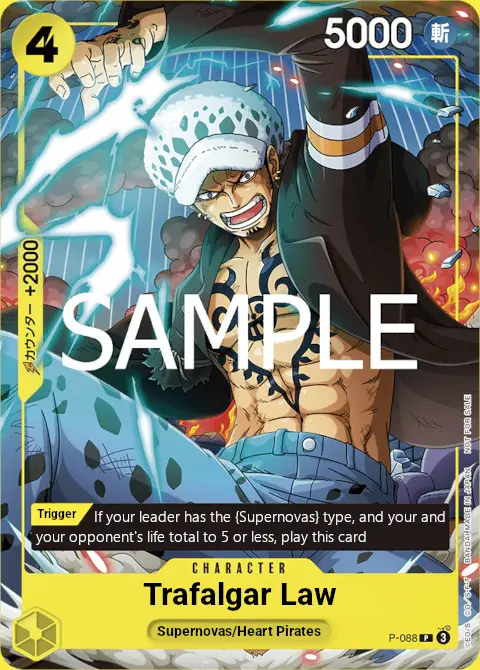
Green Yellow Trafalgar Law


Explanation
The Green Yellow Trafalgar Law is an aggressive type deck that heavily relies on {Supernova} type Characters to synergize with the Leader effect. To activate Leader Law’s effect, you need to have Characters in play with a total cost of 5 or more and attach a Don to Leader. Then you can reveal the top card in your Life area, if that card is a {Supernova} type Character with a cost of 5 or less, you can play it on the field.
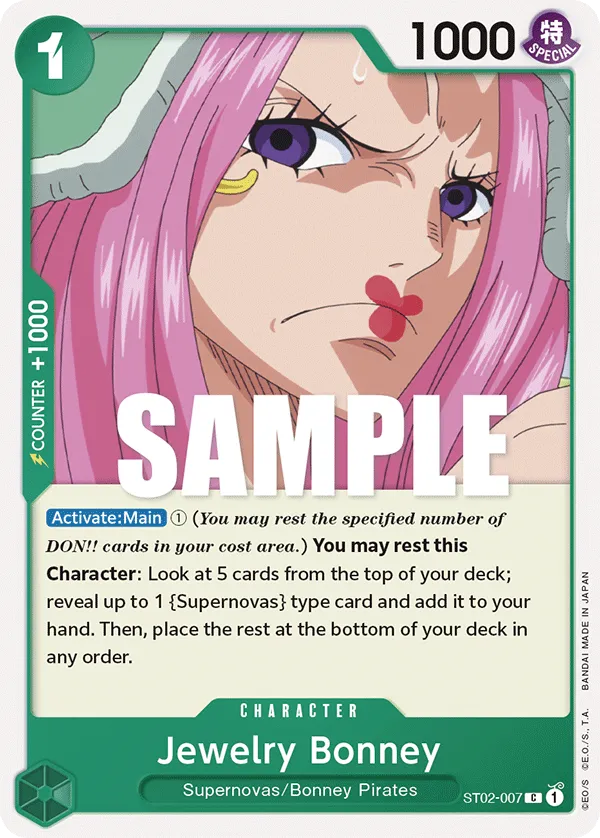
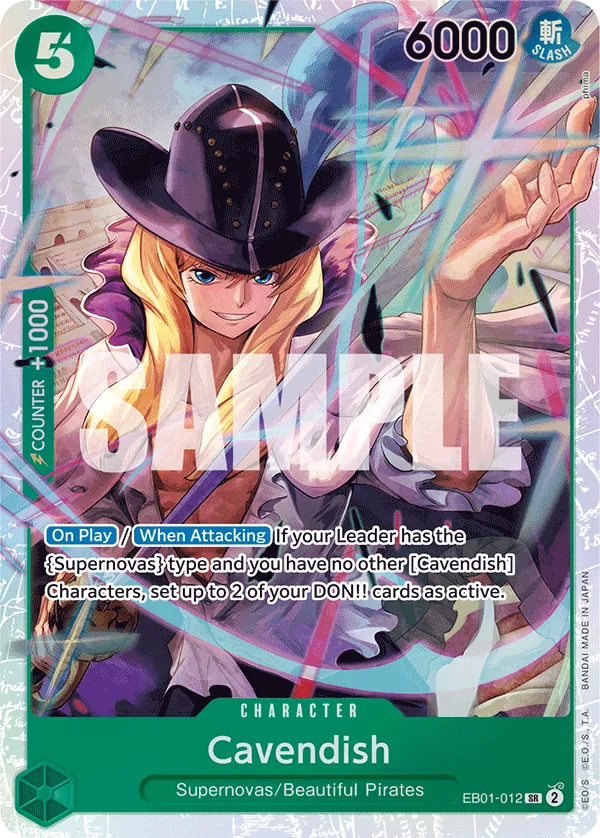
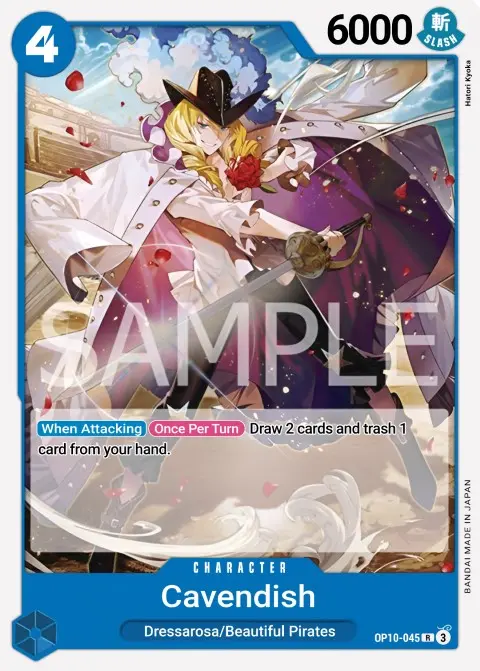
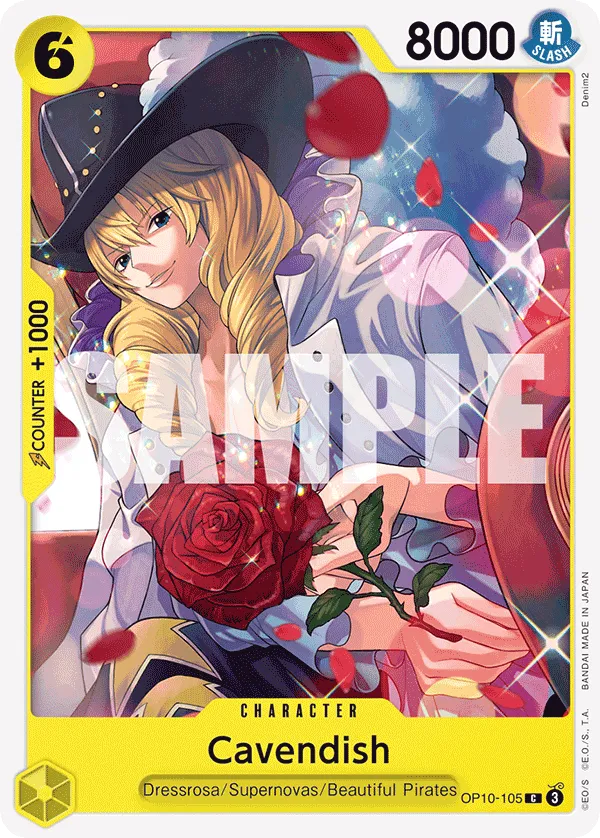
So what we’re doing is developing an extra Character for only 1 Don attached to our Leader, but we are losing one Life card, so we have to be careful when activating it multiple times. The list is packed with {Supernova} type Characters like the two 5-cost Laws, 5-cost Jewelry Bonney, and 5-cost Cavendish to ensure we find a Supernova Character to cheat out on the field.
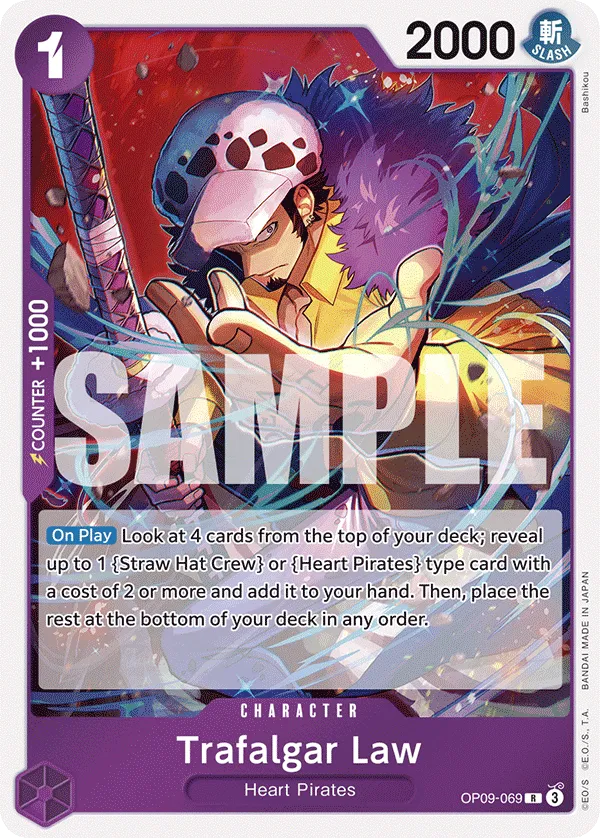
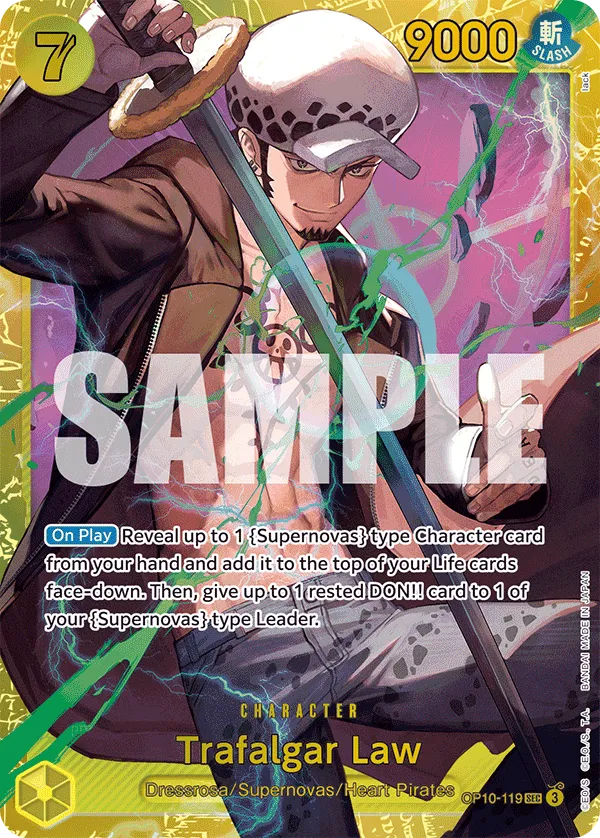
7-cost Trafalgar Law’s effect is perfect for this deck, allowing you to add a 5-cost Supernova Character to the top of your Life area so you can cheat it out through the Leader effect. On top of that, 7-cost Law gives your Leader 1 Don, so you can go for the combo play as early as Don 7.
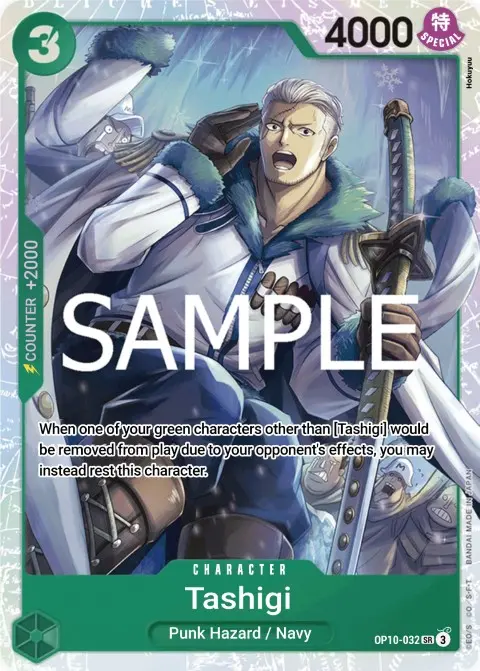
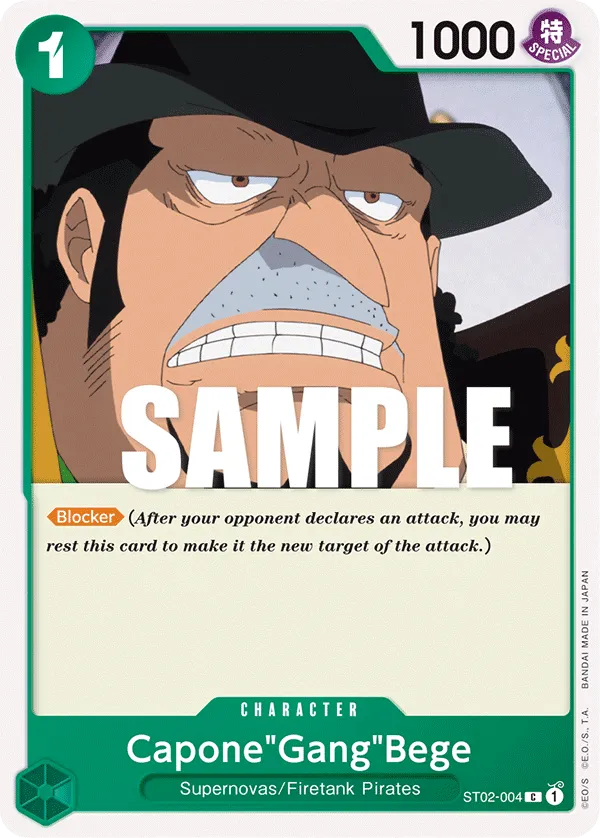
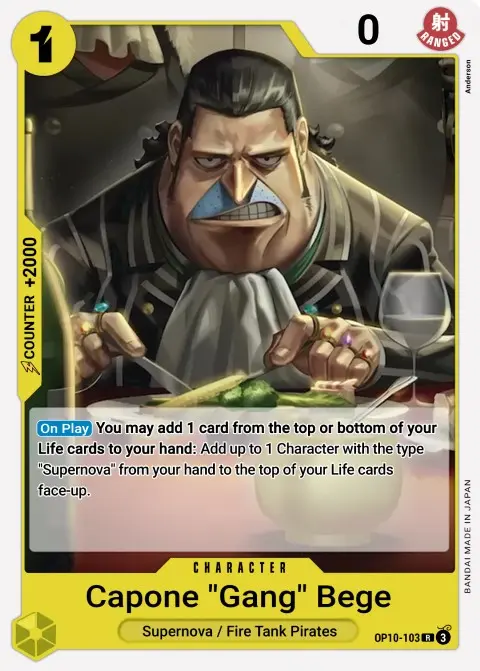
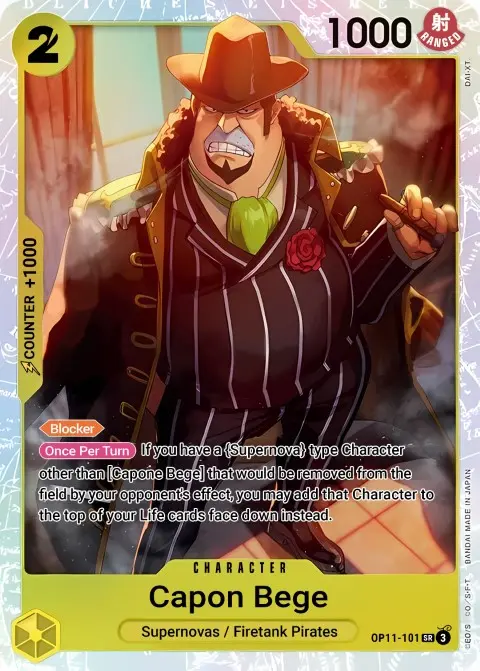
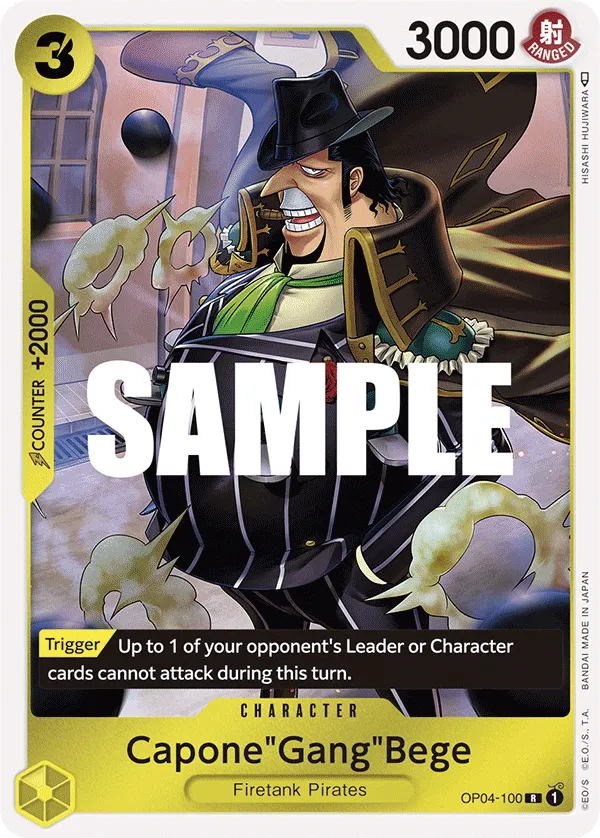
This list is running the Fortress Strategy, having Eustass”Captain”Kid and blocker Capone”Gang”Bege to create the defensive wall to protect your Leader from attackers. Having Tashigi on the field protects your high-cost Characters like Kid from a removal effect, making it even harder for the opposing player to go through.
Red Shanks
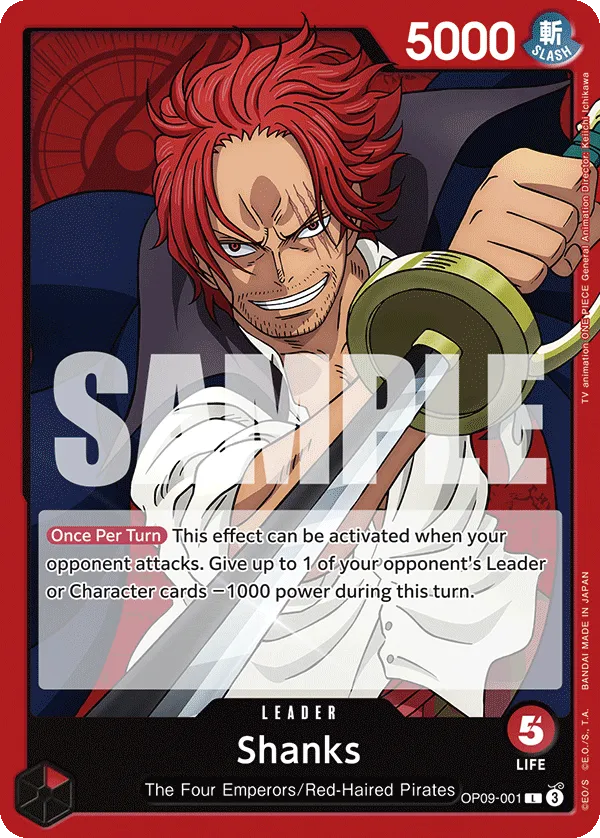
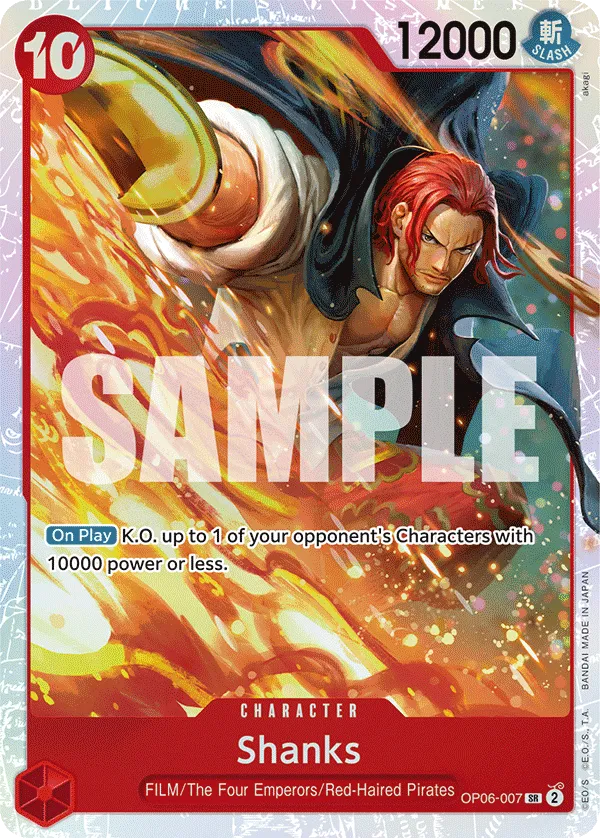
Explanation
Shanks is a strong choice in OP10, utilizing his power-reduction effect to weaken opponents’ aggression and extend games until his heavy hitters can take over.
While Red decks are typically known for their aggressive playstyle, often relying on Rush attackers to force quick wins, Shanks takes a different approach. He prefers a control strategy, KOing opponents’ Characters to remove threats to your field or Leader. However, there is another version that adopts the aggressive approach, valuing Rush attackers over Characters with KO effects.
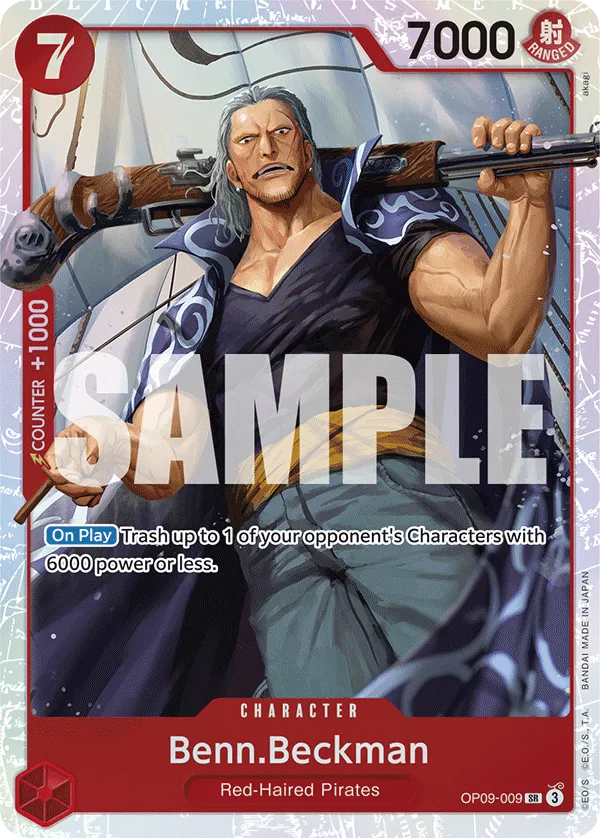
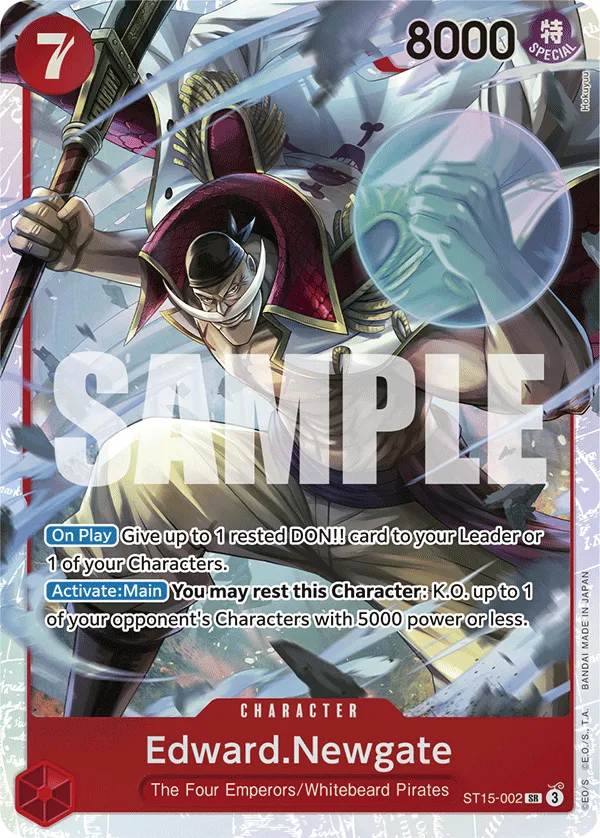
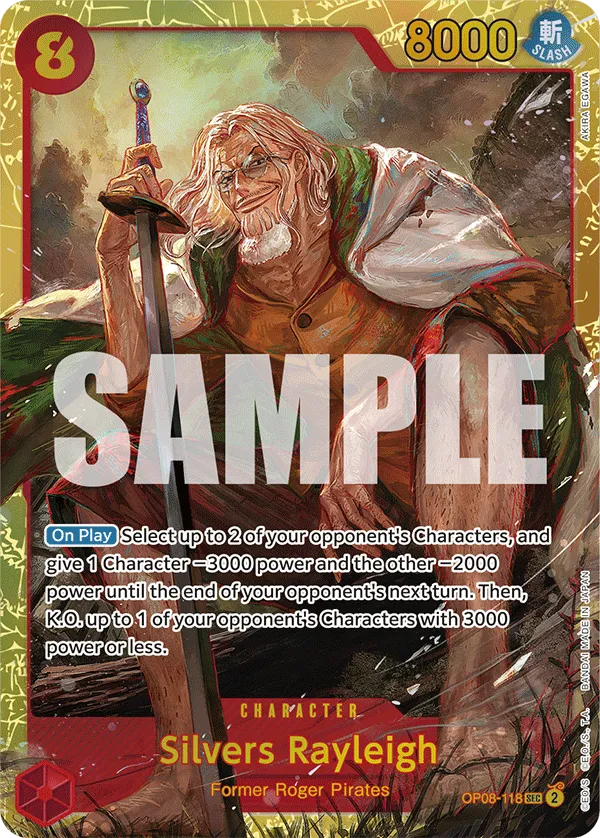
Key cards like the 7-cost Benn Beckman, 7-cost Edward Newgate, and 8-cost Silvers Rayleigh are perfect at KOing opponent’s Characters, turning the tide in your favor. The 10-cost Shanks reduces the power of all opponent’s Characters by 1,000, making it easier for you to survive the next turn.
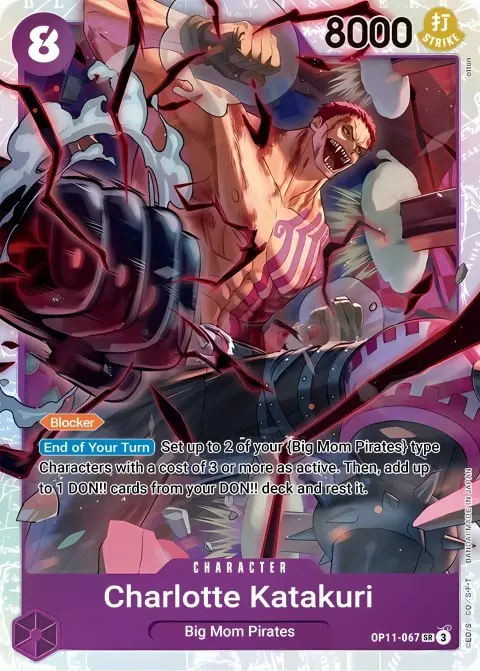
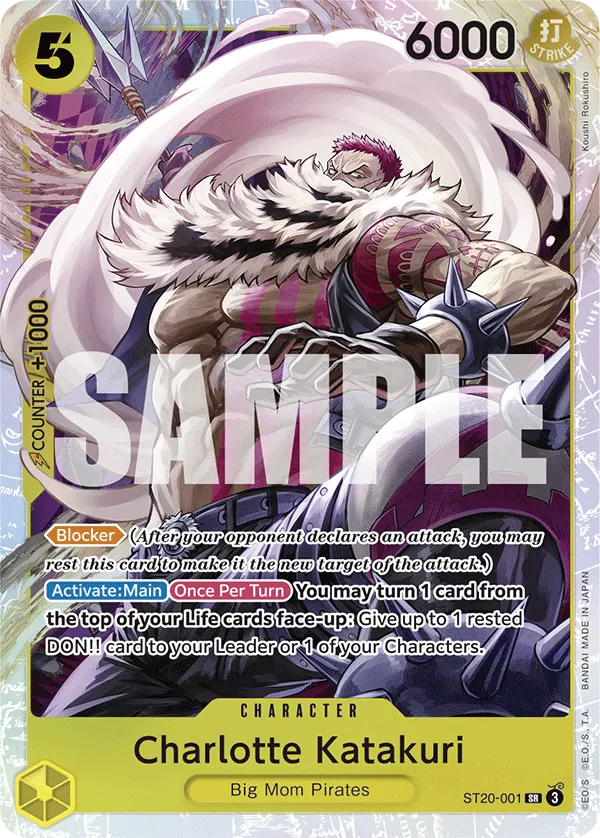
Purple Charlotte Katakuri


Explanation
Purple Charlotte Katakuri has an interesting effect, having you return a Don to activate. Once per turn, when attacking or during your opponent’s turn, you can look at the top card in the opponent’s deck, giving you information on their next draw, and your Leader gains +1,000 during this battle.
So you’ll hold off from activating it until you’re at a point where deramping doesn’t put you behind. The +1,000 Power can save you from committing to many Counter cards, and you’re going for stronger attacks, getting more Counter cards from your opponent.
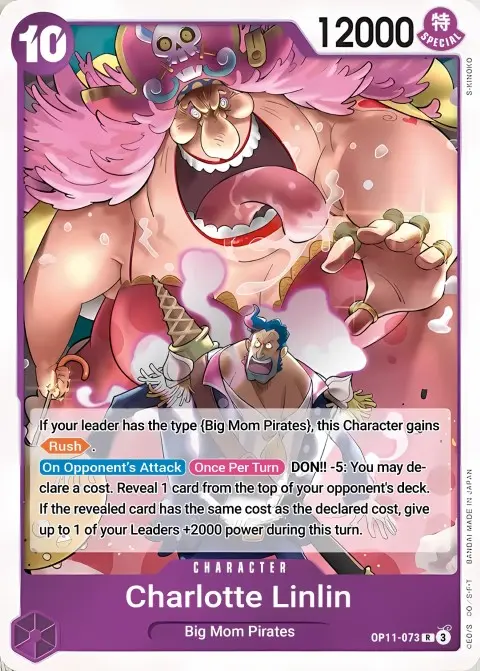
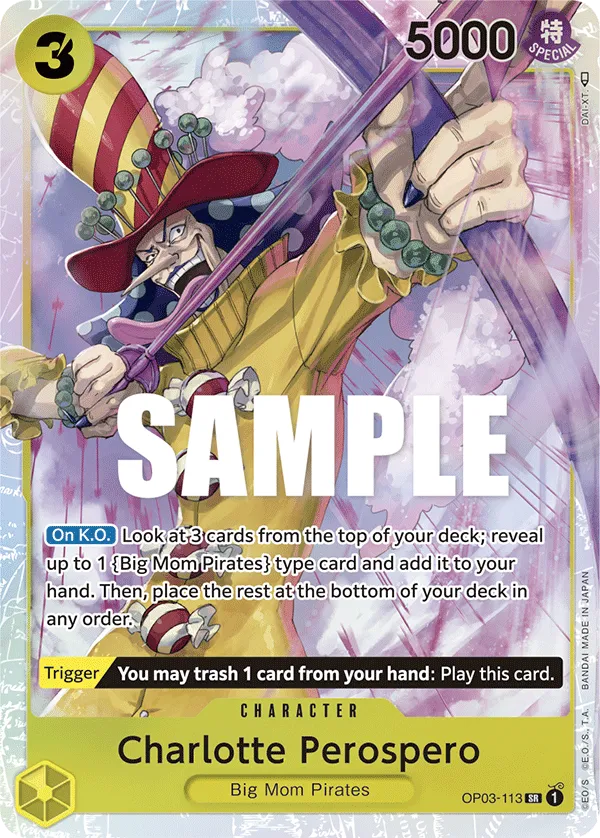
The information we’re gaining from Leader Charlotte Katakuri will play a role when going for 5-cost Charlotte Perospero and 10-cost Charlotte Linlin’s effects. To activate their effects, you need to “guess” the cost of the opponent’s top card in their deck, and since we can look at the opponent’s top card through Leader Katakuri’s effect, we’re not really guessing that card, are we?
Charlotte Perospero trashing a card to activate his main effect, but will ramp back 1 Don, so we won’t fall behind by activating the Leader effect, and we’ll get to draw a card. We’ll trash the worst card in our hand to hopefully draw a better one.
As for Charlotte Linlin, she’s a Rush attacker, and 12,000 Power attack is no laughing matter. Her “guessing” effect activates during your opponent’s turn, but forces you to deramp 5 Don to give your Leader +2,000 Power during this turn. It’s a huge defensive play to survive a turn, but will put you low on Don for the upcoming turn since you’re using your Leader + Charlotte Linlin’s deramp effects.
Red Blue Marco
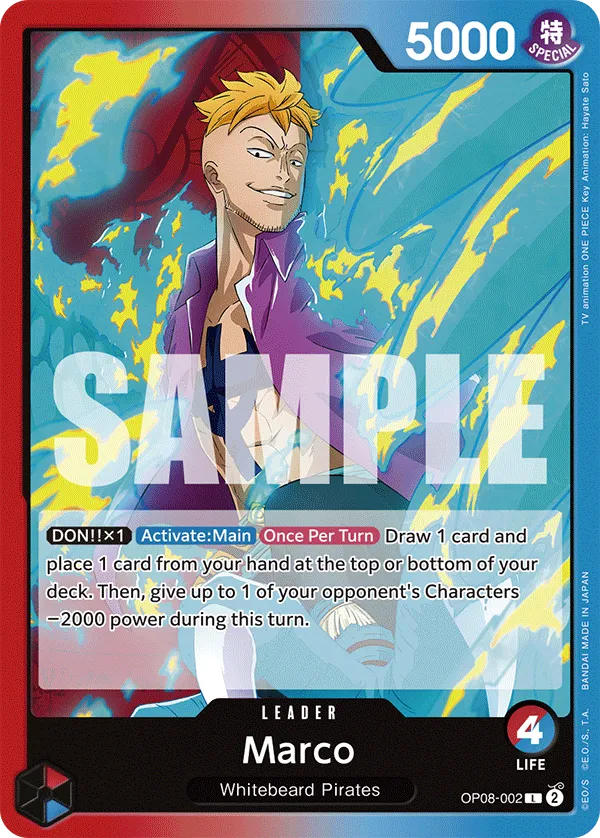
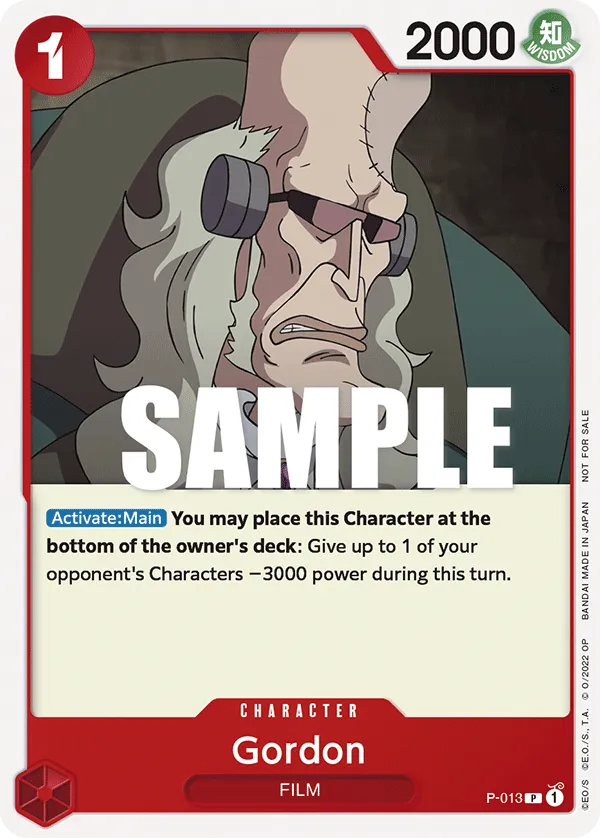
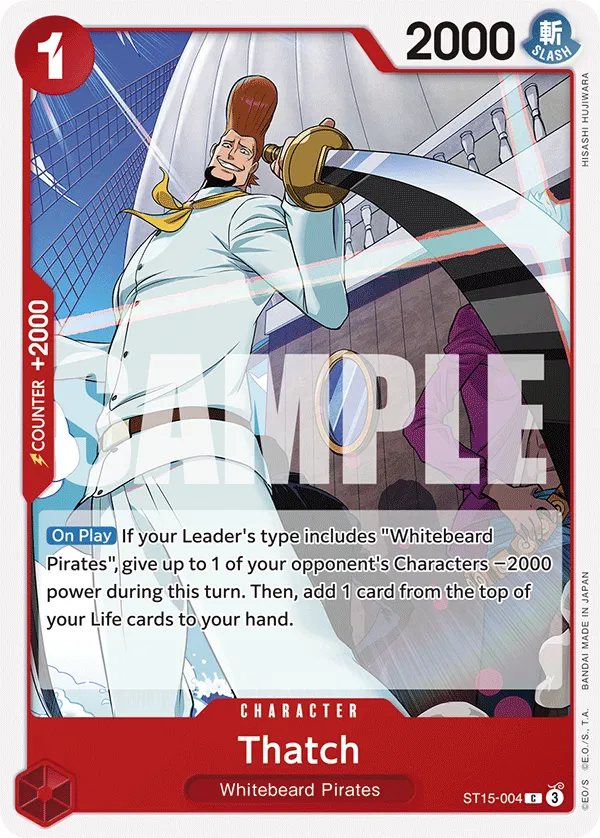
Red Blue Marco is a control Leader, reducing the Power of an opponent’s Character by 2,000, making it vulnerable to your attacks or your removal Characters. 7-cost Edward Newgate and 8-cost Silvers Rayleigh can KO opponent’s Characters and remove higher Power Characters thanks to your Leader effect and cards like Gordon.
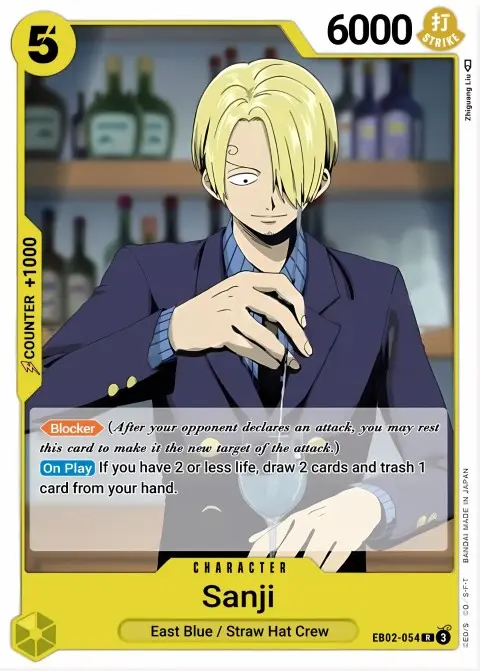
Using Leader’s draw effect, you can filter your hand for better cards and then place the card you don’t need at the bottom of your deck. However, since you can play the card at the top of your deck, you can combo your Leader effect with 9-cost Sanji, placing a high-cost Character at the top of the deck to cheat it out through Sanji, developing two big bodies in one turn.
Blue Donquixote Doflamingo
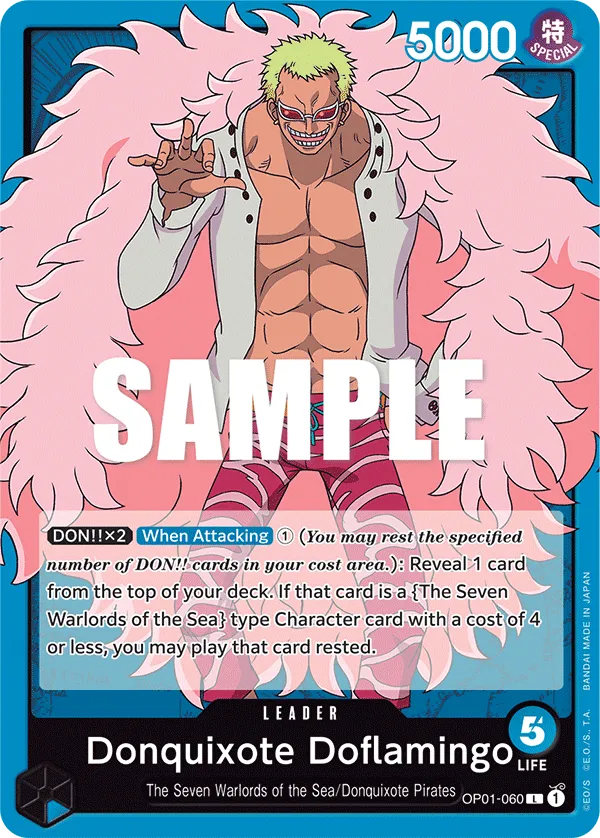
Explanation
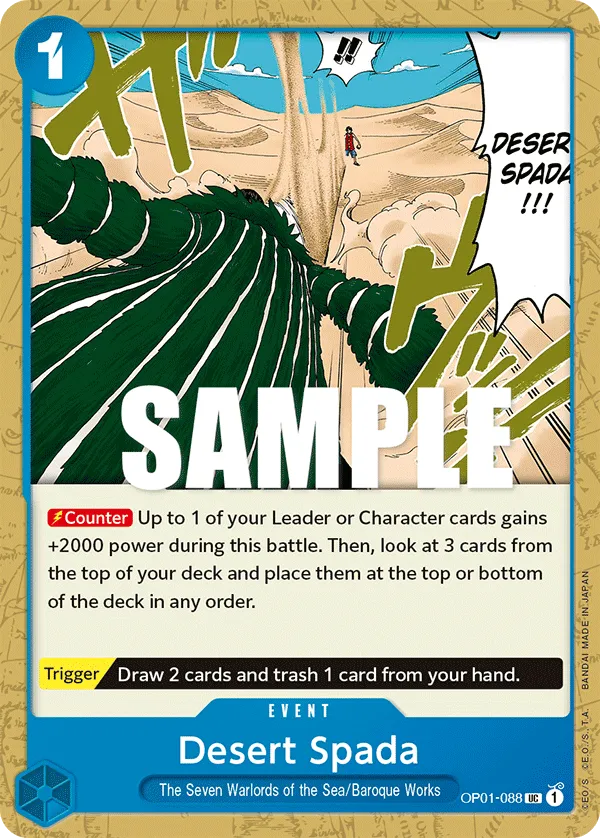
Blue Doflamingo prefers to go first, aiming to cheat out {The Seven Warlords of the Sea} Characters from the top of the deck. By using 3 Don, you’re essentially playing a 4-cost Character while attacking for 7,000 Power with Leader Doffy.
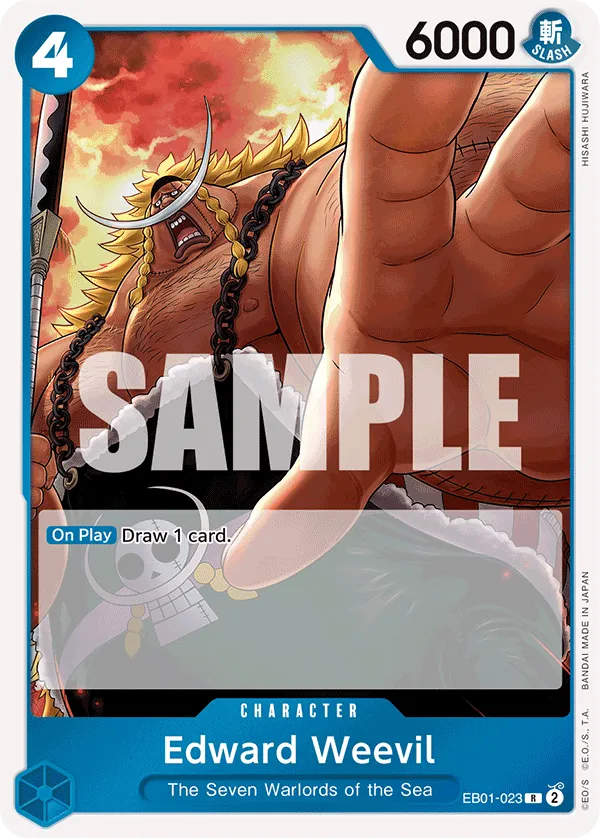
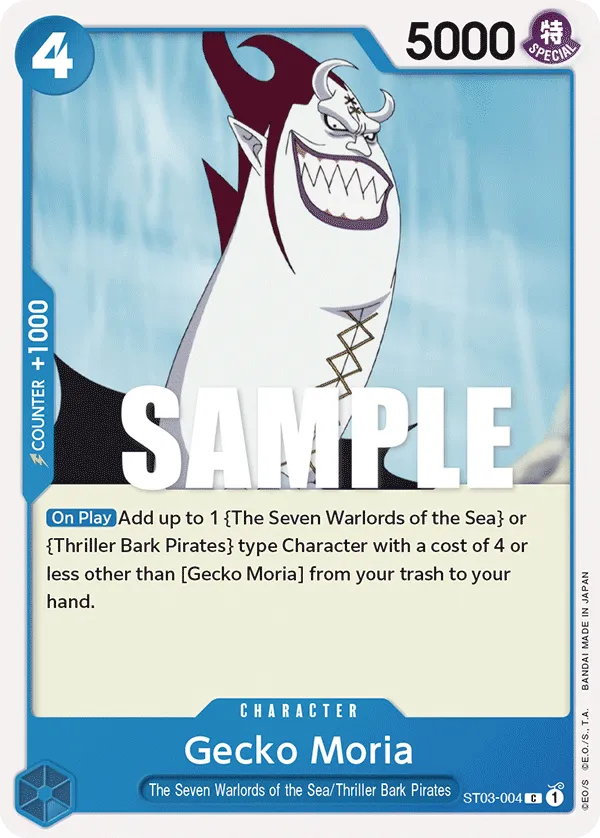
The deck rarely runs out of resources, thanks to Leader Doffy’s effect and key cards like the 4-cost Edward Weevil, 4-cost Gecko Moria, and 4-cost Boa Hancock. For control, cards like Gum-Gum Red Roc and Gravity Blade Raging Tiger help remove opponent’s Characters from play.
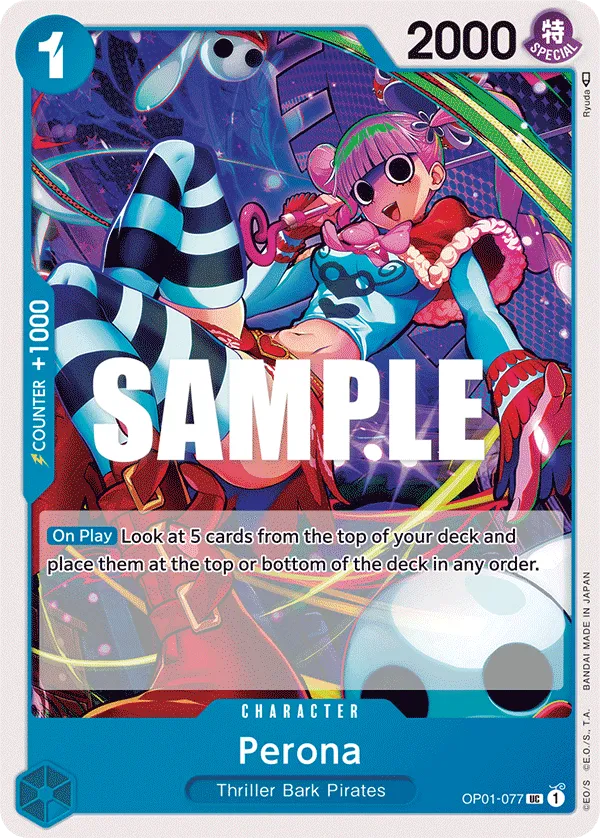
By combining Leader Doffy’s effect with 1-cost Perona, you gain control over which card you’ll cheat out when attacking, allowing you to play the best Character depending on the game state and strategy you go with.
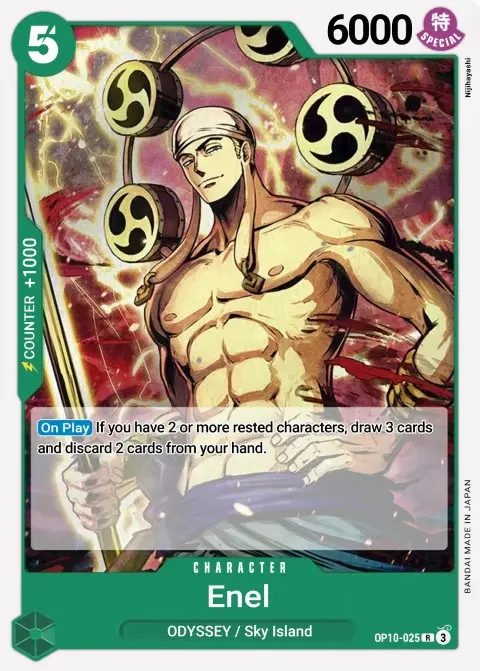
Yellow Enel
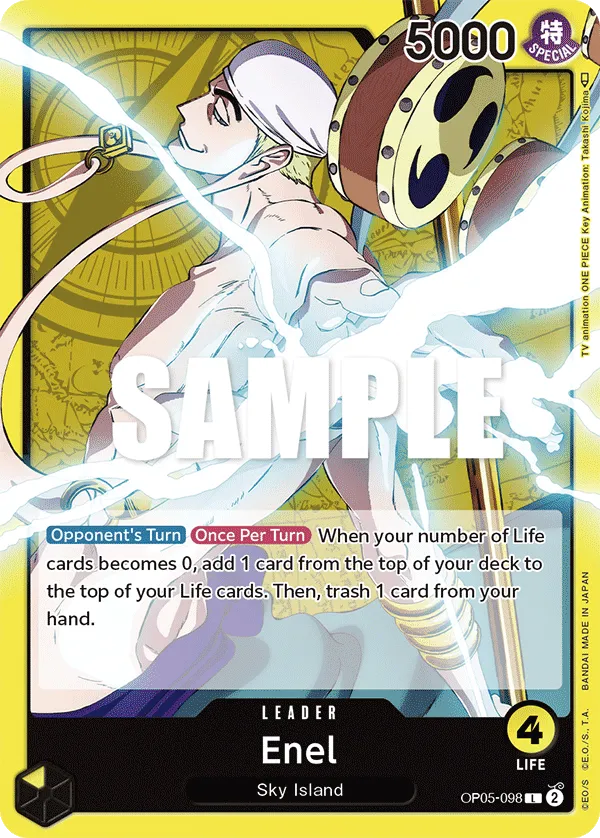

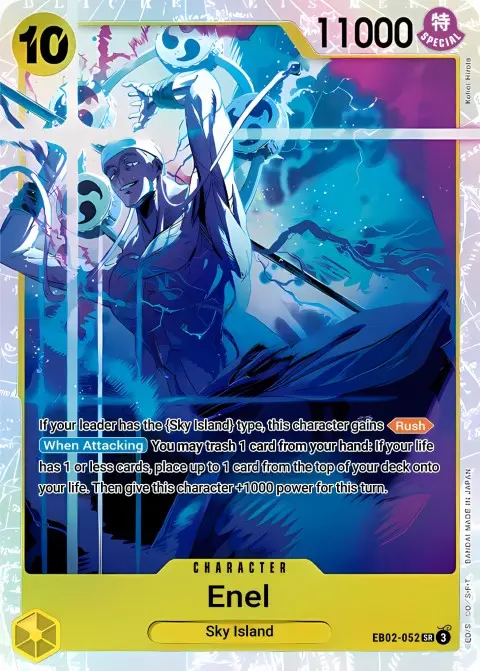
Enel is the king of Life resources, waiting for opponents to go all-in on an attack and try to survive with 1 Life card. Whenever Enel drops to 0 Life cards, he can trash a card from your hand to place the top card of your deck into your Life area. This can be triggered once per turn, so you’ll need to protect the Life card you just gained.
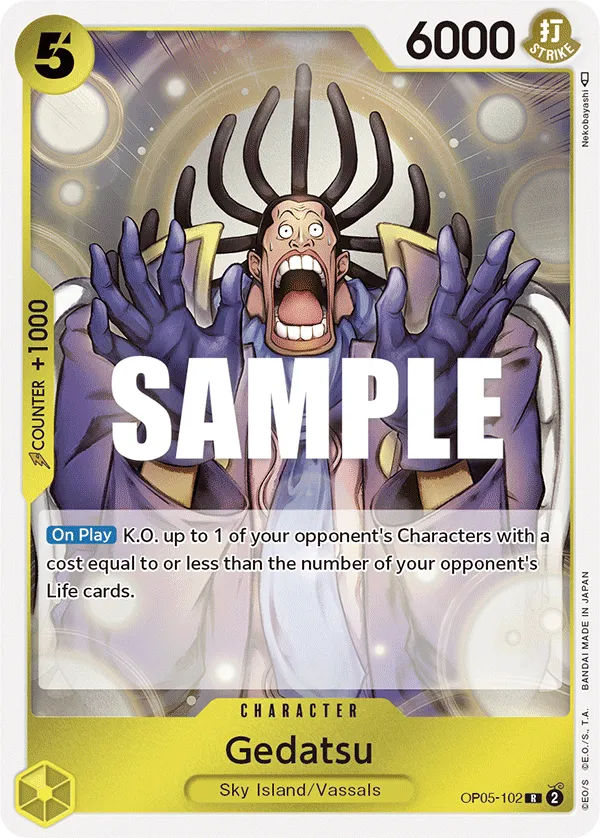
With cards like Gedatsu, Monkey D. Luffy, and Nami, you can KO your opponent’s Characters, slowing down their attack. The goal isn’t to fully clear their field but to reduce the number of attackers. Fewer attackers mean they’re less likely to pose a serious threat beyond Enel’s Life gain mechanic.
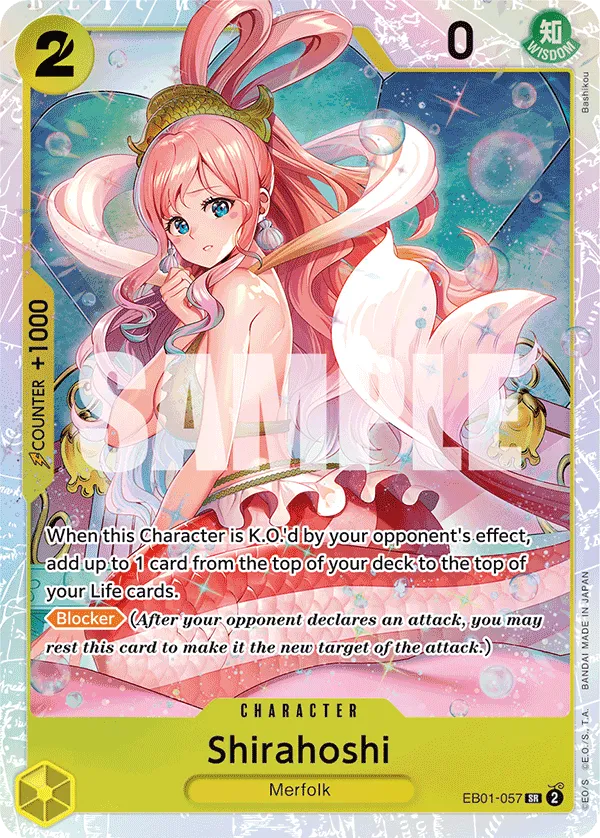
The 8-cost Katakuri offers a versatile effect, allowing you to either remove one of your opponent’s Characters or place one of your own in the Life Area. If you have a Character with a trigger effect, like the 5-cost Shirahoshi, you can place her on top of your Life cards to activate that trigger.
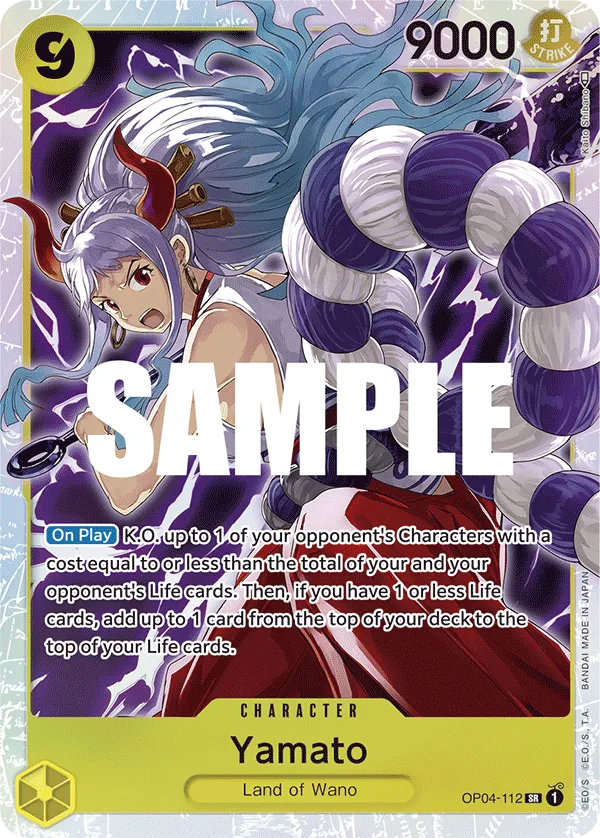
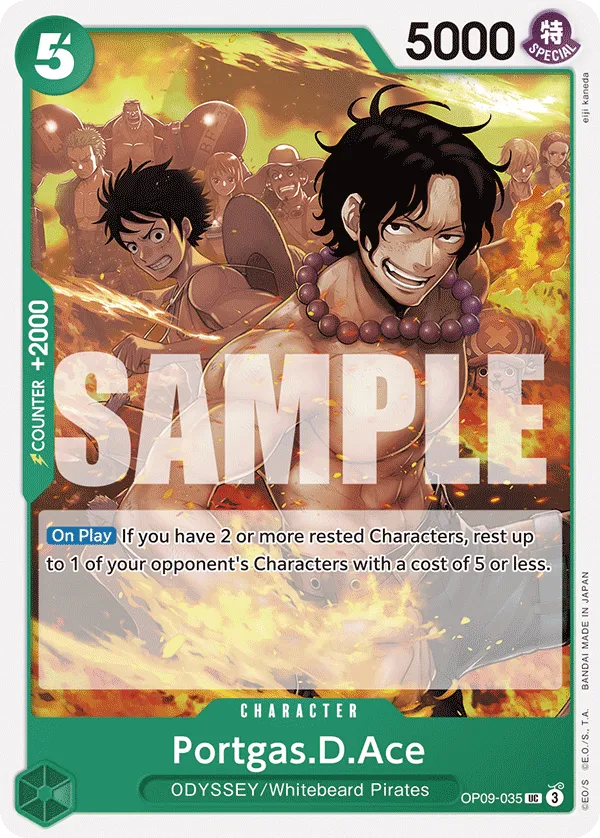
Yamato, Portgas D. Ace, and Enel are your strongest late-game plays, providing a Life card while acting as large, hard-to-remove bodies. To maximize their effects, you’ll want to be at less than 2 Life cards when playing them.
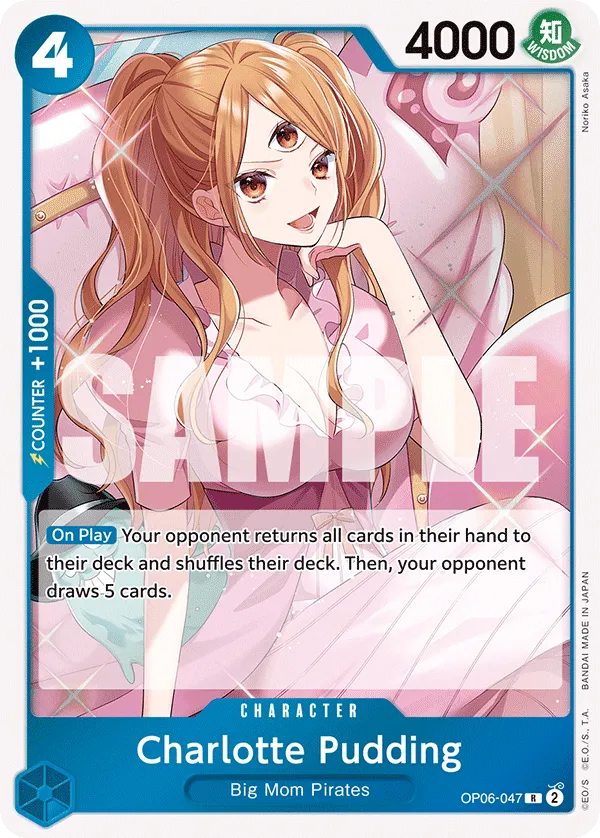
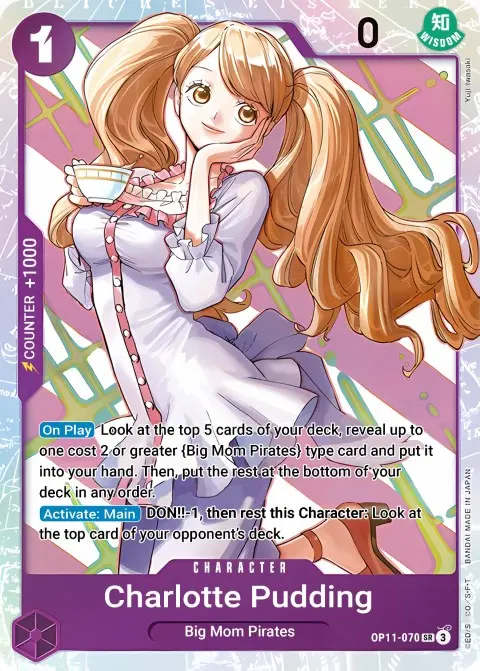
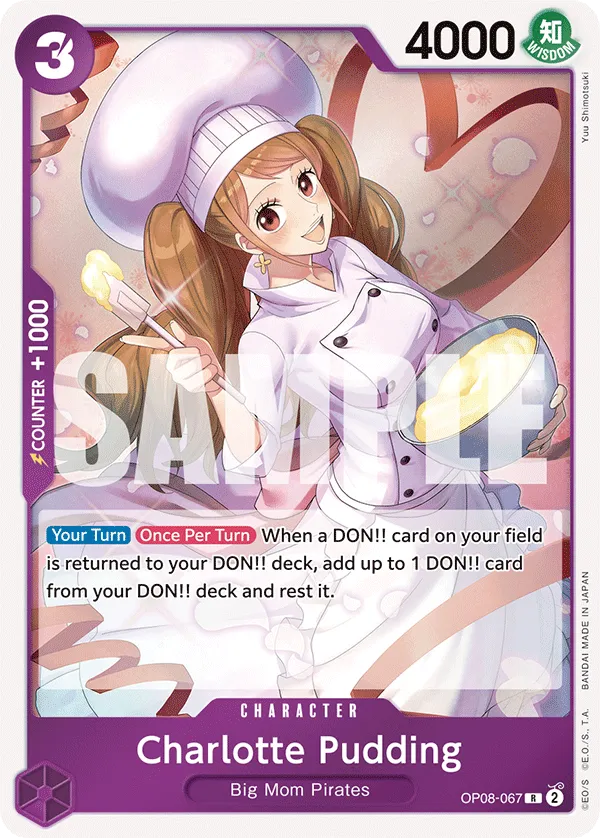
Purple Yellow Charlotte Pudding

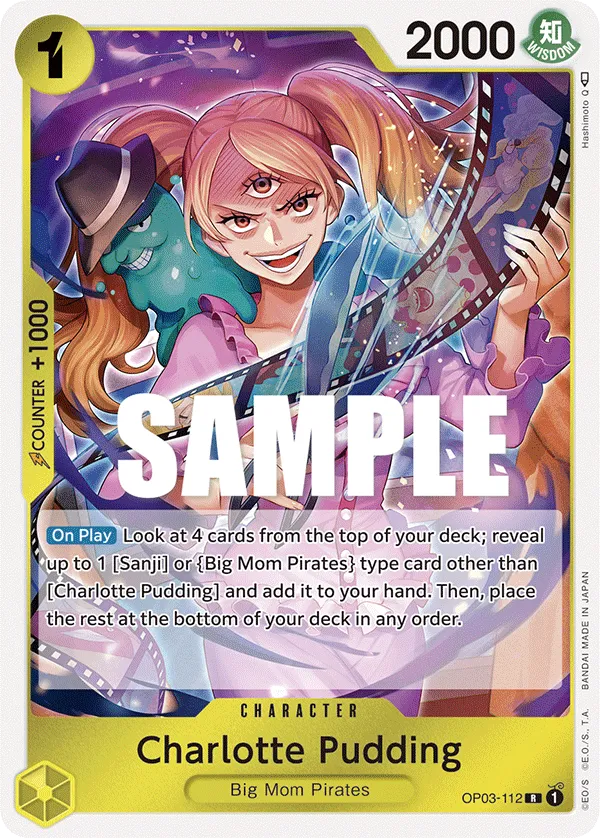
Charlotte Pudding is a ramp Leader, requiring you to turn the top 2 Life cards face up when she attacks, ramping you 1 rested Don.
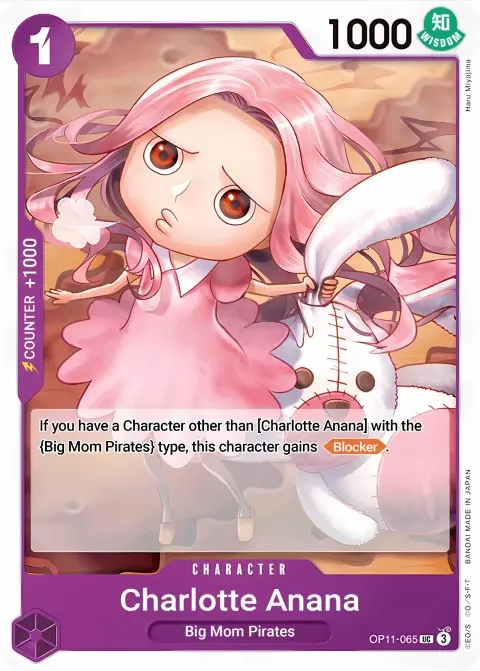
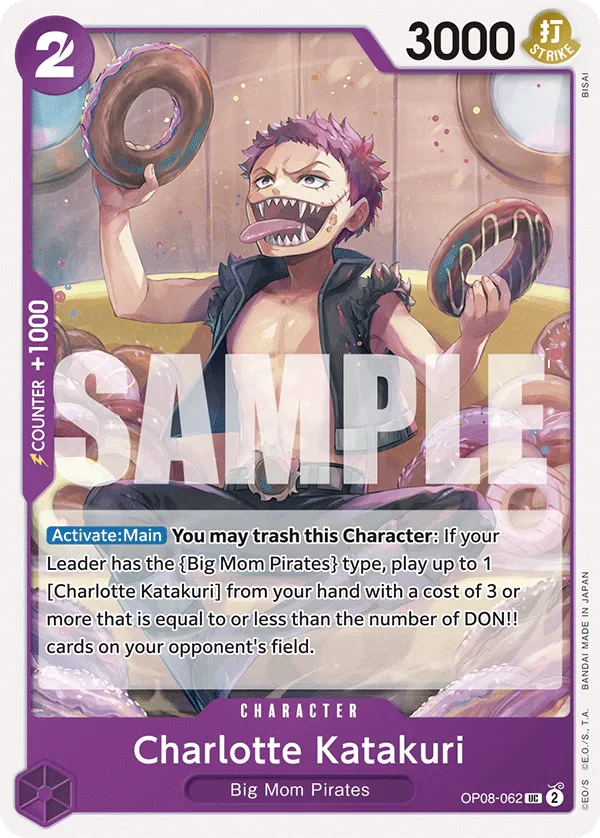
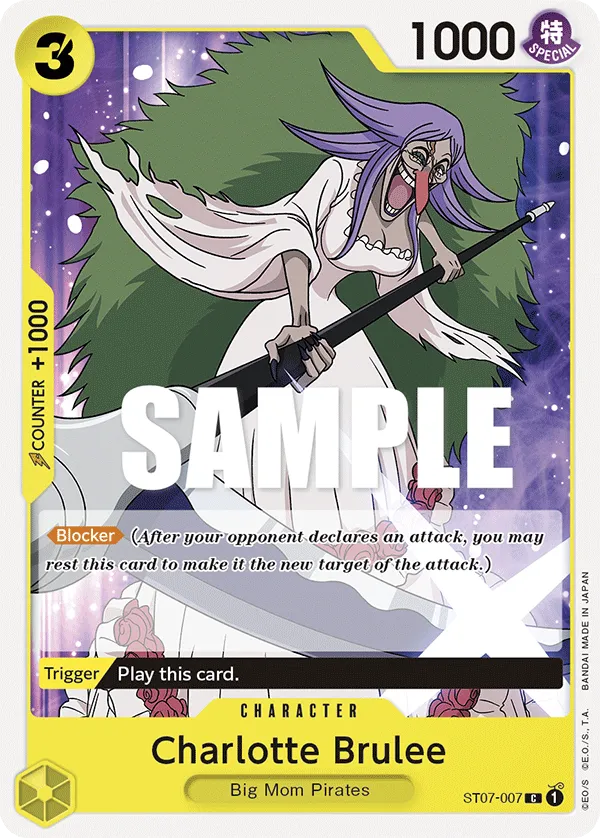
We have two Charlotte Katakuri in this deck, one serving as a removal card to place a 7-cost or less Character in the Life area, removing it from play. While the other one acts as a defensive wall with his blocker keyword, protecting your Leader from an attacker.
10-cost Ace gives you a Life card and goes for a Rush attack, great at attacking a rested Character to lower the opponent’s aggression on the upcoming turn. As for the 10-cost Charlotte Linlin, she’s giving you a Life card while trashing an opponent’s Life card, increasing the resource gap and making them more vulnerable to your attackers later in the game.
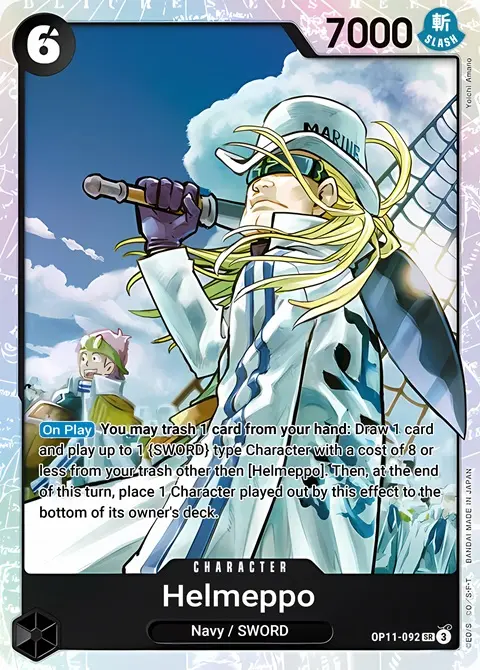
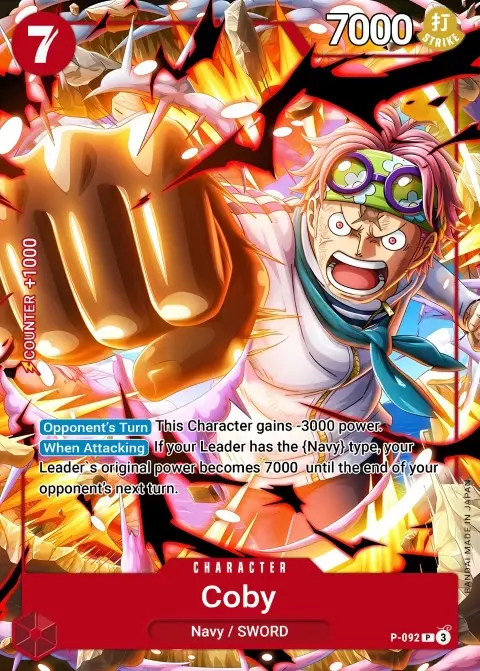
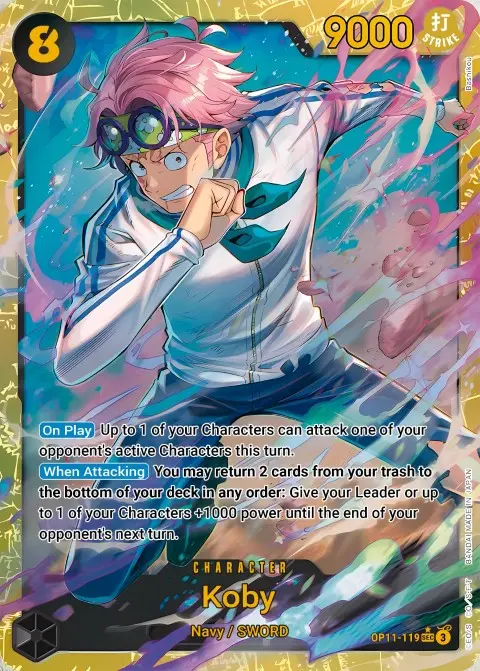
Red Black Koby

Explanation
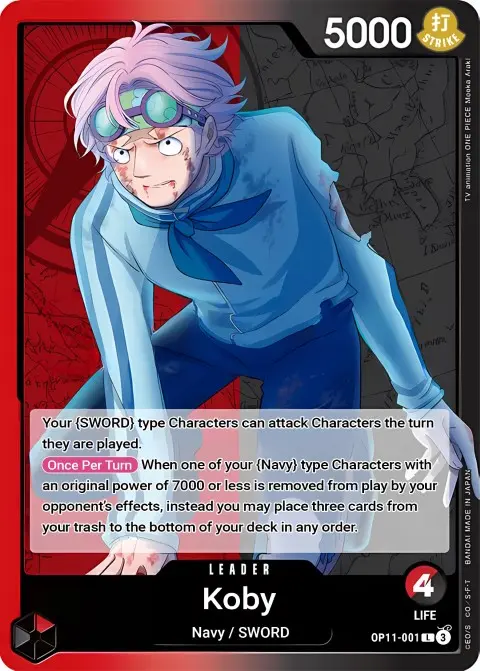
Red Black Koby gives a pseudo-rush to your {SWORD} type Characters, allowing them to attack an opponent’s Character on the turn they’re played. So when deck building, we want to add as many of those {SWORD} type Characters as possible to make use of the immediate attack.
Leader Koby’s second effect can protect a {Navy} type Character with 7,000 Power or less from being removed through an effect. Instead of getting removed, you can place 3 cards from your trash at the bottom of the deck, keeping your Character in play to use offensively later on.
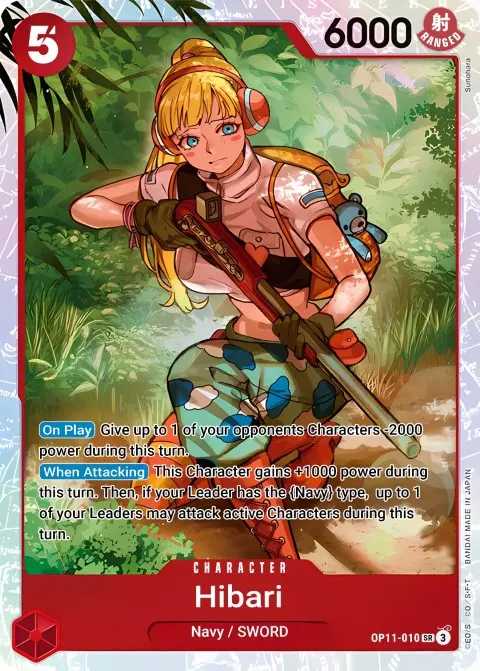
This deck thrives at controlling the field through attacks, and with cards like Hibari, Kuzan, and 8-cost Koby, you can attack Active Characters, potentially KOing them or forcing the opposing player to use their Counter cards.
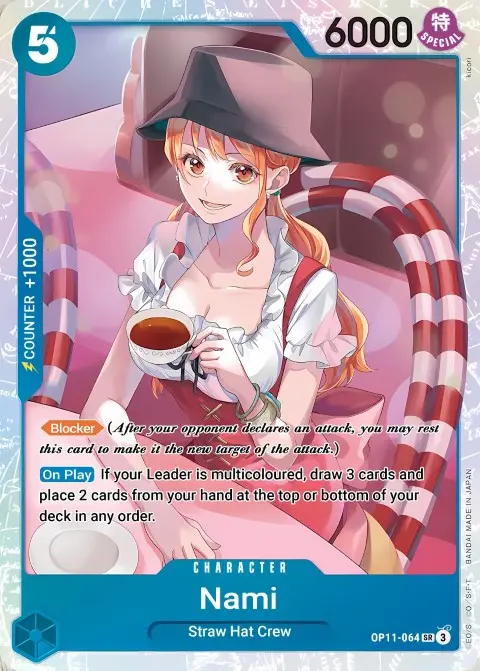
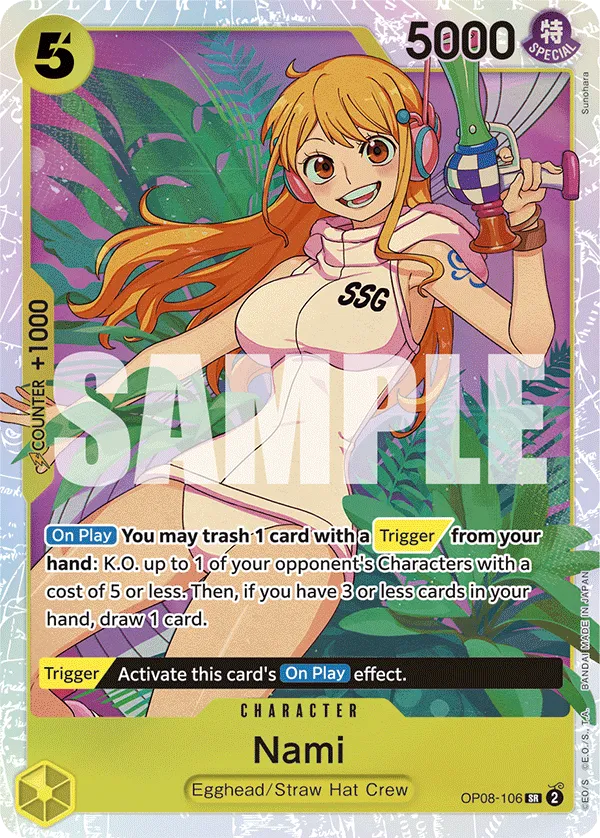
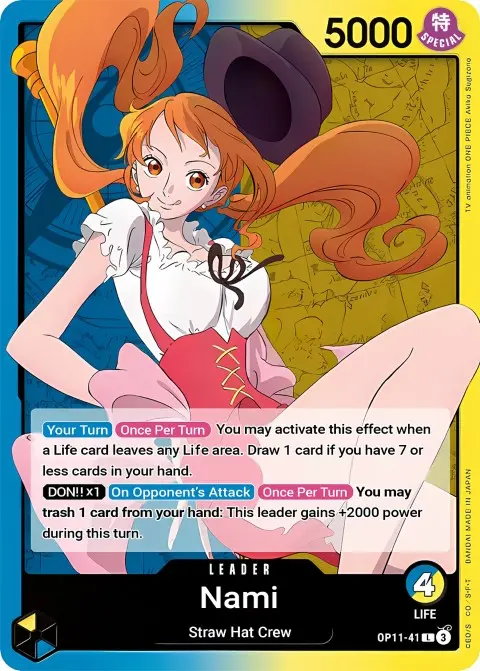
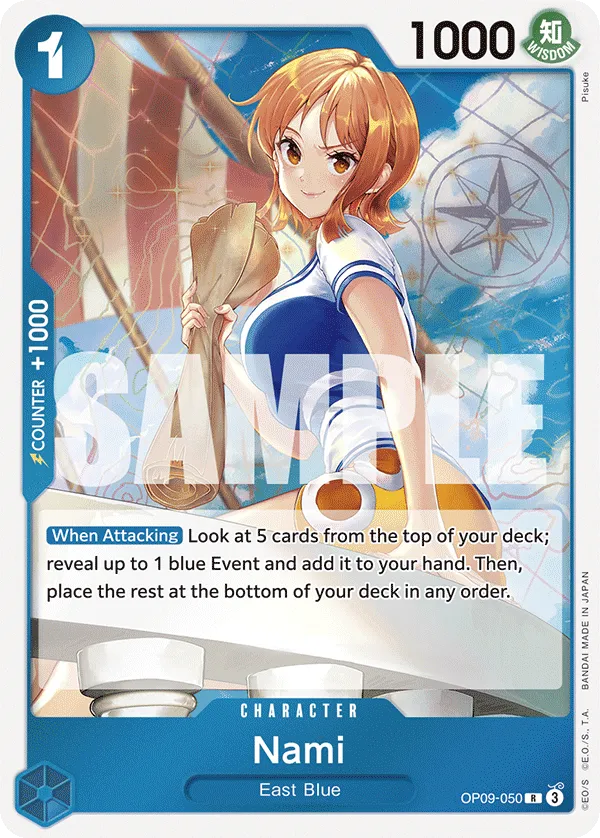
Blue Yellow Nami
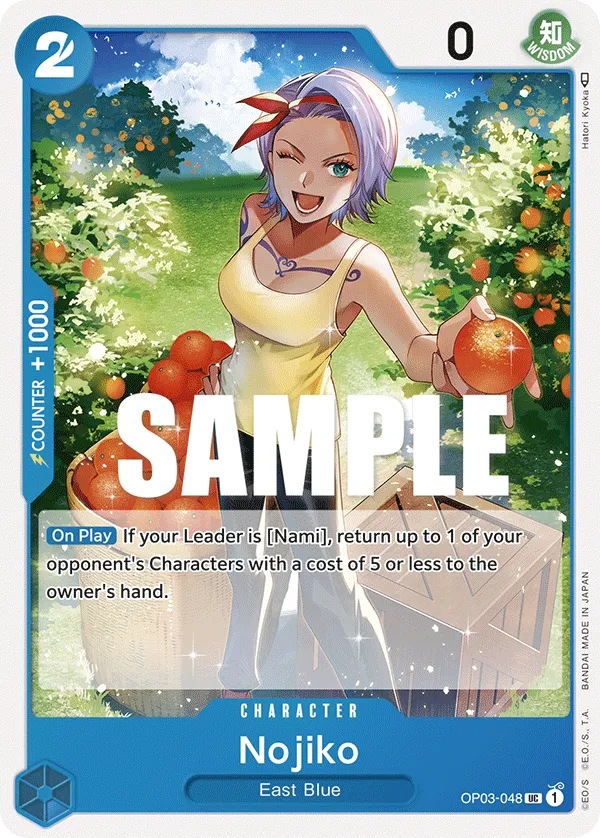

Explanation
Nami is a value Leader, drawing you a card whenever you or your opponent takes a Life card. You will, though, have to be at 7 cards or less to draw a card. Additionally, if you have a Don attached to Nami, you can activate her second effect during your opponent’s turn. Leader Nami lets you trash a card from your hand to gain +2,000 Power until the end of the turn. You’re turning Nami into a 7,000 Power Leader, making it difficult for your opponent to get their attacks through.
The list is heavy on control cards like Jozu, Charlotte Katakuri, and Gum-gum Red Roc, keeping your opponent’s side in check and eventually running them out of resources. They’ll eventually fall behind in a value war, struggling to develop a threatening field presence.
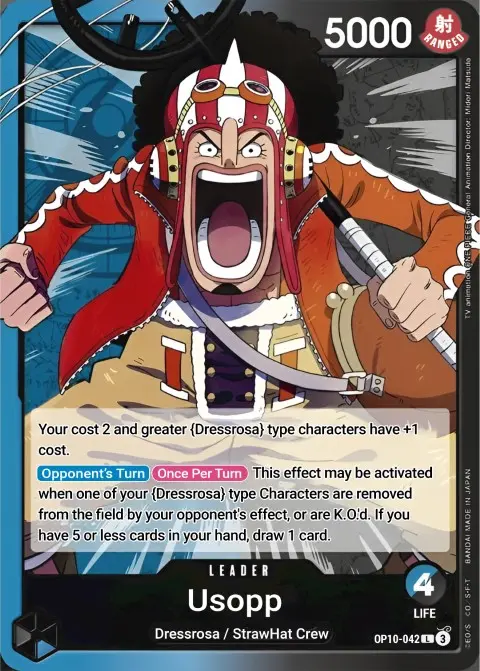
Blue Black Usopp


Explanation
Leader Usopp synergizes with your {Dressrosa} type Characters, allowing you to draw a card whenever one of them is removed by an effect or KO’d. This allows players to use up more Counter plays since they’re guaranteed a draw engine within their Leader’s effect.
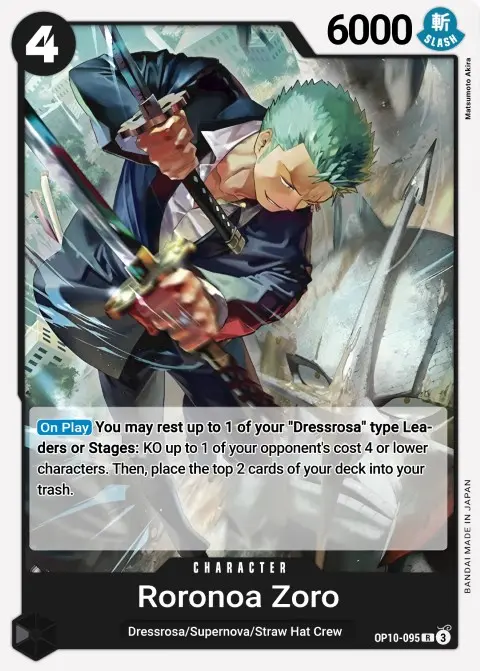
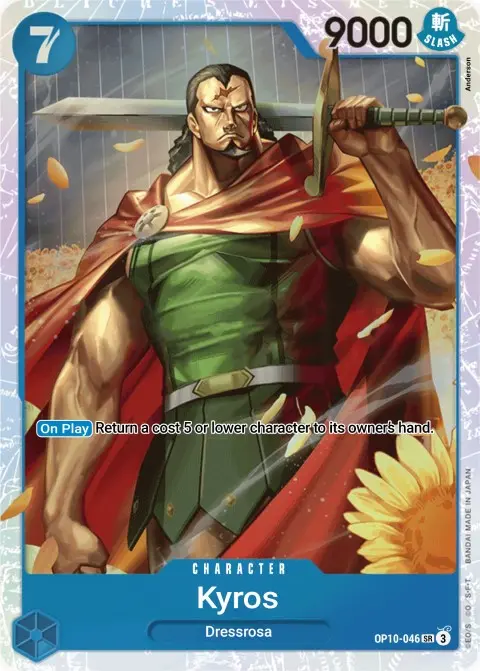
This deck is all about outvaluing opponents and keeping them from winning the board. 4-cost Roronoa Zoro and 7-cost Kyros to remove Characters from play. Developing a Character while also removing one of the opponent’s Characters is a great way to shift the game in your favor.
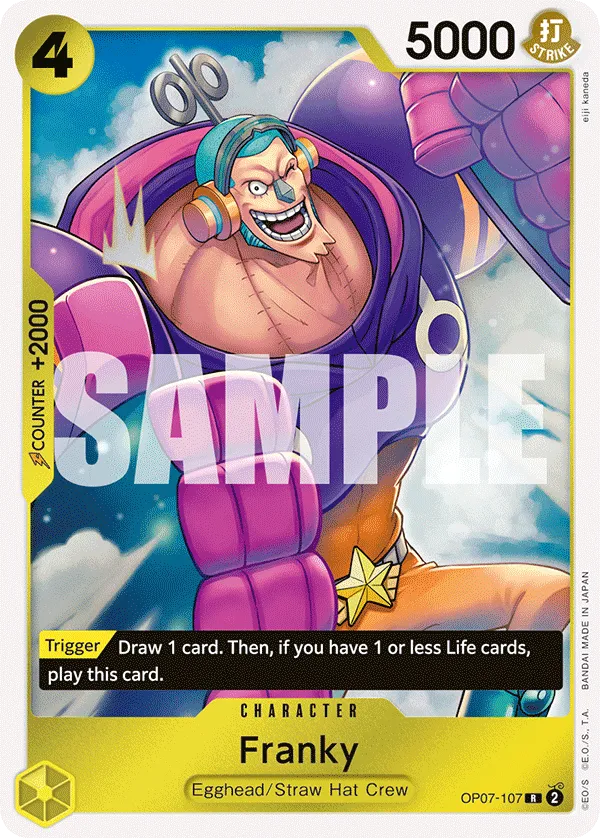
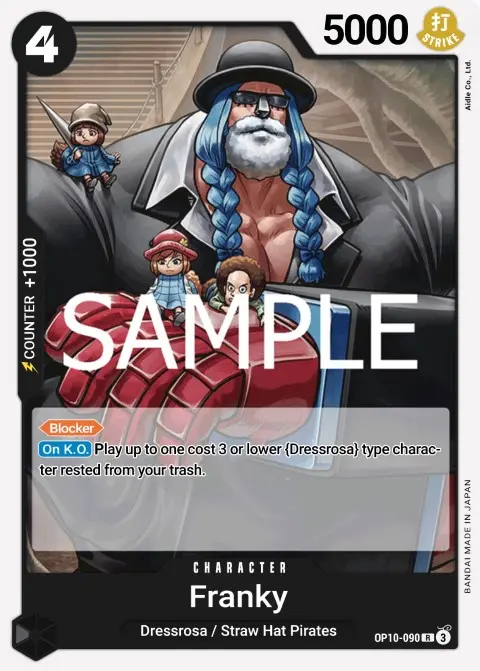
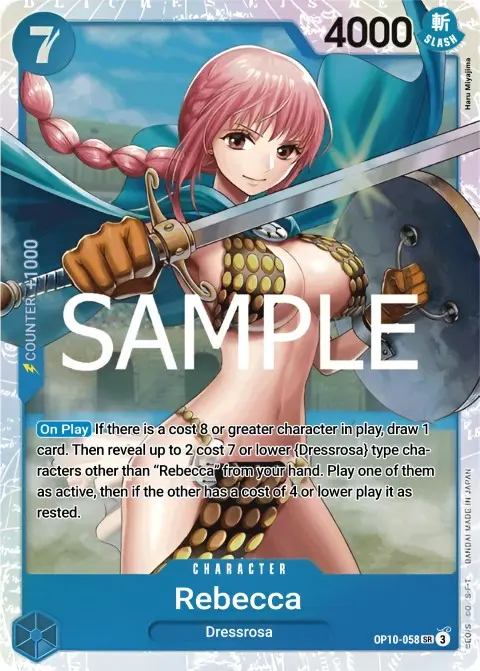
7-cost Rebecca is your strongest go-wide play, becoming an 8-cost through Leader Usopp’s effect, allowing you to activate her effect and cheat out two {Dressrosa} type Characters with a cost of 7 or less and 4-cost or less on the field. So we can play 7-cost Kyros to return one of the opponent’s Characters and 4-cost Characters like Roronoa Zoro, Cavendish, or Franky.
Yellow Charlotte Katakuri


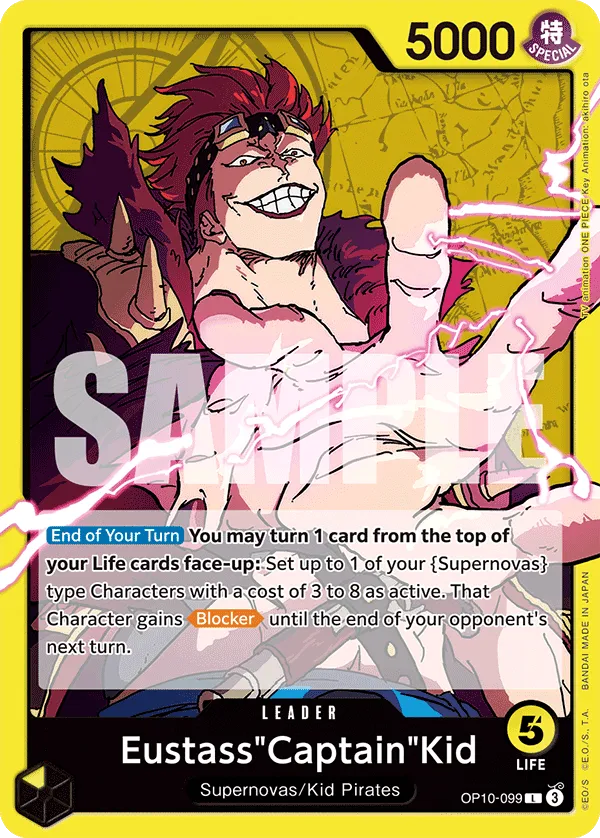
Yellow Eustass”Captain”Kid
Explanation
The Yellow Leader Eustass”Captain”Kid has a powerful defensive effect that activates at the end of your turn. You can switch one of your {Supernova} type Characters to Active and give them the Blocker keyword. This gives you a blocker on the field to protect your Leader or a rested Character, but it can also prevent opponents from attacking a Character you just attacked with.
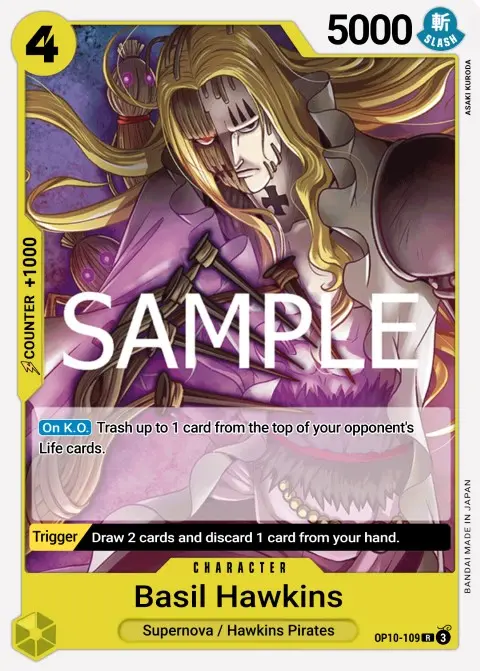
We have {Supernova} Characters like 4-cost Basil Hawkins, 6-cost Cavendish, 7-cost Trafalgar Law, and 8-cost Eustass”Captain”Kid that can be used with your Leader effect. If the opposing player KO’s 4-cost Basil Hawkins, they’re forced to trash a Life card, cutting down on their resources and making it easier for you to win the game. 8-cost Eustass”Captain”Kid can also trash the opponent’s top Life card when played on the field, but you’ll have to rest him to activate the effect. However, with our Leader effect, we can turn him back to Active and give him the Blocker keyword to use the 9,000 Power to block one of the opponent’s attacks.
This list has 10-cost Portagas.D.Ace to give you a Life card and ensure you don’t lose the game too easily. The Rush attack can be used to target a rested Character and weaken the opponent’s upcoming turn, or go for their Leader and put them low enough to potentially win the game on the upcoming turn.
Blue Nami
Explanation
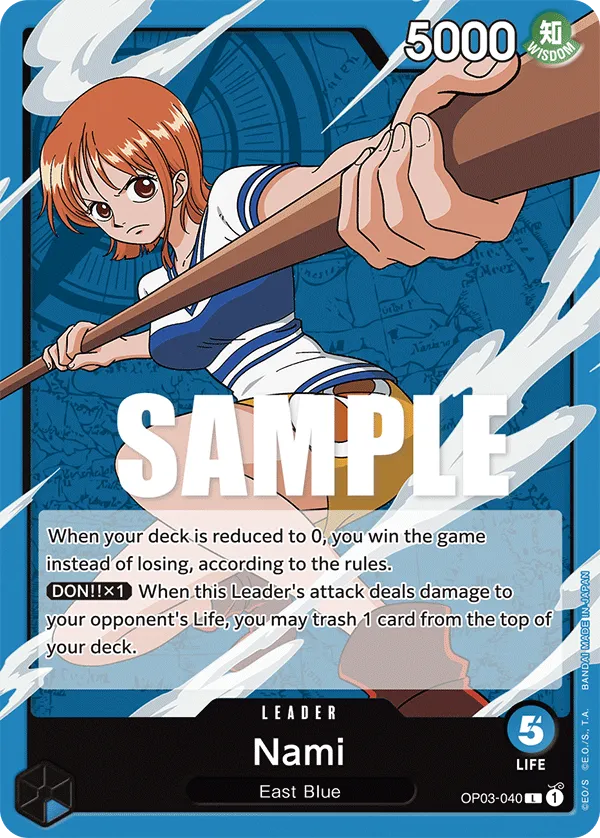
Blue Nami plays the One Piece card game differently, instead of focusing on damaging the opponent’s Leader, it takes a defensive stance, countering attacks with the many protection Events it has in the list. At the same time, Nami players are trying to fulfill Leader Nami‘s win condition, which reads “
When your deck is reduced to 0, you win the game instead of losing, according to the rules.”
So the longer the game takes, the better the odds are for you to win the game as you draw and trash cards, aiming to get your deck empty as fast as possible.
Green Purple Lim

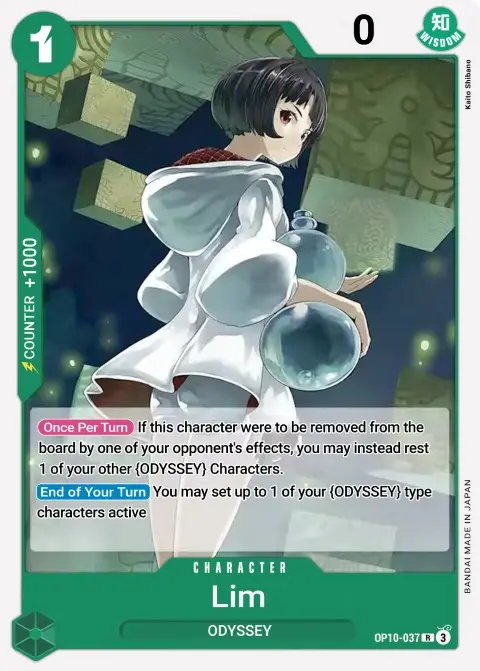
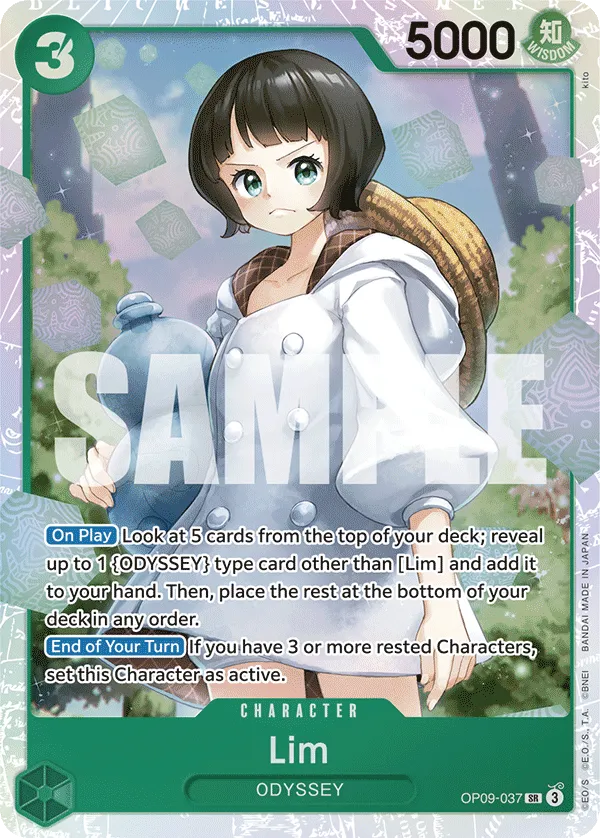

Explanation
Green Purple Lim forces you to play your Characters in the rested state, luckily, this deck has multiple cards that want to see rested Characters to activate their effects. Lim’s effect rests 3 Don to ramp up 1 Don and cheats out a 5-cost or less {ODYSSEY} type Character from your hand, allowing you to accelerate your game plan while throwing out bodies on the field for the opponent to deal with.
This list wants to play high-cost Characters like 9-cost Roronoa Zoro or 9-cost Adio a turn earlier, making it difficult for opponents to remove them and from there they could get overpowered by your win conditions.
Blue Purple Vinsmoke Reiju

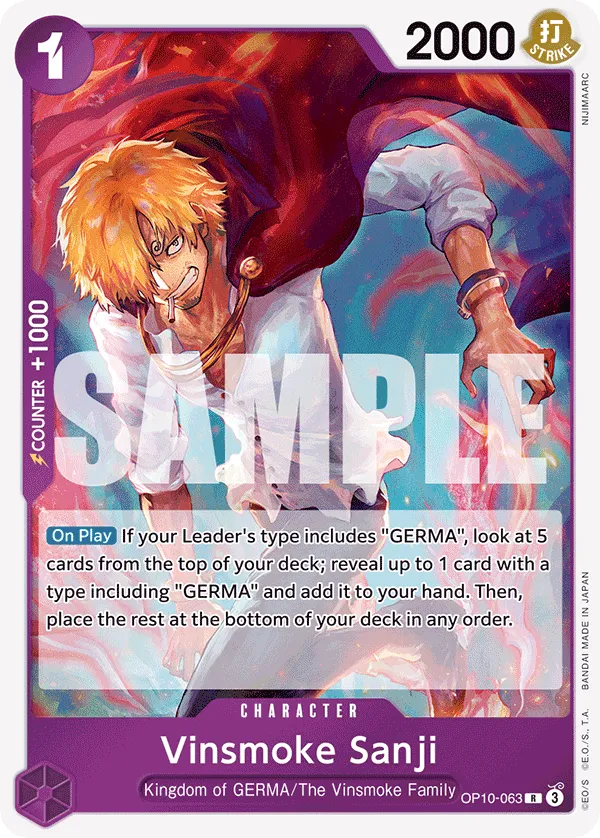
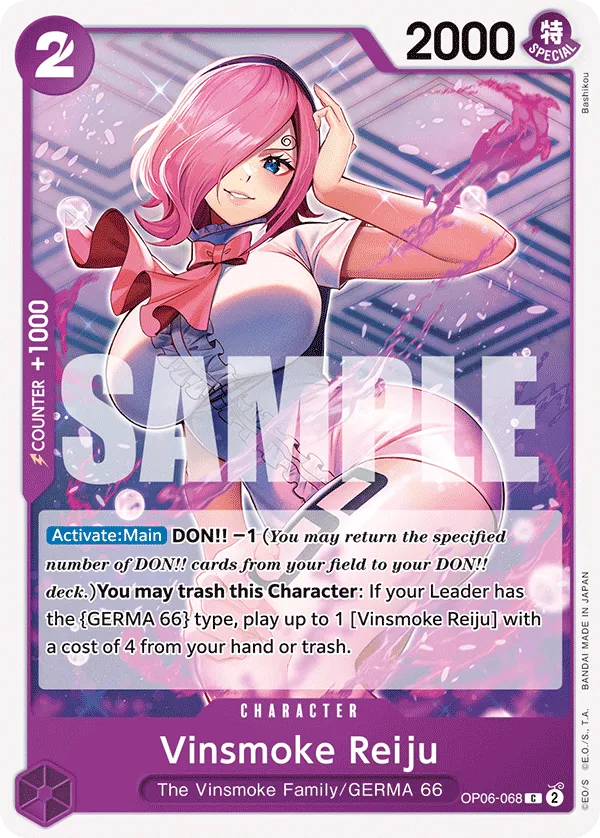
Explanation
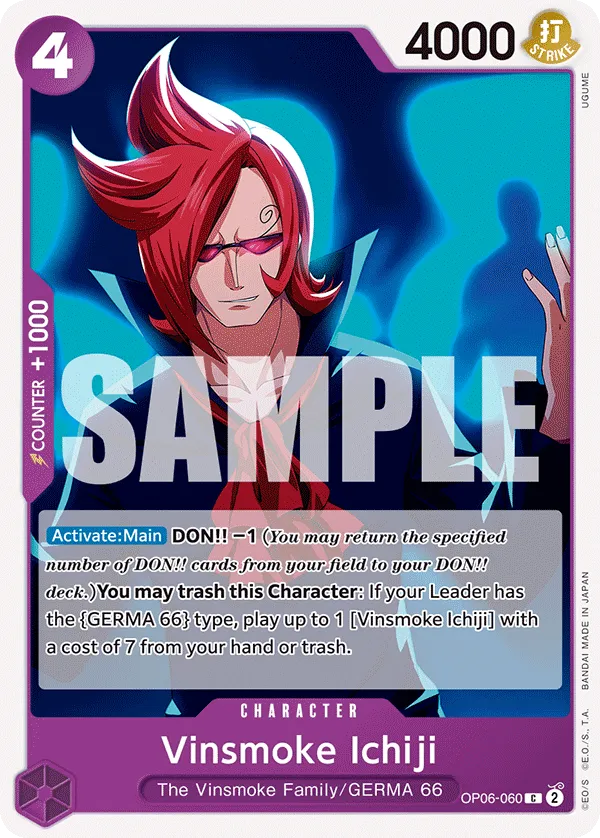
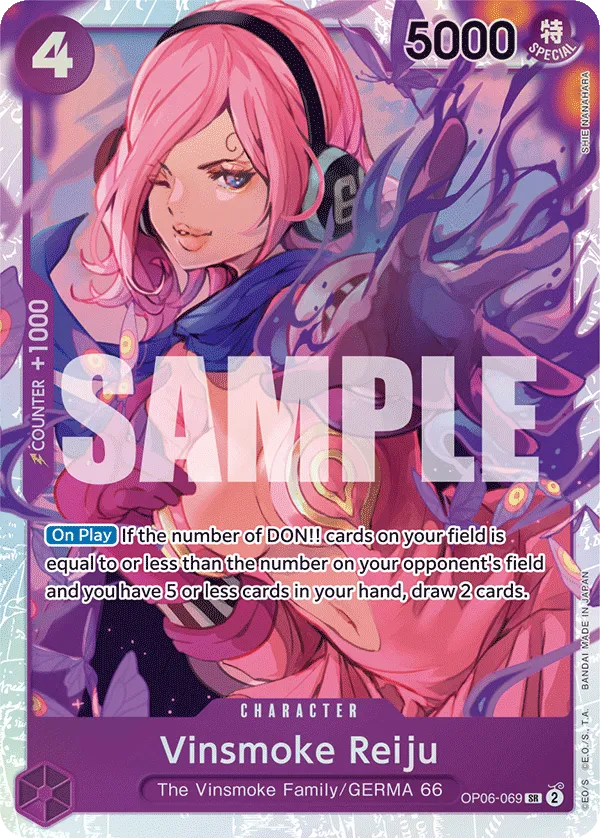
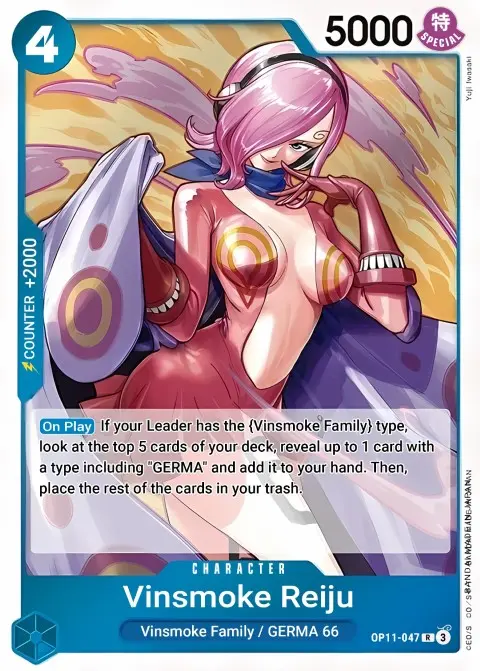
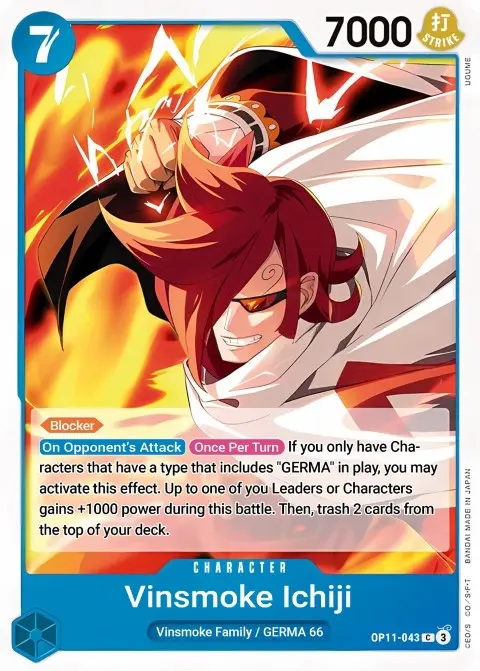
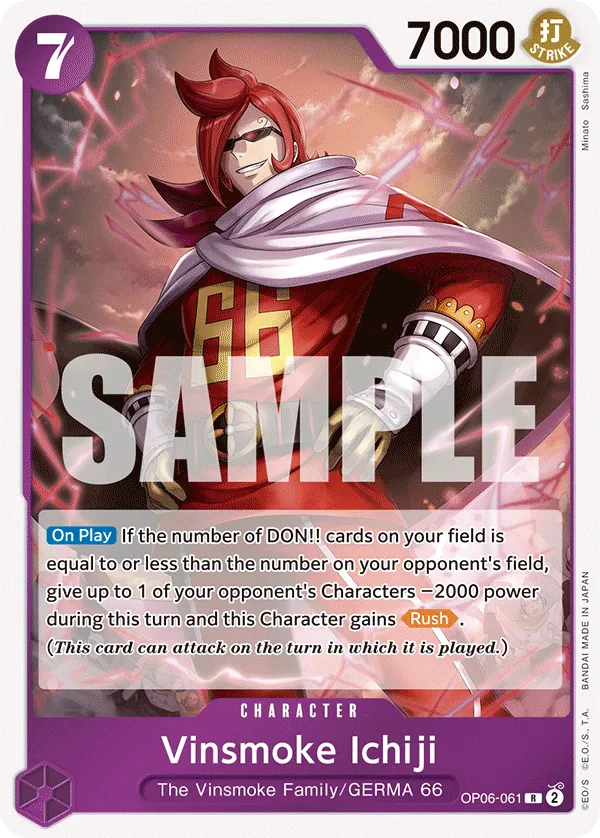
The Purple-Blue Vinsmoke Reiju deck revolves around Vinsmoke Characters, Reiju and Ichiji, as key cards for its strategy. The lower-cost versions can cheat out their higher-cost counterparts from the Trash or hand but require you to return 1 Don to activate their effects. Returning a Don also triggers your Leader’s effect, allowing you to draw a card for extra value.
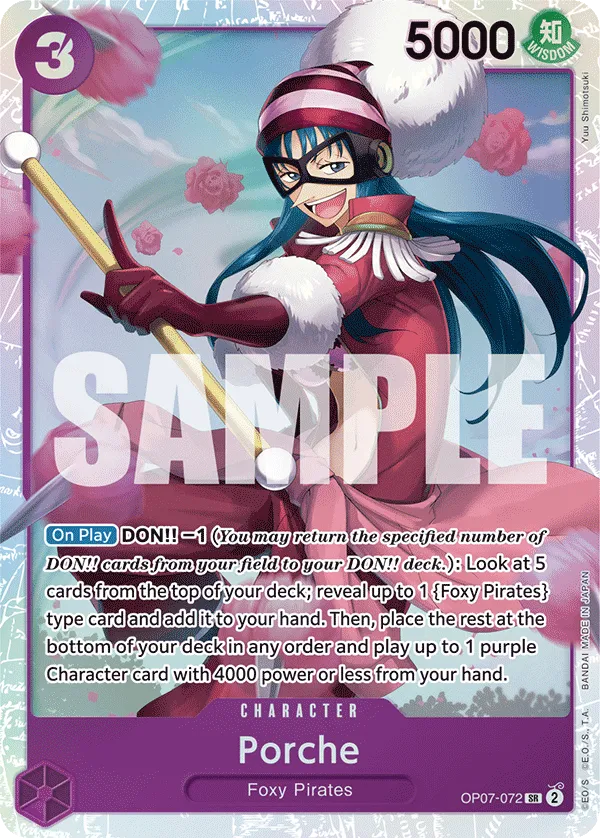
The 3-cost Porche sets up an aggressive tempo, playing one of your low-cost Vinsmoke Characters, who in turn cheats out their higher-cost version—developing two Characters in the early game.
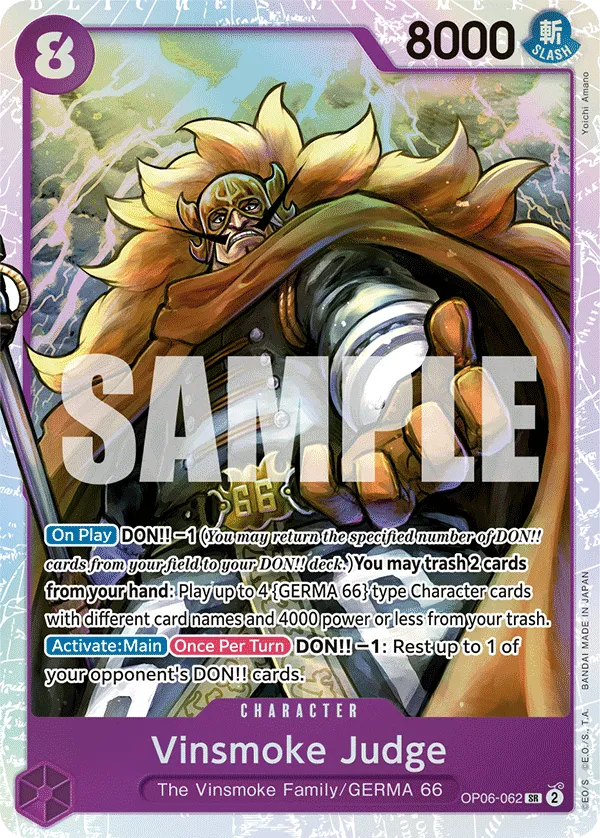
8-cost Vinsmoke Judge is the deck’s strongest play, enabling you to flood the field with multiple Vinsmoke Characters. The sheer number of Characters can overwhelm opponents, setting you up for a decisive turn to close out the game.
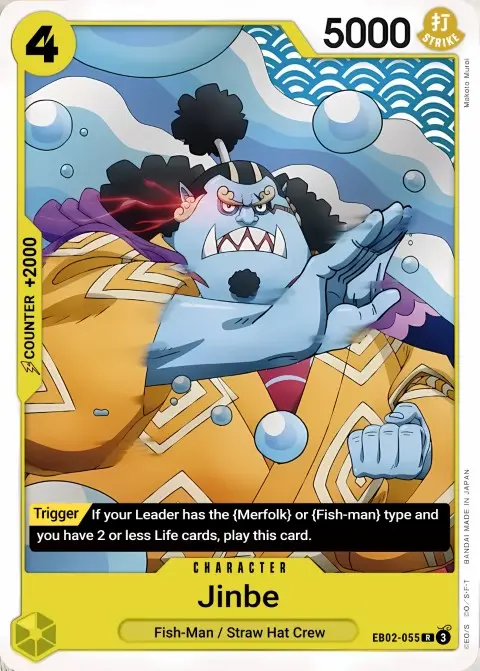
Green Jinbe
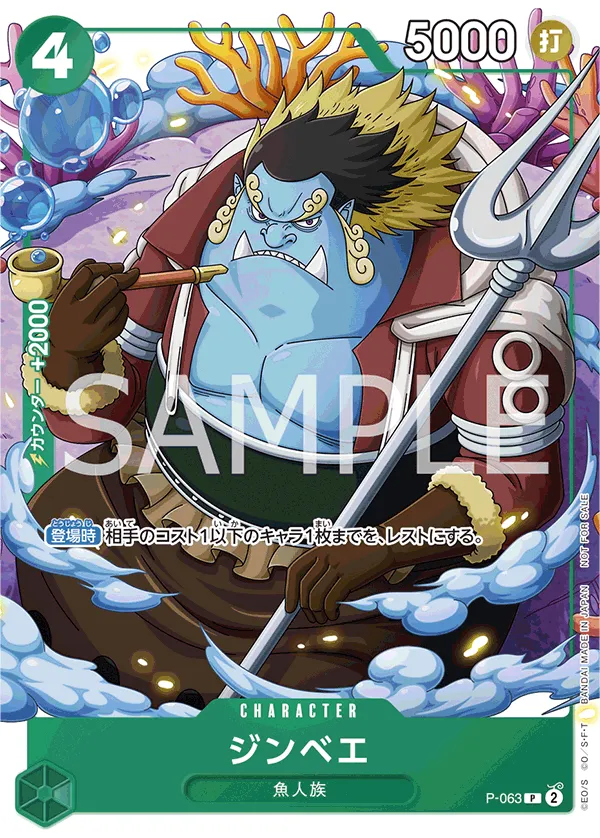
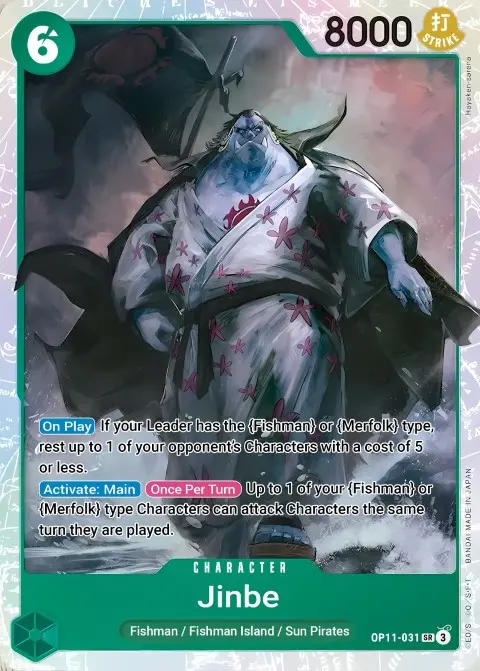
Explanation
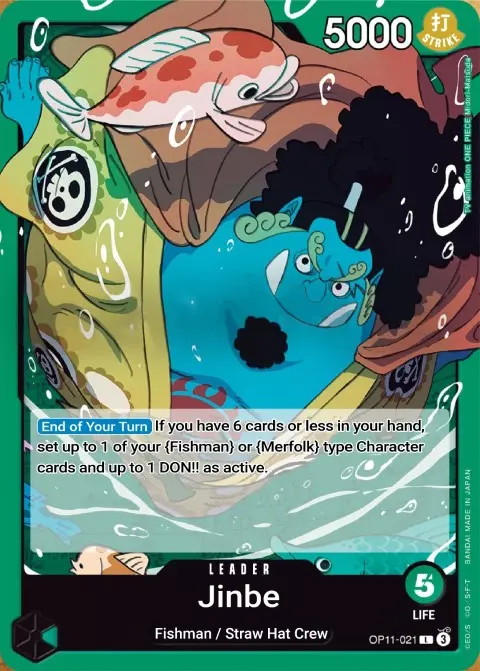
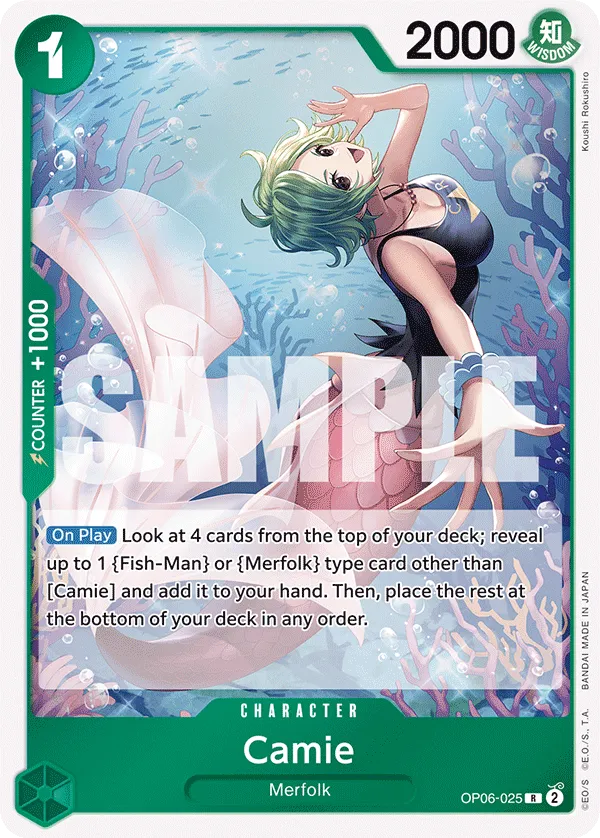
The Green Jinbe works with {Fish-Man} or {Merfolk} type Characters. If you have 6 or less cards in your hand, set up to 1 of your {Fish-Man} or {Merfolk} type Characters and up to 1 of your DON!! cards as active.
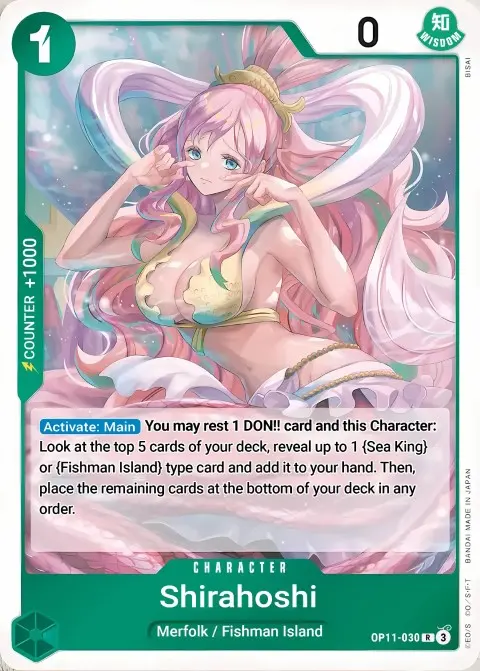
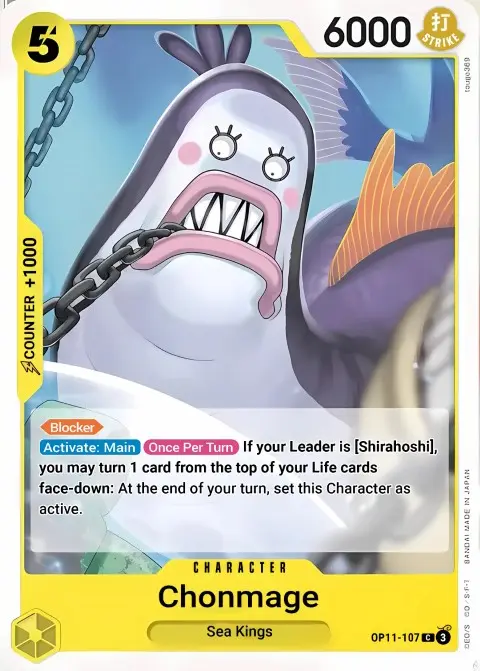
This effect can save one of your Characters from an attacker, removing the headache of playing Counter cards to protect them. It can also be a great way to keep 1-cost Shirahoshi in play for more turns, getting to draw cards through her Activate: Main.
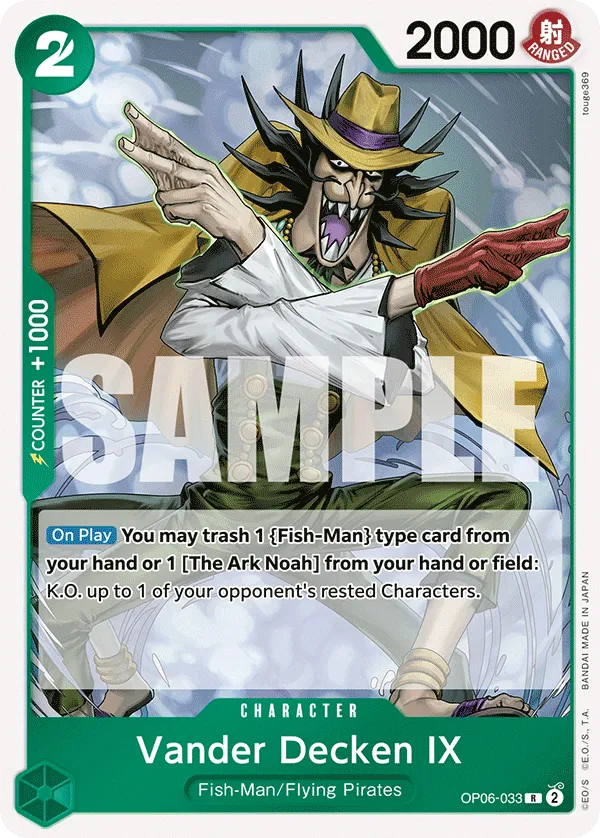
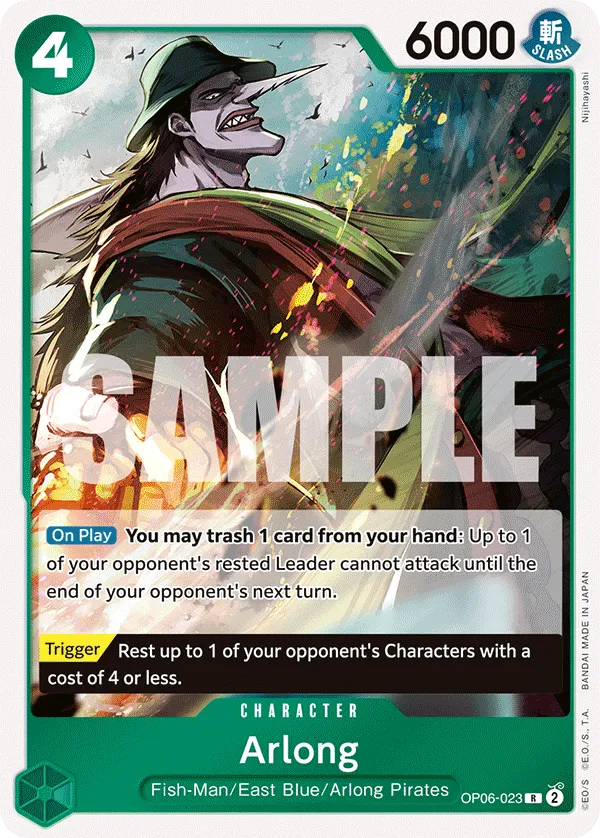
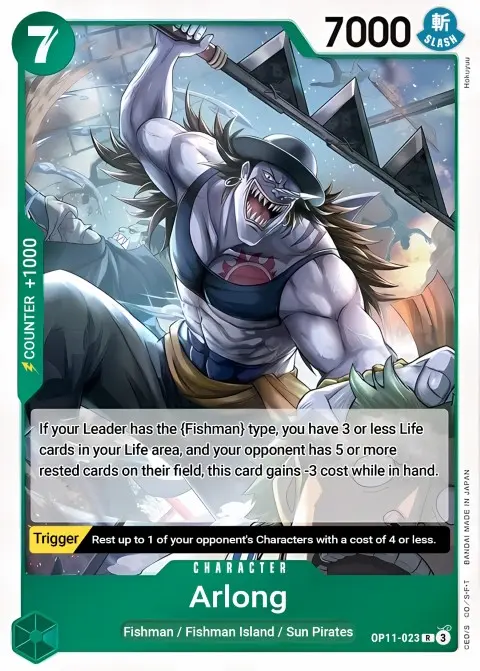
7-cost Arlong can be played for 4 Don if you have 3 or less Life cards and your opponent has 5 or more rested cards. A 7,000 Power Character for 4 Don is worth having in play as early as possible.
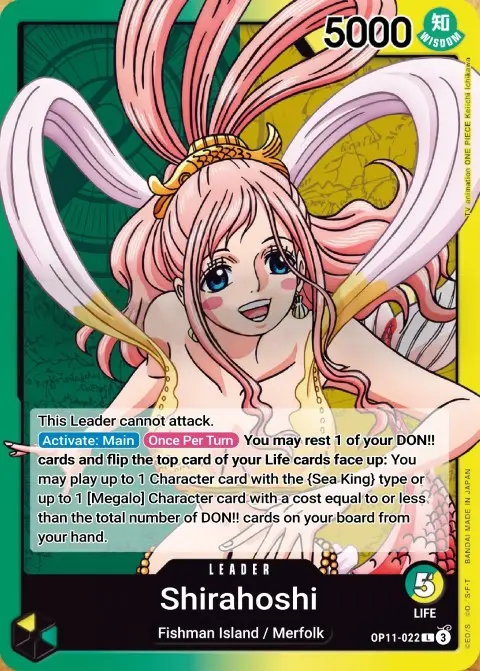
Green Yellow Shirahoshi
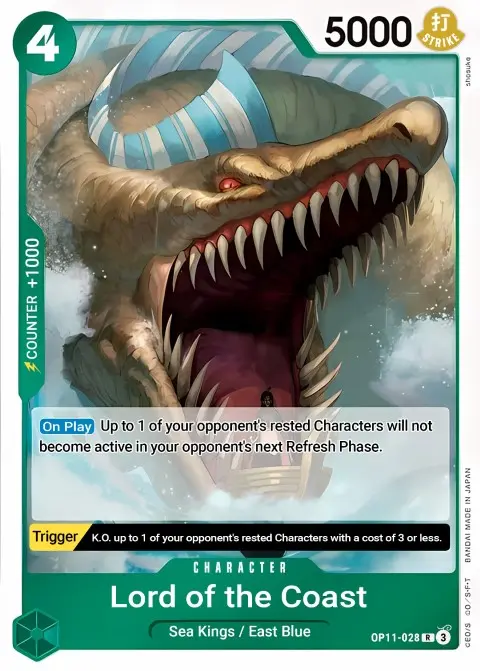
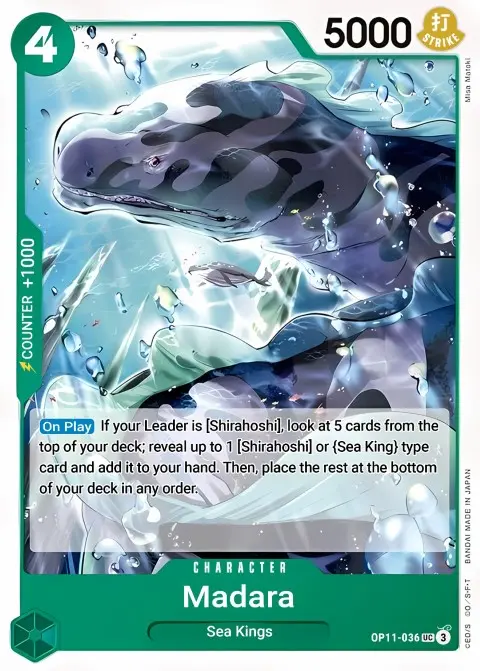

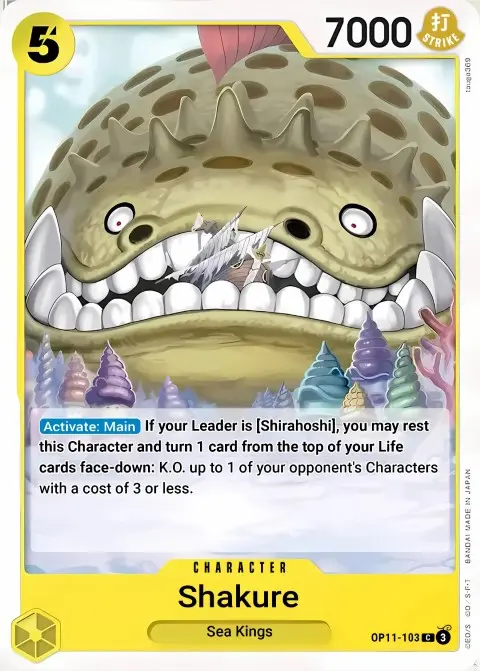
Explanation
Green Yellow Shirahoshi can’t attack, but for 1 Don she can cheat out {Neptunian} type Character card or [Megalo] with a cost equal to or less than the number of DON!! cards on your field from your hand. So you’re cheating out Characters like Lord of the Coast, Spotted Neptunian, and Bird Neptunian for only 1 Don as long as you have a total of Don cards equal to their costs.
On most of your turns, you’ll be playing two Characters in one turn and building a frightening field presence that shifts your opponent’s strategy to a defensive one, trying to remove your attackers from play.
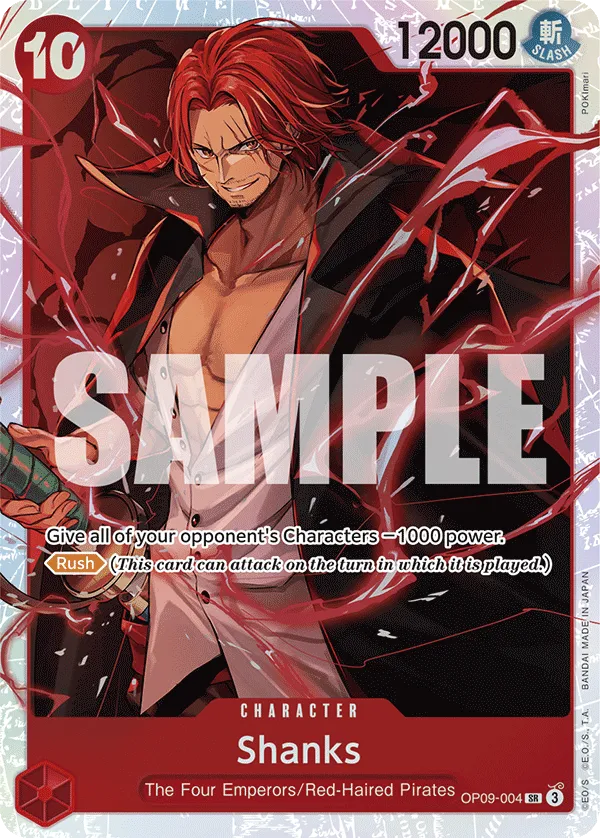
Red Purple Luffy
Explanation
Red Purple Luffy is a ramp deck, but only when you have 0 or 8 Don cards on your field. The plan is to use 3-cost Zoro-juurou and Bon Clay to speed up things and get to 8 Don as fast as possible. Once you’re at 8 or 9 Don, you can use Leader effect to ramp 1 Don, play 9-cost Characters, and pose more threats with your plays.
Leader RP Luffy has 6,000 Power, so it can be more of a challenge for opponents to get their attacks through. Combined with the Power increase you gain from 7-cost Eustass”Captain”Kid, you’ll force opponents to attach more Don on their Characters to damage your Leader.
9-cost Monkey.D.Luffy and 10-cost Shanks offer the Rush attack, perfect if your opponent has a rested Character to KO. Shanks reduces the Power of all of the opponent’s Characters, making it harder for them to go through your 6,000 Power Leader.