Check out the top Dragon Ball Super Fusion decks in the FB07 WISH FOR SHENRON meta!
| S |   |
| A |      |
| B |          |
| C |      |
SB01 Kid Buu


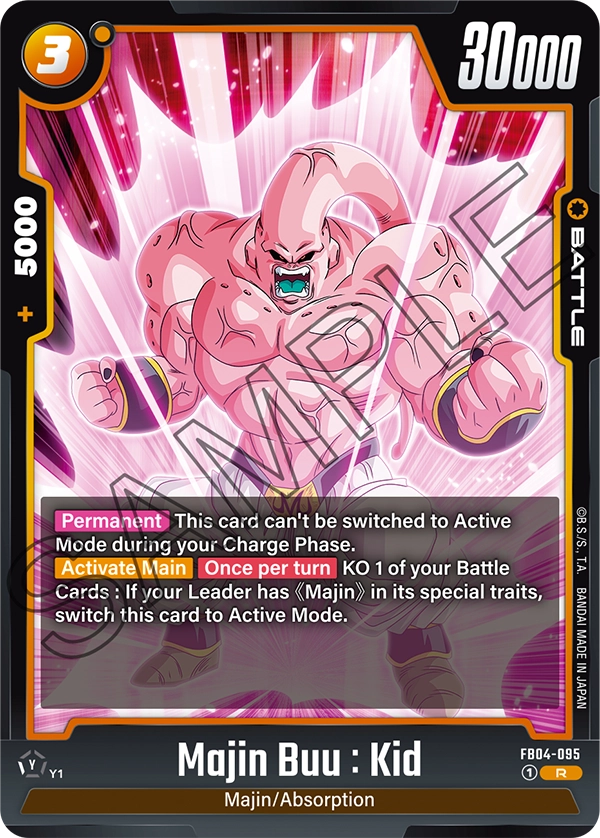

Kid Buu’s game plan revolves around stalling and controlling the opponent’s board by locking down their rested Battle Cards, rather than removing them outright. Once Awakened, Kid Buu can freeze a rested Battle Card—so long as you control a 4-cost or higher <Majin>—preventing it from reactivating on the opponent’s turn. This slows down your opponent’s momentum and forces them into an awkward position while you focus your attacks directly on their Leader to pressure their Life total.
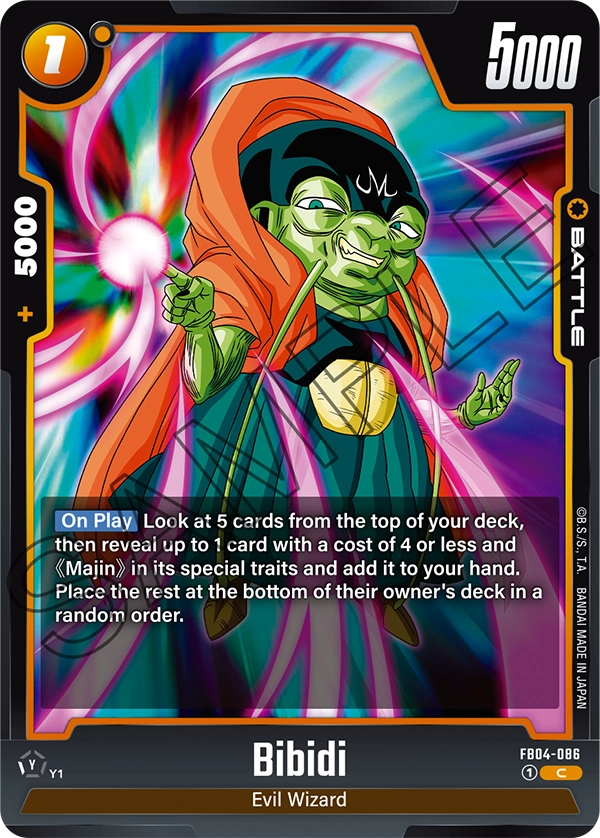
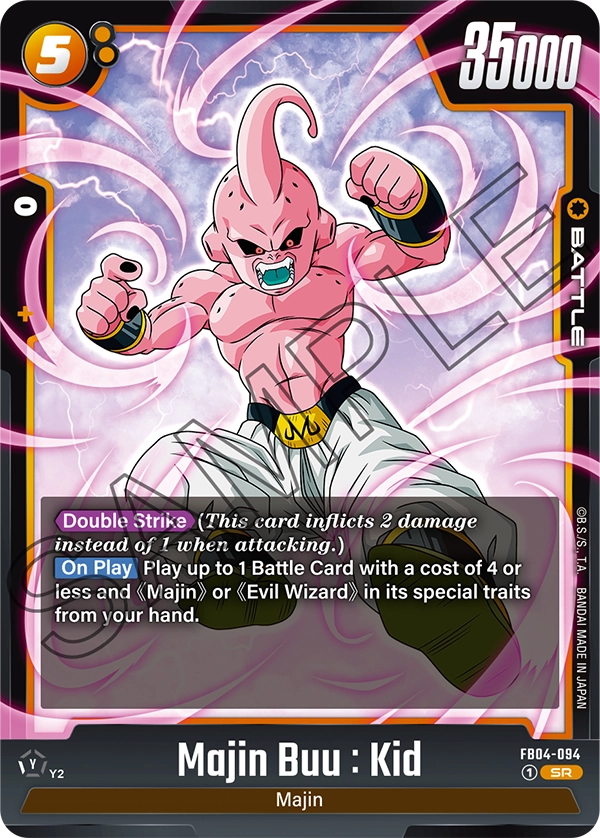
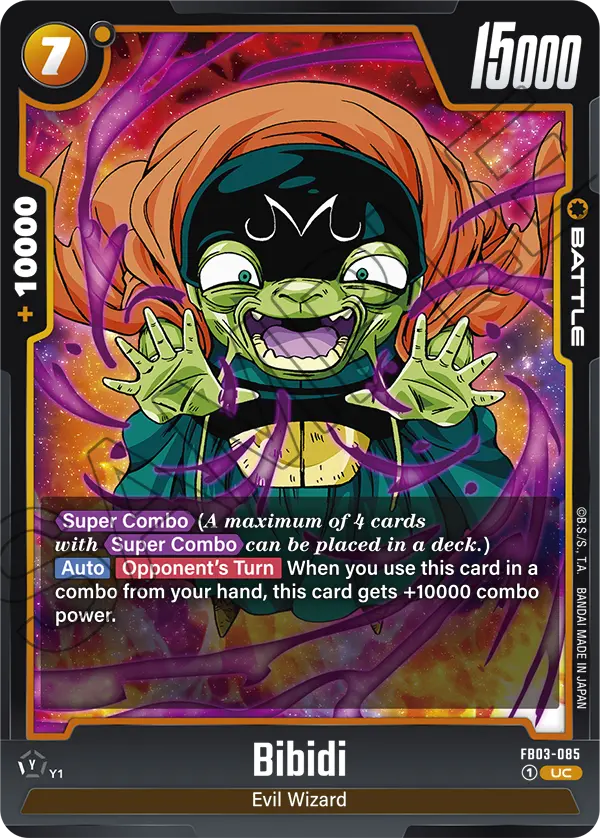
The deck uses cards like Majin Buu: Pure Evil and Majin Buu: Good to rest opposing Battle Cards, setting up the Leader’s lockdown ability. Babidi provides strong defensive support by reactivating a <Majin> or <Wicked Soul> Battle Card at the end of your turn and granting it Blocker, while being hard to remove himself thanks to Barrier. You also gain disruption through Majin Buu: Evil, who prevents one of the opponent’s Energy from untapping, slowing their future plays. The deck’s win condition is Majin Buu: Kid, a 35,000 Power Double Attacker that cheats in another <Majin> or <Evil Wizard>, delivering a heavy blow to finish off the game once your opponent is low on Life.
Red Cell


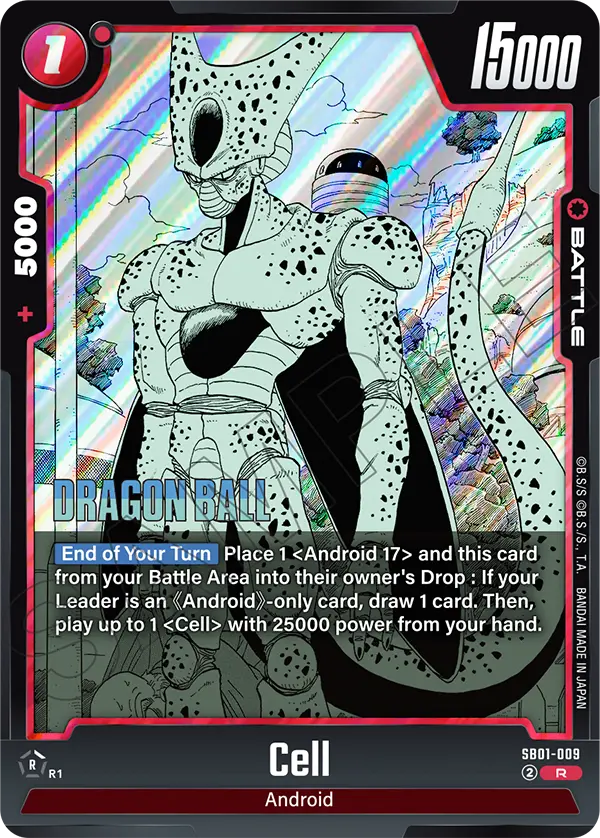


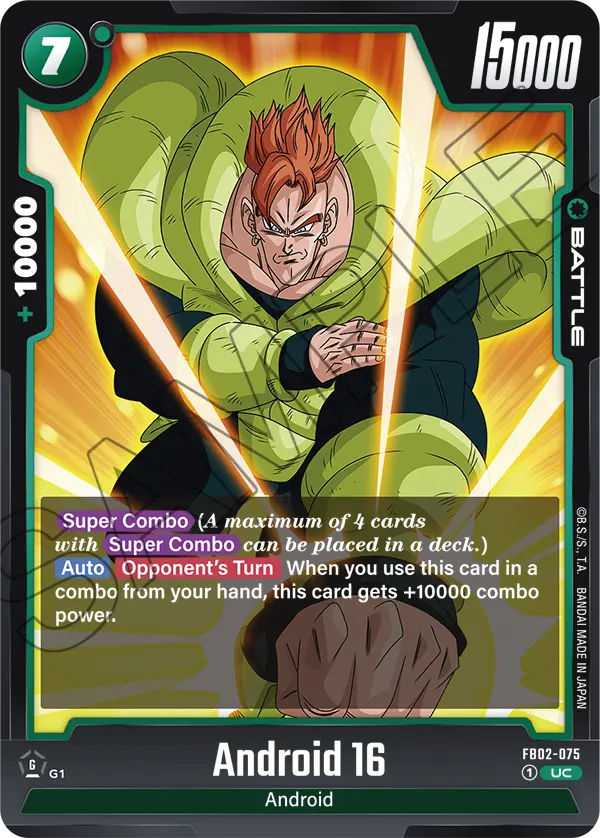
This Red Cell deck centers around an Awakened Leader that triggers a powerful effect—drawing a card and gaining +20,000 Power—when an Android Battle Card is removed from your Battle Area by a skill. The deck is built around Android synergy, using cards like Android 16 and Android 17 to self-remove or cheat in others while maintaining pressure. Android 16s are key enablers, helping to keep the board filled while activating the Leader’s effect. Android 17 adds power and aggression, especially when an opponent’s Battle Card is KO’d in battle.
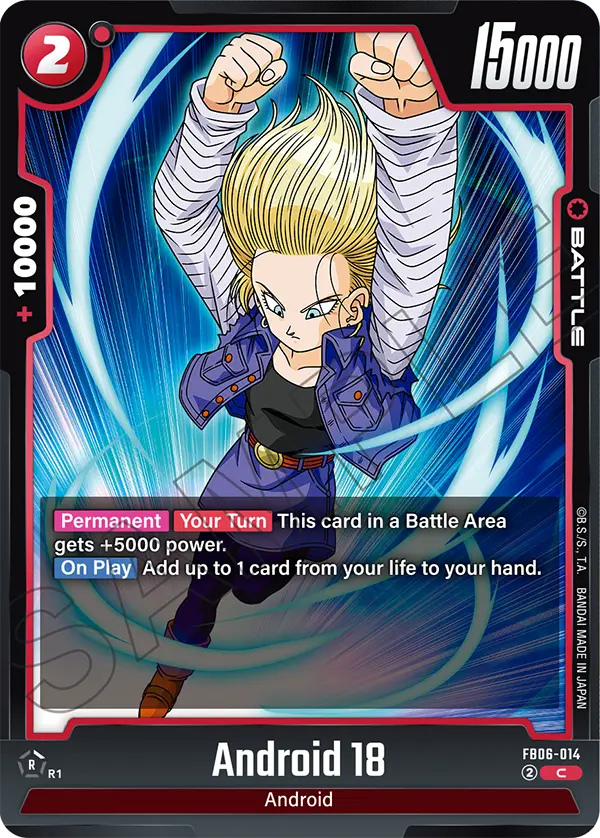
The deck’s strongest combo comes from pairing the 4-cost Cell with Android 18, which reduces enemy Power, then trades itself and 18 to bring out a massive 30,000 Power Cell. This Cell recovers resources and keeps the pressure going even when removed. The even bigger 5-cost Cell provides serious board control by lowering Power and KO’ing threats. To support the strategy, Extra cards like Self-Destruct and The Royal Defence Force’s Last Stand offer control and can also be used to trigger the Leader’s ability, making the deck both aggressive and resilient in the late game.
Blue Shenron SH


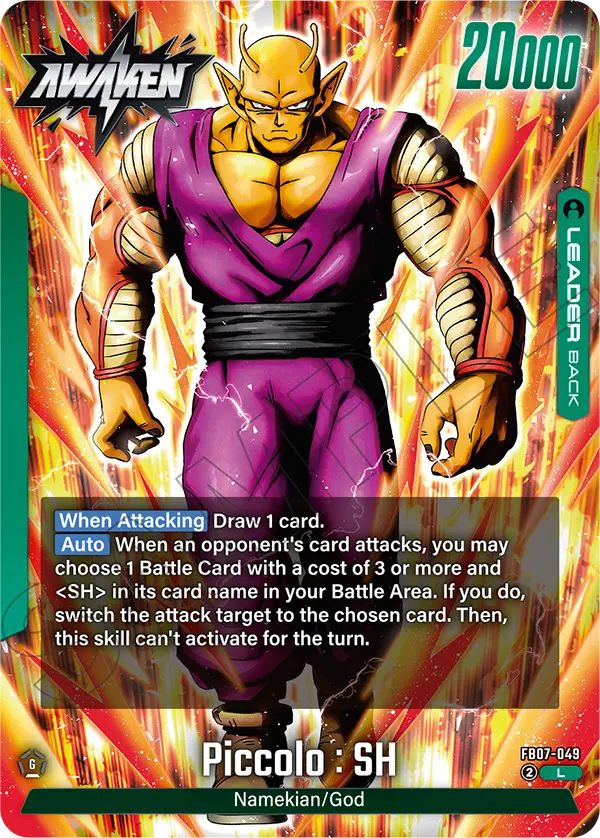
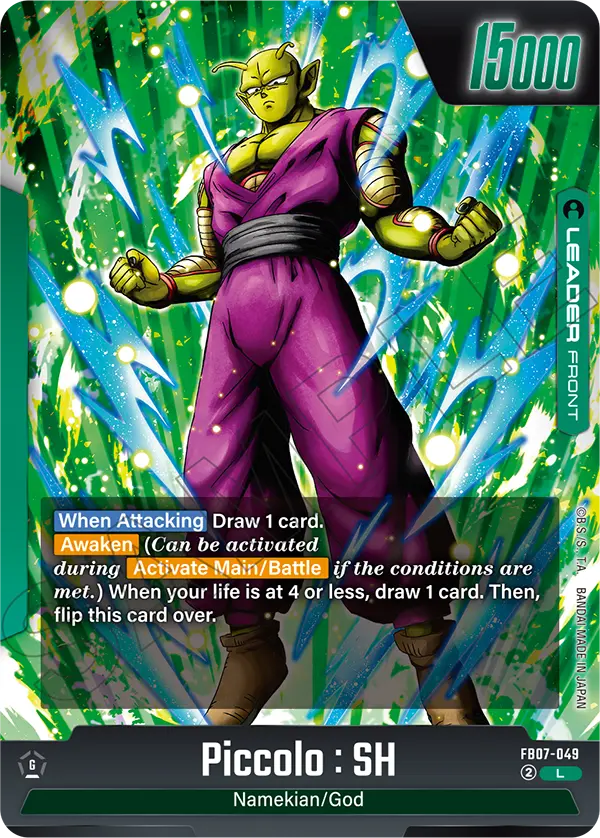
Green Piccolo SH
Green Giblet


Yellow Majin Buu: Evil
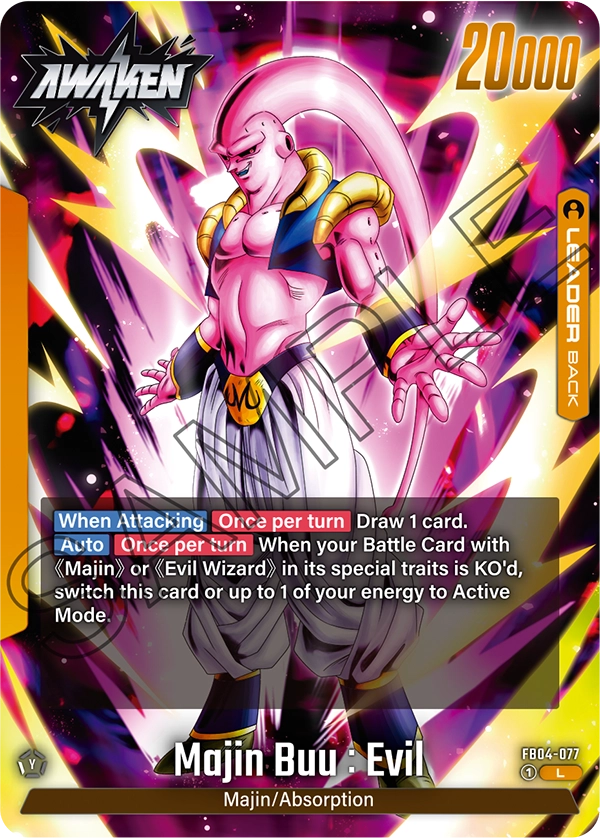
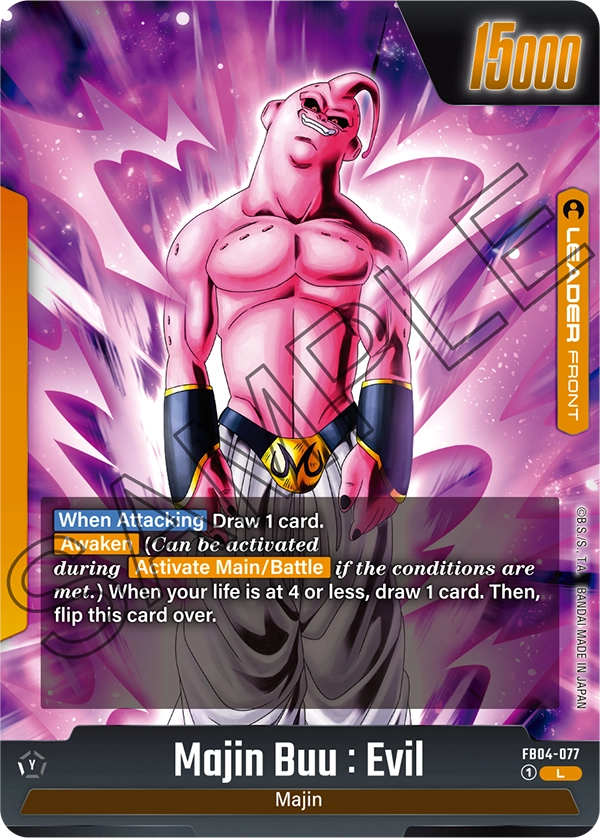

This deck can attack multiple times with an Awakened Majin Buu: Evil and can discard opponent’s cards, bleeding them of valuable resources. An Awakened Majin Buu: Evil’s ability lets you switch him or one of your Energy cards as Active whenever a Battle Card with <Majin> or <Evil Wizard> is KO’d. This lets you go for aggressive attacks or make more plays during your turn.
So we want to KO our own Battle Card during our turn to activate Leader ability. Battle Cards like 3-cost Majin Buu: Evil and 3-cost Majin Buu: Kid can KO your own Battle Cards, triggering Leader Buu’s ability to either gain Active Energy or go for an extra attack.
5-cost Majin Buu: Kid is your late-game win condition, letting you cheat out a Battle Card with a cost of 4 or less and has the trait <Majin> or <Evil Wizard>. Majin Buu: Kid also has Double Attack, perfect to close out the game when your opponent is at 2 Life cards.
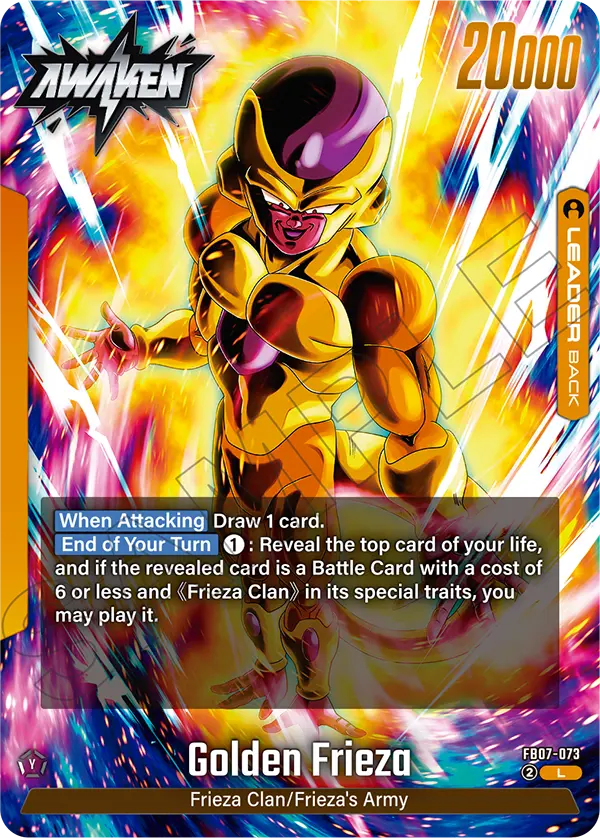
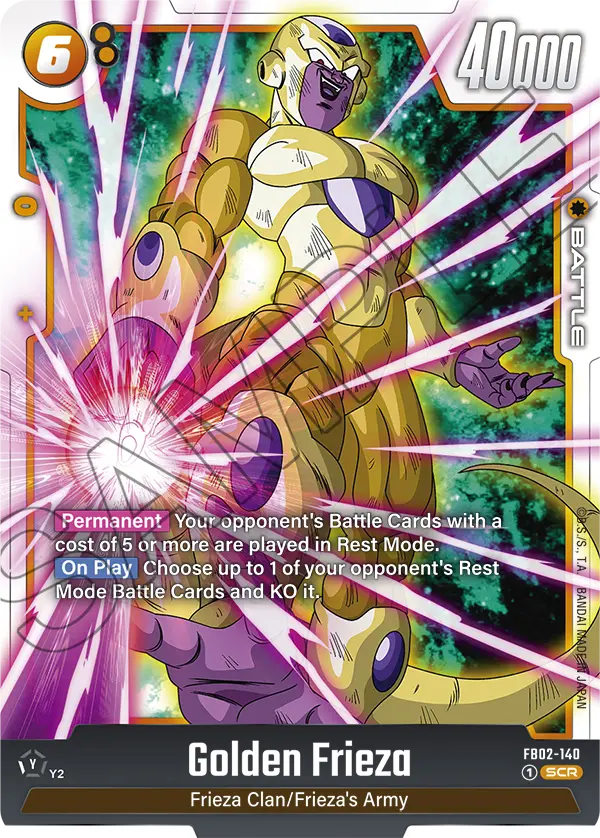
Yellow Golden Frieza


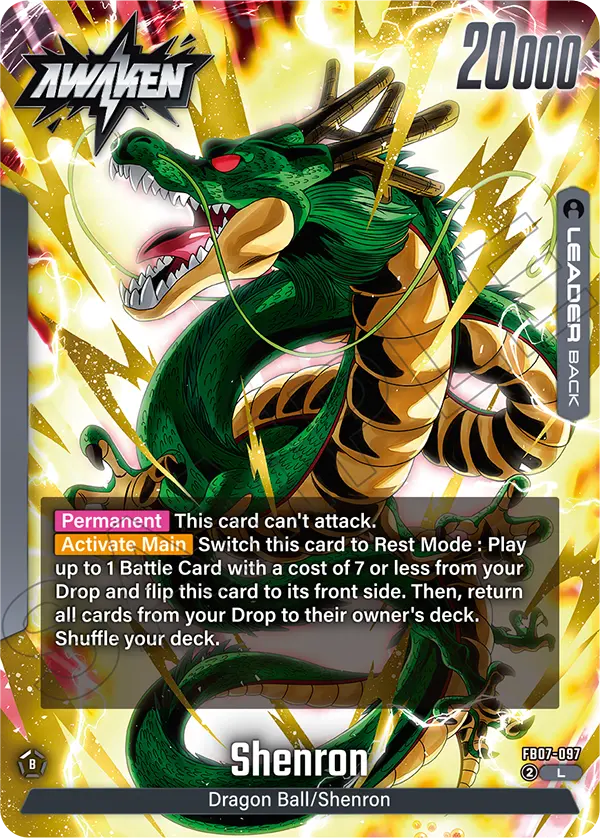
Black Shenron


Blue Kidku
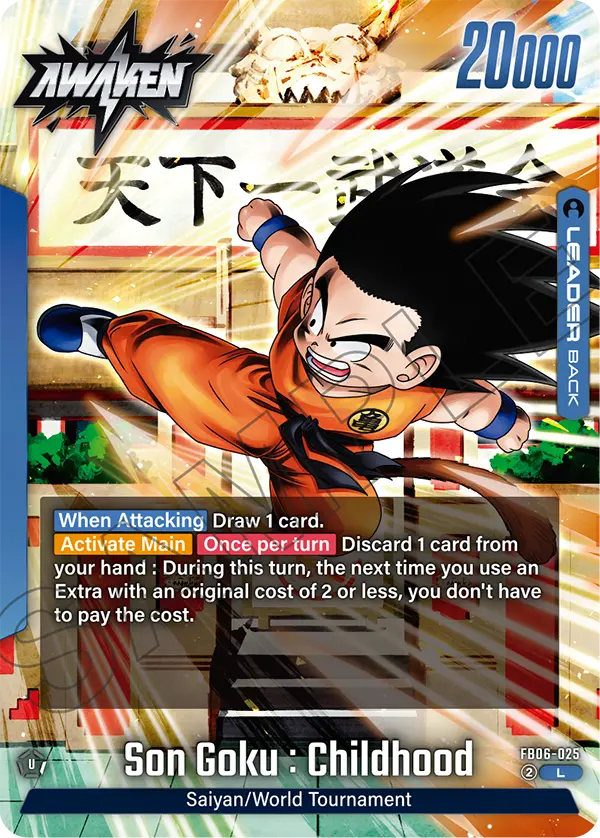
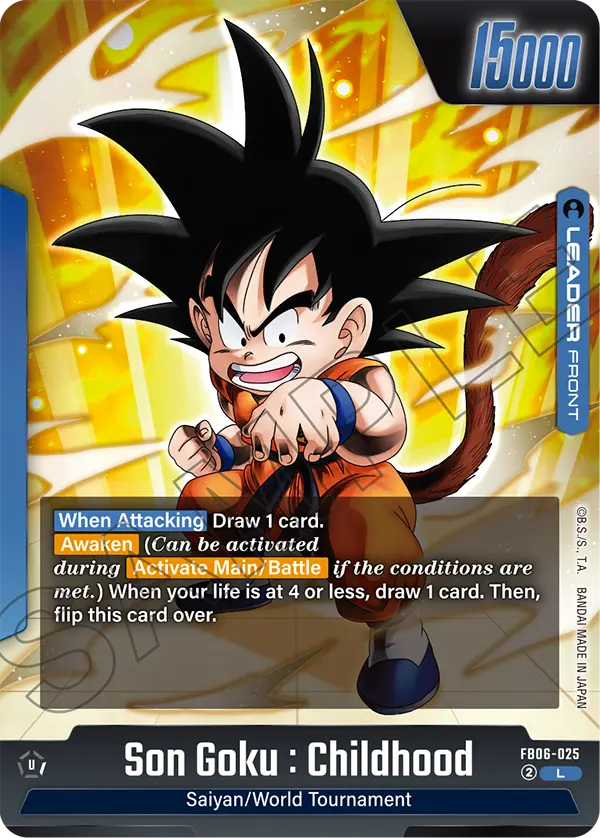


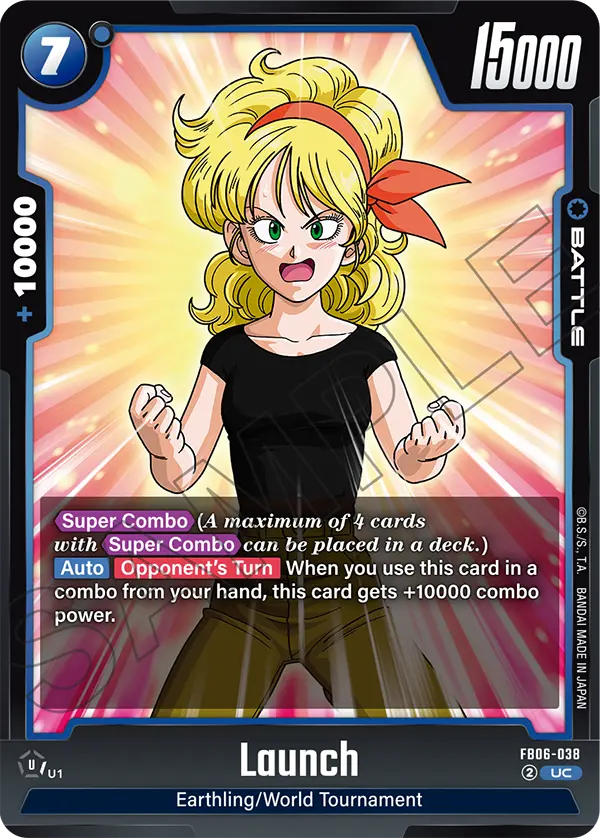
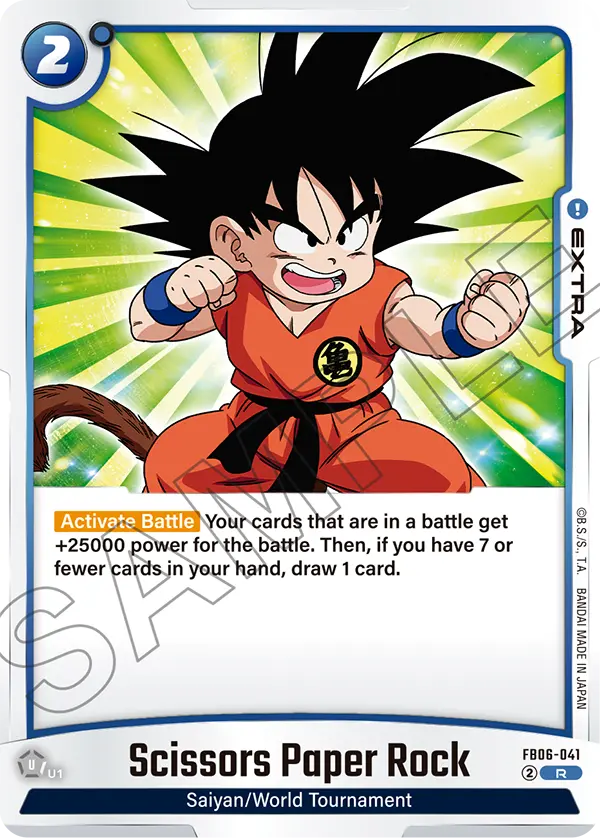


Kidku is all about playing Extra cards with a cost of 2 or less to gain an edge over the opposing player. Leader Goku’s Awakened effect lets you discard a card from your hand to play a 2-cost or less Extra for free. Dodon Wave is great for removing an opponent’s win condition from play, but it also gives you a Power boost to help get an attack through. Speaking of Power boosts, this list has Extra cards like Scissors Paper Rock and World Tournament Arena that offer additional Power to our attacker, making it even harder for the opposing player to combo out of an attack.
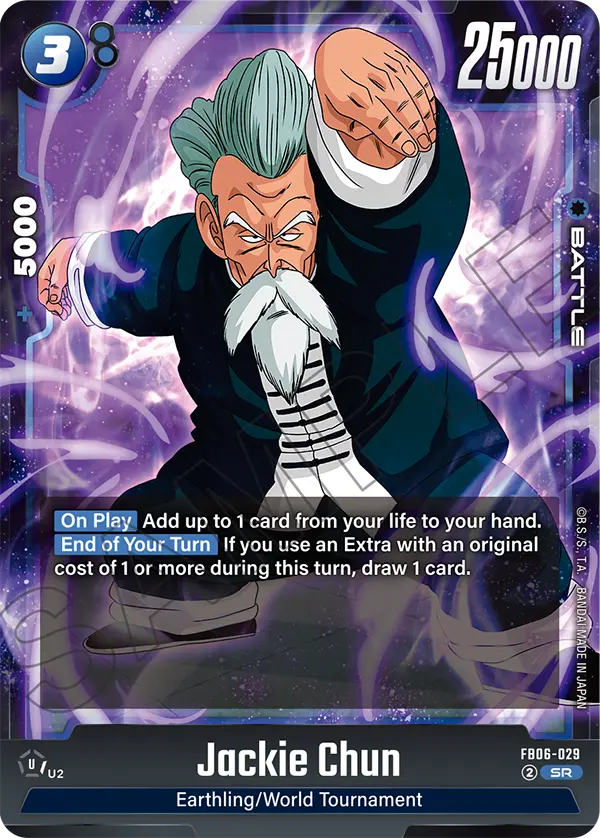
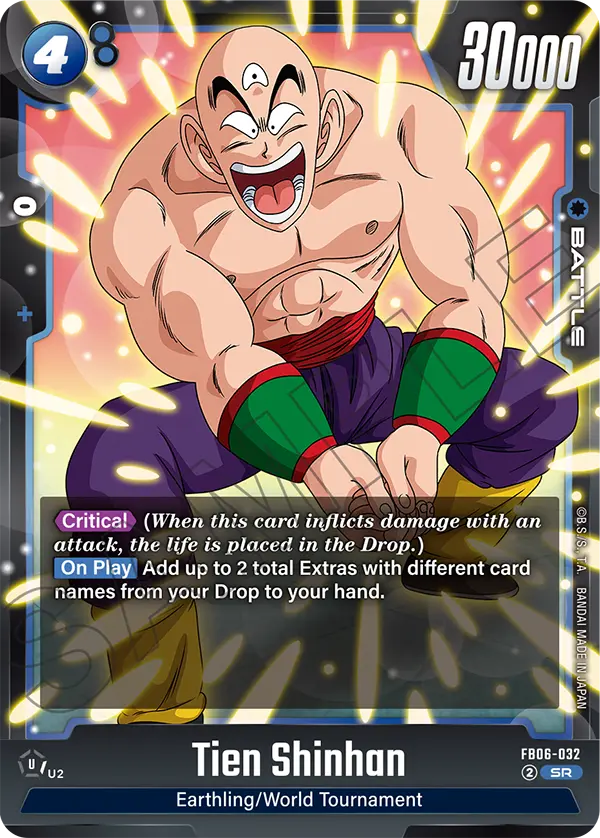
A lot of our Battle cards have draw effects, making sure we don’t run out of steam. Nam, Jackie Chun, and Tien Shinhan add more cards to our hand, keeping the engine running.
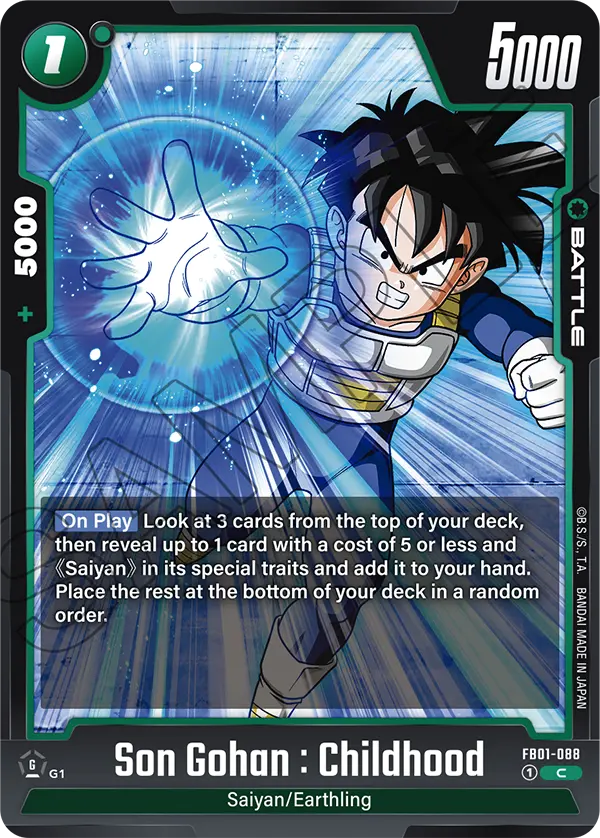
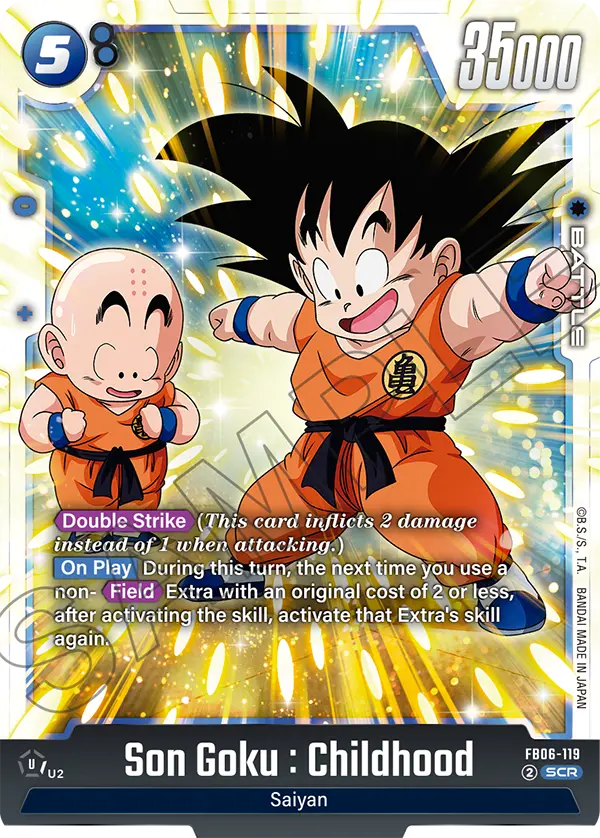
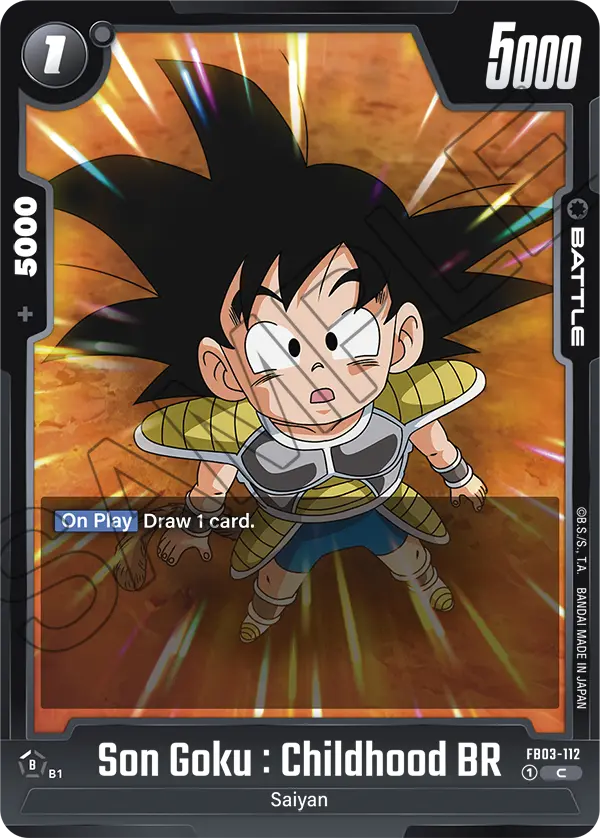
5-cost Son Goku : Childhood is the Double Attack win condition, and if you play a non-field Extra on the turn he’s played, you can activate it twice. So something like Scissors Paper Rock will give you a +50,000 Power boost to win the game, and you’re also gaining an additional card. This is an insane combo play with your Leader’s effect, allowing you to use a finisher attack too tough for the opposing player to Combo from.
Green Vegeta


Shallot


Yellow Vegeta


Black Baby Vegeta
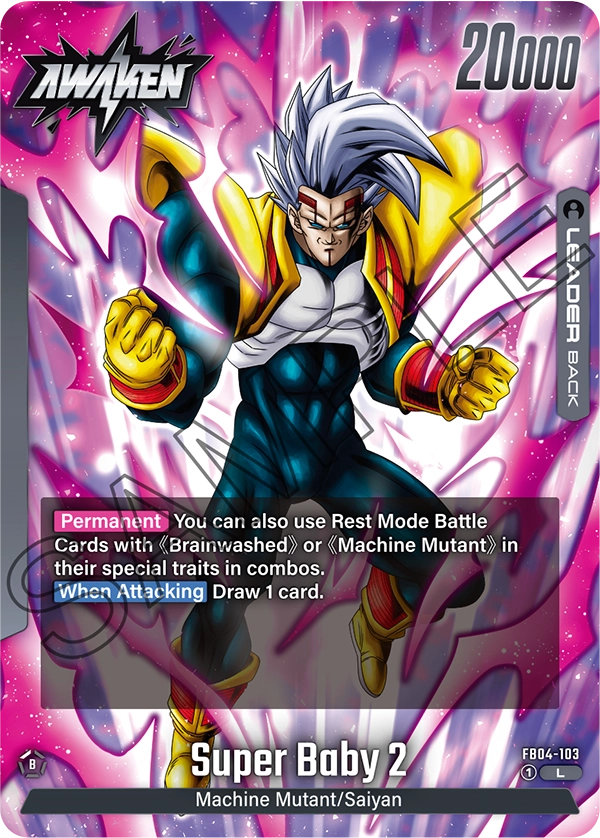
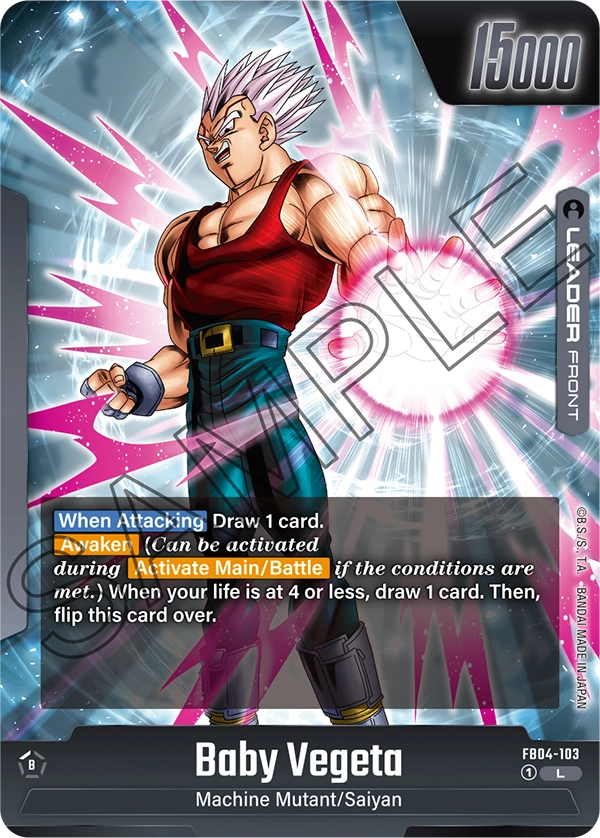


Black Baby Vegeta uses combo Power to its advantage, having multiple Battle Cards that activate their effects when used as Combo plays. Additionally, Awakening Baby Vegeta to Super Baby 2 unlocks your Leader ability, allowing you to use rested Battle Cards as combo plays. This gives you more defensive power, especially if your opponent is trying to close out the game, and you can still activate certain Battle cards’ abilities.
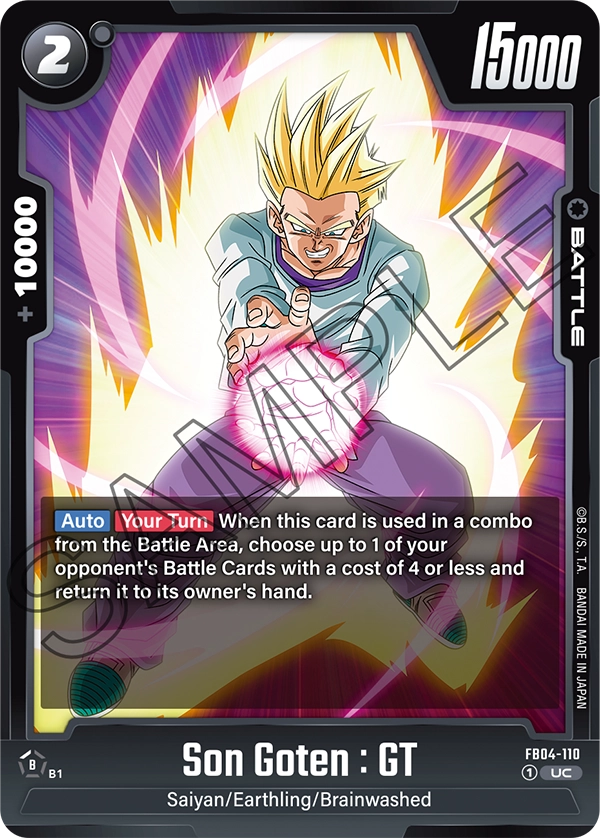
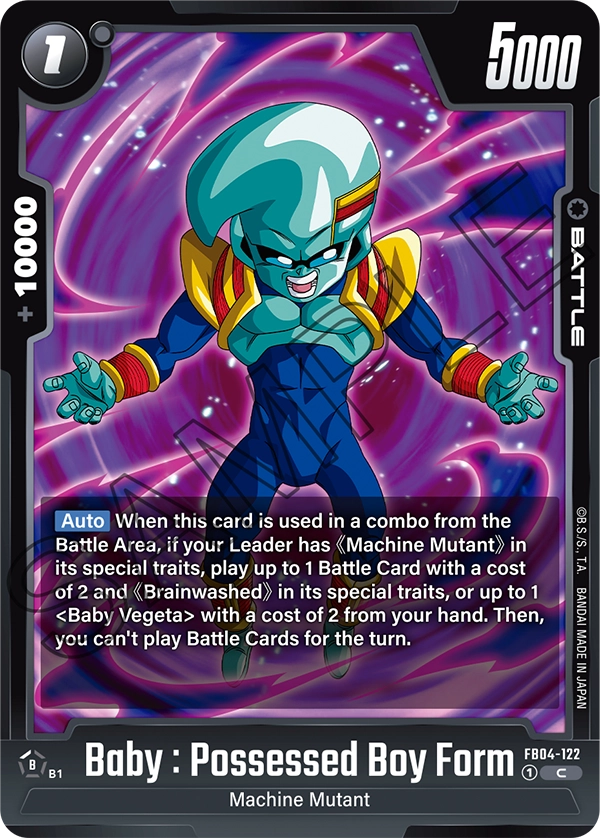
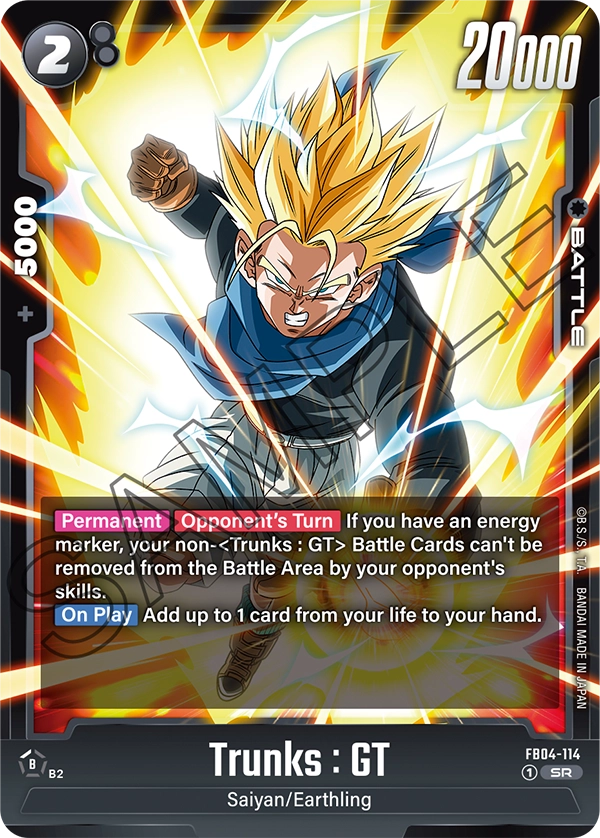
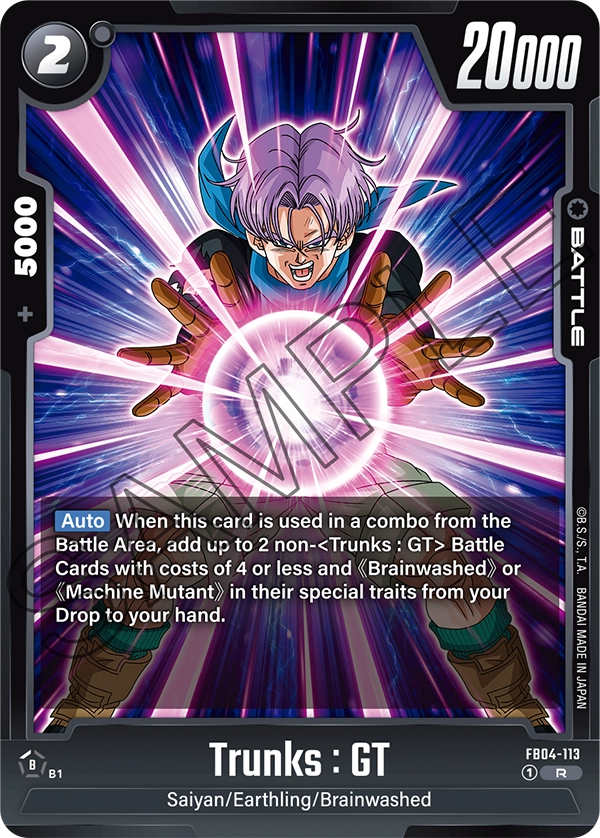
Baby: Possessed Boy Form, Son Goten: GT, Trunks: GT, and Bulla: GT are low-cost Battle Cards that activate their abilities when used as Combo plays from the field.
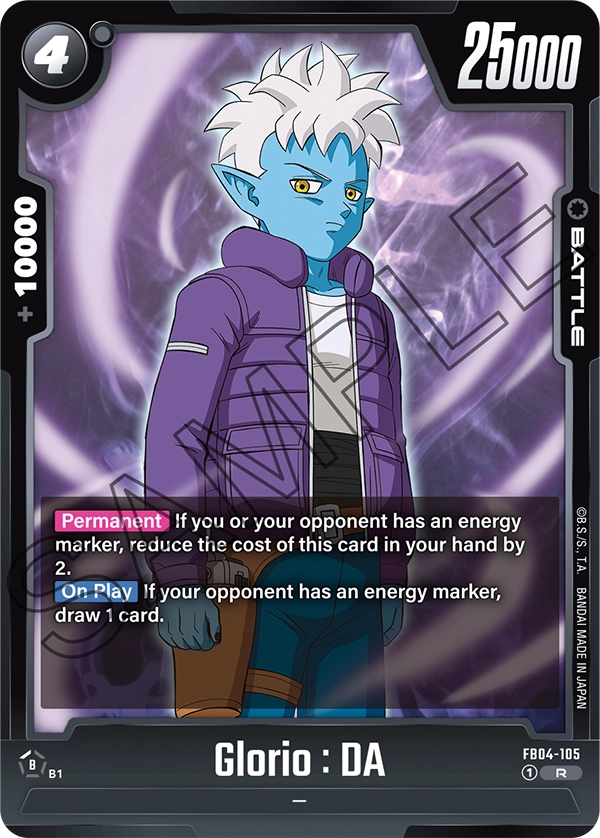
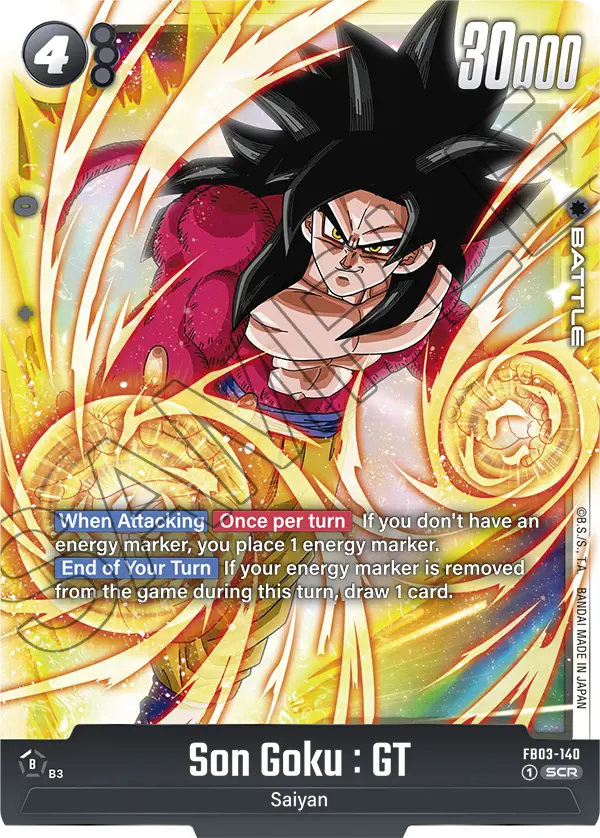
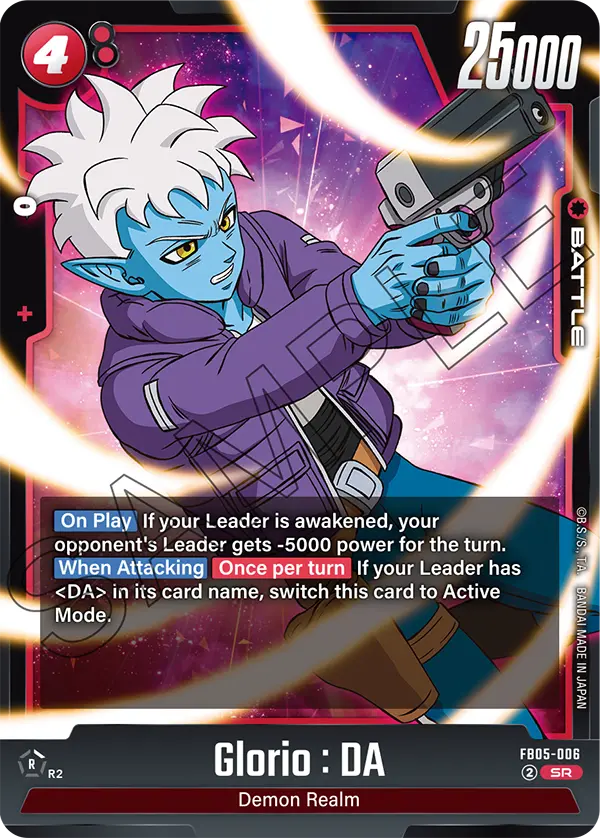
This deck relies on Energy Marker to activate certain effects. For example, if your opponent has an Energy Marker, Glorio: DA becomes a 2-cost Battle Card and draws you a card when he’s played. Son Goku: GT gives you an Energy Marker when he attacks if you don’t have one, and will then draw you a card if your Energy Marker is removed.
5-cost Bardock is the win condition, going for a Double Attack to get you the win if your opponent is at 2 Life cards. Additionally, Bardock can KO one of the opponent’s Battle Cards if you have 2 cards or more in your Combo Area.
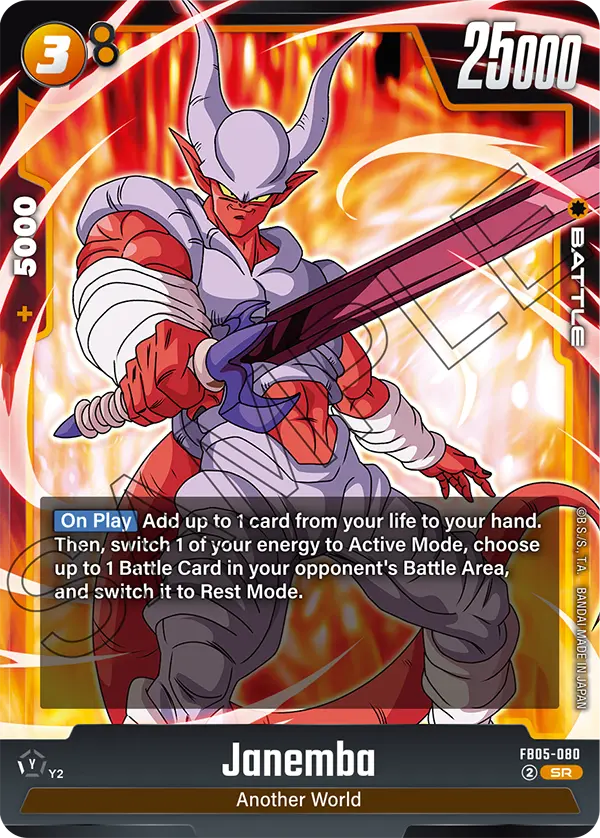
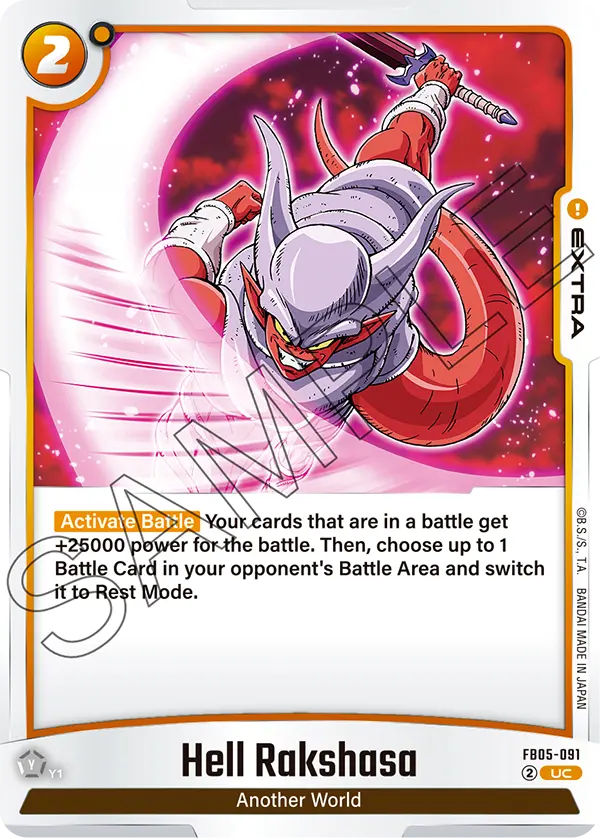
Yellow Janemba
An Awakened Janemba switches 2 of your Energy as Active when it attacks, further giving you more Energy to develop Battle Cards. However, you can use the 2 Energy to draw a card and rest one of the opponent’s Battle Cards, perfect when used defensively to hold an attack or target a Battle Card with your attackers or effects.
3-cost Janemba switches an Energy to Active and switches an opponent’s Battle Card to rested, acting similarly to your Leader and giving you an opportunity to target the now rested Battle Card.
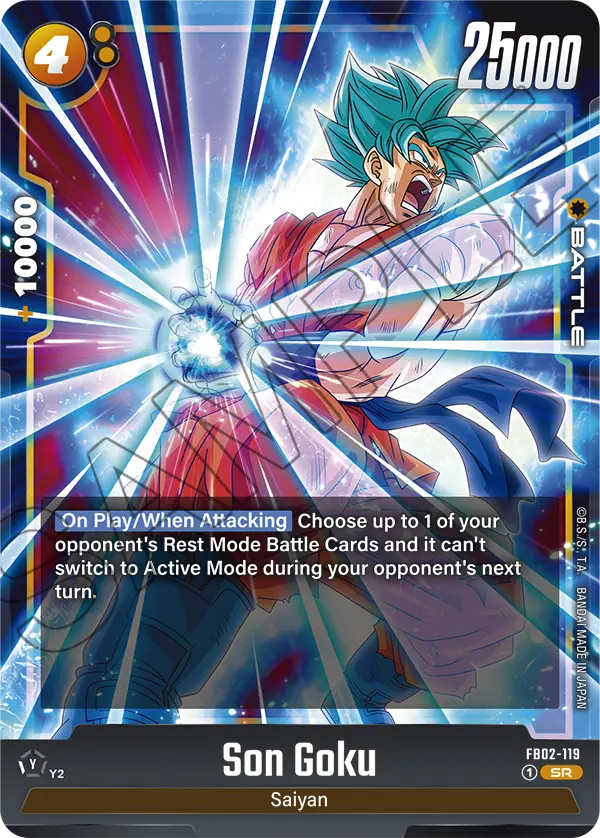
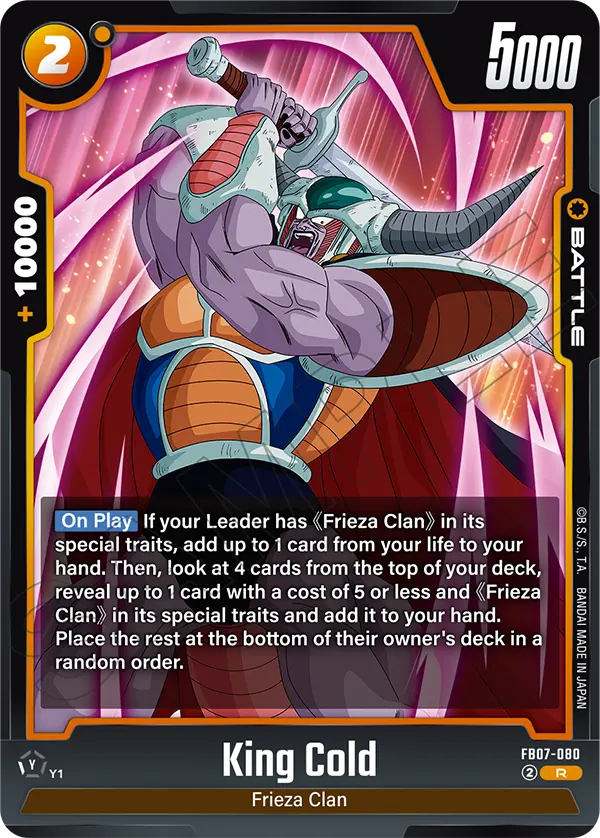
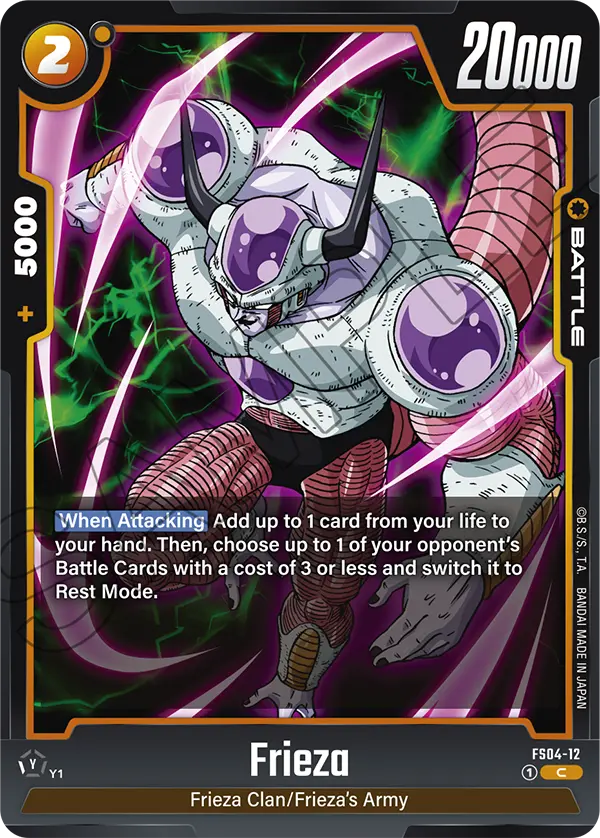
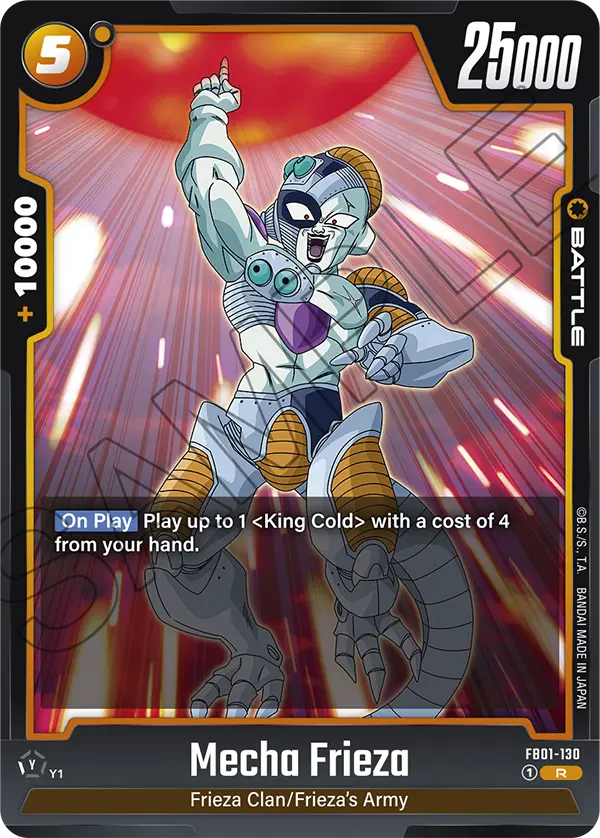
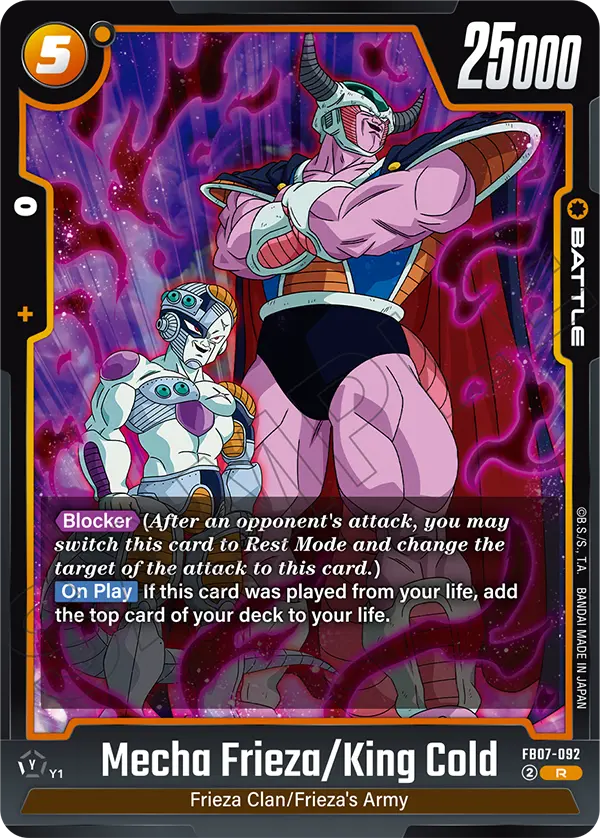
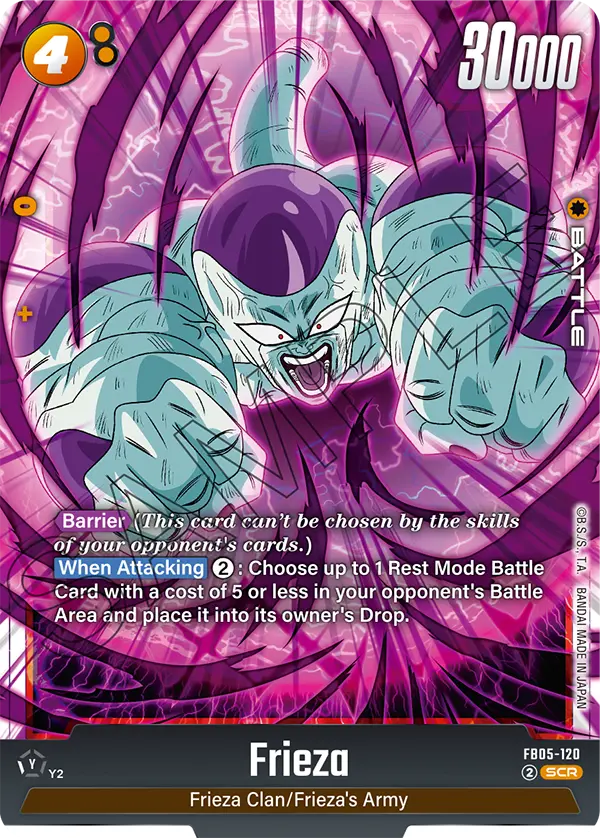
Since we’re capable of resting opponent’s Battle Cards, 4-cost Son Goku, 4-cost Frieza, and 6-cost Frieza are great plays that synergize with your strategy, relying on targeting a rested Battle card to activate their effects.
Red Jiren
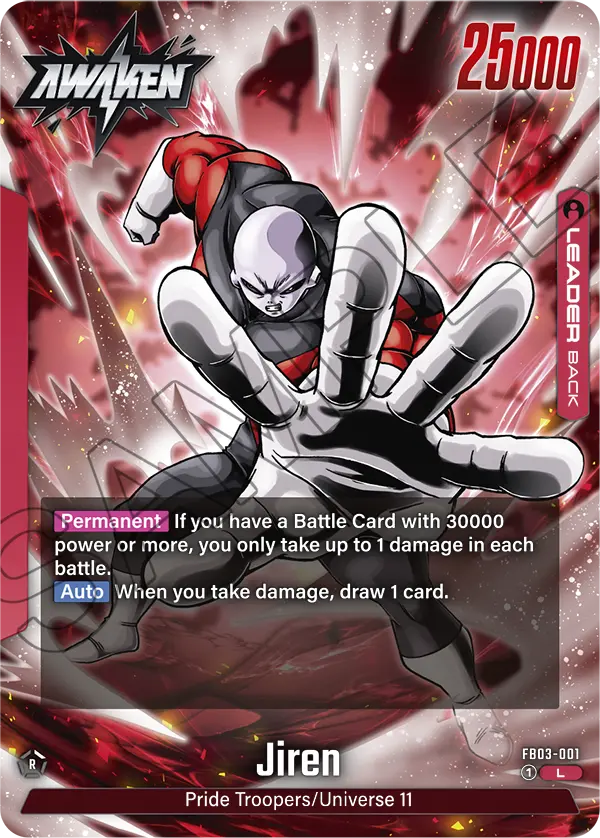
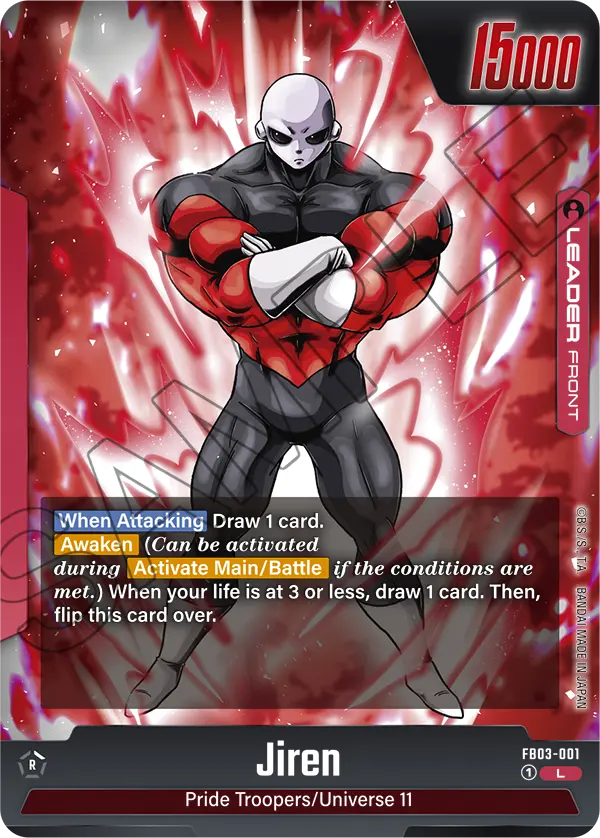
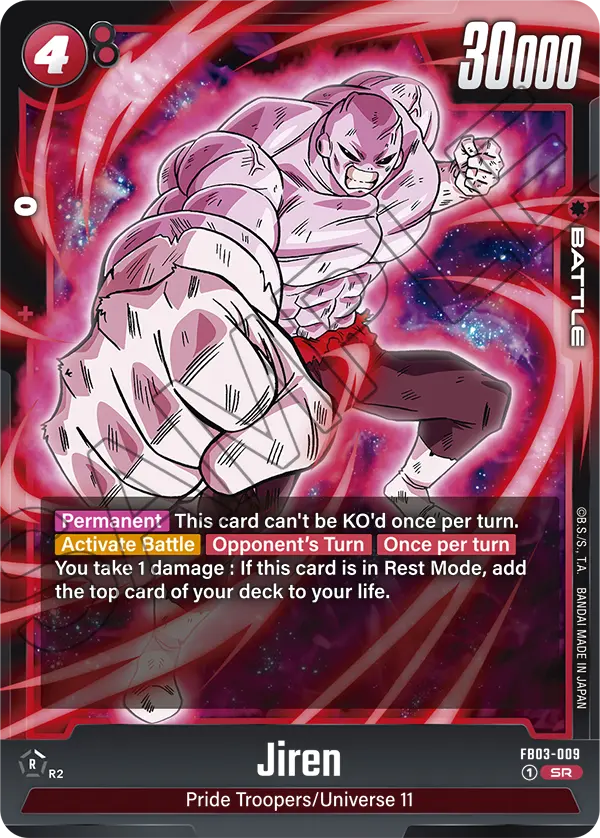

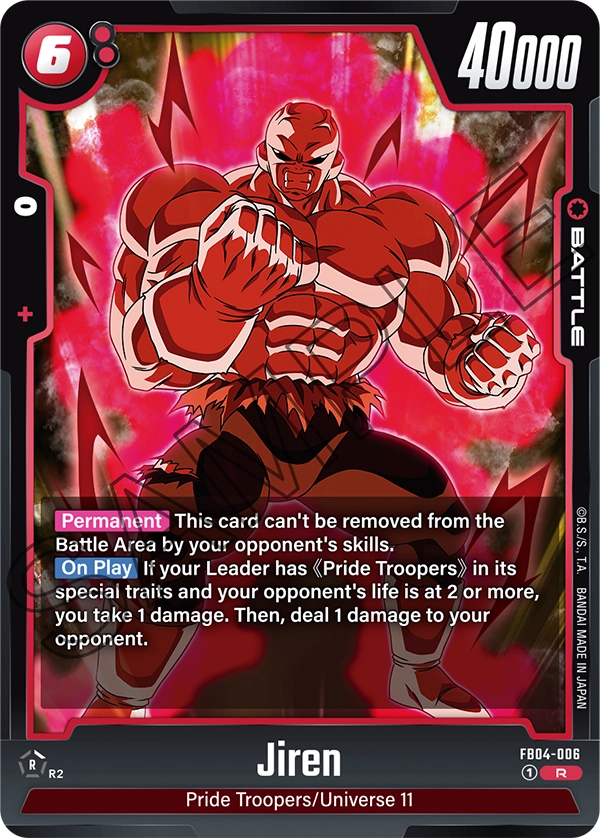
Red Jiren needs to fall to 3 Life cards to awake, and from there, he becomes a 25,000 Power Leader, difficult for your opponents’ attacks to go through. This is usually what you’re aiming for with Jiren, awaken as early as possible, and get access to your Leader effect, getting damaged will draw you a card from the deck.
So for every damage you take, you’re adding 2 cards in your hand instead of 1. Technically, you can only take 2 damage at 3 Life cards, giving you 2 extra cards in your hand. However, 4-cost Jiren damages your Leader to activate his draw effect and then adds the top card in your deck to your Life area.
5-cost Rumsshi is one of your strongest control cards to KO a 30,000 Power or less Battle Card. You can combine him with a Power reducer like Whis to KO a higher-power Battle Card.
Green Broly
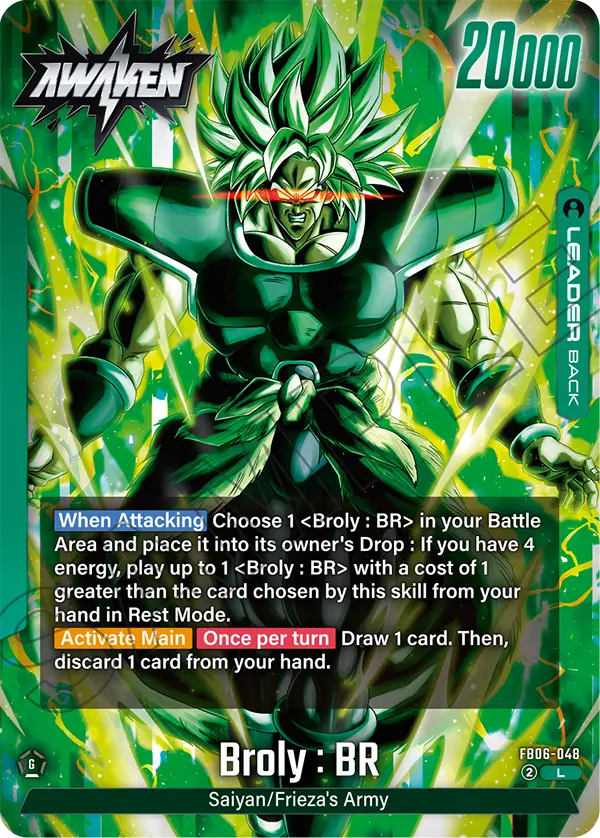
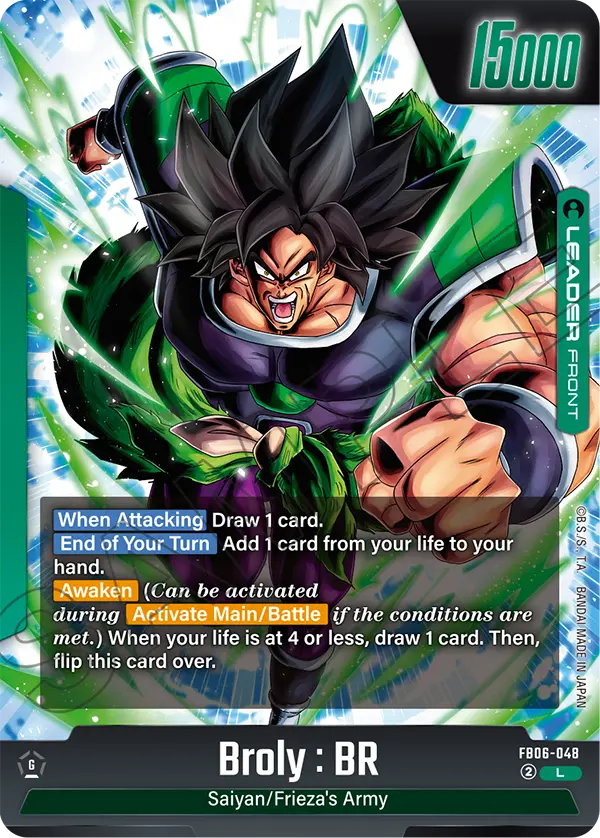

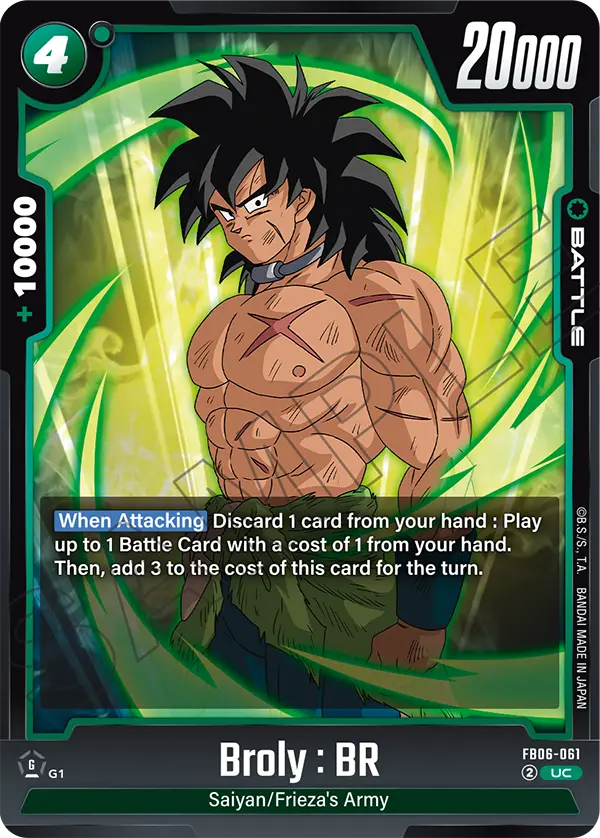
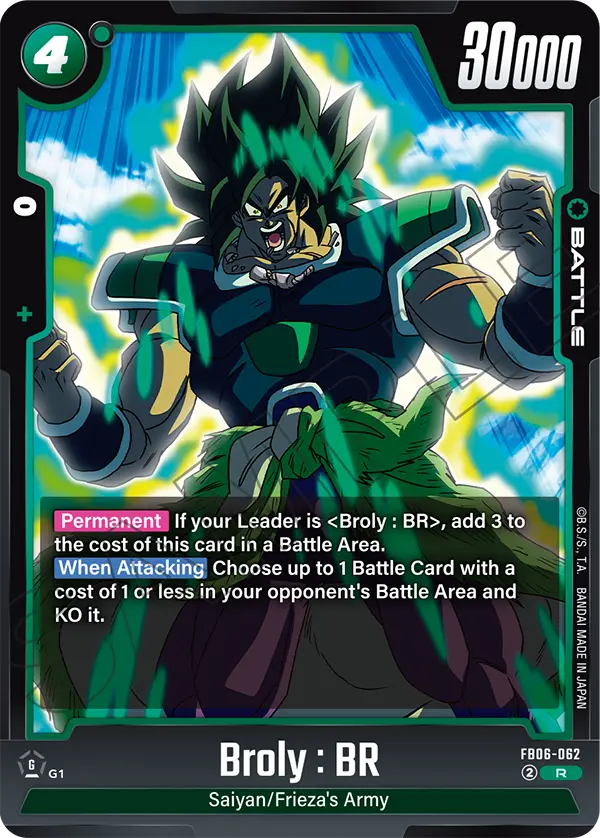

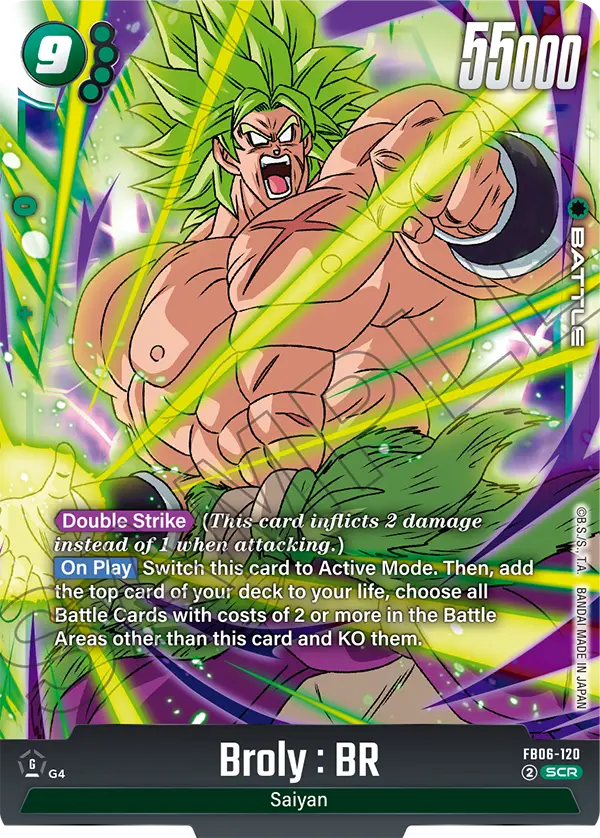


Green Broly: BR has a self-damage effect, allowing you to go down to 4 Life cards quickly and awaken himself. This Leader plays around Broly: BR cards. When he goes for the attack, you can choose 1 of your Broly: BR in the Battle Area and place it into your drop, then, if you have 4 Energy, you can play a Broly: BR in Rest Mode with 1-cost higher than the Broly: BR you removed from.
How does this work? We have multiple 4-cost Broly: BR in this list to combo them with our Leader. Naturally, you’d be cheating out a 5-cost Broly: BR in their place, and it will be played rested. It doesn’t feel like the best trade-off, but all of those 4-cost Broly: BR have an ability that allows you to increase their cost by 3, becoming a 7-cost Broly: BR when they’re in play.
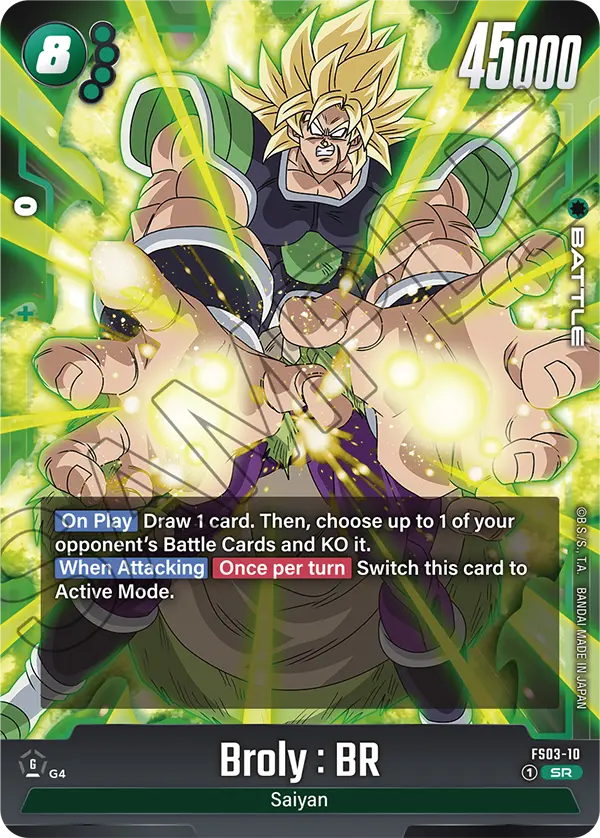
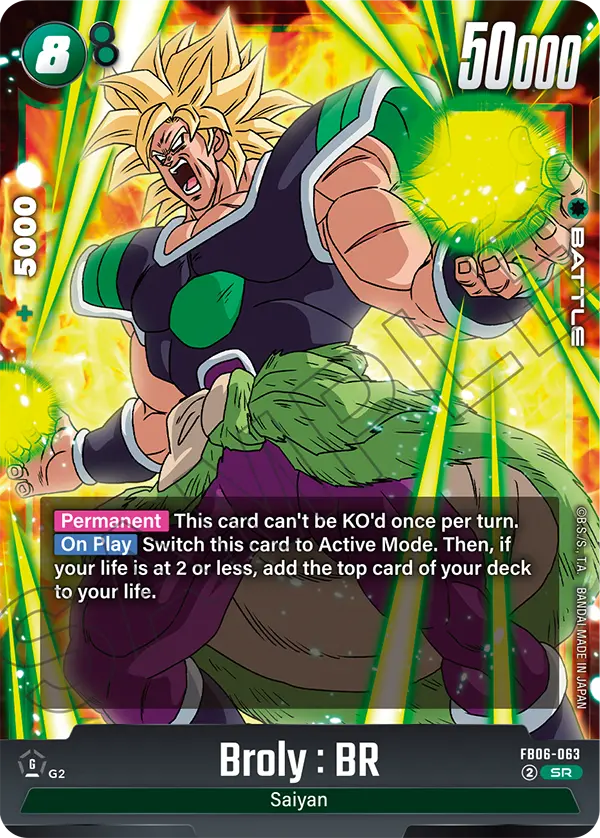
This means we can cheat out one of our 8-cost Broly: BR, putting a high-cost win condition in the mid-game to start pressuring the opposing player. They’ll find it difficult to deal with a heavy hitter this early in the game, and if we’re trying to close out the game, we can activate Leader effect and put an 8-cost Broly: BR in the drop to cheat out our 9-cost Broly: BR. Although 9-cost Broly: BR will join in rested, his play effect lets you turn him Active, going for the 55,000 Power Double Attack to win you the game.
Blue Daima Vegeta


Blue Vegito
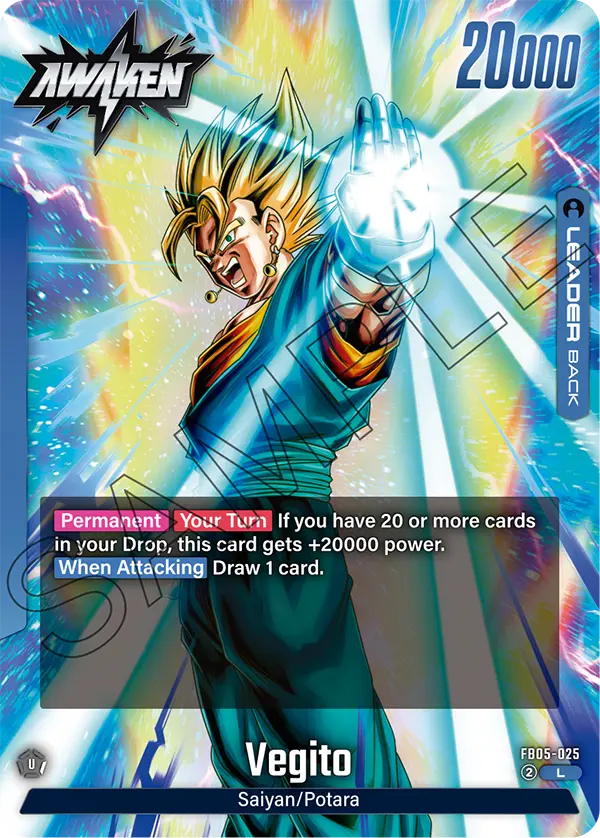
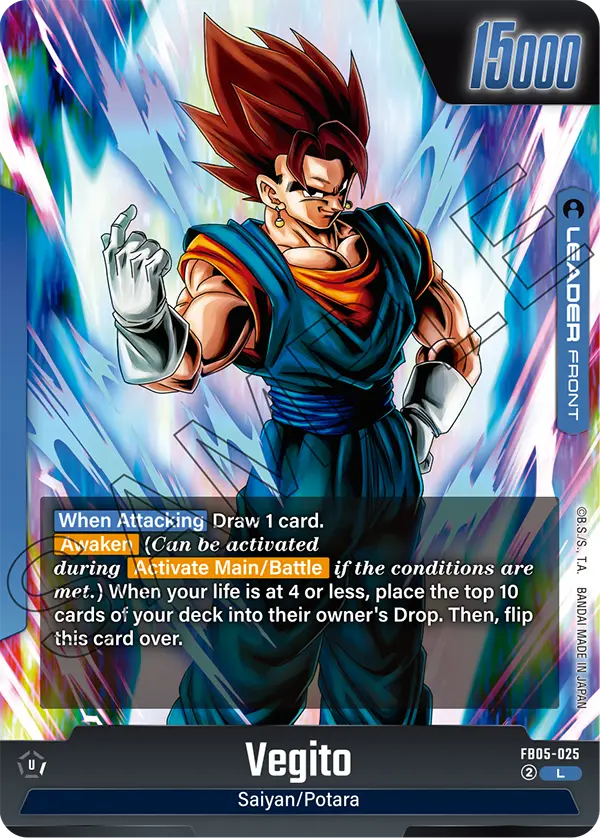

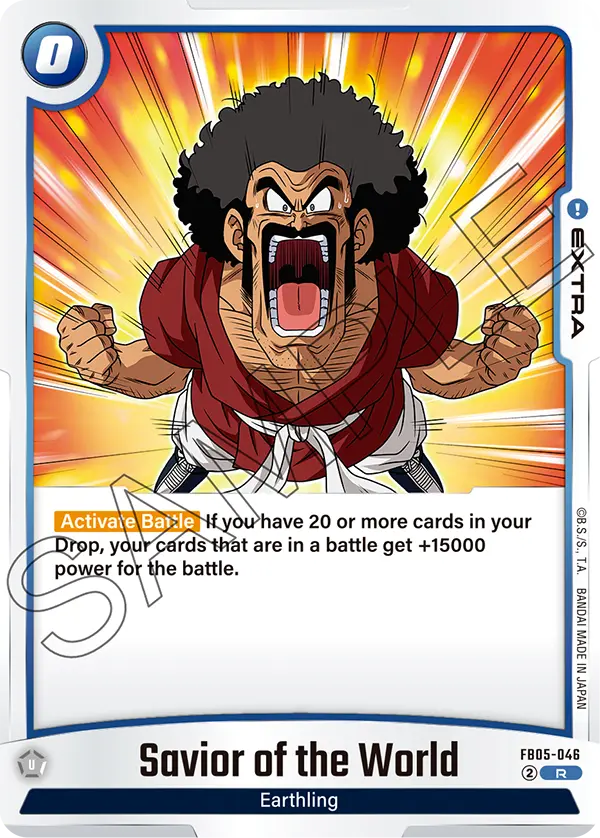
Blue Vegito wants to place as many cards in the Drop as possible, giving you access to certain effects that enable your game plan. An Awakened Vegito wants 20 or more cards in your Drop, giving you +20,000 Power on your Leader, turning him into a 40,000 Power attacker, too difficult for your opponent to combo out of a Leader attack.
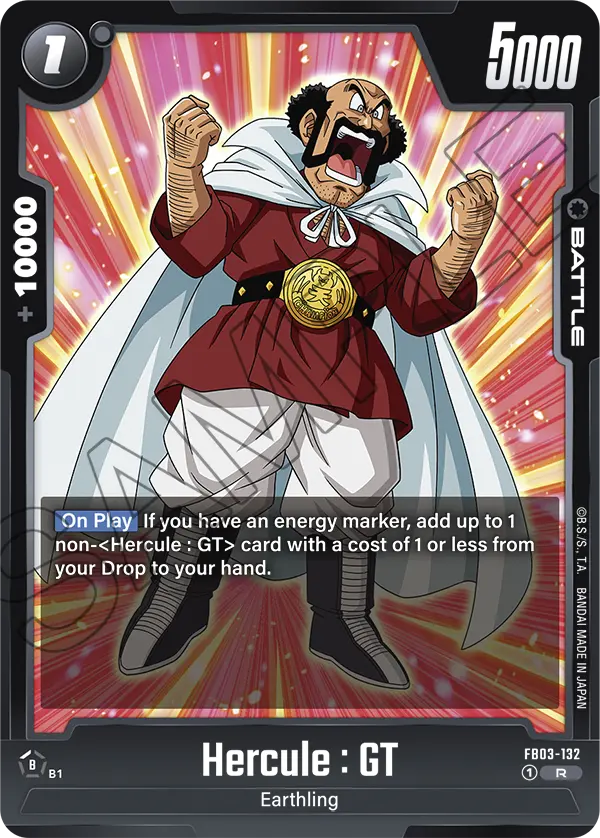
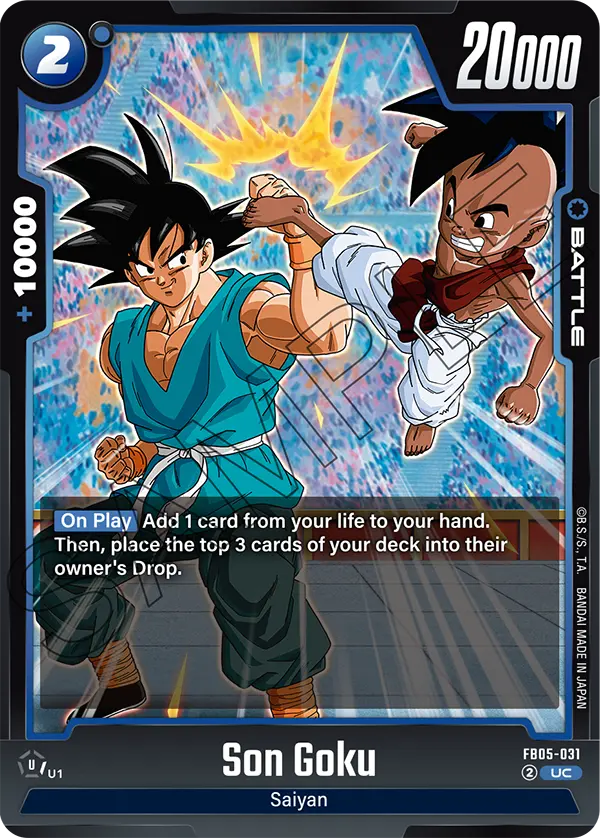
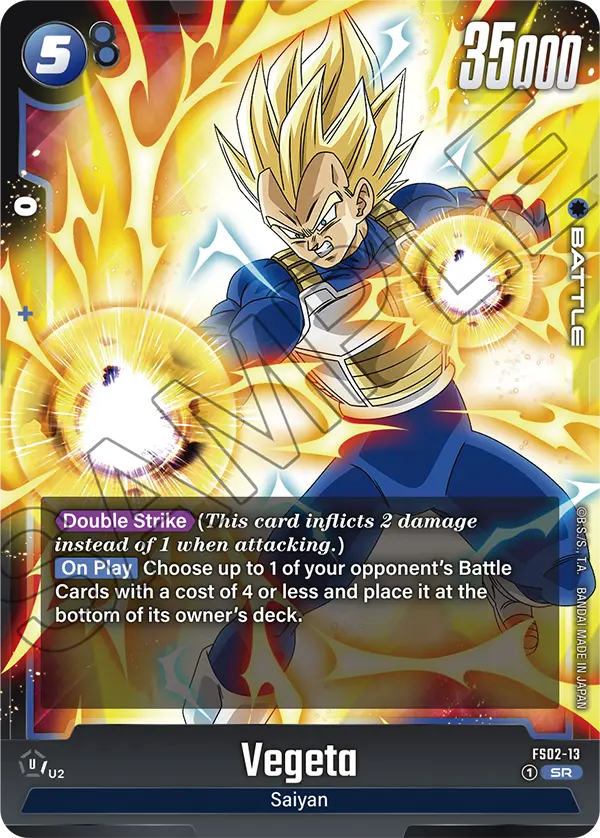
The list has multiple cards that place cards in your Drop like Hercule, Fortune Teller Baba, and Vegeta, accelerating your strategy and activating their effects.
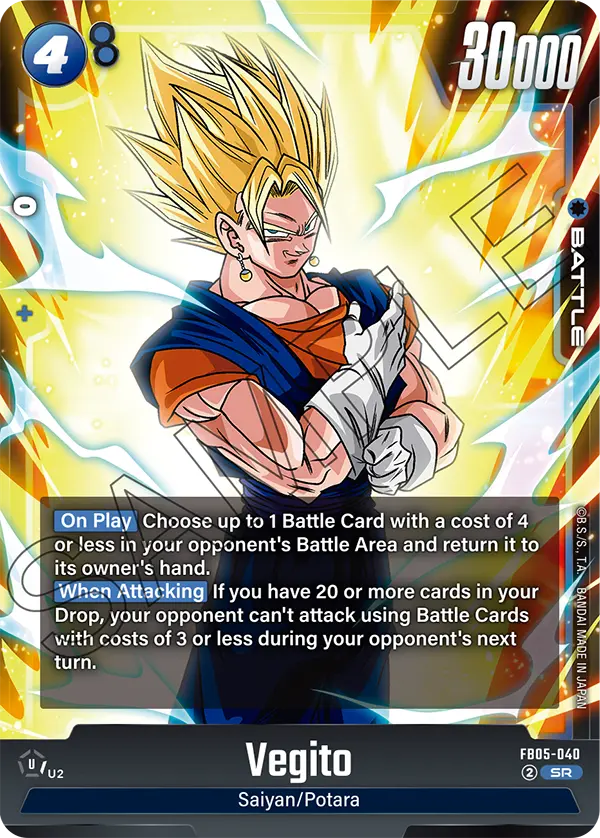
4-cost FB05 Vegito can be a huge play to slow opponents down, returning one of their 4-cost or less Battle Cards and preventing them from attacking with their 3-cost or less Battle Cards.
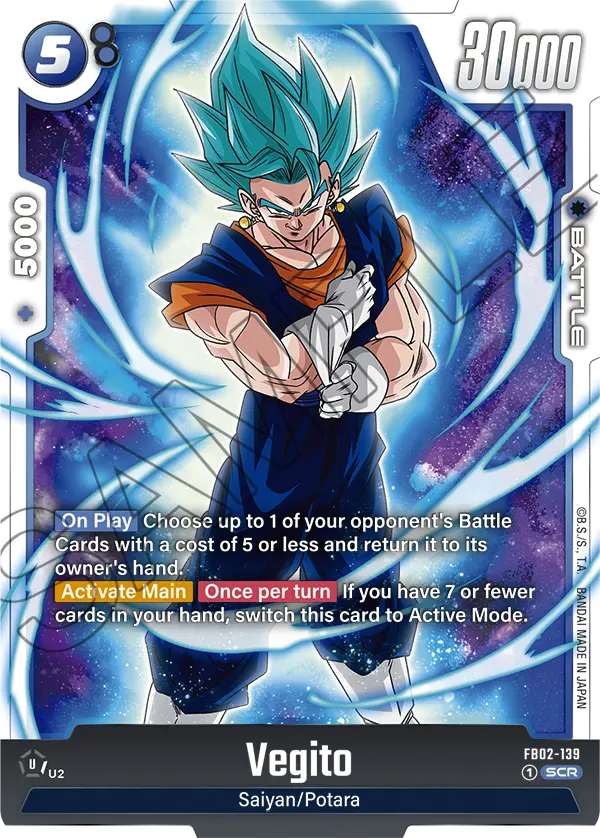
5-cost Vegito returns a 5-cost Battle Card to the opponent’s hand, removing a win condition without having to attack it. Additionally, Vegito can switch to Active, meaning we can attack twice with him in one turn.
Since we’re putting a lot of cards in our Drop, 6-cost Vegito prevents us from losing the game even if we fall to 0 cards in our deck. Vegito can switch himself to Active, attacking twice and returning one of the opponent’s Battle Cards to their hand.
Green Android 17
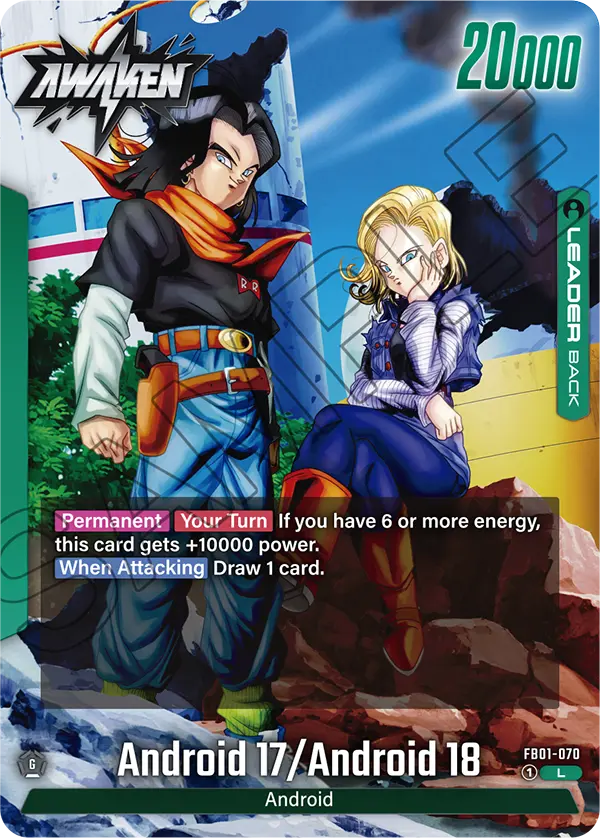
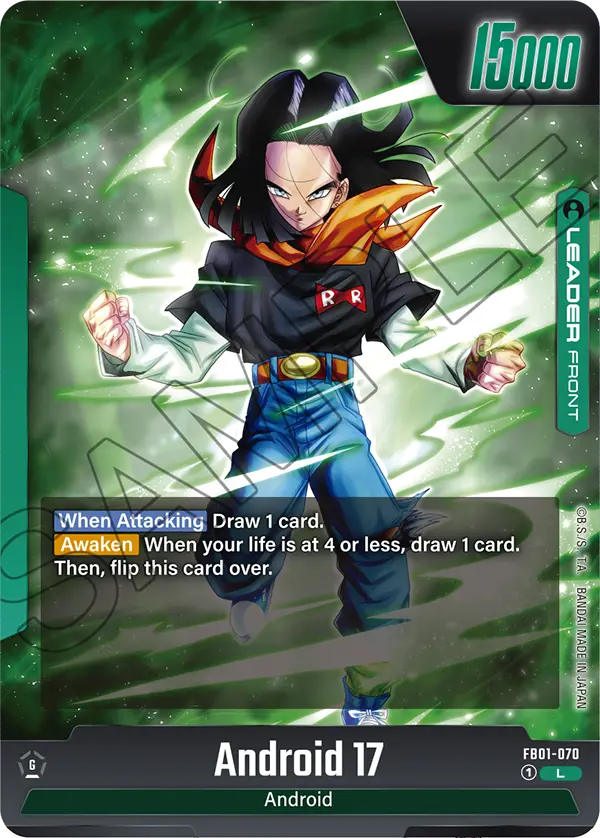


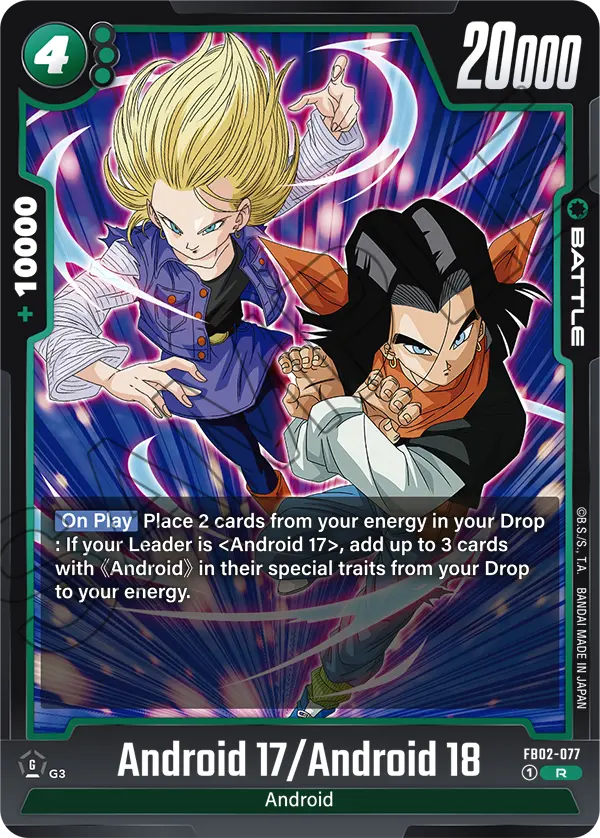

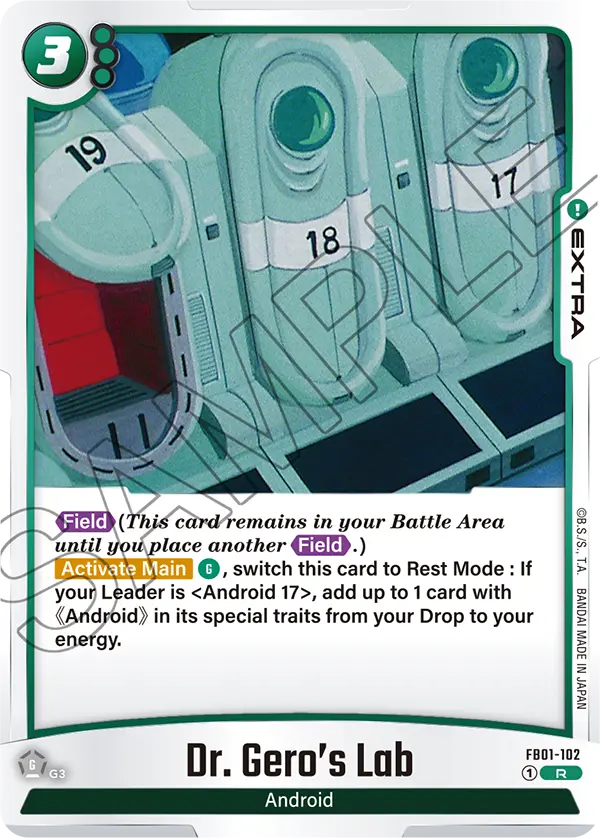
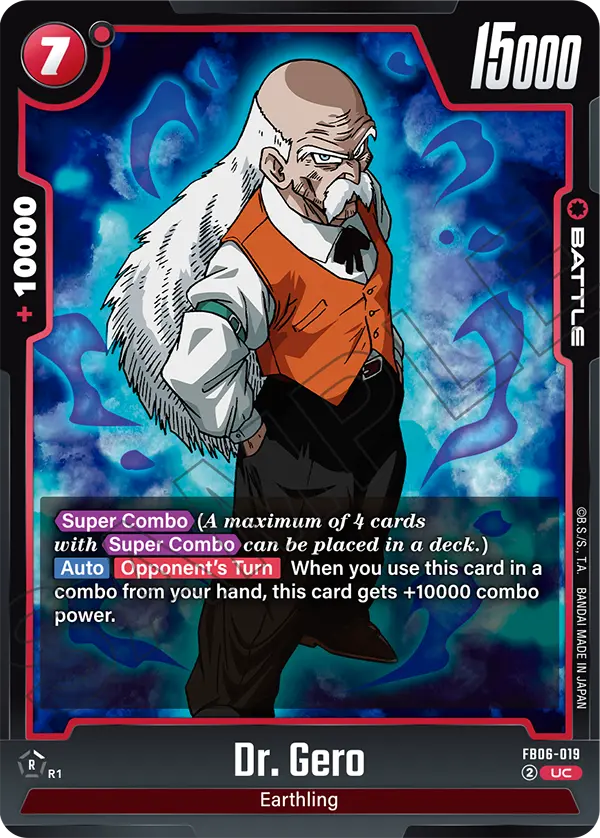
Green Android 17 is a ramp deck, using Dr. Gero’s Lab to put <Android> cards from your Drop to the Energy and ramp up to make bigger players on earlier turns. 4-cost Android 17/Android 18 is another ramp option to speed up your strategy.
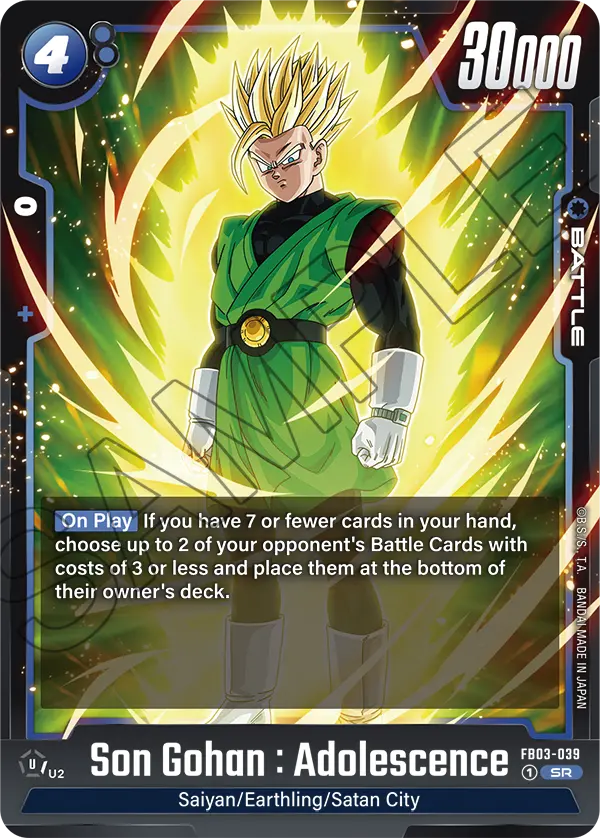
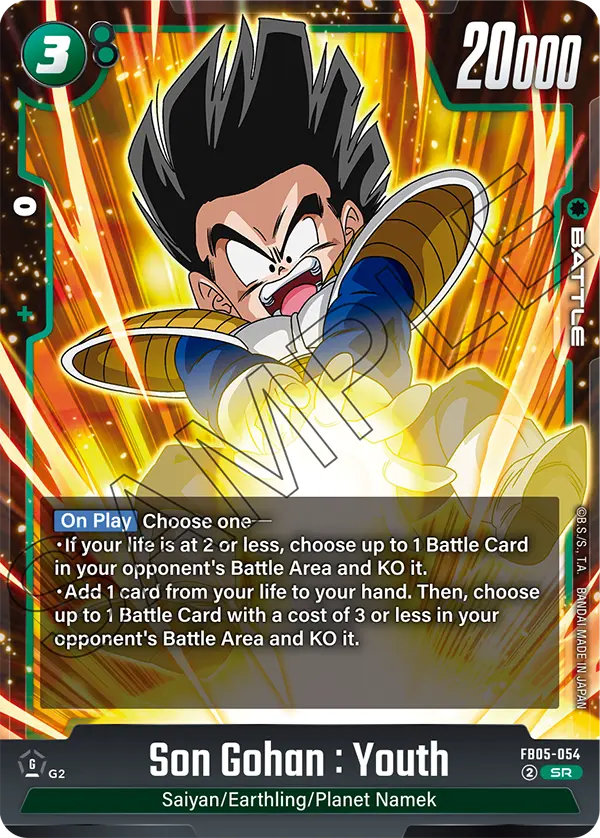
You have 6-cost Android 17/Android 18 and 7-cost Son Gohan: Childhood to help you control the board and slow your opponent down from aggroing you down. This can be a complete shutdown for the opposing player, especially when 8-cost Broly: BR drops, KOing one of the opponent’s Battle Cards and going for two attacks in one turn.
8-cost Cell deramped, but KO’s two of the opponent’s Battle Cards and gives you an extra Life card. It is ideal if your opponent is running out of steam and your main goal is to survive longer.
Red SSJ Goku Daima
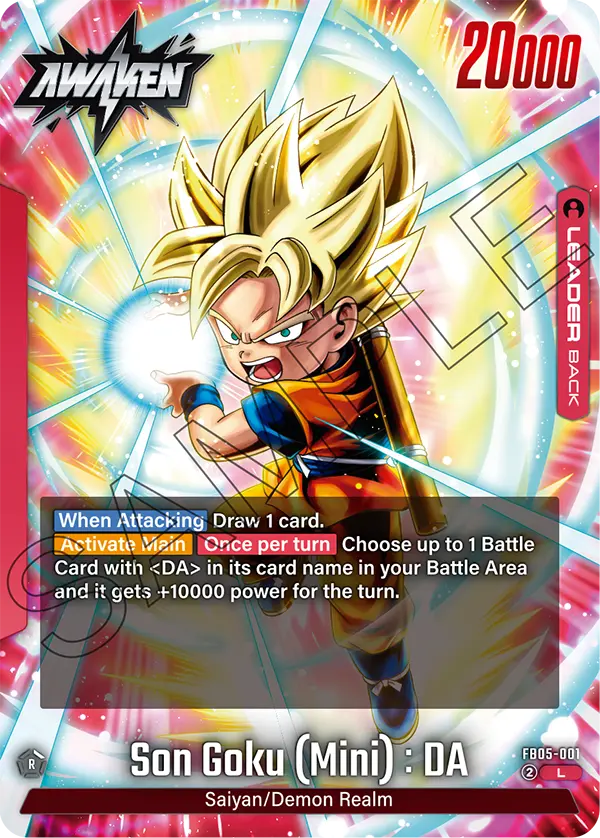
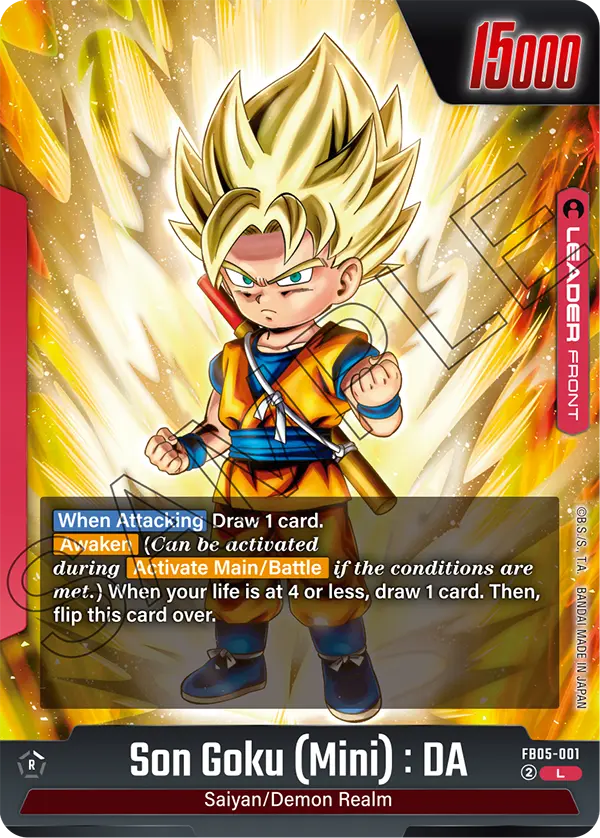
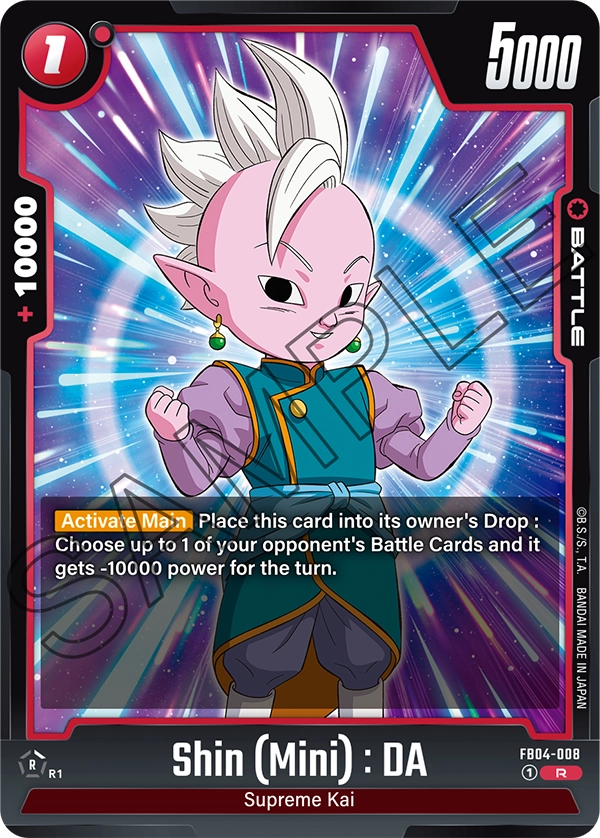
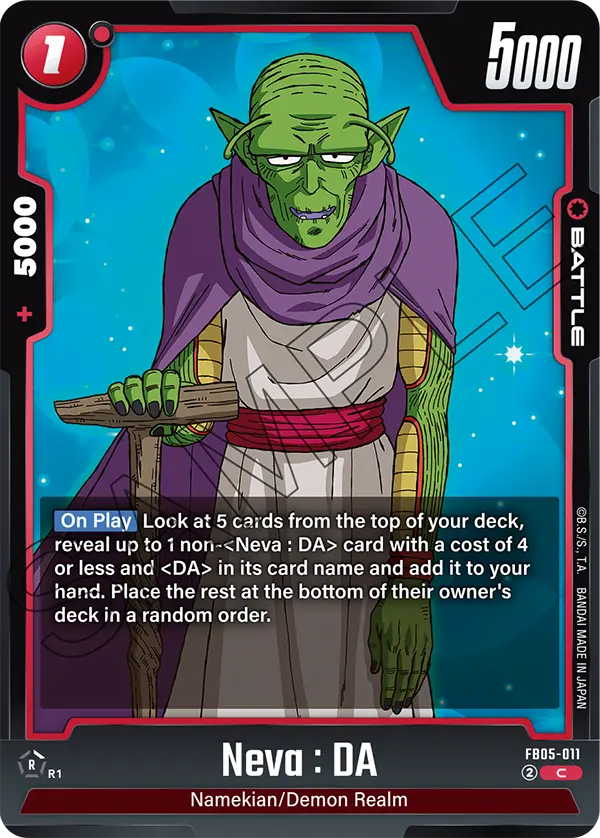
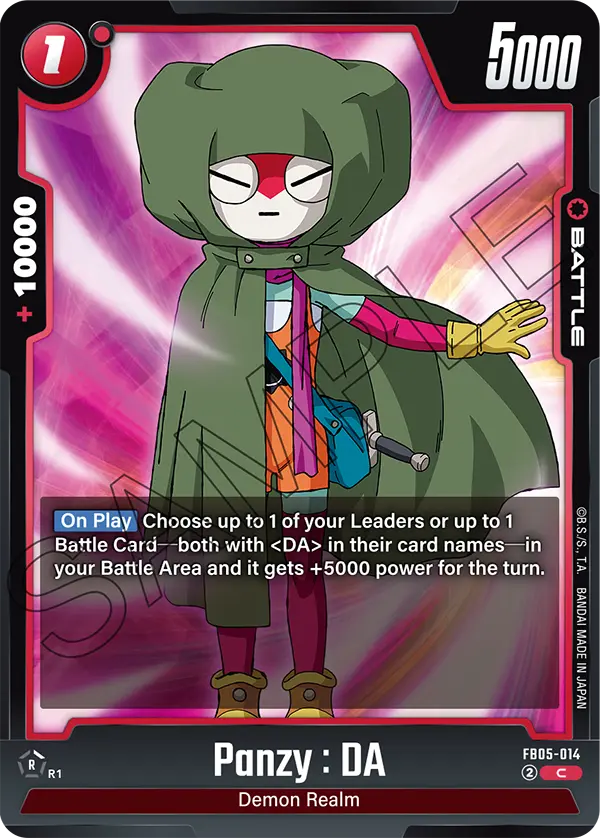

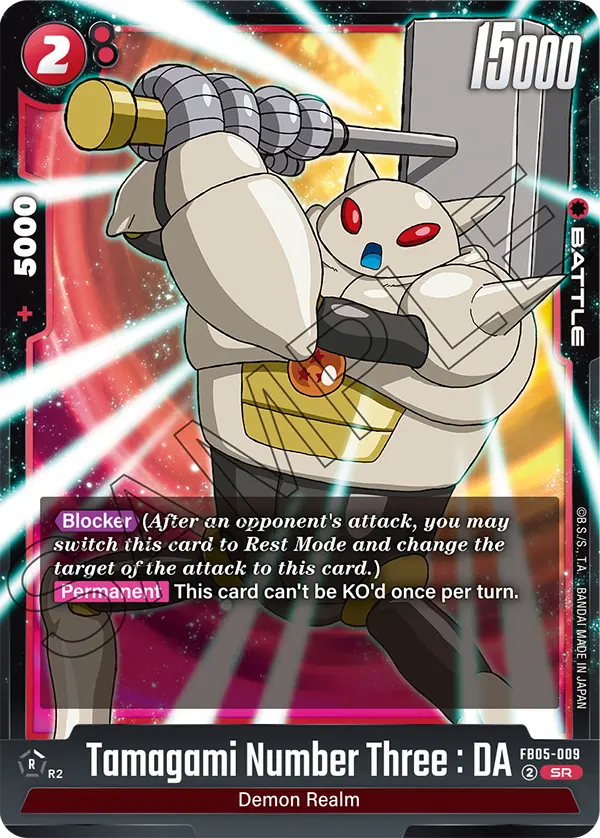


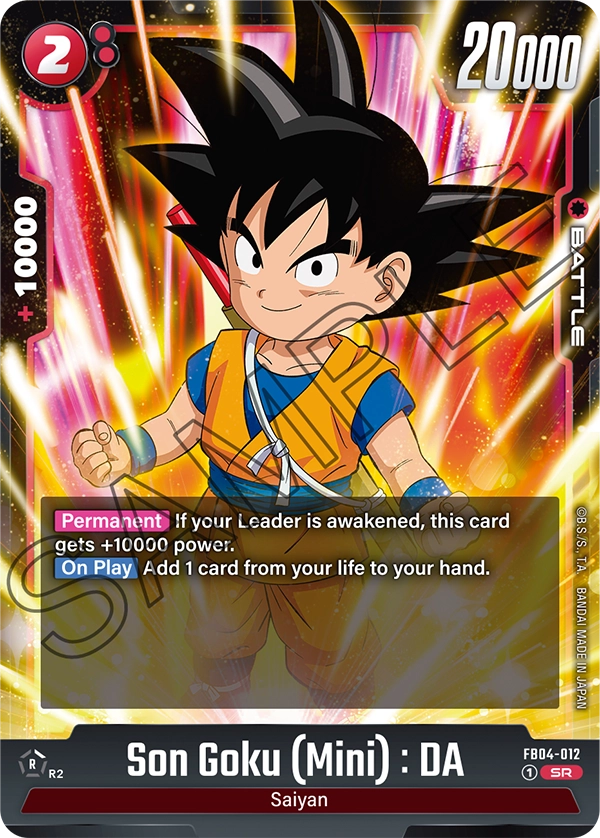
Red Son Goku (Mini): DA (Daima) needs to be built around the DA cards since your Leader effect can give one of your DA Battle Cards +10,000 Power once per turn. It can be activated during your and your opponent’s turns, acting as an aggressive and defensive effect.
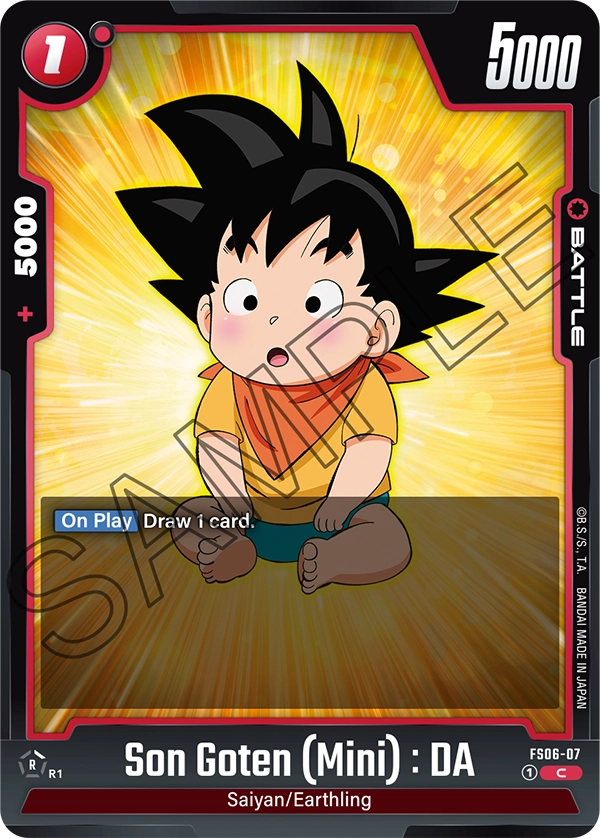
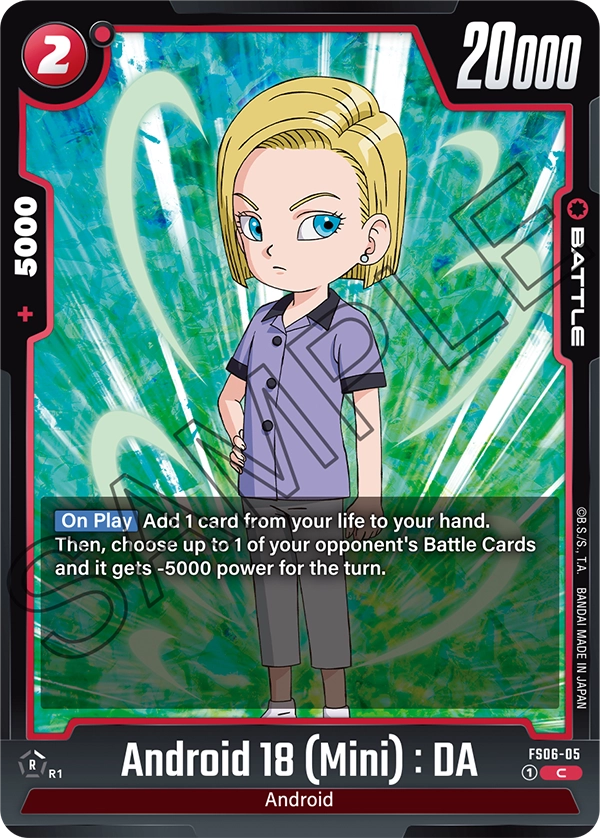
The list is full of low-cost DA Battle Cards such as Son Goku: DA, Android 18: DA, and Panzy: DA. This means we want to play aggressively with this list, going for attacks on their Leader and trying to put them low on Life cards.
We have 5-cost Son Goku: DA as a game finisher with his Double Strike keyword. Combined with your Leader effect, it can be tough for your opponent to combo out of the attack. 6-cost Son Goku is too good to pass, acting as a defensive play that buys more time to create a finisher attack.
Green Goku

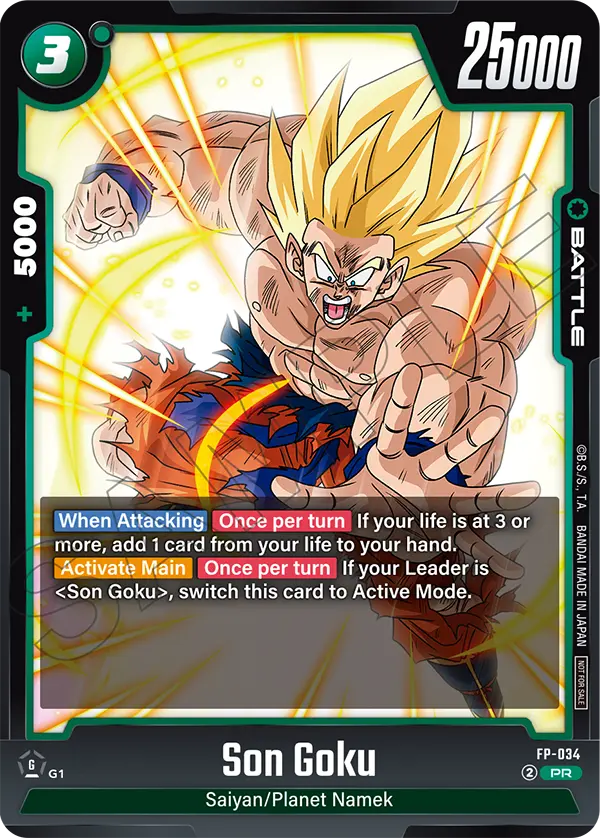
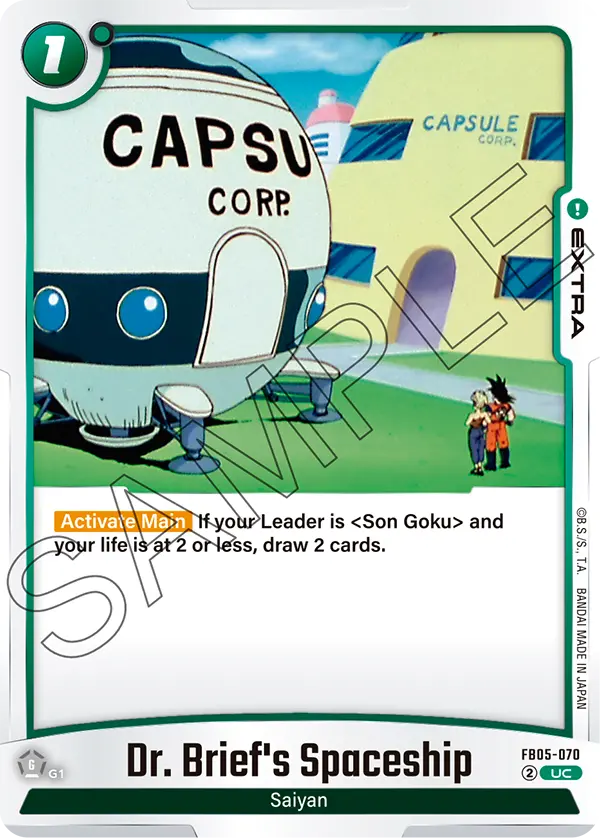
Nameku relies on going down 2 Life cards as early as possible, getting access to powerful effects that will put you ahead of your opponent. It plays aggressively, using many self-damage Battle Cards to quickly awaken and gain the +10,000 Power on your Leader.
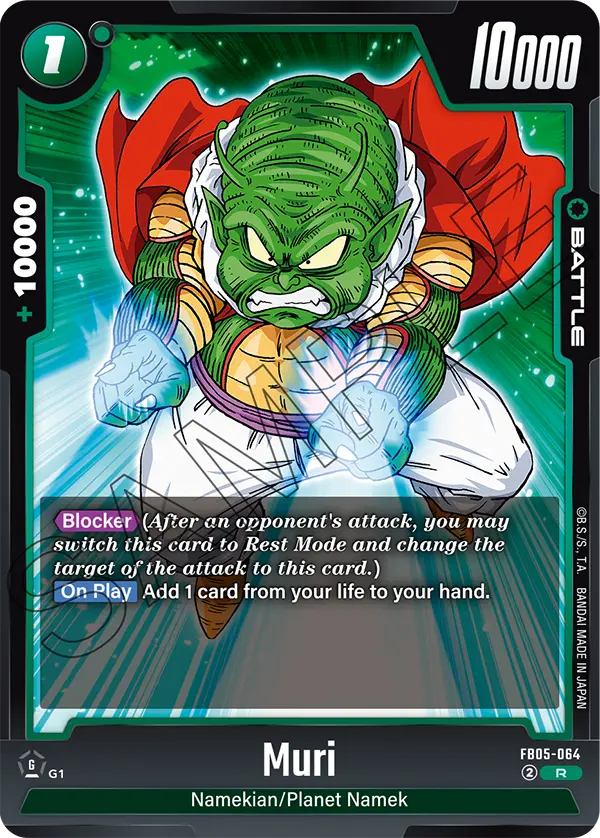
1-cost Muri is your best self-damage Battle Card, played in the late game when you need to drop to 2 Life cards and still make meaningful plays during your turn. At the end of your turn, your Leader discards a card from your hand to gain a Life card, making it harder for your opponent to win the game.
This deck has a couple of control cards to keep your opponent from aggroing you down. 3-cost Son Gohan and Full Power! are reliable removal cards but require you to be at 2 Life cards to use them. Son Gohan can still KO a 3-cost Battle Card, but if you’re trying to remove anything higher than that, then your Leader needs to be at 2 Life cards.
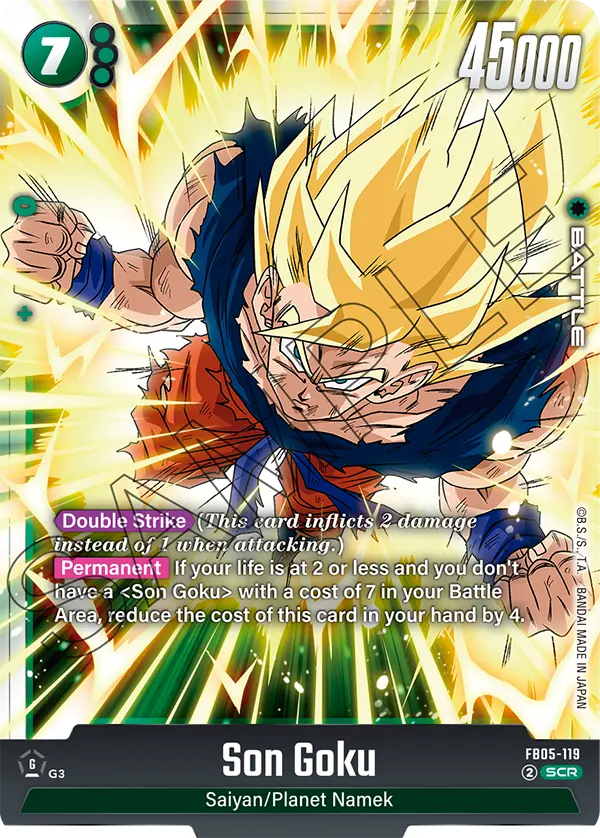
When at 2 Life cards, 7-cost Son Goku becomes a 3-cost, an easier win condition to develop on the board, going for a 45,000 Power Double Strike attack that could win you the game or get you close enough to win on your upcoming turn.