Blue Nami is a unique deck that plays OPTCG differently than what we’re usually used to. Instead of relying on attacking the opponent’s Leader and taking their Life cards until we win the game, Blue Nami wants to mill herself, drawing and trashing cards from the deck until you hit 0 cards. Usually, you’d lose the game, but with Nami changing the rules, this is how you win the game.
This is a tough deck to get the hang of since it plays completely differently than all other decks in the game, and saving Don for defensive turns is a crucial part of this deck to playing your Counter Events defensively.
The main goal is to protect yourself from attacks and survive for as long as possible, giving yourself more time until you can mill yourself to 0 cards in your deck.
Leader
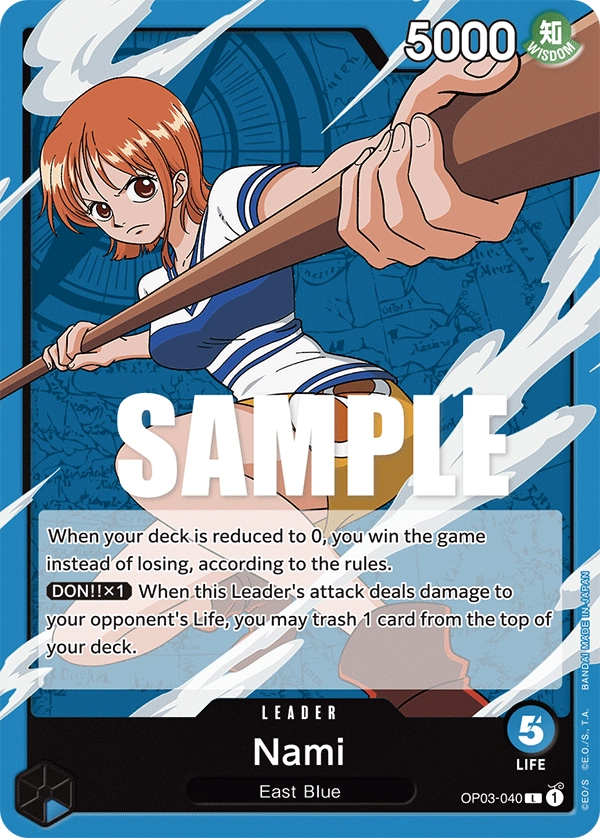
Nami changes the game’s rules, giving you a win condition where you have to reduce the cards in your deck to 0 to win the game. You can still win games the good old-fashioned way, but with this build, you’re focusing on milling yourself before your opponent gets to win the game.
The list is full of cards that draw or trash cards from your deck, getting you closer to 0 Life cards. Many of those cards are Counter Events, which we’ll use to Counter attacks and lower the number of cards in our deck. To activate those cards, we need to hold Don for defensive turns, enough to play the cards we need and protect our Leader.
Attaching a Don to Leader Nami and damaging the opponent’s Leader will let you trash 1 card from the top of your deck. However, your opponent will likely counter the attack, so you might end up wasting valuable Don you can use for your defensive turns.
In most cases, you’d rather attack a rested Character that can attack your Leader if you’re playing against an aggressive deck, trying to remove an attack to weaken the opponent’s offense.
Blue Nami Decklist
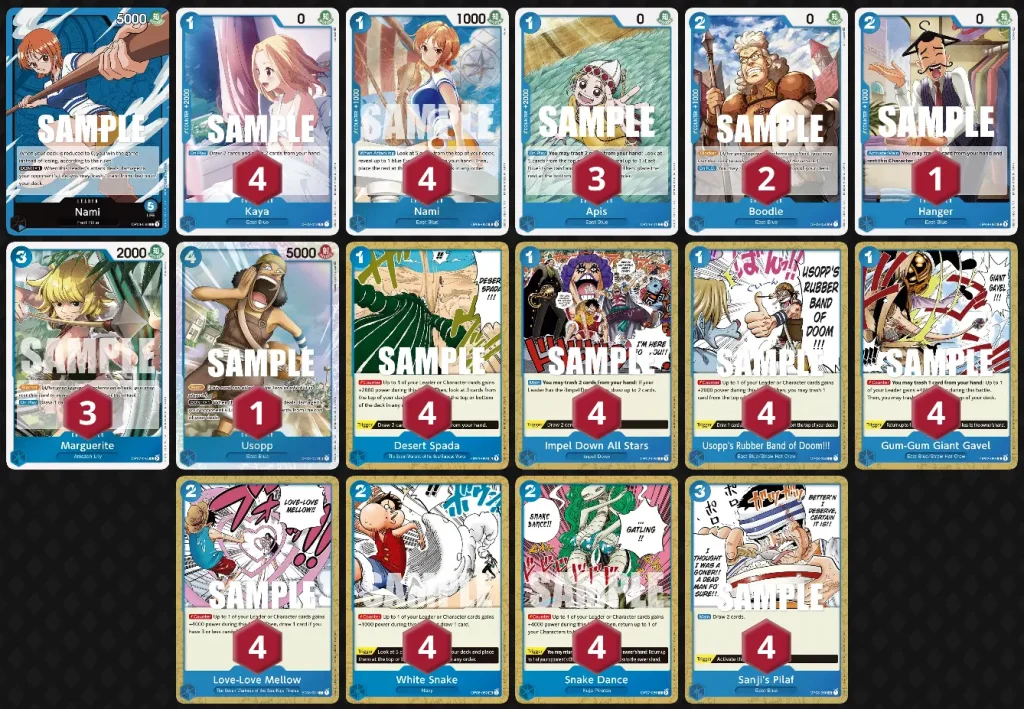
1xOP03-040
4xOP03-044
3xOP04-041
4xOP09-050
2xOP03-050
1xOP04-050
3xOP07-054
1xOP03-041
4xOP01-088
4xOP02-066
4xOP03-054
4xOP03-055
4xOP06-059
4xOP07-055
4xST03-017
4xOP03-056
How to Play
Your Turn Mill Cards
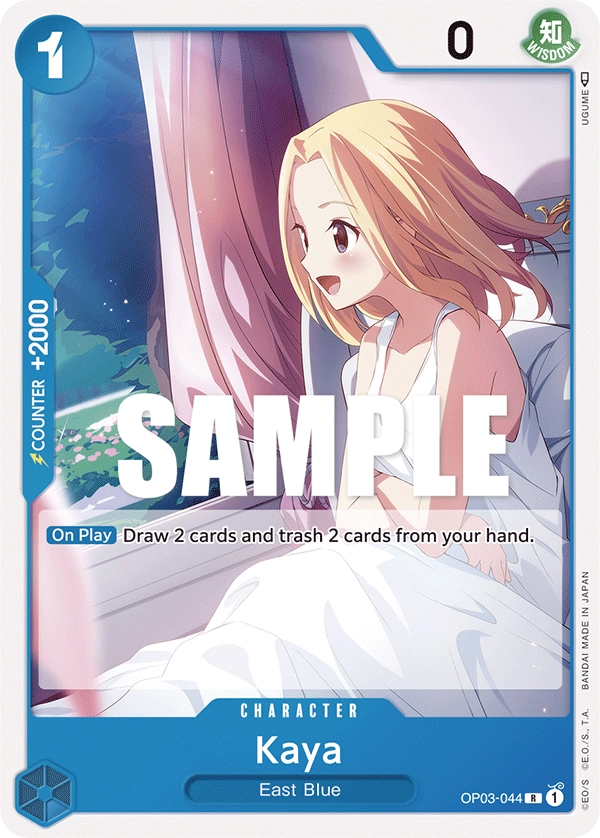
1-cost Kaya is the strongest card in this deck, letting you draw 2 cards and trash 2 cards from your hand. This helps you go through your deck faster, getting closer to dropping to 0 cards. Kaya being a 1-cost Character means you aren’t committing too much resources to playing her. She also can be used for her +2,000 Counter effect if you’re in a tough spot.
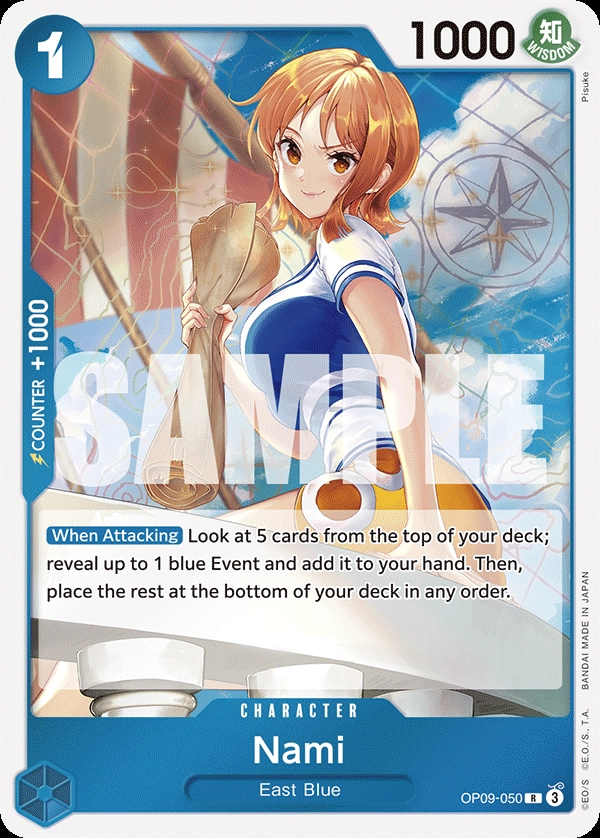
As for 1-cost Nami, she’s a 1-cost Character to play and attack with her. We aren’t trying to create any offensive pressure with her, but activating her “When Attacking” effect lets you look at the top 5 cards in your deck and add 1 blue Event to your hand. We’re searching for valuable resources, while at the same time lowering the number of cards in our deck. On top of that, your opponent can’t ignore Nami on the field and will have to commit one of their attacks to remove her.
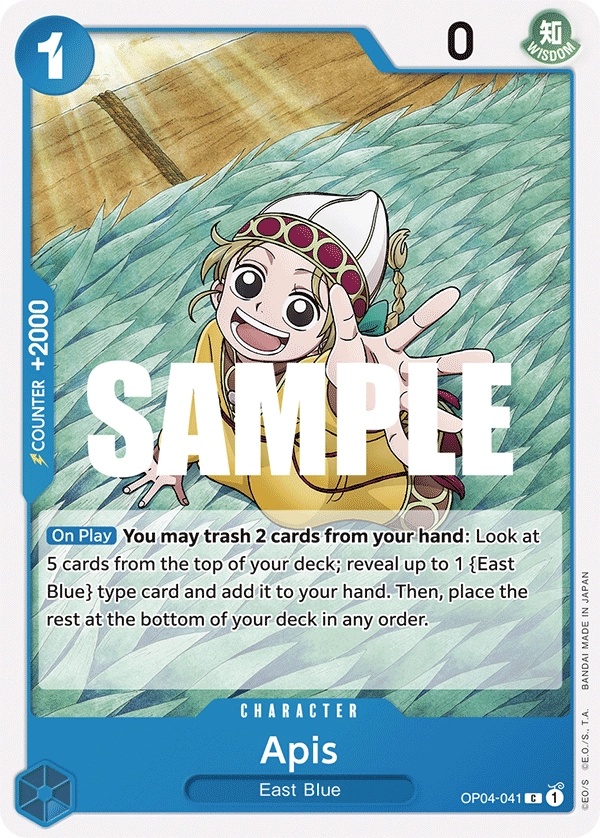
1-cost Apis is mostly used for her +2,000 Counter effect, but she can be played to trash 2 cards from your hand that you don’t need to look at the top 5 cards in your deck and add an {East Blue} type card like Kaya, Sanji’s Pilaf, Usopp’s Rubber Band, or Gum-Gum Giant Gavel.
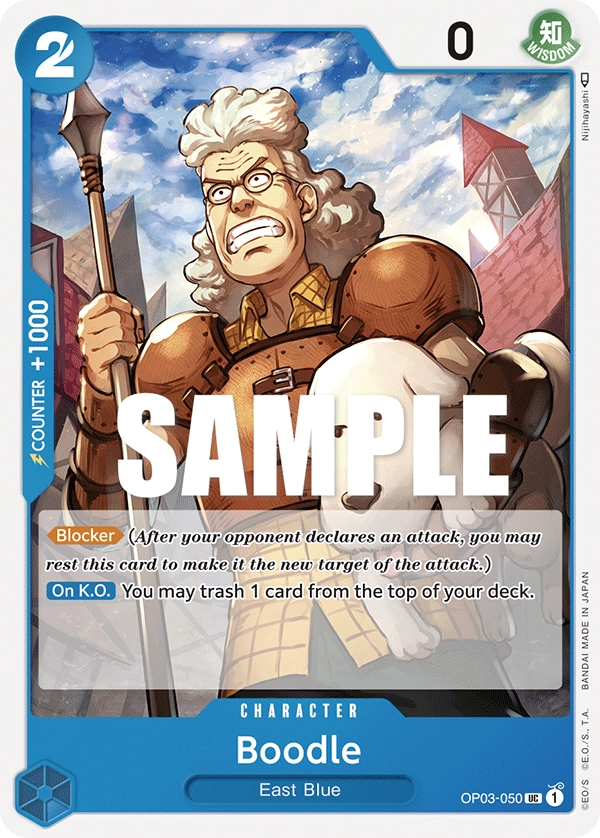
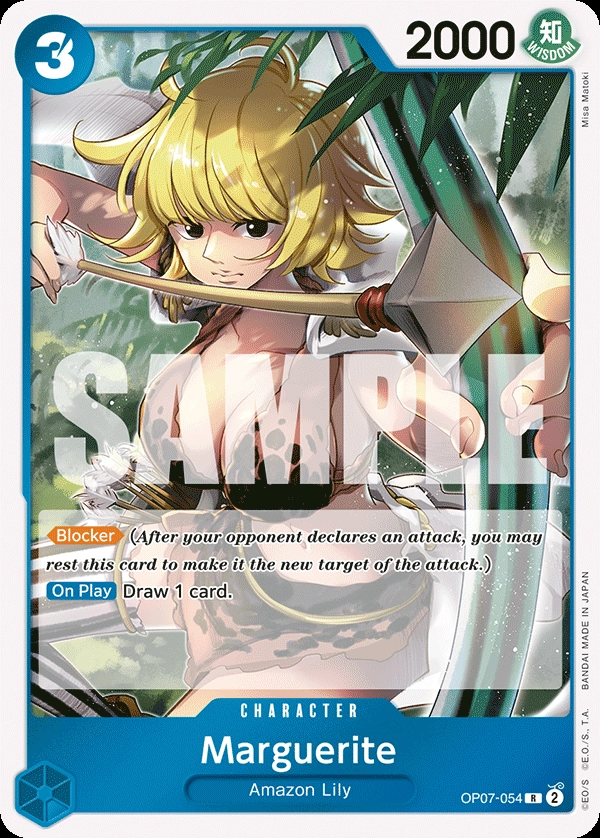
We have 2 low-cost blockers with effects that help you lower the number of cards in your hand. 2-cost Boodle and 3-cost Marguerite can block one of the opponent’s attacks, protecting your Leader from losing a Life card. On KO, Boodle trashes 1 card from the top of your deck, getting you closer to 0 cards. As for Marguerite, she draws you a card On Play, giving you extra resources in your hand.
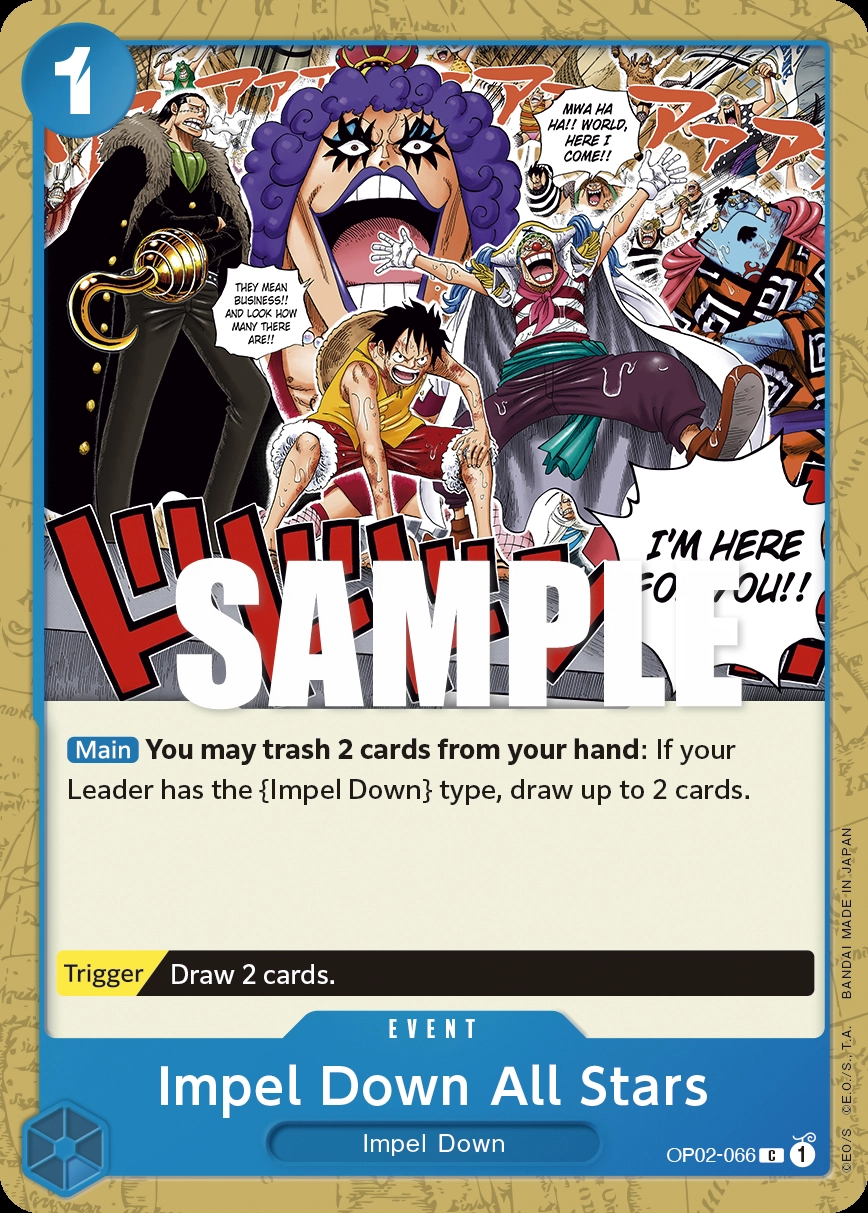
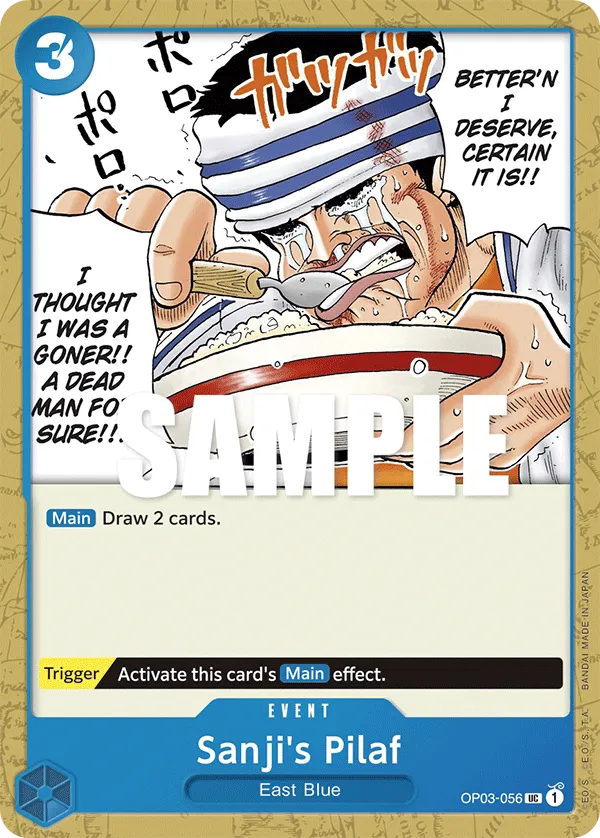
Impel Down All Stars and Sanji’s Pilaf are great for the Trigger effects, letting you draw 2 cards for added resources and lowering the number of cards in your deck. Impel Down All Stars‘ Main effect is useless to us, so we’ll never activate it. We’re not happy seeing the 1-cost Event in our hand, but luckily, we have a couple of cards that let us trash it from our hand.
As for Sanji’s Pilaf, its draw 2 cards effect is still a strong one we’ll likely need during our games. However, costing 3 Don to activate can be painful, especially when we need the extra Don during defensive turns. In most cases, you can get away with playing Sanji’s Pilaf to get the resources you need for later in the game.
Situational Cards
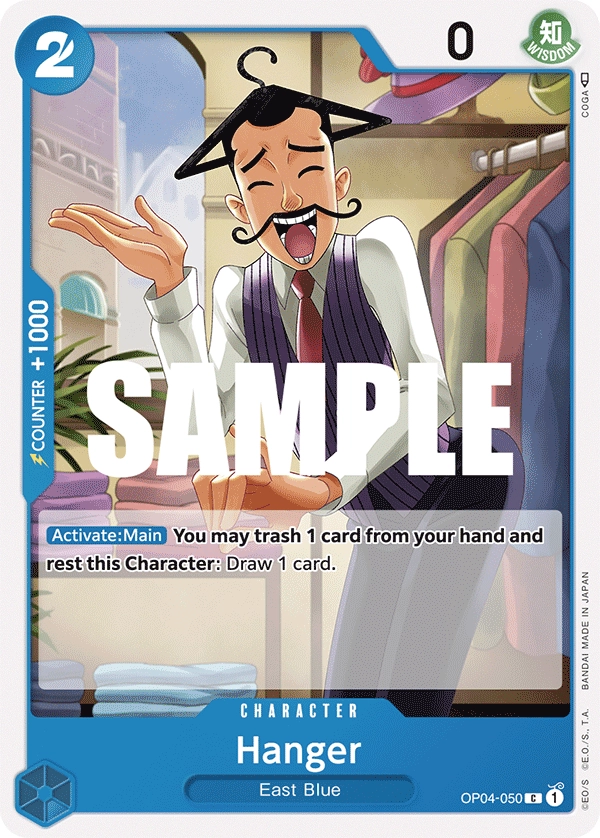
Hanger’s Activate: Main effect lets you rest him to trash a card from your hand and draw a card. Your opponent then is forced to target Hanger and KO him, so you force one of the opponent’s attackers to avoid attacking your Leader.
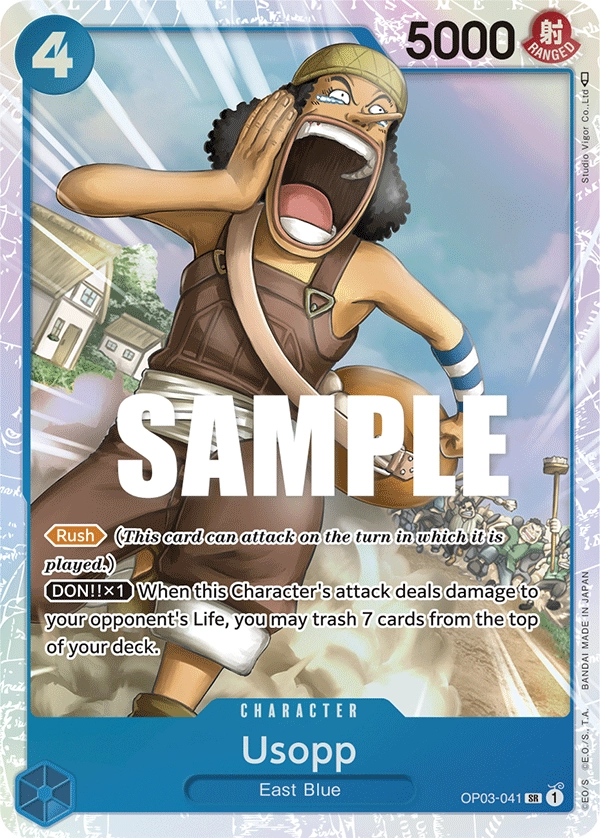
4-cost Usopp will be used to attack the opponent’s Leader and try to damage them. You need to attach a Don to activate Usopp‘s effect, but if you manage to get your attack through, Usopp will trash 7 cards from the top of your deck, getting you a huge step closer to winning the game. Your opponent will likely do their best to counter Usopp‘s attack, so it’s extremely situational for the attack to go through.
Counter Events
Counter Events are an important part of this deck to protect your Leader from attacks. You want to save Don for defensive turns to play these Events, many of which will also draw/trash cards from your deck, getting you closer to winning the game.
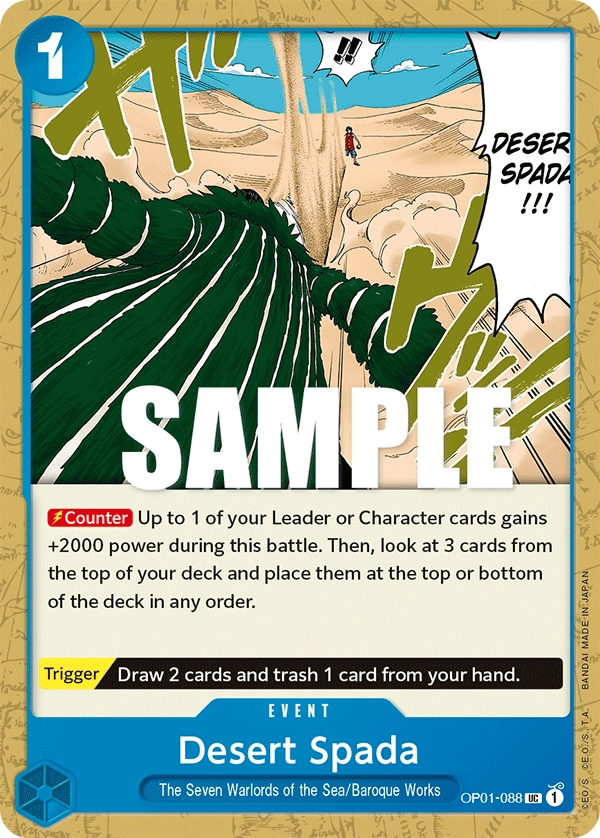
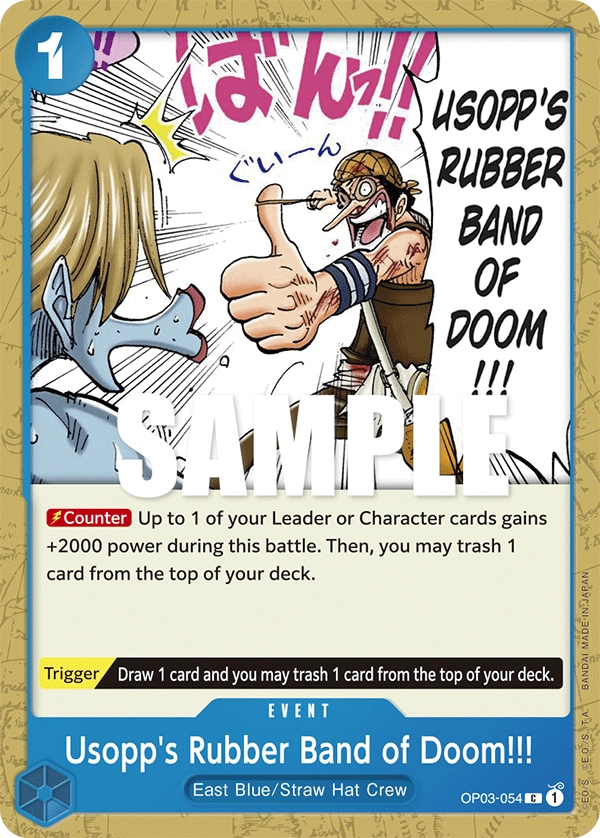
Desert Spada and Usopp’s Rubber Band of Doom!!! give your Leader +2,000 Power, allowing you to Counter an opponent’s attack. Desert Spada looks at the top 3 cards of your deck and lets you choose to place them at the top or bottom of the deck in any order you want. This helps you plan your upcoming turns by placing the card you need the most at the top of your deck to draw it on the upcoming turn.
Usopp’s Rubber Band of Doom!!! trashes 1 card from the top of your deck, playing perfectly into your strategy.
Desert Spada and Usopp’s Rubber Band of Doom!!! have strong Trigger effects that also lower the number of cards in the deck and add resources to your hand.
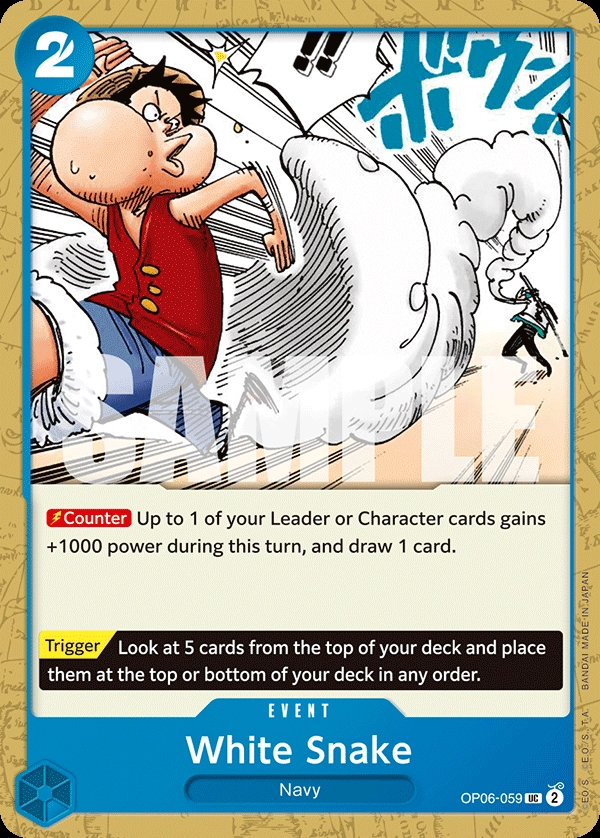
White Snake is best played when you expect multiple attacks from the opponent. It gives your Leader +1,000 Power that sticks during the turn, which makes it easier for you to Counter the other upcoming attacks. White Snake will also draw you a card, so you’re not losing on value when playing it.
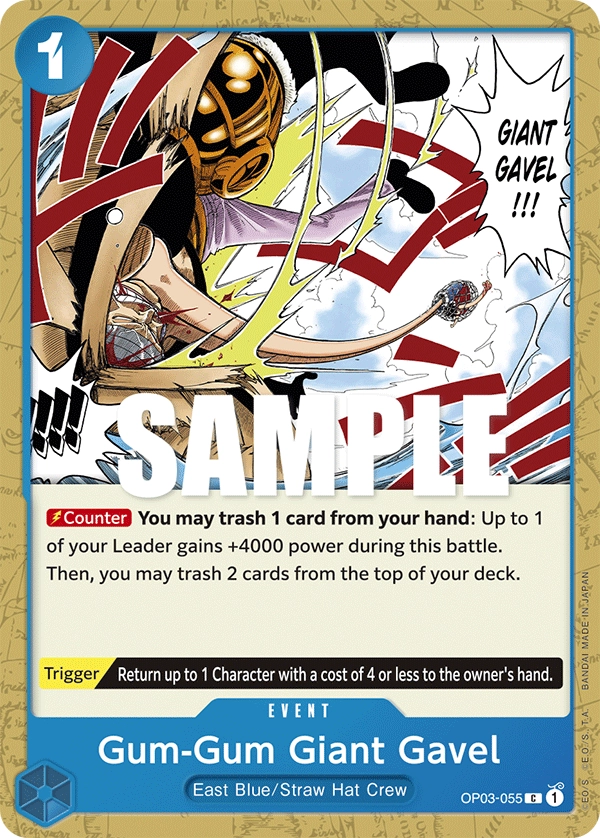
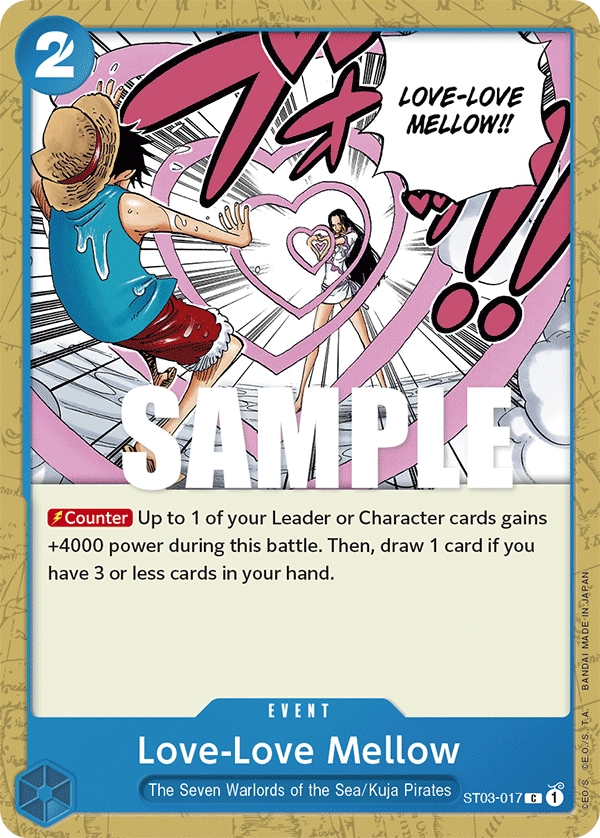
Gum-Gum Giant Gavel and Love-Love Mellow are the strong Counter Events to block high-power attacks, giving your Leader +4,000 Power. Gum-Gum Giant Gavel forces you to trash a card from your hand to activate it, but being a 1-cost Event that gives +4,000 Power, it’s worth the resources you’re losing. It also lets you trash 2 cards from the top of your deck, getting you a step closer to winning the game.
Gum-Gum Giant Gavel‘s Counter effect lets you return a 4-cost Character to the opponent’s hand, weakening their aggression.
We only want to play Love-Love Mellow when we’re down to 3 cards (4 cards with Love-Love Mellow included), activating its second effect to draw a card from your deck. This adds resources for us to use and lowers the cards in your deck.
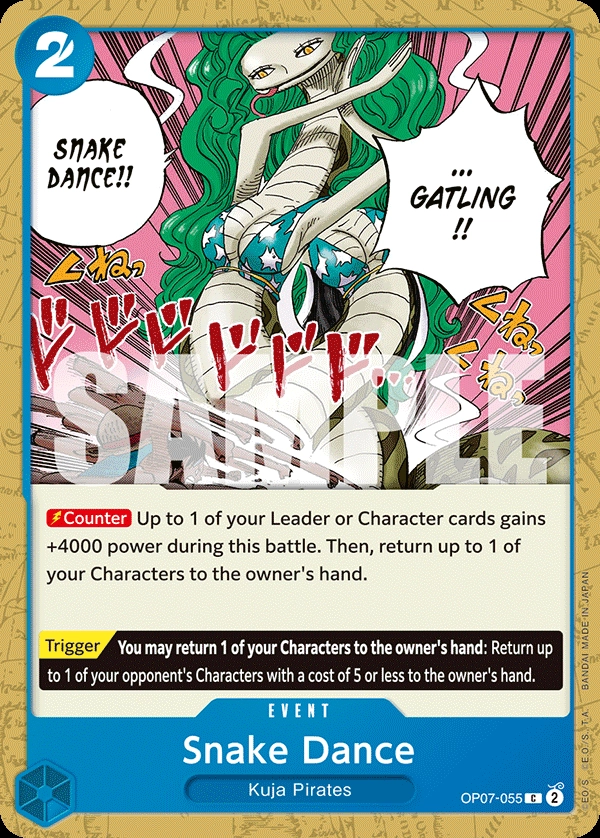
Snake Dance is another Counter Event to give your leader +4,000 Power, but it also allows you to return one of your Characters to your hand. This is perfect for returning Kaya to our hand to replay her later in the game and get more cards out of our deck.
Snake Dance‘s Trigger effect is also good for returning Kaya to your hand and at the same time, you get to return one of the opponent’s Characters with a cost of 5 or less.
Other Cards to Include
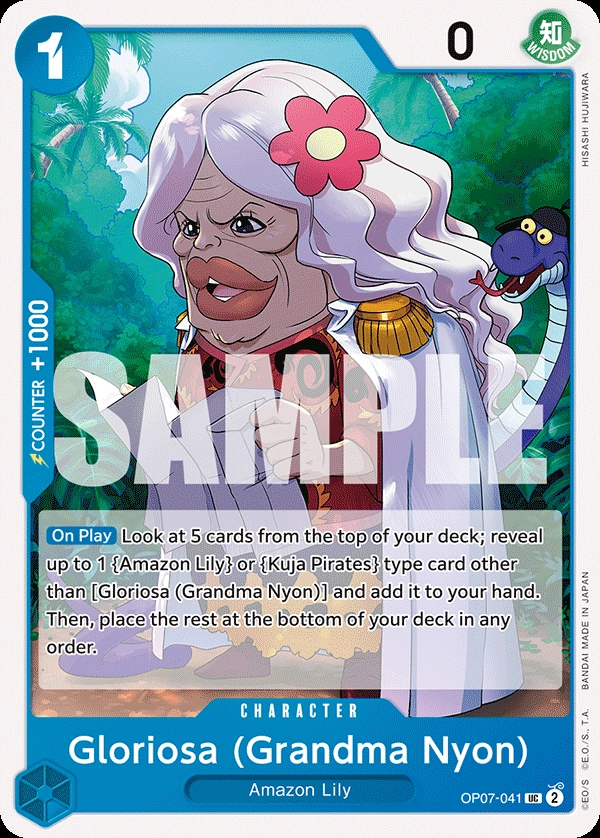
- Gloriosa (Grandma Nyon) looks at the top 5 cards of your deck and lets you add 1 {Amazon Lily} or {Kuja Pirates} type card to your hand, lowering the number of cards in your deck.
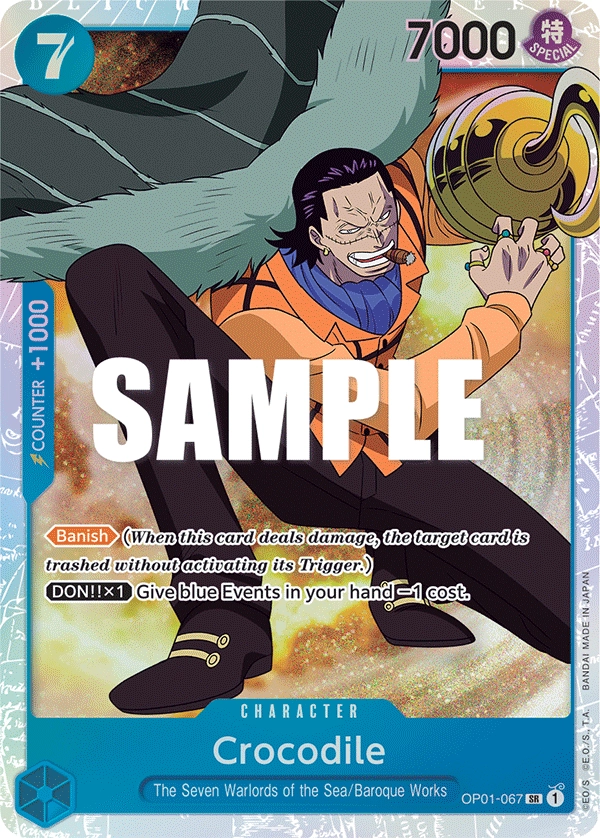
- 7-cost Crocodile isn’t a popular inclusion in Nami decks, but if you have him and want to add him to the list, he can lower the cost of your Blue Event by 1, making it easier for you to play them on future turns.
