Yellow Enel is still fighting tooth and nail in OP10 and OP11 meta, remaining a strong Yellow choice among players. The loss of Kingdom Come did make things more difficult for Yellow Enel against slow-paced decks that use high-cost Characters as win conditions, but with the meta shifting to an aggressive playstyle, Yellow Enel is still holding his own against those Leaders, thanks to his Life gain effect.
This deck uses Yellow’s Trigger cards to gain an edge over opponents, weakening their field and giving opponents a challenge to win the game. Leader Enel‘s effect of giving you an extra Life card plays perfectly into your game plan, adding potential Trigger effects to your Life area and forcing more attacks out of the opponent.
This deck will force the opposing player to change their playstyle to adapt to your Leader’s effect. So, against inexperienced players, you can punish misplays and put them behind on the field, eventually running out of steam to pressure your Leader.
Leader
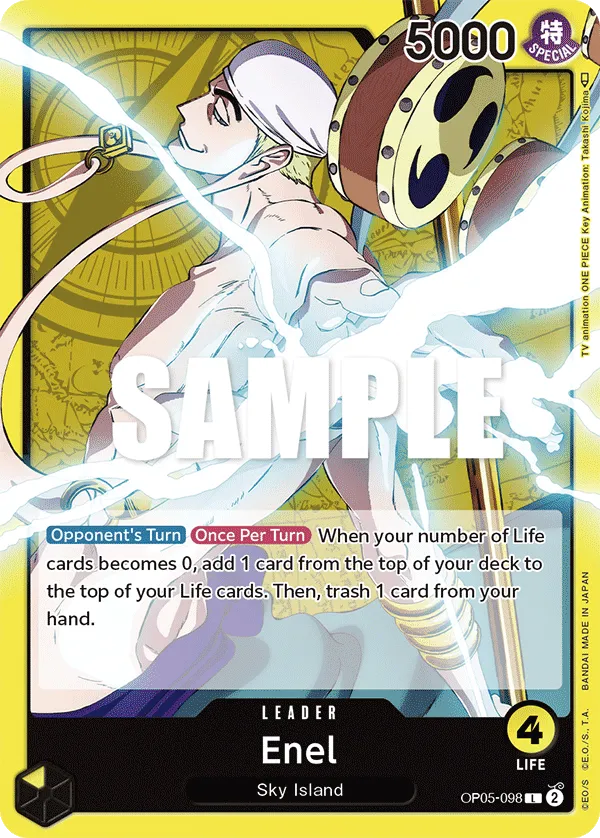
Yellow Enel wants to play a slow game, taking things to the late stages and running opponents out of resources. Once per turn, during your opponent’s turn, if you fall to 0 Life cards, Leader Enel‘s effect will activate, letting you trash 1 card from your hand to add the top card in your deck to your Life area.
This gives your Leader more protection and you can trash a card you don’t need to probably get a better card from the top of your deck in your Life area. A lot of times, you want to fall to 0 Life cards to activate the Leader effect, getting better cards and more Trigger effects will play into your gameplan.
But it’s important to watch out for how many attacks the opponent still has. Most of the time, you don’t want to start your turn with 0 Life cards, and you don’t want to feel forced to commit too many Counters to protect your last Life card after your Leader Enel has activated his effect.
Yellow Enel Decklist

How to Play
Early Play

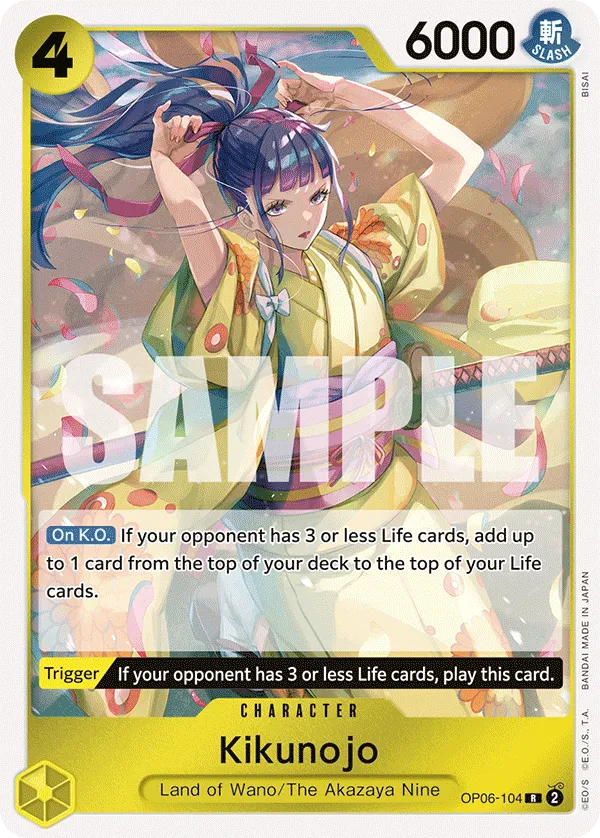
Kikunojo is the perfect play on turn 2 when you’re going second, developing a 6,000 Power Character to help put pressure on the opponent’s Leader or attack a rested Character.
Kikunojo is a bothersome Character outside of just her attacks. She can be played through her Trigger effect without having to use Don. However, your opponent has to be at 3 Life cards or less for the Trigger to activate. Additionally, if Kikunojo is KO’d when your opponent is at 3 Life cards or less, you’ll gain a Life card. This will deter your opponents from KOing Kikunojo if they’re at 3 Life cards or less, either having to put up with her attacks or give up and give you the Life card.
Blockers


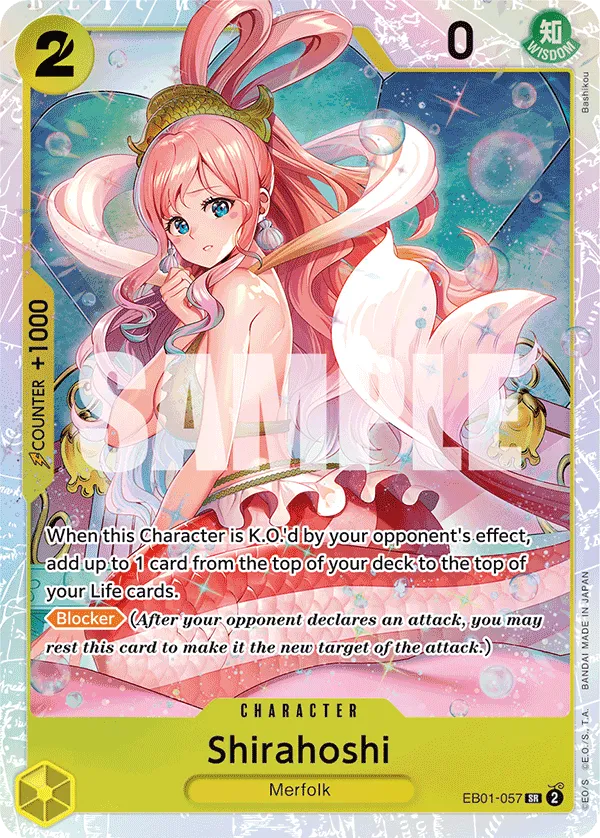
2-cost Shirahoshi is a low-cost blocker to protect your Leader from an attacker. If she’s KO’d through an opponent’s effect, you’ll gain a Life card. So, in most cases, opponents will ignore her, allowing you to block one attack of your choosing. This makes it even harder for them to set up a winning turn and go through your Leader Enel‘s effect.
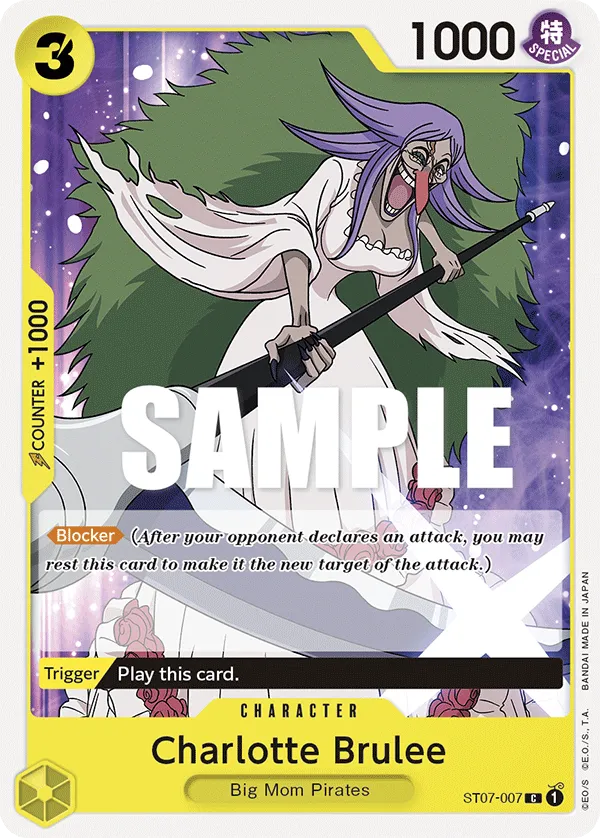
Charlotte Brulee‘s Trigger effect lets you play her on the field for free, acting as a defensive play that can ruin your opponent’s win condition setup.
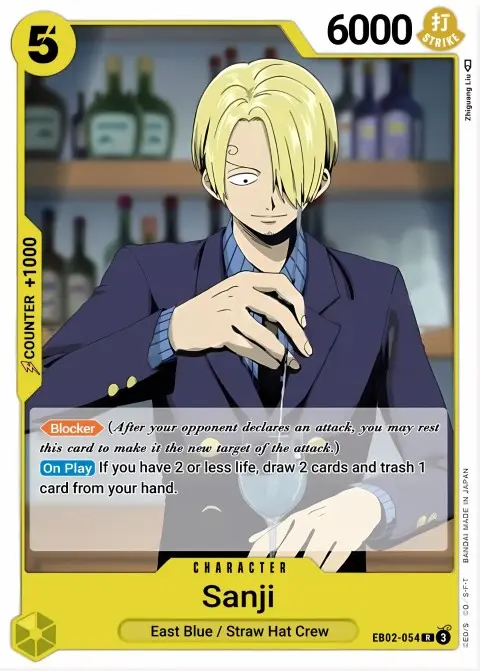
As for 5-cost Sanji, he’s a 6,000 Power Blocker that you want to play when you’re down to 2 Life cards or less. On Play, Sanji will draw you 2 cards and trashes 1 card from your hand, only if your Leader has 2 Life cards or less. So you’re gaining a Blocker who can be used offensively, gaining 2 cards in your hand, and trashing the card you need the least from your hand.
Control Cards


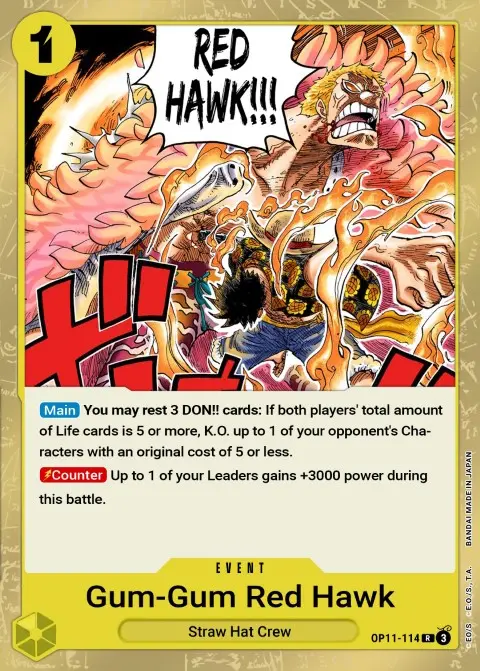
Gum-Gum Red Hawk is a versatile event that can be used to KO a 5-cost or less Character or gain +3,000 Power on your Leader during your opponent’s turn. To use Gum-Gum Red Hawk as a control event, you have to rest 3 Don, so you’re using 4 Don to activate it, and you and your opponent have a total of 5 or more Life cards. It’s a great Event in the mid-game to weaken the opponent’s side of the field, which will make it harder for them to threaten your Leader, but it also remains a relevant Event in the late-game for the Power boost it provides.
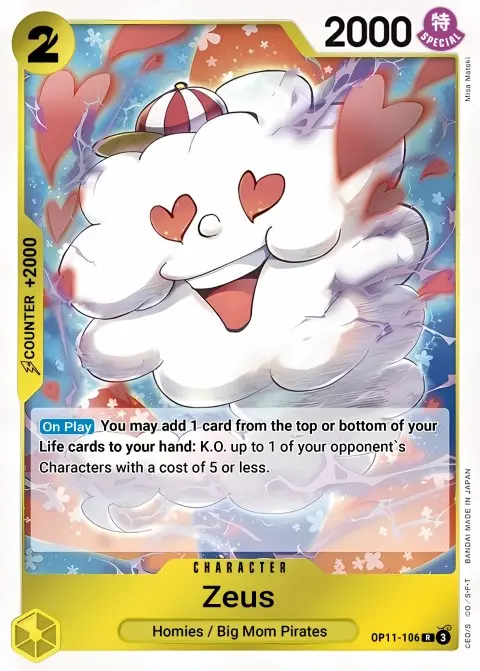
As for Zeus, his On Play effect adds 1 Life card to your hand and then KO’s a 5-cost or less Life card. So you are dropping 1 Life card, which isn’t necessarily a bad thing for Yellow Enel as it gets you closer to 1 Life card and playing your high-cost Characters to gain value from them, in case your opponent is trying to starve you.

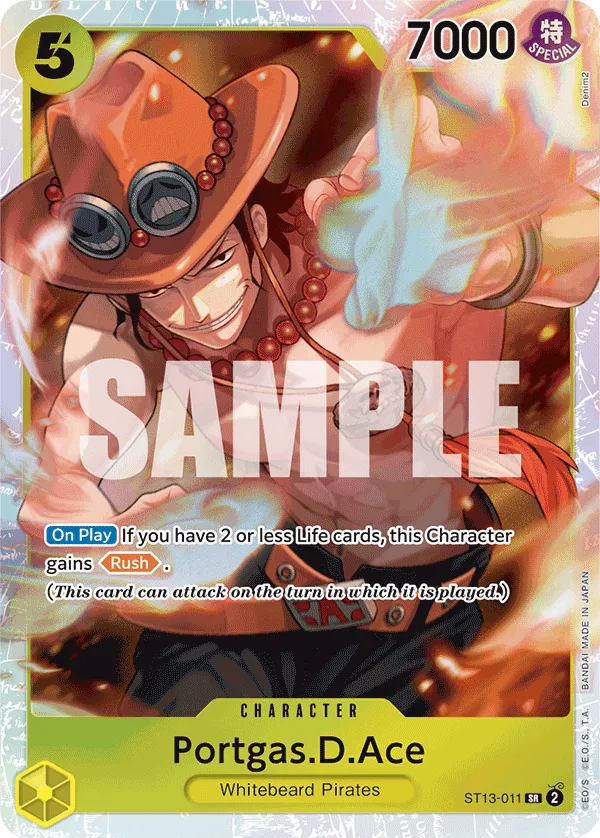
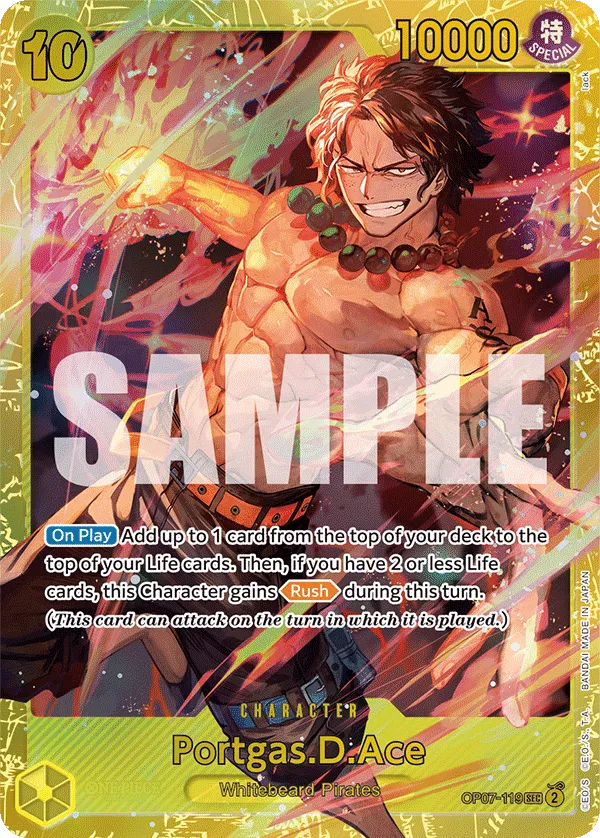
Portagas.D.Ace is a Rush attacker, only when you’re at 2 or less Life cards. His 7,000 Power makes a troublesome attacker, forcing at least 2 Counter cards if you’re attacking a 5,000 Power Leader. However, Portagas.D.Ace can be used to help control the field, attacking a rested Character and potentially KOing it to make it even harder for the opposing player to win the game.
Burn Life Cards

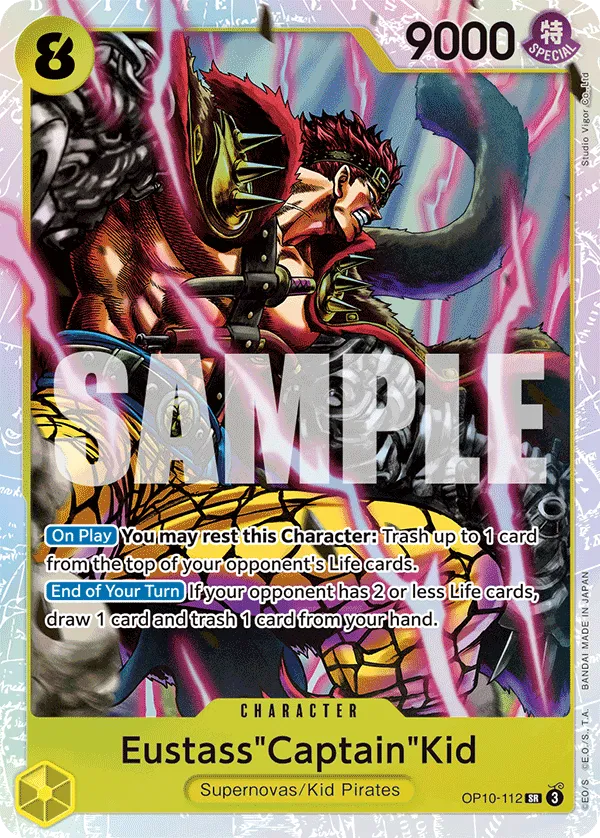
The 8-cost Eustass “Captain” Kid is a 9,000 Power Character to trash opponent’s Life cards. On Play, you can rest 8-cost Kid to trash the opponent’s top Life card, putting them in a riskier spot to lose to your attacks and bleeding them from resources. Although you’re resting Kid when you play him, being a 9,000 Power Character makes him a difficult target to KO through attacks, so your opponent will have to put in a lot of their resources to remove him.
At the end of your turn, if your opponent has 2 Life cards or less, you can draw a card and then trash another from your hand with Eustass “Captain” Kid‘s effect, filtering your hand for better cards.
Extra Life Cards

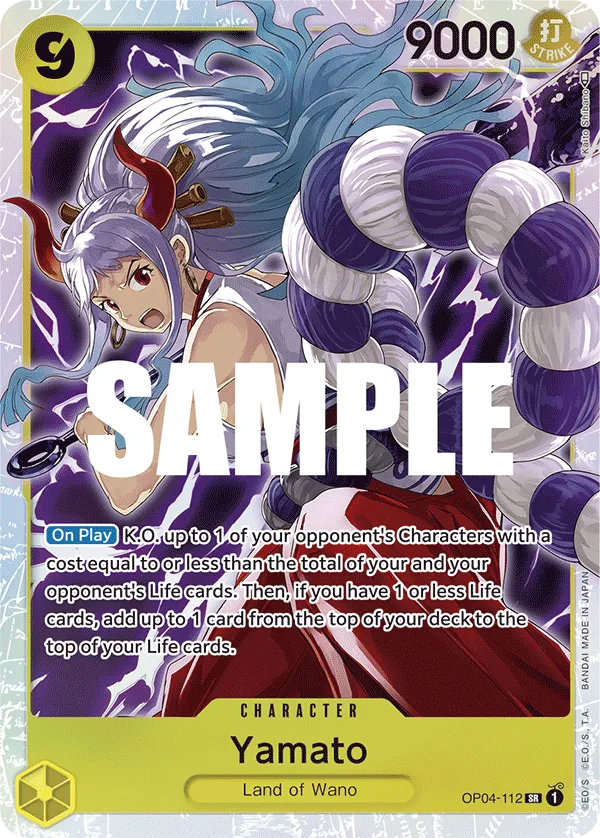
9-cost Yamato can give you an extra Life card only when your Leader is at 0 or 1 Life card, adding more protection that your opponent has to go through. On top of that, Yamato can KO one of the opponent’s Characters with a cost equal to or less than the total of your and your opponent’s Life cards.
Since Yamato‘s KO effect activates before adding a Life card, that added Life card won’t count toward her KO effect. You can KO a 4-cost Character if you’re at 1 Life card and your opponent is at 3. This in itself is great value, lowering the number of attackers your opponent has. In some cases, you’ll play Yamato even if you’re at 2 Life cards. You won’t gain a Life card, but you can still KO a Character and have a big body in play to attack on the upcoming turn.


10-cost Ace gives you a Life card when he’s played, but will only gain Rush if you’re at 2 Life cards. So you have to be at 0 or 1 Life card when playing Ace to gain Rush. If you’re at 2 Life cards, you have to decide which is more beneficial, the extra Life card or the Rush attack, depending on the state of the game. You can choose not to gain a Life card with a 10-cost Ace, to gain Rush, and attack with him to either knock out a Character or put pressure on the Leader.
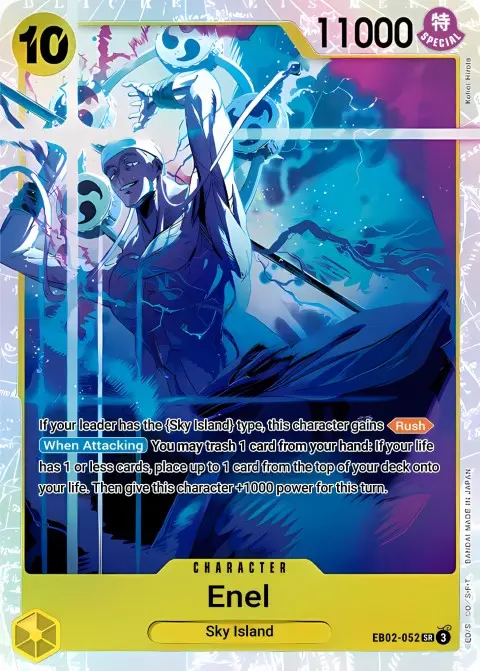
As for 10-cost Enel, if your Leader has the {Sky Island} type, he’ll gain Rush. This means we’ll always have Rush on Enel when he’s played, allowing us to use the 11,000 Power to either KO a rested Character or go for a Leader attack.
Enel also has a “When Attacking” effect, trashing a card from your hand to give you a Life card, only if you have 1 Life card or less. So it can be a bit restrictive, but even without gaining a Life card, the Rush attack is worth it. Activating this effect will also give Enel +1,000 Power, turning him into a 12,000 Power attacker.
Events

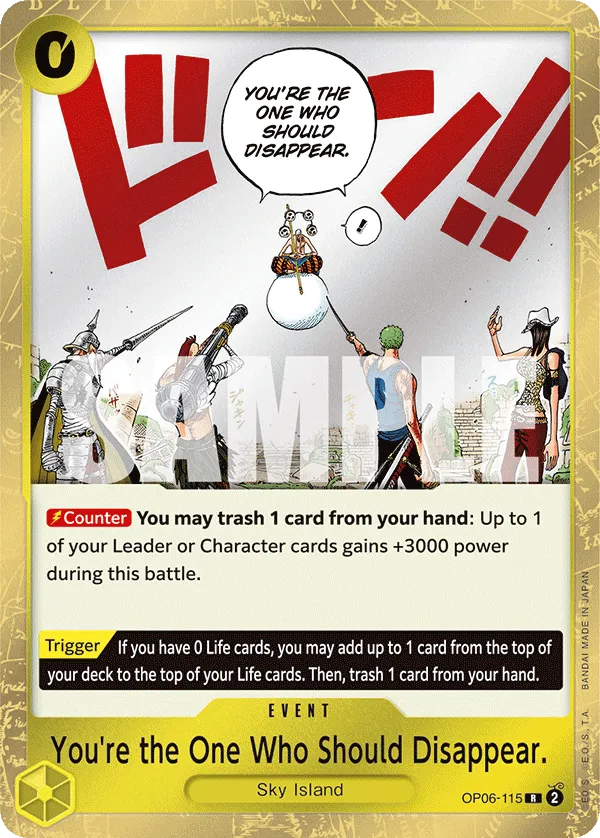
You’re the One Who Should Disappear is a Counter Event that lets you trash a card from your hand to give your Leader or a Character +3,000 Power. Its Trigger effect is extremely strong during your defensive turn. If it’s the last card in your Life Area, you can activate the Trigger effect to gain an extra Life card, forcing more attacks from the opposing player to win the game.
+2,000 Counters


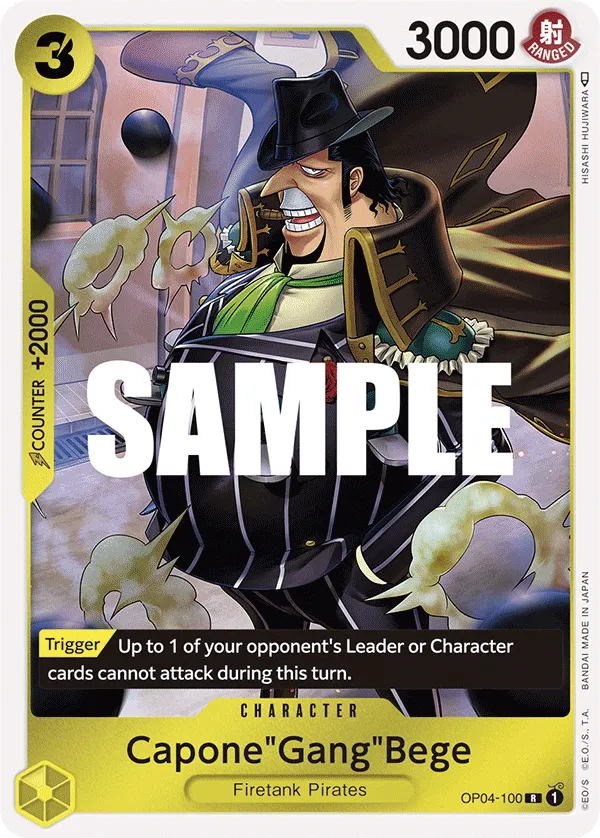
Capone”Gang”Bege‘s Trigger effect shuts down one of the opponent’s Leader or Character cards from attacking. This can be insanely good in the late game when the opponent is trying to win the game.
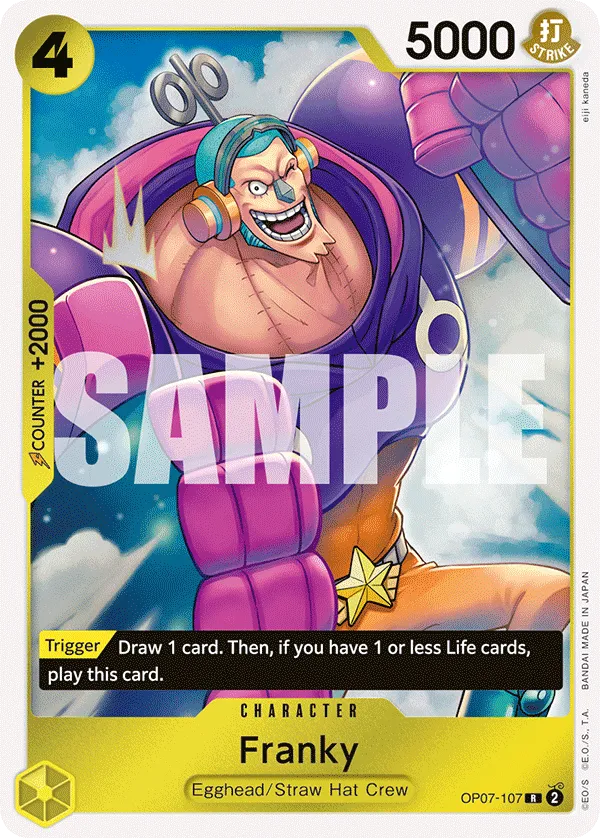
As for Franky, his trigger effect draws you a card, which isn’t worth much, but if you have 1 or less Life cards, you can also play Franky on the field. Then it becomes worth activating his Trigger effect, developing a 5,000 Power Character, and drawing a card.
Turn-Based Gameplay
Going First
- Turn 1 (1 Don):
- Turn 2 (3 Don): 2-cost Shirahoshi or 3-cost Charlotte Brulee.
- Turn 3 (5 Don): Zeus or Gum-Gum Red Hawk to KO a 4-cost Character. Or play Kikonujo or Ace.
- Turn 4 (7 Don): Ace or Sanji. If your opponent has a 5-cost or less Character, you can play Zeus to KO it.
- Turn 5 (9 Don): 9-cost Yamato or 8-cost Eustass”Captain”Kid.
- Turn 6 (10 Don): 10-cost Enel or 10-cost Ace.
Going Second
- Turn 1 (2 Don): 2-cost Shirahoshi
- Turn 2 (4 Don): Kikunojo.
- Turn 3 (6 Don): Zeus or Gum-Gum Red Hawk to KO a 5-cost Character. Ace or Sanji.
- Turn 4 (8 Don): 8-cost Eustass”Captain”Kid.
- Turn 5 (10 Don): 10-cost Enel or 10-cost Ace.
Other Cards to Include
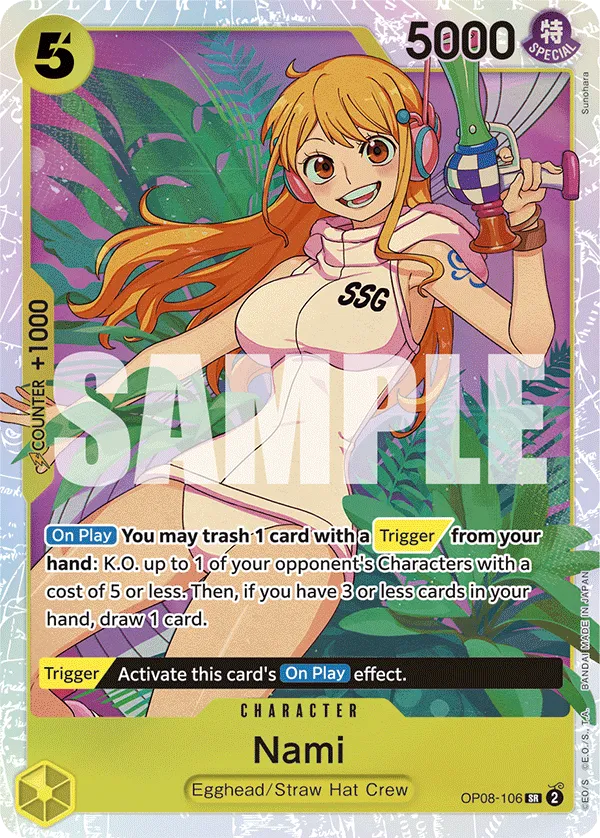
- 5-cost Nami trashes a Trigger card from your hand to KO one of the opponent’s Characters with a 5-cost or less. If you have 3 cards or less in your hand, you can draw a card. So if you have 5 cards, play Nami and trash a card, and you’ll go down to 3 cards, allowing you to draw a card.
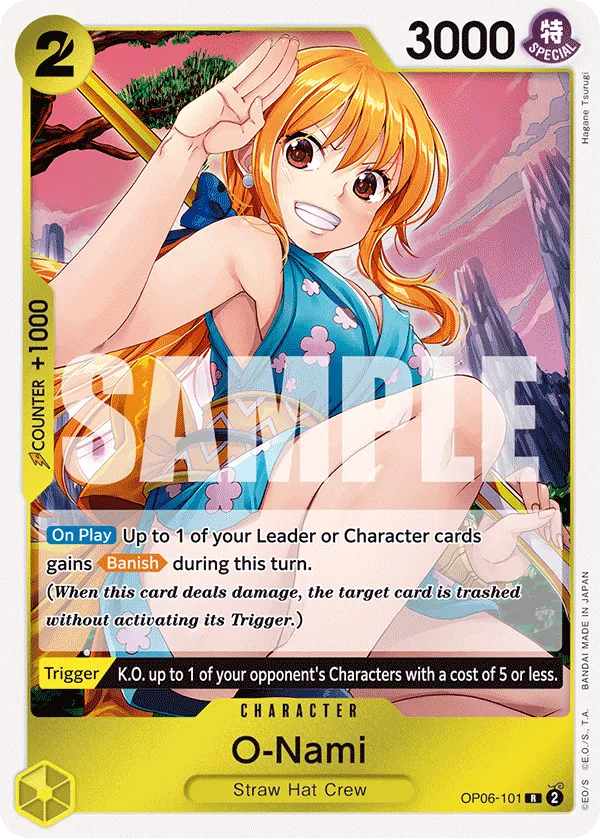
- O-Nami‘s On Play effect gives your Leader or one of your Characters Banish to attack the opponent’s Leader and trash a Life card if that attack goes through. The opponent will feel compelled to counter the attack to avoid losing that Life card. However, O-Nami‘s true strength is in her Trigger effect, letting you KO a 5-cost or less Character. This puts your opponent behind on the field and can buy you a lot of time until your carry cards start dropping.
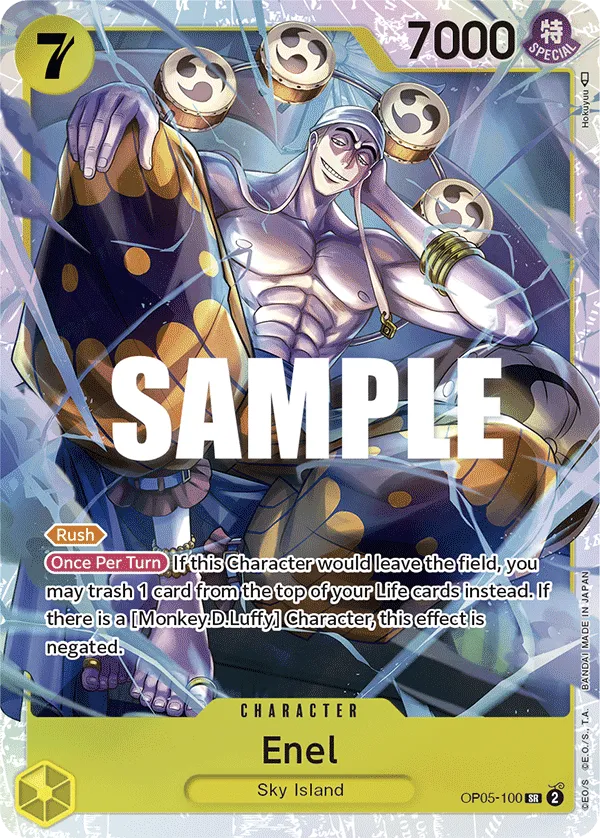
- 7-cost Enel is a Rush attacker that can be tough for opponents to remove. When KO’d or removed, you can trash the top card in your Life area to keep Enel in play. A lot of times, you want to activate the effect to keep Enel in play, making sure you have an attacker for the upcoming turn. However, if there’s a threat of losing the game if you trash a Life card, you’ll have to sacrifice 7-cost Enel.
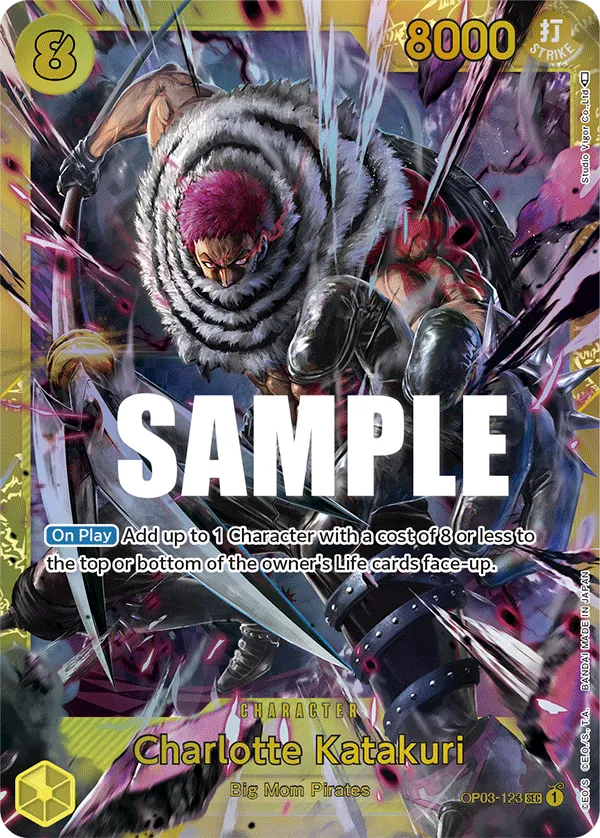
- 8-cost Charlotte Katakuri‘s On Play effect lets you add 1 Character with a cost of 8 or less to the top or bottom of the owner’s Life area face-up. This can remove one of the opponent’s Characters from play, and although you’re giving them a Life card, it does weaken the field presence. However, 8-cost Katakuri can also place one of your own Characters in your Life area. This gives you an extra Life card to protect your Leader, and if you pick a card with a Trigger effect like 2-cost O-Nami, you’ll have a removal option once the opponent damages your Leader.
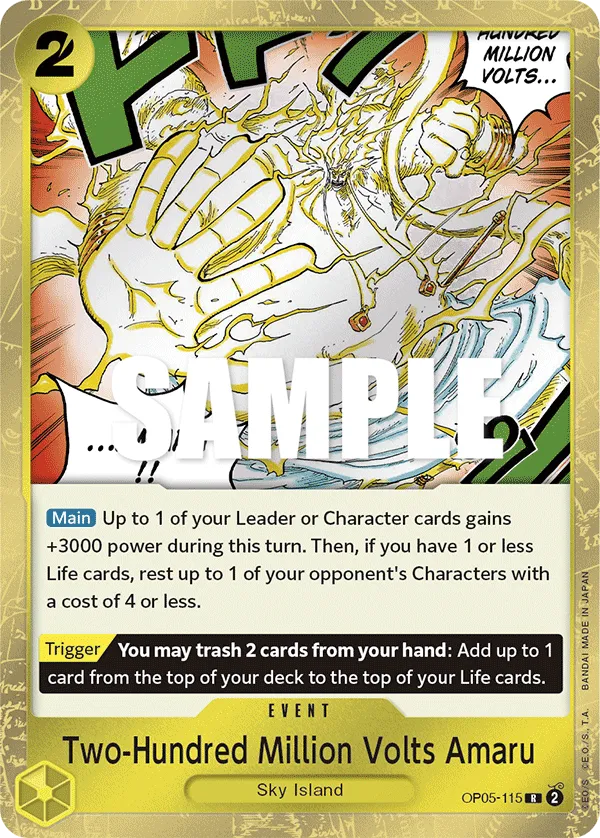
- Two-Hundred Million Volts Amaru is used aggressively to rest one of the opponent’s 4-cost or less Characters and gain +3,000 Power. You can use it to KO a Character or to attack the opponent’s Leader by resting one of their blockers. The trigger effect trashes two 2 cards from your hand to gain 1 Life card from the top of your deck.
