The aggressive new Leader from the Starter 21 deck, Red Monkey D.Luffy, gives players a new way to play their aggressive Red decks, centered around pressuring opponents in the early/mid-game and finishing the game as fast as possible.
This Red deck has multiple Rush attackers to go for aggressive attacks immediately, making it difficult for opponents to stabilize the mid-game. With Leader Luffy’s effect, you can increase the Power of your attacker by attaching rested Don to them. Your Leader isn’t the only card attaching rested Don; this deck has multiple Characters with the ability to attach rested Don, adding more Power to your attacks, which expends the opposing player’s Counter cards.
This is a Glass Cannon deck, focusing solely on aggression and eventually forcing your opponent to try to rush you down. However, Red Monkey D.Luffy being a 5-health Leader plays perfectly into our strategy, as it’ll be difficult for opponents to aggro us back, buying us enough time to land the finishing blow.
Leader
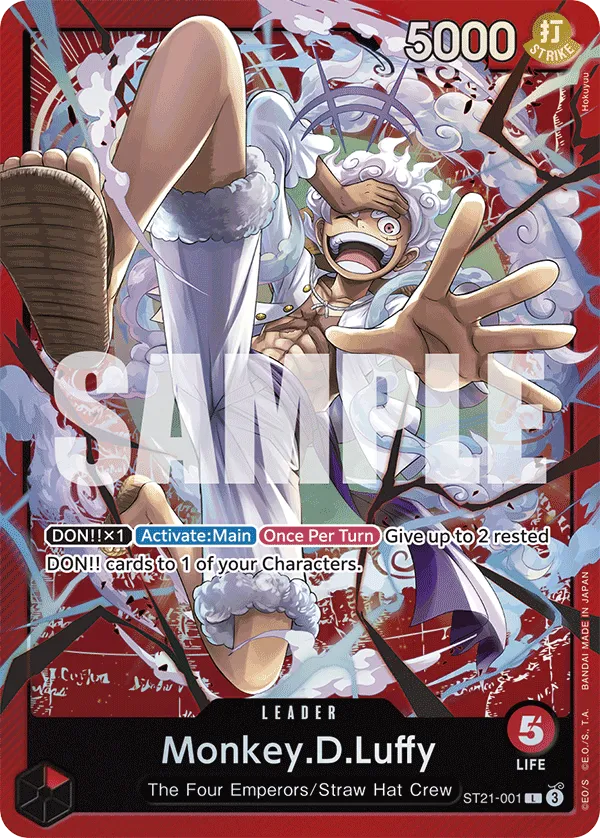
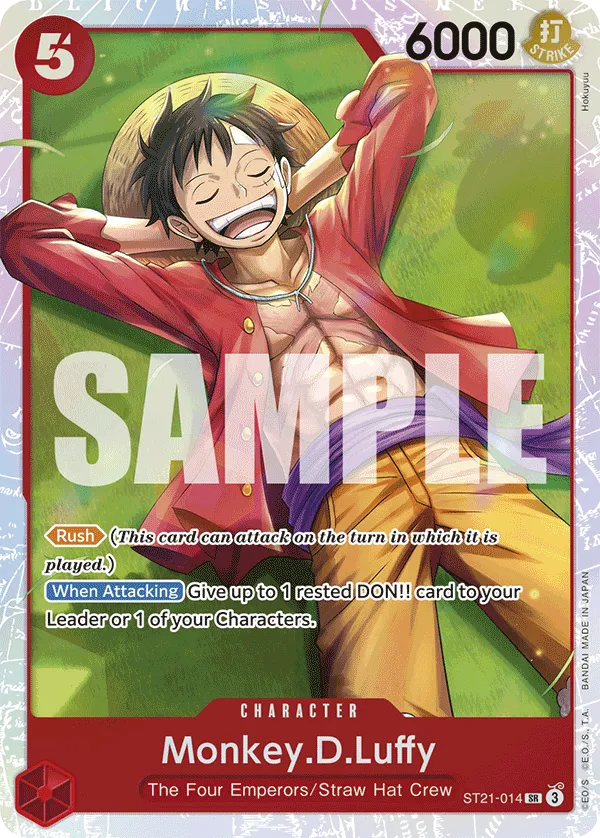
The Starter 21 Monkey D.Luffy is an aggressive Leader, giving one of your Characters up to 2 rested Don. To activate this effect, you have to attach 1 Don to your Leader and then give 2 Don to a chosen Character. This allows you to go for aggressive attacks while still developing Characters on the field for your opponent to deal with. This list has aggressive Rush attackers, so you can play and attach 2 Don to them for high Power attacks, forcing opponents to burn their Counter cards.
Red Monkey D.Luffy being at 5 health is perfect for this aggressive strategy, as opponents won’t be able to match your aggression and rush for the win. Instead, they’ll be forced to attack your rested Characters and try to control your field.
ST21 Red Monkey D. Luffy Decklist
How to Play
1-cost Cards
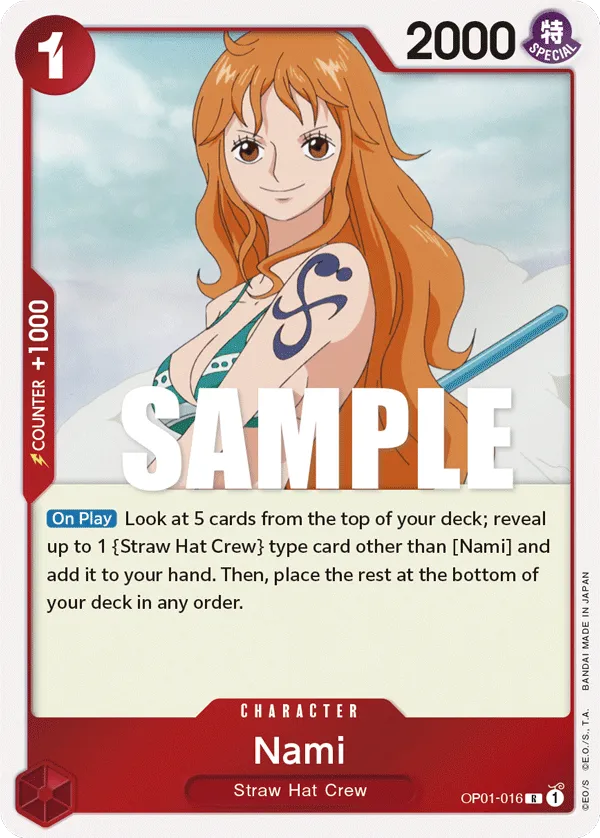
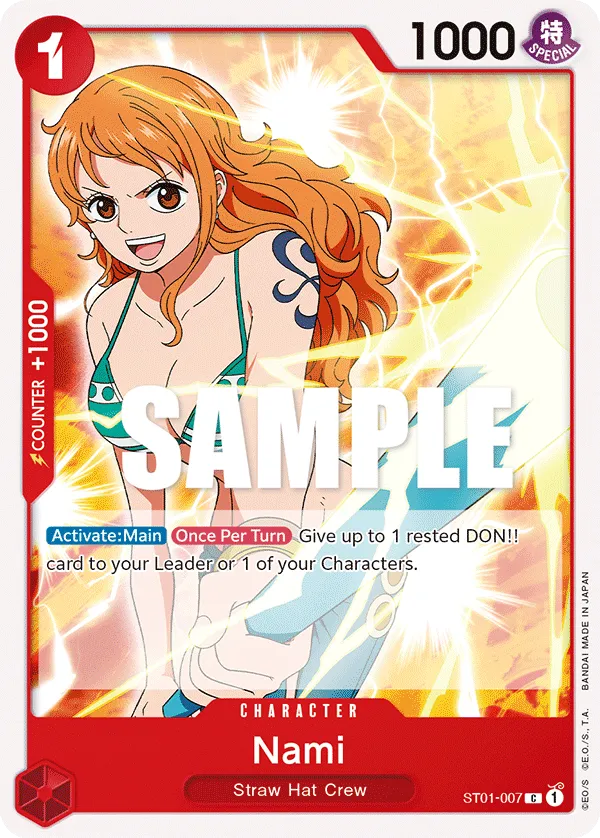
1-cost Nami is an early searcher that looks at the top 5 cards in your deck to find you the {Straw Hat Crew} type card you need for the upcoming turns. She’s best played early to fix your hand and ensure you can go for aggressive turns.
Extra Don
The 1-cost Nami attaches a rested Don to your Leader or one of your Characters, enabling you to activate your Leader effect without worrying too much about Don management and adding more Power to your attacks. The longer Nami sticks on the field, the more value you’ll gain from her.
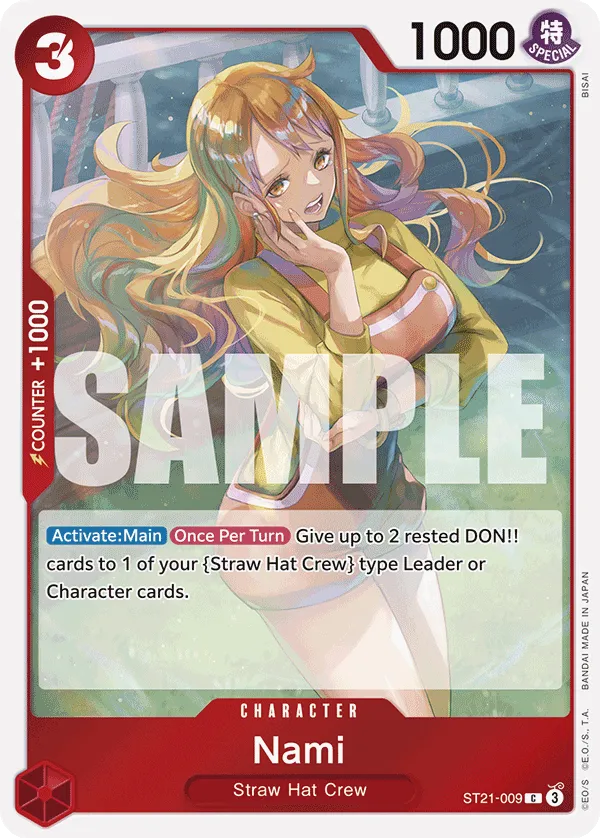
You want to have 3-cost Nami in play as early as possible. She’s best played on turn 2 when you’re going first, attaching 2 rested Don to your {Straw Hat Crew} type Leader or one of your Characters once per turn. This adds more aggression to your attacks, especially if the opposing player doesn’t have the means to remove her from play, attaching 2 rested Don every turn and ensuring you activate your Leader’s effect.
Rush Zoro
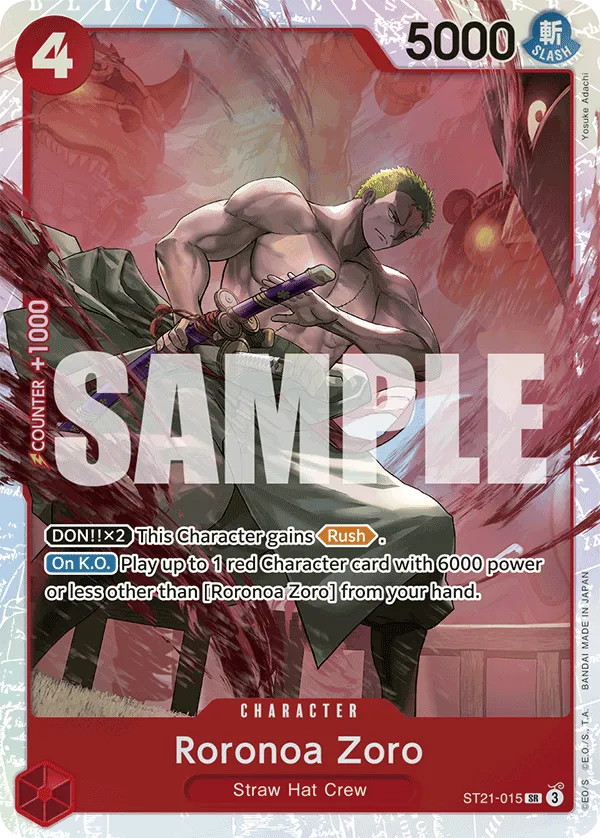
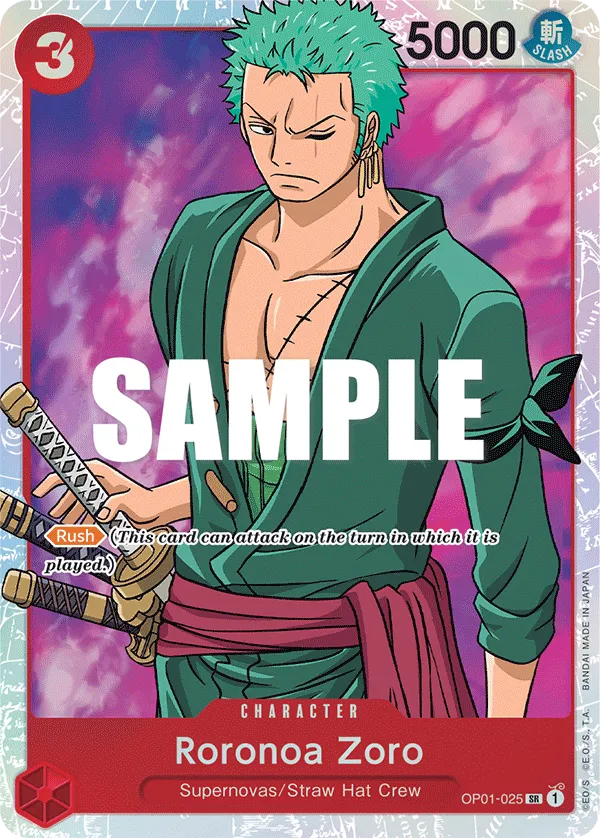
4-cost Roronoa Zoro is your strongest card in this deck to make sure you have an aggressive mid-game. The 5,000 Power Character can become a Rush attacker when you attach 2 Don to him, so Leader Luffy is perfect here, giving Roronoa Zoro 2 Don through his effect. A 7,000 Power attack will force at least 2 Counter cards from opponents to shut your attack down.
Although the 4-cost copy seems lackluster compared to the 3-cost so far, his On KO effect is why this card is one of your strongest options. When KO’d, 4-cost Roronoa Zoro lets you play a Red Character with 6,000 Power or less from your hand other than {Roronoa Zoro}. So you can play one of your 5-cost Monkey D.Luffy Characters.
5-cost Rush Attackers
Both your 5-cost Monkey D. Luffy are 6,000 Power Rush attackers, but each has different effects. The ST21 Luffy can give your Leader or one of your Characters a rested Don when he goes for the attack. This increases the aggression of your attacks, making it harder for your opponent to block. Make sure you’ve developed a Character so Luffy can attach a rested Don.
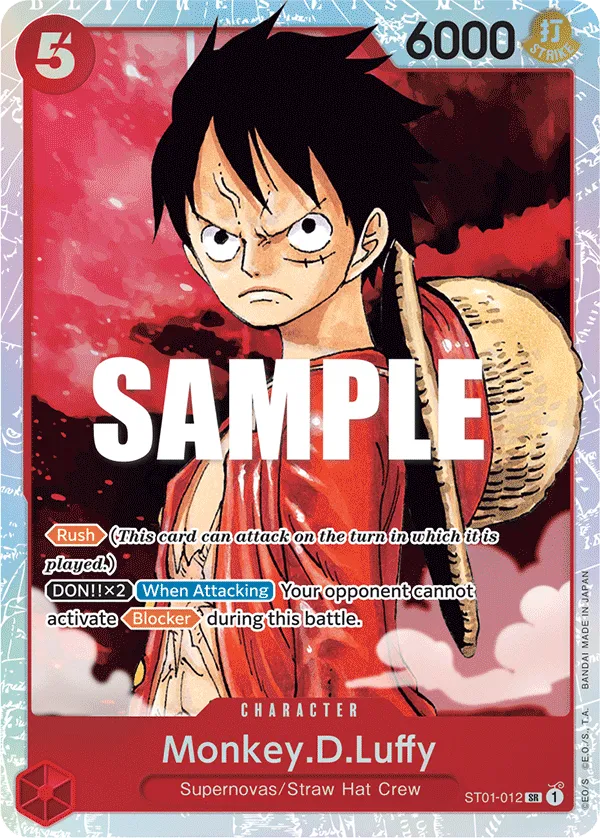
As for the OP01 Monkey D.Luffy, he’s perfect if you’re trying to win the game and your opponent has a blocker standing in your way. Attaching 2 Don to Luffy will activate his effect, preventing the opposing player from activating a Blocker when Luffy attacks. So if your opponent is at 0 Life cards, OP01 Monkey D.Luffy is the card to play to ignore a blocker and win the game.
Late-Game Rush
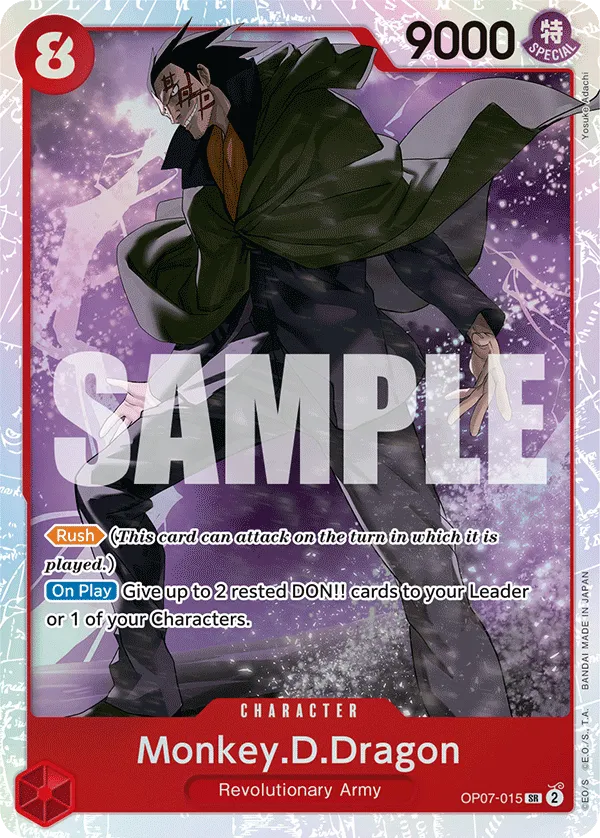
8-cost Monkey D.Dragon is a 9,000 Power Rush attacker, that empowers his own allies on the turn he’s played. Dragon gives 2 rested Don to your Leader or 1 of your Characters. So we can play him on Don 8 and still use Leader effect to attach 2 rested Don, going for multiple high Power attacks. The ability to attach 4 rested Don in one turn can be devastating for the opposing player, especially if they decide to Counter one of your attacks.
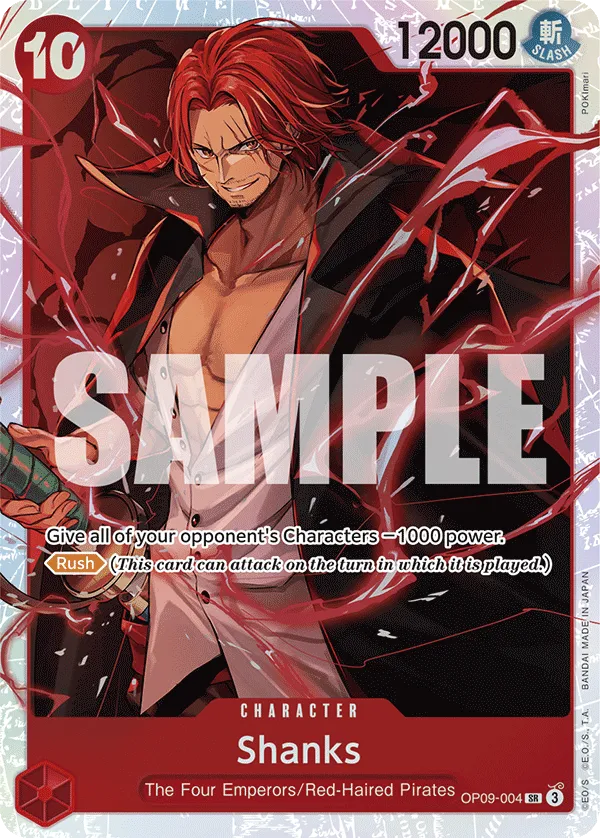
As for 10-cost Shanks, he’s maintaining the Rush pressure this deck’s strategy revolves around, going for a 12,000 Power attack. However, Shanks is also reducing the Power of all of the opponent’s Characters by 1,000, making it a challenge for them to damage our Leader or KO rested Characters. This effect will demand less Counter resources from us to defend our cards, and will be important late game when we’re solely focusing on taking down your opponent’s Leader.
On the downside, Shanks is a 10-cost Character, which prevents us from attaching a Don to our Leader unless we have 3-cost Nami or 5-cost Monkey D.Luffy in play. Radical Beam will also be out of the equation during our defensive turn, so if we’re too worried about losing on the upcoming turn, we might avoid playing Shanks to save Don for Radical Beam.
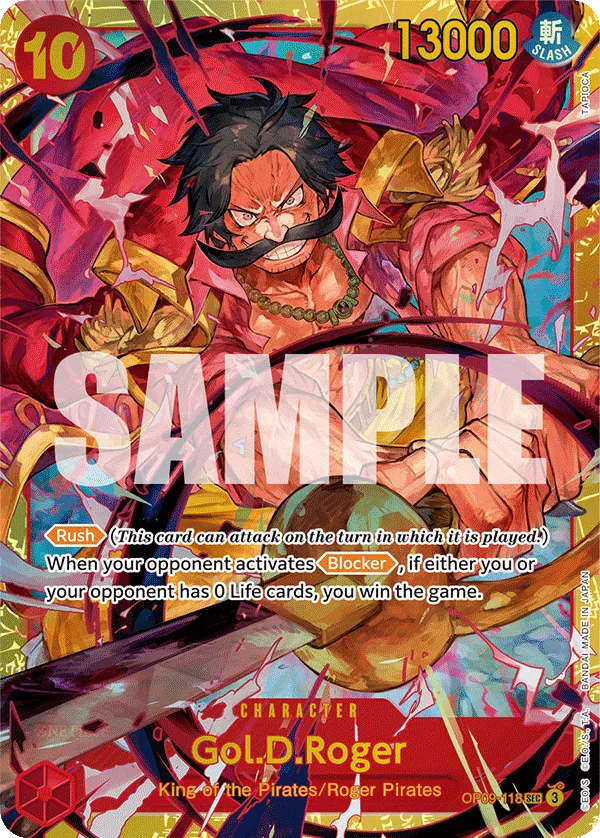
Gol.D.Roger keeps the Rush attacks going! His 13,000 Power Rush attack is the strongest in this deck and hard for most decks to Counter. We usually wait to play Gol.D.Roger until the opponent has 0 Life cards, making their Blockers useless. If an opponent at 0 Life cards uses a Blocker while Gol.D.Roger is in play, they automatically lose the game.
+2,000 Counters
We have multiple +2,000 Counter Characters, but they can also be used for their effects depending on the game.
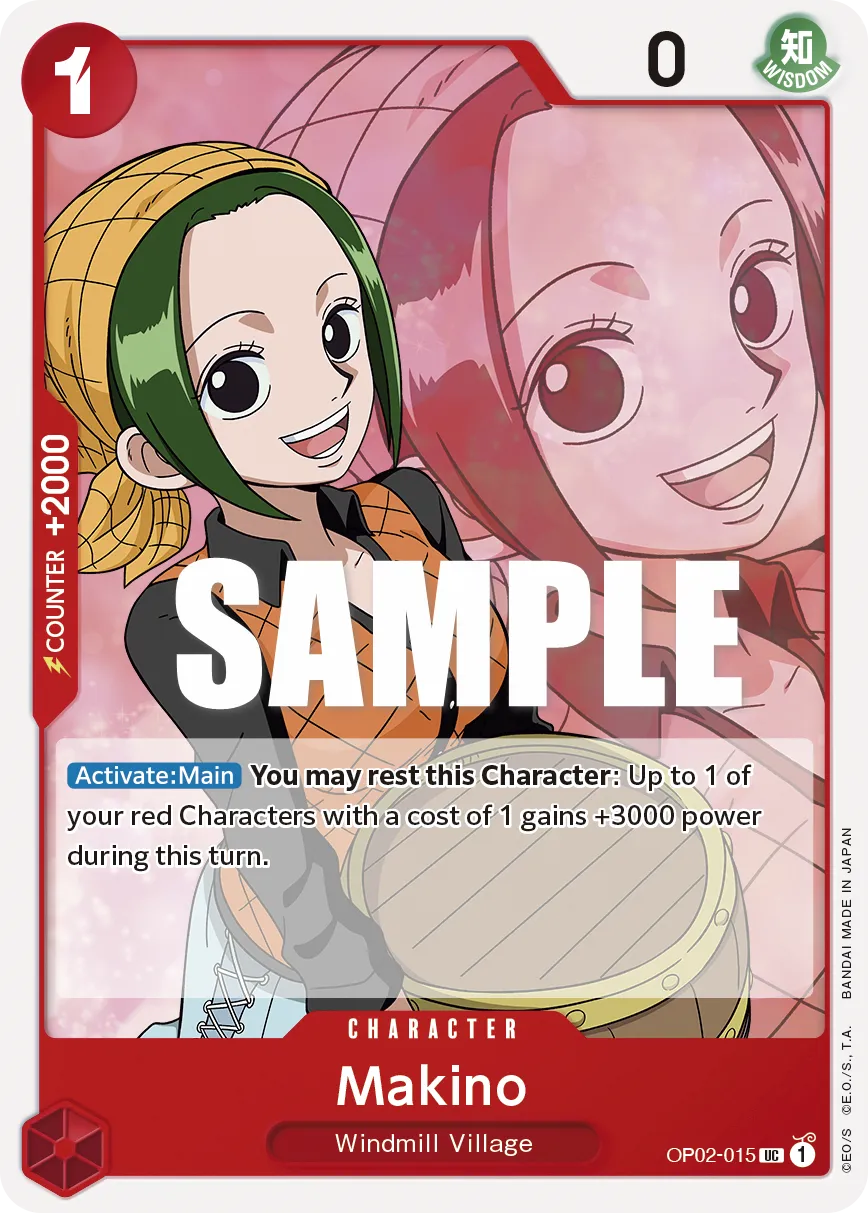
We could use Makino to increase a 1-cost Nami’s attack, turning her into an attacker.
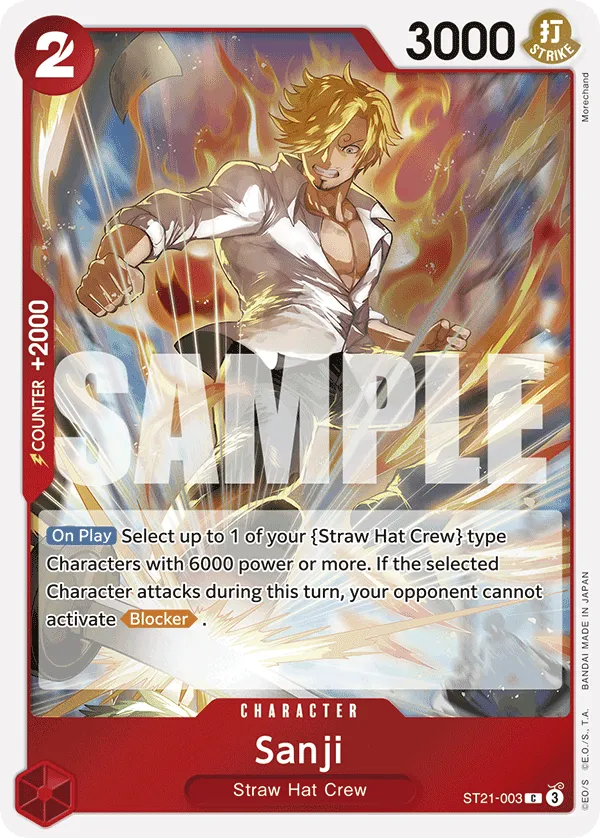
The ST21 Sanji can be used for his On Play effect, letting you choose a Character with 6,000 Power or more and during this turn, that selected Character can’t be blocked. So now you have a great finisher to win you the game on the spot if your opponent is at 0 Life cards.
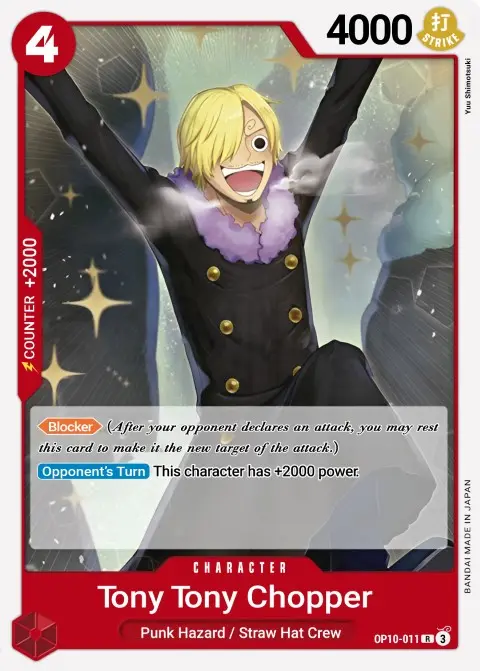
As for 4-cost Tony Tony Chopper, he can be played if we’re too worried about losing the game on the upcoming turn. Putting down a blocker to a hit for us can be just what we need to survive an extra turn and create a finisher line to win the game.
Events
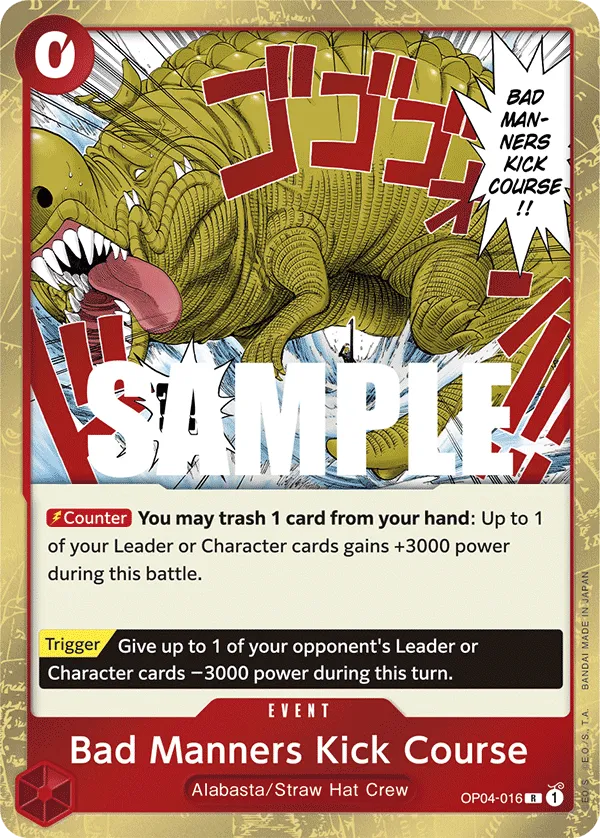
Bad Manners Kick Course trashes a card from your hand to gain +3,000 Power on your Leader or one of your Characters. We have multiple cards in this list with no Counter effect, so we can trash them to gain the +3,000 Power, protecting our Leader or a Character and pushing for additional turns to win the game.
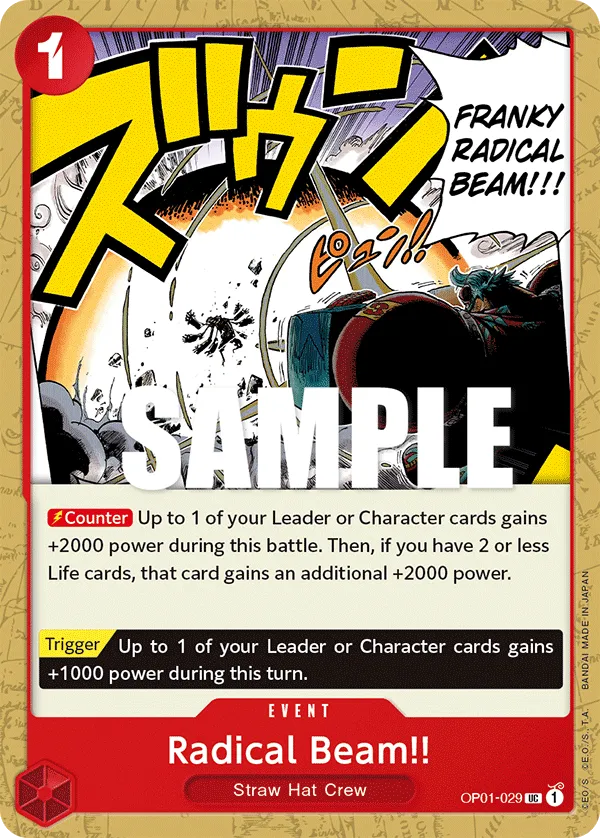
Radical Beam!! is a 1-cost Counter Event to shut down one of the opponent’s attacks. You need to anticipate when you want to play Radical Beam and save 1 Don for the defensive turn. Having 2 Life cards or less bumps Radical Beam‘s Power gain from +2,000 to +4,000.
Mulligan
- 1-cost Namis are always great to have. 3-cost Nami if you’re going first.
- 4-cost Roronoa Zoro is another strong pick regardless whether you’re going first or second.
- 5-cost ST21 Monkey D.Luffy.
Turn-Based Gameplay
Going First
- Turn 1 (1 Don): 1-cost Nami.
- Turn 2 (3 Don): 3-cost Nami.
- Turn 3 (5 Don): 4-cost Roronoa Zoro and attach 2 Don to him with Leader effect or 5-cost ST21 Monkey D.Luffy.
- Turn 4 (7 Don): 5-cost ST21 Monkey D.Luffy.
- Turn 5 (9 Don): 8-cost Monkey D. Dragon.
- Turn 6 (10 Don): 10-cost Shanks. In later turns, we’ll rely on ST01 Monkey D. Luffy and Gol D. Roger as finishers.
Going Second
- Turn 1 (2 Don): 1-cost Nami.
- Turn 2 (4 Don): 4-cost Roronoa Zoro. If you have 1-cost ST01 Nami, you can attach a Don to your Leader and then attach 2 Don to Roronoa Zoro for a Rush attack.
- Turn 3 (6 Don): 5-cost ST21 Monkey D.Luffy
- Turn 4 (8 Don): 8-cost Monkey D. Dragon.
- Turn 5 (10 Don): 10-cost Shanks. In later turns, we’ll rely on ST01 Monkey D. Luffy and Gol D. Roger as finishers.
Other Cards to Include
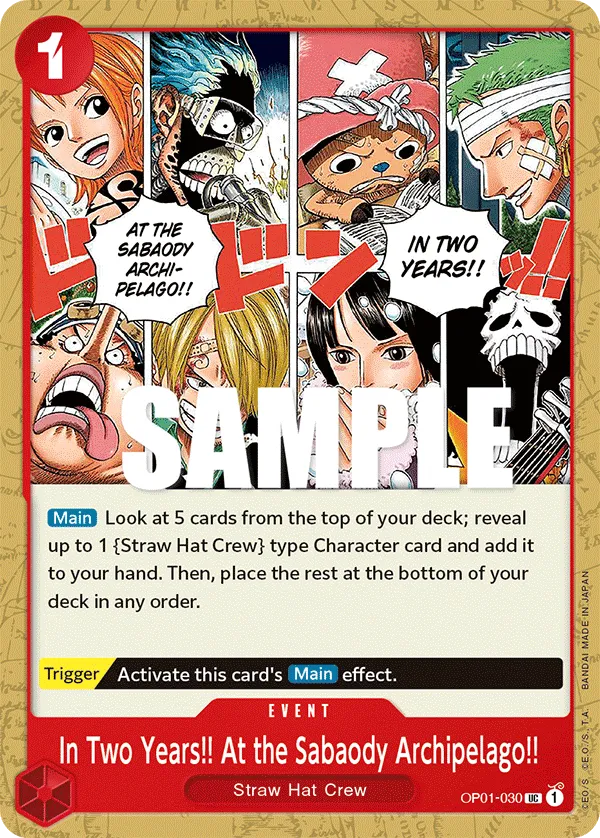
- In Two Years!! At the Sabaody Archipelago!! is an early searcher that looks at the top 5 cards of your deck to find you the {Straw Hat Crew} type card you need for the upcoming turns.
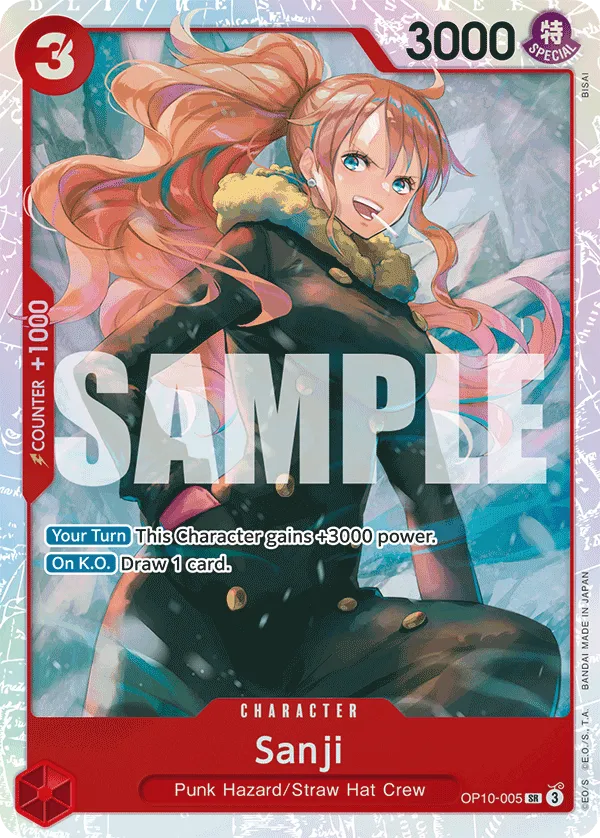
- 3-cost Sanji is weak during your defensive turns, but gains +3,000 Power during your attack turn, making him a great aggressive attacker. When KO’d, you get to draw a card, which is perfect so you don’t run out of resources.
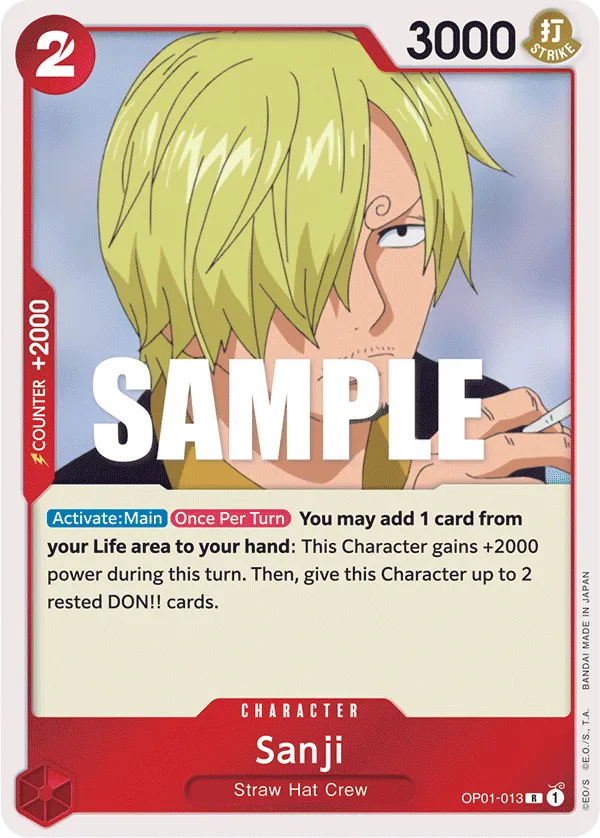
- OP01 Sanji is best played early into the game for extra aggression, becoming a 7,000 Power attacker if you activate his effect and self-damage your Leader. Sanji is great as an extra attacker, especially if your opponent is betting on keeping you at high Life cards as part of their game plan (For example, Yellow Enel). Getting those Life cards in your hand gives you more resources to work with and you won’t end up starved.
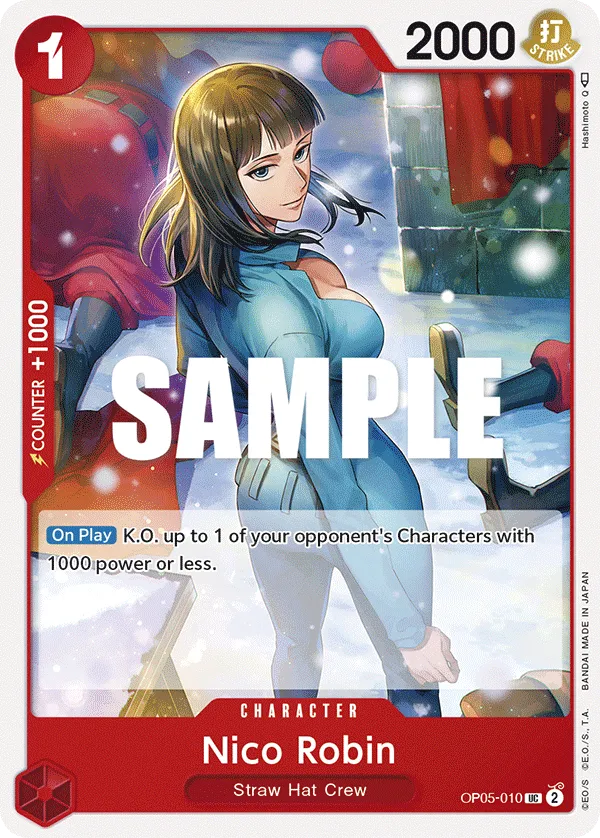
- 1-cost Nico Robin is a meta call that KO’s a Character with 1,000 Power or less. It’s best added to the list if you’re in a meta where cards like Rebecca and Mr 2 Bon Clay are popular.
- Roronoa Zoro is a 3-cost Rush attack, and being a {Straw Hat Crew} type Character means he’ll fit perfectly in this deck.
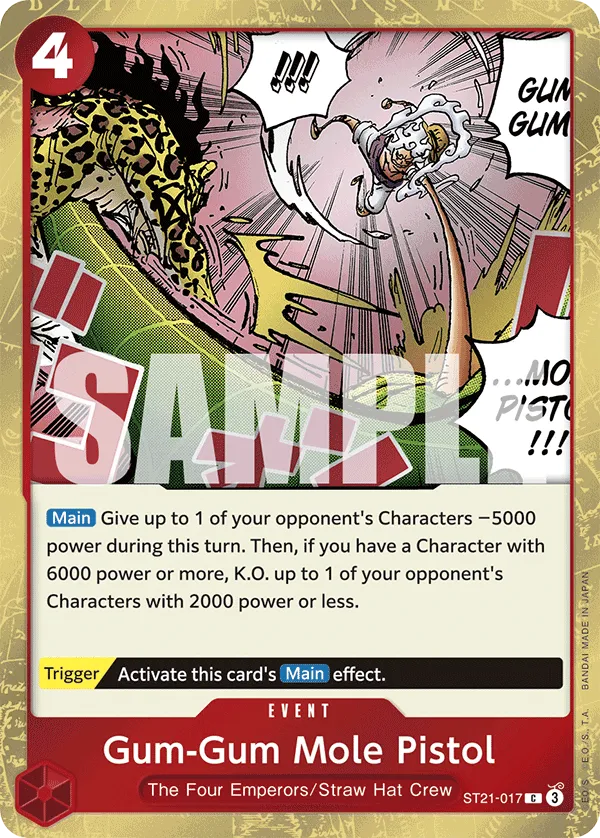
- Gum-Gum Mole Pistole is a control event, reducing the Power of one of the opponent’s Characters by -5,000 and then KOing a 2,000 Power Character if you have a 6,000 or more Power Character in play. So, you’re basically KOing a Character with 7,000 Power or less.