
Nika Bonney is here! Red Yellow Jewelry Bonney teams up with the Straw Hat Crew, complementing her game plan and giving the deck a much more consistent strategy. The Straw Hats help smooth out the early, mid, and late game, while OPTCG’s 9-cost Bonney serves as a powerful late-game win condition, making her an easy inclusion in EB04 RY Bonney.
This deck wants to lose Life cards, thriving the most when you’re down to just 1 Life. That’s when you unlock Bonney’s Leader effect and several key card effects that push your strategy into overdrive. In this guide, we’ll cover the fundamentals of Red Yellow Bonney—what the deck is trying to accomplish and how its cards work together to create a threatening game plan.
Leader

Red Yellow Jewelry Bonney is a 5,000 Power, 4 Life card Leader with the Egghead and Bonney Pirates types. She has two effects, one that activates automatically during the opponent’s turn, while the other is an Activate: Main during your turn.
Let’s first talk about her “during the opponent’s turn” effect. Once you fall to 1 Life card or less, RY Bonney gains a +2,000 Power boost during the opponent’s turn, becoming a 7,000 Power Leader. This makes it harder for the opposing player to plan a winning turn, as they’ll need to attach more Don to their attacks to get attacks through or set a finisher attack outside of your counter resources.
As for Bonney’s Activate: Main effect, once per turn, during your turn, you can give one of the opponent’s Characters a -1,000 Power reduction to make them weaker, but if you have 2 Life cards or more, you have to add the top Life card to your hand. Although this seems like a pricey trade-off, in most cases, you’re fine allowing your opponent to get early attacks through as you want to fall down on Life cards to get access to your effects. Also, since you have a way to self-damage your Leader, you’ll have a more consistent strategy to activate certain effects like Borsalino or Monkey.D.Luffy.
Decklist


How to Play
Early Plays
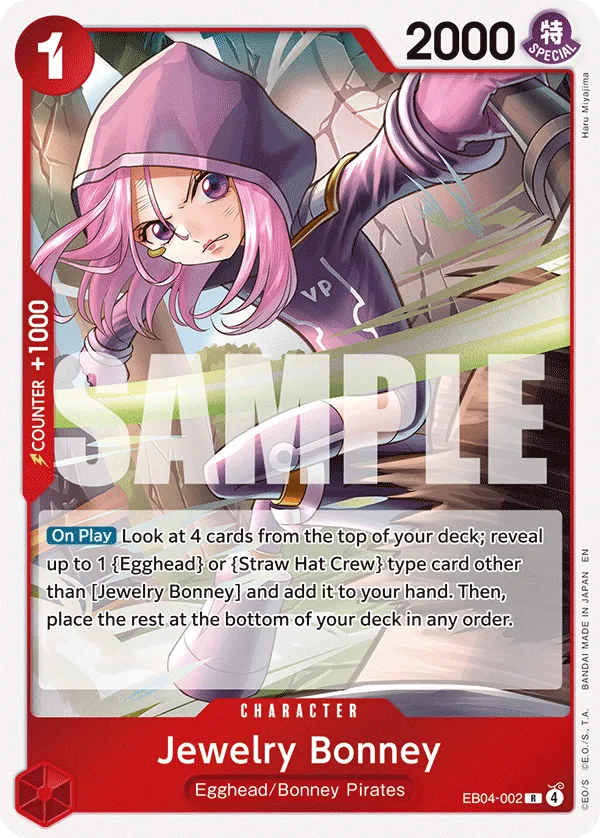
1-cost Bonney looks at the top 4 cards of your deck to add 1 {Egghead} or {Straw Hat Crew} type card to your hand. The deck is full of Strawhats and Eggheads, so you can draw the likes of Borsalino, Zoro, or 10-cost Luffy.
The 3-cost Sanji is a turn 2 play, perfect if you’re going first. He’s a 3,000 Power Character that gains a +3,000 Power boost during your turn, capable of threatening an attack and potentially forcing Counter resources. He’s weak during your defensive turn, so we almost never will protect him, and if he gets KO’d, we’re still drawing a card off of him, so we won’t be losing on card resources.
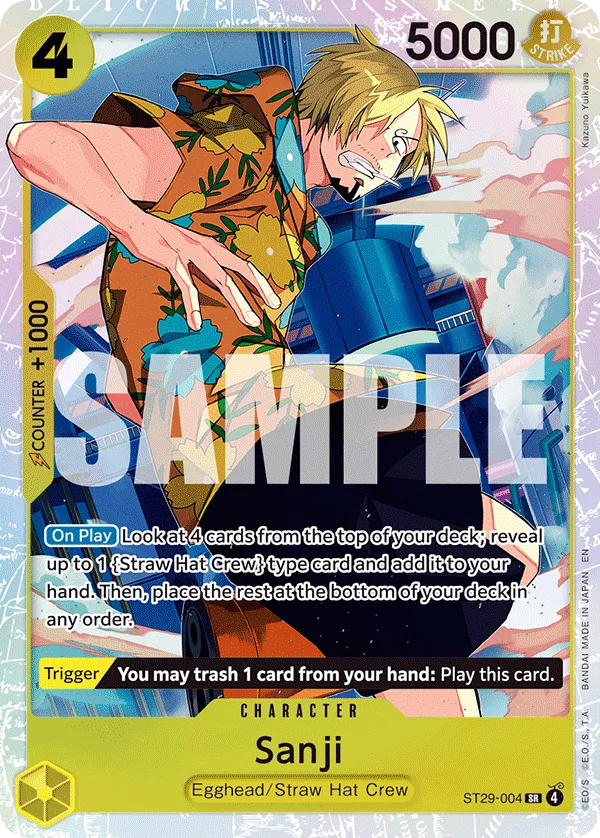
As for the 4-cost Sanji, he also looks at the top 4 cards of your deck to add 1 {Straw Hat Crew} type card to your hand. So he’s a bit restrictive compared to the 1-cost Bonney, but he’s a 5,000 Power development, capable of attacking and putting pressure on the opposing player. Sanji’s Trigger effect lets you play him on the field by trashing a card from your hand. You’re still activating his On Play search effect, so you’ll get back a card, replacing the one you trashed.
Nami Life Card Take
We usually want to go for the 5-cost Nami as early as possible, before the opponent falls below 3 Life cards. On Play, Nami attaches a rested Don to your Leader, then forces the opponent to add the top Life card to their hand if they have 3 Life cards or more. This makes it easier for you to win the late game, as you’re essentially removing one required attack to go through to win the game.
Additionally, your opponent is usually discouraged from KOing Nami, since it’ll trigger her On KO effect to turn your Life card face-up and play a Character with 6,000 Power or less from your hand. If KO’d, you can play Sanji from hand, making sure you keep a threat in play. Keep in mind that if you don’t have a face-down Life card, Nami can’t cheat out a Character through her effect.
Life Card Gain
Borsalino is a 6,000 Power Blocker with an On Play effect that activates if you’re at 2 Life cards or less, letting you add the top card of your deck to your Life Area. He’s a massive defensive play, as you’re developing a blocker and gaining a Life card, making it extremely harder for the opponent to plan a winning turn. If you’re at 3 Life cards, you can activate Leader Bonney’s effect to put the top Life card in your hand and then play Borsalino, gaining another Life card in its place while adding more resources in your hand.
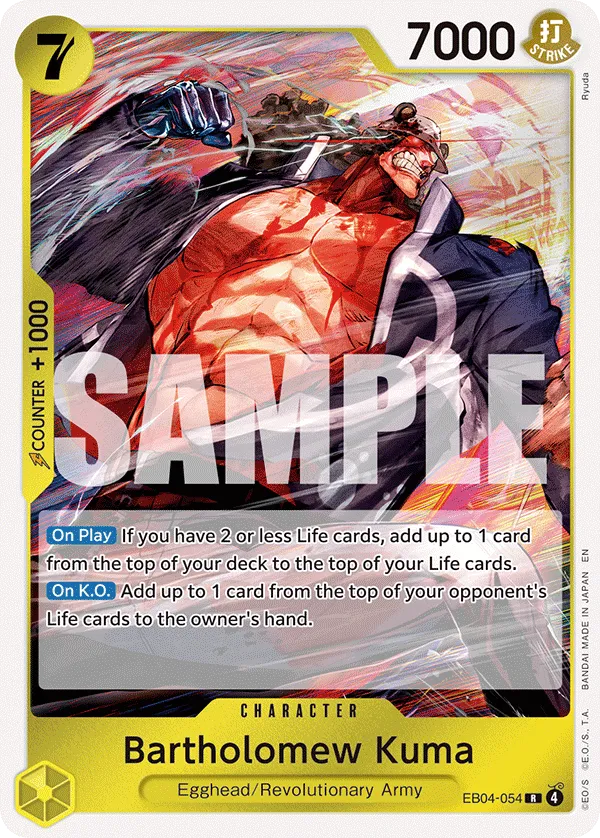
As for the 7-cost Kuma, he’s also giving us a Life card through his On Play effect, only if we’re at 2 Life cards or less. Usually, opponents don’t want to KO Kuma as that will trigger his On KO effect, giving you another Life card and making it even harder for the opponent to plan a finishing turn.
Zoro Defensive Aggression
Roronoa Zoro is a 7-cost, 9,000 Power Character, perfect for an aggressive turn, but also serves a defensive approach. When played, Zoro gives your Leader a +2,000 Power boost, turning Bonney into a 7,000 Power attacker. That Power boost sticks until the opponent’s upcoming turn, so it makes it easier for you to counter out of their attacks.
Additionally, if your opponent has an 8,000 Power Character in play, Zoro can activate his effect to gain the Counter: Rush keyword. This allows you to attack a rested Character with Zoro on the turn he’s played, perfect for trying to remove an attacker and weakening the opponent’s upcoming offensive turn.
Zoro’s +2,000 Power boost on its own is usually a great effect on its own, but getting access to the Rush: Character keyword pushes him to another level, so he shines most when the opponent has that 8,000 Power Character in play.
If we’re at 1 Life card, with Zoro’s effect, Leader Bonney becomes a 9.000 Power Leader during the opponent’s turn, meaning your opponent will need high-power attacks to present a threat.
Late-game Plays
The 9-cost Jewelry Bonney is our strongest aggressive play, and she can be a game finisher if your opponent is at 1 Life card. Her On Play effect gives her the Rush keyword, enabling you to put her 10,000 Power to use immediately. Jewelry Bonney also forces the opposing player to put the top card from their Life Area in their hand. They’re not trashing the card, but you now need one less attack to win the game.
If your opponent is at 1 Life card, 9-cost Jewelry Bonney is dropping them to 0 Life cards and going for the lethal attack, which will be tough for the opposing player to Counter.
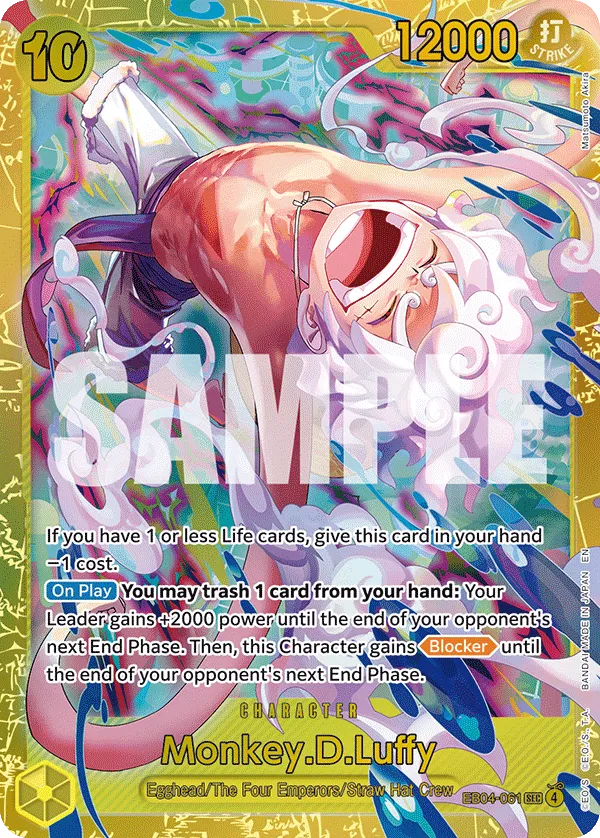
Unlike 9-cost Bonney, 10-cost Monkey D. Luffy is a more defensive play, aimed at helping you survive for longer and buy you enough time to set up your winning turn. If you’re at 1 Life card or less, Luffy’s cost is reduced by 1, meaning we can play him for 9 Don. When played, Luffy lets you trash a card from your hand to gain the Blocker keyword and give your Leader a +2,000 Power boost.
Similar to Zoro, that Power boost sticks until the end of your opponent’s turn, which should make it harder for them to get their attacks through. During your opponent’s turn, Leader Bonney will become a 9,000 Power Leader (+2,000 from Leader Bonney and +2,000 from 10-cost Luffy), forcing the opposing player to go for higher power attacks to create a meaningful threat. They also have to keep in mind that you have a 12,000 Power blocker for the turn, capable of blocking almost any attack and staying in play.
If we play 10-cost Luffy at 10 Don, that means we’ll be left with 1 Active Don, which we can use to either boost our attack, develop the 1-cost Kuma for the blocker keyword, or bank it for a Counter event.
Counter Events
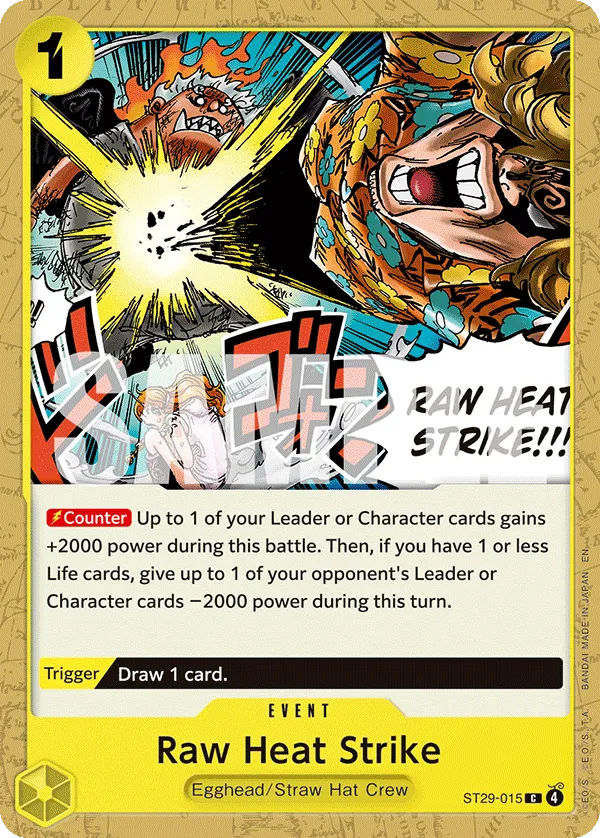
Raw Heat Strike gives your Leader or one of your Characters a +2,000 Power boost, and if you’re at 1 Life card or less, you can give a -2,000 Power reduction to your opponent’s Leader or one of their Characters. It’s perfect to shut down a heavy attack or even two attackers thanks to the Power reduction.
+2,000 Counters
These are all searchable +2,000 Counters by 1-cost Bonney, and the Straw Hats can be searched by 4-cost Sanji.
1-cost Kuma can be used as a blocker for the late-game, forcing the opponent to remove him or have one of their attacks chump-blocked.
2-cost Sanji can be played as a late-game win condition, especially for your 10-cost Monkey D.Luffy. You can select one of your Straw Hat Characters with a Power of 6,000 or more; that Character cannot be blocked during this turn, a great way to bypass blockers and strike down the opponent’s Leader.
Franky is an option to play if we don’t have anything else to build the board. He shines the most when you activate his trigger effect. If you’re at 1 Life card or less, you get to draw a card and develop Franky on the field for free.
Mulligan Tips
Going First: 1-cost Bonney, 3-cost Sanji, 5-cost Nami, 7-cost Kuma or Zoro.
Going Second: 1-cost Bonney, 4-cost Sanji, 5-cost Nami, 7-cost Kuma or Zoro.
General Tips
- You’re fine taking early damage. We want to drop low on Life cards to get access to our Leader’s +2,000 Power effect and certain card effects like 5-cost Borsalino or 10-cost Luffy. It also means we can start reducing the Power of an opponent’s Character through Leader Bonney without taking a Life card.
- Protect high-power Charactes when possible. Characters like Zoro, Bonney, and Luffy are heavy hitters, so if your opponent decides to KO them through an attack, you can try protecting them to keep multiple attacks active.
- Be wary in the late game. Since you’re dropping low on Life cards, we need to make sure the opponent can’t set up a winning turn. This means we need to use Power boosts, blockers, or even Life card gain to keep us safe from a lethal attack.
Other Cards to Include
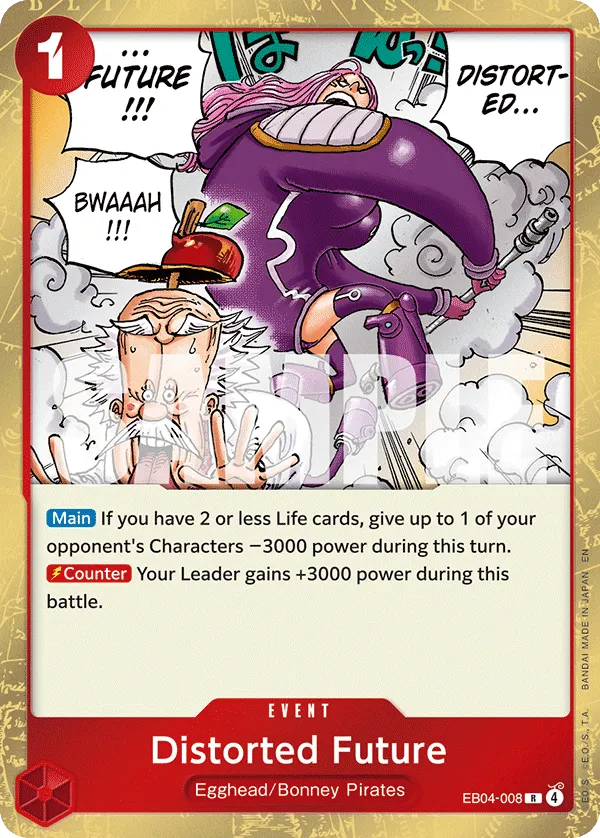


- If you’re at 2 Life cards or less, Distorted Future gives your opponent’s character a -3,000 Power reduction, making it easier for you to KO or remove through an effect.
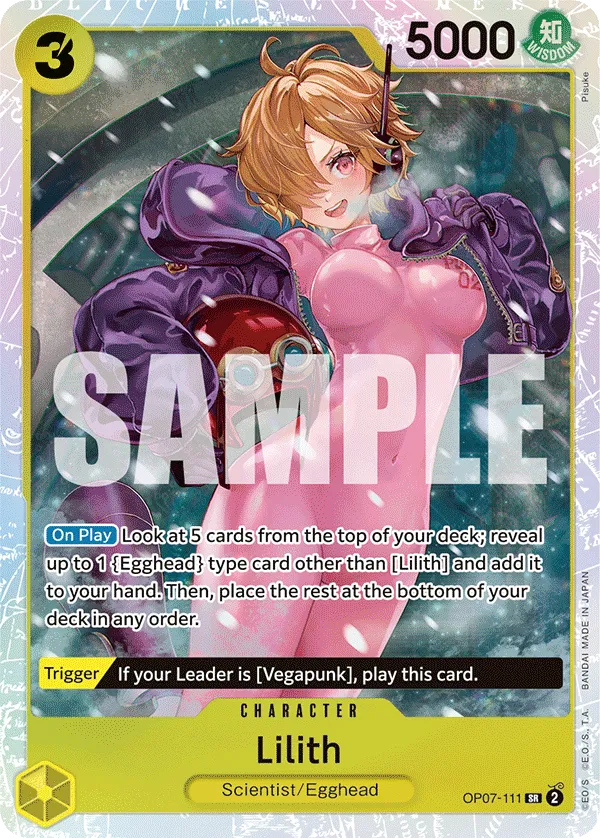
- Lilith looks at the top 5 cards of your deck and lets you add 1 {Egghead} type Character to your hand. So you’re developing a Character without losing resources in your hand.
- Kiukunojo is a consideration if you need a strong 4-cost development.
- 7-cost Ben Beckmann makes sense in the Bonney deck, since you can reduce the Power of an opponent’s Character by -1,000, allowing you to hit a 7,000 Power Character and trash it.
Turn-Based Gameplay
Going First
- Turn 1 (1 Don): 1-cost Bonney.
- Turn 2 (3 Don): 3-cost Sanji.
- Turn 3 (5 Don): 5-cost Nami.
- Turn 4 (7 Don): 7-cost Kuma or Zoro.
- Turn 5 (9 Don): 9-cost Bonney or 10-cost Luffy.
- Turn 6 (10 Don): 9-cost Bonney or 10-cost Luffy.
Going Second
- Turn 1 (2 Don): 1-cost Bonney.
- Turn 2 (4 Don): 4-cost Sanji
- Turn 3 (6 Don): 5-cost Nami.
- Turn 4 (8 Don): 7-cost Kuma or Zoro.
- Turn 5 (10 Don): 9-cost Bonney or 10-cost Luffy.
Closing Words
The Red Yellow Bonney has a unique strategy, wanting to take early Life cards and then switch to a defensive gameplan, protecting the Leader through Power boosts and blockers to keep opponents from winning the game until you can go for the finishing attack.


