
The Blue Purple Monkey D. Luffy is still a strong meta choice in OP14, using its draw effect to find key {Straw Hat Crew} type cards while also controlling future draws. This deck uses Purple ramp cards to quickly reach 8 Don!!, enabling the Leader’s effect and accelerating the play of high-cost Characters.
As a ramp deck, it runs many high-cost Characters that serve as win conditions to overwhelm the opposing player. The longer the game stretches out, the more likely you’ll win the game, as the additional card draw from your Leader will eventually put you ahead.
Leader

Blue Purple Monkey D. Luffy is a 3 Life card Leader with 6,000 Power. So, although he has less Life cards than most Leaders, the 6,000 Power can play a role in slowing down the opposing player’s aggression and making it easier for you to Counter certain attacks.
Leader Monkey D. Luffy has a built-in search effect that activates at the start of your turn if you have 8 or more Don!! on your field. It lets you look at the top 5 cards of your deck and add 1 {Straw Hat Crew} card to your hand. You can then place the remaining cards on the top or bottom of your deck in any order, giving you valuable control over your upcoming draws.
At the start of your turn, you’ll check if you have 8 or more Don!! If you do, you can activate Leader Luffy’s effect. The two Don you draw during your turn don’t count toward this check, meaning you need 8 or more Don from the previous turn to trigger it.
The deck includes ramp cards like Zoro-Juurou, Mr. 2 Bon Clay, and Gear 2 to help accelerate your Don count. Ideally, you want to ramp at least twice in the early game, aiming to hit 8 Don as quickly as possible. If you’re going second, ramping twice means you’ll be at 8 Don on turn 3, which means we can go for our Leader effect + Sanji on turn 4.
Gaining extra cards and controlling your future draws gives you a huge resource advantage. It also helps maximize the value of 9-cost Sanji, since you can plan ahead to cheat out the right Character. I’ll break down how Sanji and Leader Luffy synergize in this guide, along with the best Characters to cheat into play.
Blue Purple Monkey D.Luffy Decklist


How to Play
Ramp Characters
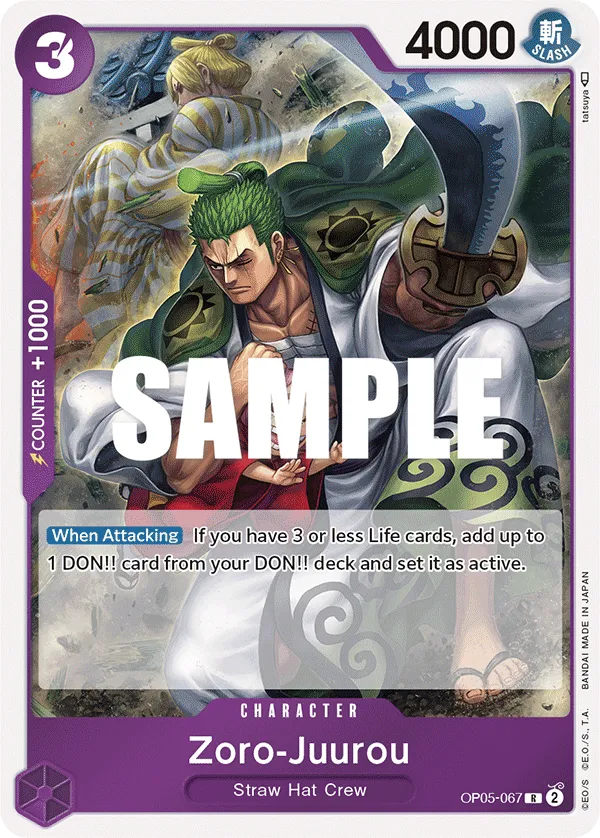
If we’re going first, Zoro-Juurou is the best play on turn 2, attacking with him on turn 3 to gain an Active Don. Since your Leader Luffy is already at 3 Life cards, we don’t need to take a hit from the opponent to activate Zoro-Juurou‘s ramp effect. Zoro-Juurou is a 4,000 Power Character, so you often will attach a Don to him to go for a 5,000 Power attack. In some cases, you can’t afford to attach a Don to Zoro-Juurou, but you’ll still go for the 4,000 Power attack to gain the Active Don even if you’re not getting anything out of it offensively.
If we’re going second, then Mr. 2 Bon Clay is the ideal play, giving you an Active Don on the turn he’s played. Mr. 2 Bon Clay can match the Power of one of the opponent’s Characters when it goes for the attack, so its pressure relies on what the opponent has in play. When rested, Mr. 2 Bon Clay is extremely vulnerable with their 1,000 Power, so you’ll almost always let them go when the opponent attacks them.
Ramp Events
Gear 2 and Thunder Bagua are Counter Events that can be used for their Ramp effects. They ensure you can start your turn with 8 Don as early as possible to go for your Leader effect + 9-cost Sanji play. Even if your opponent’s attack isn’t too threatening, we still want to use Thunder Bagua despite the +4,000 Power feeling like an overkill. The Don we’re gaining is the main objective here to speed up our strategy. Thunder Bagua‘s Trigger effect ramps you for 1 Don, which can be useful in the early game.
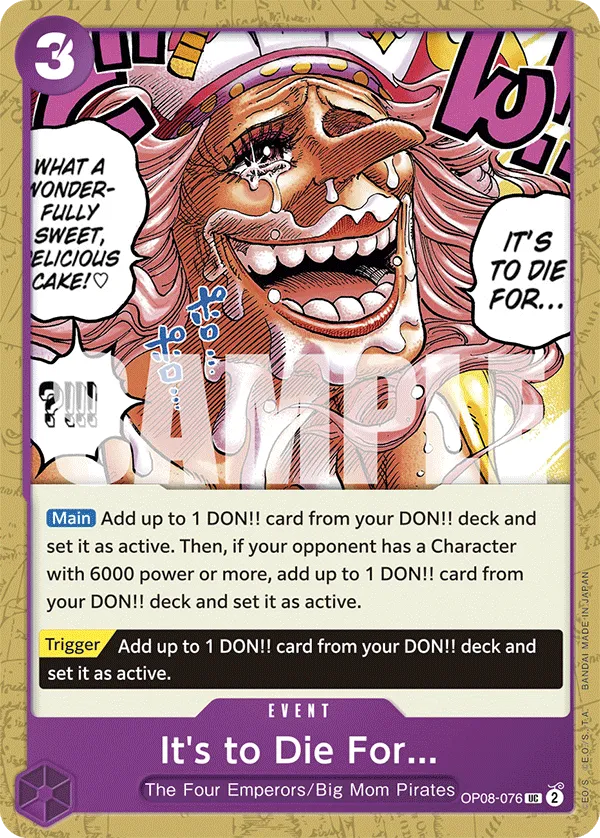
It’s to Die For is a 3-cost Event to ramp 1 Active Don. If your opponent has a 6,000 Power Character in play, you can ramp 2 Active Don instead. However, you often won’t play for the second Don, and only 1 Active Don is enough. Its trigger effect will only be useful in the early game, ramping you up an extra Don to enable a strong upcoming turn.
5-cost Blocker
5-cost Nami is a 6,000 Power blocker that draws 3 cards and places 2 from your hand on either the top or bottom of your deck. This means you gain a card while also controlling your upcoming draws, either setting up future turns or tucking cards you don’t need to the bottom.
Since Nami lets you put the 2 cards at the top of your deck, she can also set you up to activate Sanji‘s effect a turn earlier if you haven’t reached the point where you can use your Leader effect.
Defensive Roger
Although Gol.D.Roger is an 8-cost Character, you want to hold him off until you or your opponent are at 10 Don. Since we’re a ramp deck, we’ll usually get to 10 Don faster than the opposing player, letting us activate Gol.D.Roger’s On Play effect, to give our Leader Luffy a +2,000 Power boost. This Power boost sticks until the end of the opponent’s turn. This means we get to attack with an 8,000 Power Leader to force more Counter cards, while making it harder for the opponent to get attacks through.
Gol.D.Roger remains on the field as a 10,000 Power attacker, posing a heavy attack threat that can be tough for most decks to defend against.
Control Mihawk
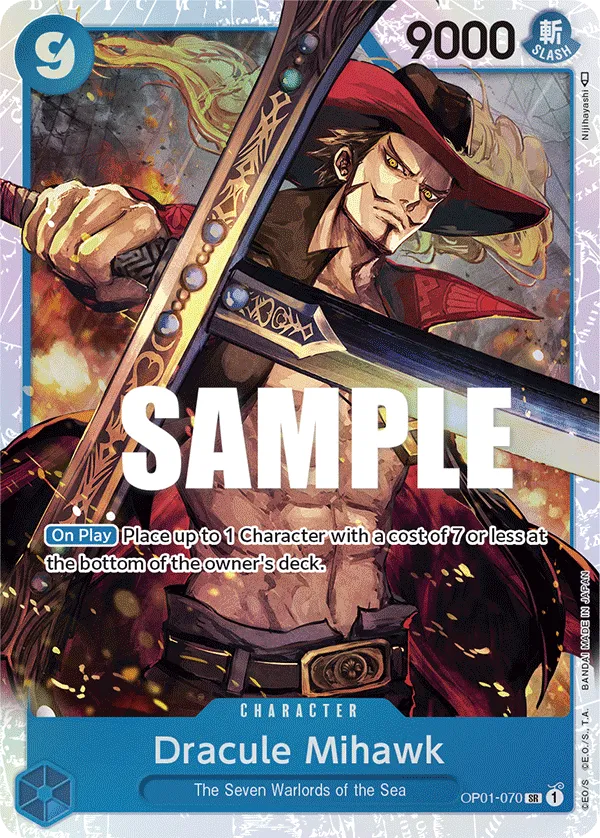
9-cost Dracule Mihawk is usually the play if there’s a 7-cost Character you want to remove. You can place that Character at the bottom of the opponent’s deck, helping you weaken the opponent’s side of the field while you’re developing a 9,000 Power Character.
Since you’re removing the Character by placing it at the bottom of the opponent’s deck, KO immunity doesn’t work here.
Rusher Luffy
9-cost Monkey D. Luffy is a 10,000-power that gains the Rush keyword and draws you a card when you return a Don. Returning a Don at 9 Don won’t put you behind on the upcoming turn; you’ll still be at 10 Don. Monkey D. Luffy can be used defensively to KO a rested Character and help control the field, or offensively by attacking the opponent’s Leader and taking a Life card.
Being a 10,000 Power Character makes him a tough target to remove, and your opponent will likely rely on a removal effect to deal with him.
Sanji Double Developments
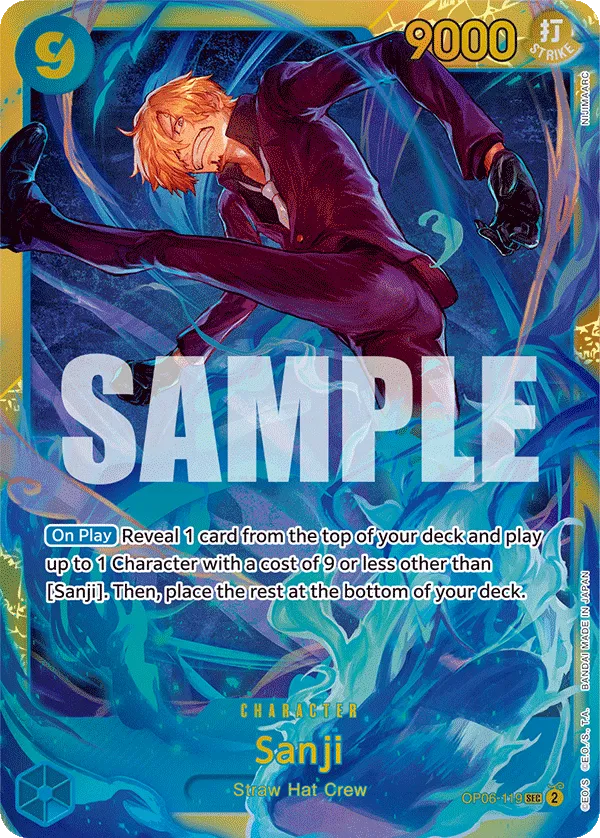
9-cost Sanji is the strongest play in this deck, and we aim to play it on turn 5. By this point, you should be able to activate Leader Luffy’s search effect, letting you look at the top 5 cards of your deck and add 1 {Straw Hat Crew} card to your hand.
After that, you’ll have 4 remaining cards to place on the top or bottom of your deck in any order. If you find a high-cost Character you want to cheat out with 9-cost Sanji, you’ll want to stack your deck correctly:
- The top card should be the one you’ll draw naturally at the start of your turn. If you don’t have 9-cost Sanji in your hand, you can find him through Leader effect and place him at the top of your deck to draw and play him.
- The second card should be the high-cost Character you want Sanji to bring into play, such as Monkey.D.Luffy.
- The remaining two cards can be placed depending on which one you’d prefer to draw first later in the game.
This ensures that Sanji brings out a strong Character, developing two big bodies in one turn. If we’re trying to go for more aggression, 9-cost Monkey D.Luffy is great to cheat out through Sanji‘s effect. As for a removal option, Mihawk works best to remove a 7-cost Character, especially if it’s Active. However, if we need a defensive play, then 8-cost Gol.D.Roger is your best option.
If you don’t find a high-cost Character in the top 5 cards of your deck, you can place all the cards at the bottom of your deck and pivot to a different play instead of committing to 9-cost Sanji.
However, you can still go for the Sanji play and rely on the luck of the draw, hoping to hit a high-cost Character. Whether or not this is the right call depends on how much risk you’re willing to take and if landing Sanji’s effect could swing the game in your favor.
Control Events
6-cost Gum Gum Red Roc can place an opponent’s Character at the bottom of their deck, regardless of its cost. It’s a strong effect to remove a high-cost win condition and weaken the opponent’s upcoming turn.
Counter Events
Since our combo play requires 9 Don, we’ll bank 1 Don for the defensive turn to play a Counter event and protect our Leader or a rested Character.
Gum-Gum Giant is a powerful defensive event that returns 2 Don to give your Leader or one of your Characters +4,000 Power. It also draws two cards and lets you trash a card from your hand, ensuring you have more plays to make or even find more Counter cards. Since Gum-Gum Giant is returning 2 Don, you won’t play it until you’re at 8+ Don, so you don’t struggle to play your high-cost Characters on the upcoming turn.
If you don’t use Gear 2 for the ramp effect, it can be played as a Counter event, giving your Leader +3,000 Power to Counter an attack.
Thunder Bagua gives your Leader or one of your Characters a +4,000 Power boost and adds 1 Don if you’re down to 2 Life cards or less. Often, we want to hold on to two Don in the mid-game to play Thunder Bagua to gain the Don, even if we’re countering a low Power attack. The idea is to gain the additional Don to get to the Sanji turn on an earlier turn and start developing multiple Characters.
+2,000 Counters
Otama lets us draw 3 and trash 2 cards, perfect if we’re trying to filter our hand for better cards.
Uso-Hachi can be used to rest one of the opponent’s 5-cost or less Characters, enabling you to attack and KO that Character or ignore it if it’s a blocker and focus your attacks on their Leader.
6-cost Sanji is a blocker, but you’ll usually play him as a Counter card. You often won’t fall 2 Don behind your opponent, so you won’t reduce Sanji‘s cost to 3 Don. However, since he can be searched and added to your hand through the Leader effect, you can draw him to use the +2,000 Counter effect.
Mulligan
- Going First: Zoro-Juurou, Gear 2, 5-cost Nami, 9-cost Sanji.
- Going Second: Mr.2 Bon Clay, Gear 2, 9-cost Sanji.
Turn-Based Gameplay
Going First
- Turn 1 (1 Don):
- Turn 2 (3 Don): 3-cost Zoro-Juurou, It’s to Die For, or Gear 2.
- Turn 3 (5 Don 6 Don): Bon Clay + Gear 2 or bank Don for Thunder Bagua, putting you at enough Don to play Sanji combo.
- Turn 4 (7 Don 9-10 Don): If you’re at 10 Don, you can go for the Sanji combo. If you’re at 9 Don, you can go for the 9-cost Luffy.
- Turn 5 (9 Don 10 Don): Leader effect, then play 9-cost Sanji + cheat out Gol.D.Roger, Mihawk, or Luffy. You can save 1 Don to play a Counter event.
- Turn 6 (10 Don): Leader effect, then play 9-cost Sanji + cheat out a Character. You can save 1 Don to play a Counter event.
Going Second
- Turn 1 (2 Don):
- Turn 2 (4 Don): Mr 2 Bon Clay. If you don’t have Mr 2 Bon Clay, you can play 3-cost Zoro-Juurou, It’s to Die For, or Gear 2.
- Turn 3 (6 Don 7 Don): Ramp again with Gear 2, Mr 2 Bon Clay, or It’s to Die For. 5-cost Nami or Pudding.
- Turn 4 (8 Don 10 Don): If you ramped twice, you can do the Sanji combo. If not, you can play 9-cost Monkey D.Luffy or Mihawk. If you’ve played 5-cost Nami on the previous turn, you can go for the 9-cost Sanji play even if you didn’t ramp twice.
- Turn 5 (10 Don): Leader effect, then play 9-cost Sanji + cheat out a Character. You can save 1 Don to play a Counter event.
Other Cards to Include
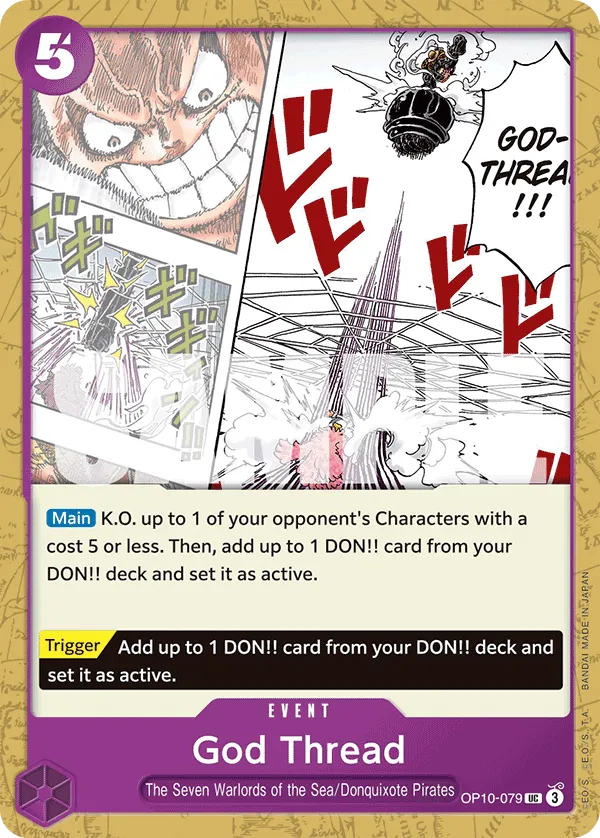

- God Thread can KO a 5-cost or less Character and ramp you 1 Active Don. This helps you control the mid-game by removing an attacker while also speeding up your combo turn.
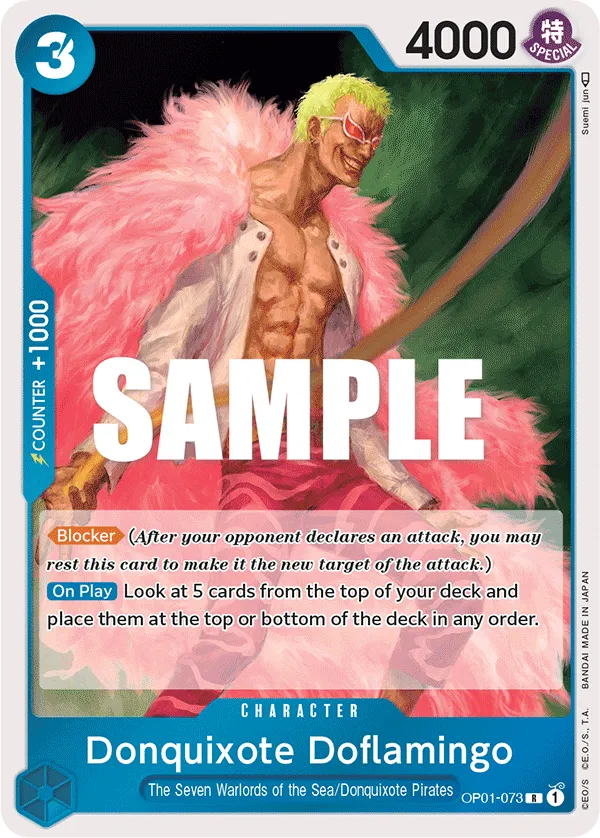
- 3-cost Donquixote Doflamingo is a good option against aggressive decks, capable of blocking an attack. His ability to reorder the top 5 cards of your deck allows you to draw the cards you need sooner and plan your 9-cost combo Sanji before you get access to your Leader effect.
- 8-cost Monkey D. Luffy is a Rush Character, getting to attack the turn he’s played. When he attacks, you can trash a card from your hand to return a 4-cost Character to your opponent’s hand. While this isn’t always the best trade-off—you’re losing a card while your opponent keeps theirs—it still reduces their board presence. But if you’re bouncing a blocker, Luffy’s effect becomes incredibly valuable, clearing the way for more aggressive attacks. Luffy also attaches a rested Don!! to your Leader or one of your Characters, so you’re getting more offensive pressure with your attacks.


- 7-cost Gravity Blade Raging Tiger is a good play in the mid-game to remove two of the opponent’s Characters, slowing them down and buying you enough time to overtake the game.
- Donquixote Rosinante lets you trash an Event from your hand to draw two cards. You’re adding resources to your hand while also getting rid of a potential dead card, such as God Thread. Additionally, if you have 7 or more DON!! cards on your field, Rosinante sets up to 2 of your DON!! cards as active. This allows you to play your Counter Events without sacrificing board development or heavy attacks. It also makes it easier to counter specific cards like Demon Aura Nine Sword or Hody Jones.
Matchups
Black Imu

- Black Imu is trying to make it to the late game and use the Five Elders to go wide on the field and start unleashing multiple attacks.
- They can KO your Nami St. Marcus Mars to remove your blocker.
- They can’t deal with your high-power attackers reliably, and will usually prefer to target your Leader to aggro you down. In the early game, we often want to protect our Life cards to push the game enough until our heavy attackers can win.
- They can develop multiple blockers to slow you down. Uso-Hachi can be useful to shut down one blocker.
Red Blue Portagas.D.Ace

- Leader Ace can reduce the Power of one of your attackers by 2,000. So we either attack exactly the same Power or +2,000, so we at least force a Counter card from them.
- They have access to a lot of card draw, so Pudding is a premium card for this matchup.
- They can bounce Nami back to our hand through Jozu. Since Jozu is 7,000 Power, we want to attack and KO him through Leader or 9-cost Luffy.
- Their high-cost Newgates can block an attack and even become attackers. In most cases, it’s not worth attacking them, as your opponent can easily protect them. Instead, we’ll rely on Gum Gum Red Roc to remove those high-power Characters.
- They have multiple blockers, Marco, Uta, and 10-cost Newgate, to buy them more time. We can use Uso-Hachi to rest Marco or Uta and pave the way for our attackers.
- If one of you is down to 0 Life cards, their Gol.D.Roger can shut down your Nami blocker, allowing them to go for a more aggressive turn.
Green Dracule Mihawk

- Attacking Perona is usually not worth it since they can cheat out a 5-cost Character from their hand, so we’ll instead focus on their Leader or another rested Character worth KOing.
- 9-cost Mihawk is a great control tool for this matchup. We can deal with cards like 5-cost Perona or 7-cost Shanks. However, our opponent might play an early Tashigi to shut down our removal. If we manage to ramp to 8 Donn, we can use Uso-Hachi to rest Tashigi and attack her.
- Gum Gum Red Roc can be an insane removal play for their 9-cost Mihawk or even Law & Bepo. Mihawk can slow us down immensely, so if possible, we should remove him.
- We can’t afford to attack their big Characters unless we’re certain that they can’t protect them. We’ll focus on their Leader and try to drop them low on Life cards to set up a winning turn.
- Keep in mind that they can rest your Active Don with Demon Sword.
Green Roronoa Zoro

- Green Zoro can rest your Bon Clay or Nami with Tashigi, making them vulnerable to the opponent’s attack.
- With Dead Man’s Game, they can rest two of your Don, potentially preventing you from playing Counter Events. In some cases, you’ll opt to hold onto more than 2 Don to play around Dead Man’s Game.
- With their Trafalgar Law, they can go wide on the field and attempt to aggro you.
Red Silvers Rayleigh

- Rayleigh is an aggressive deck, trying to go wide and overwhelm us with multiple attacks.
- In the mid-game, we’ll mostly control the field until we can start shifting for an aggressive strategy. If the opponent shifts to a control play style, they’re already in an extremely bad spot. They can’t really kill our units without committing a lot of Don to their attacks.
- Nami can be amazing for her blocker keyword, protecting our Leader and preventing them from committing all their Don into attacks.
- The Power boost we gain from Gol.D.Roger can make things tough for the opposing player. Eventually, we’ll have to decide when we can go for the aggro strategy and rely on Counter Events to buy time.
Black Teach
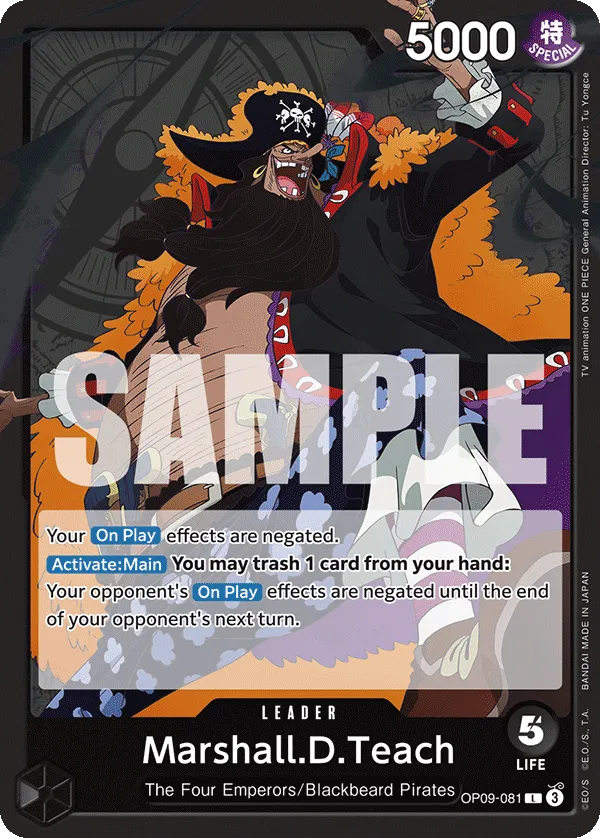
- Black Marshall D. Teach trashes one card from their hand to shut down our On Play effects. That means powerful cards like 9-cost Mihawk, 9-cost Monkey D. Luffy, and Sanji won’t get their abilities when they hit the board. This does slow us down, but just dropping big bodies onto the field can still be a huge problem for the opponent.
- They don’t have strong cost reduction tools to manage our threats. Their main cost reducers are Laboon and Van Auger. If we can take those out with something like Gravity Blade Raging Tiger or 8-cost Luffy for Laboon, we limit their ability to control the board. Jesus Burgess can become a win condition, so we’ll often remove him from the field through Gravity Blade Raging Tiger or 8-cost Luffy.
- The main threat is 10-cost Marshall D.Teach, acting as a blocker to slow us down, and can later go for high-power attacks. The plan is to aggro our opponent down, forcing them to keep 10-cost Teach Active or be forced to attack one of our rested Characters instead of our Leader. If they attack a rested Character, we can try protecting it to keep an attacker in play, enabling us to go for a more aggressive turn to win the game.
Closing Words
Blue Purple Luffy remains a strong choice in OP14 meta, a deck to watch out for when going into a competitive tournament. The Leader’s ability to constantly add resources in the late game while synergizing with 9-cost Sanji to play two big bodies has proven too strong to contain, even with the bans on Katakuri and Linlin.


