
Marnie’s Grimmsnarl ex was released in Destined Rivals, and at first glance, the card doesn’t appear poised to make a major splash in competitive play. However, when paired with the right cards, Grimmsnarl’s Punk Up can set you up for a devastating endgame.
This deck archetype revolves around a tri-core of Marnie’s Grimmsnarl ex, Munkidori, and Froslass. The idea is simple: use Munkidori to move damage counters from your side of the board to your opponent’s. At the same time, Marnie’s Grimmsnarl ex deals consistent damage to the Active Pokémon while also dropping 30 damage on a Benched Pokémon, setting you up to take multiple Prize cards each turn.
Marnie’s Grimmsnarl ex Decklist

Pokémon: 16
3 Marnie's Impidimp DRI 134
2 Marnie's Morgrem DRI 135
2 Marnie's Grimmsnarl ex DRI 136
3 Munkidori TWM 95
2 Snorunt TWM 51
2 Froslass TWM 53
1 Budew PRE 4
1 Shaymin DRI 10
Trainer: 36
4 Arven OBF 186
4 Iono PAL 185
3 Professor's Research JTG 155
2 Boss's Orders PAL 172
2 Buddy-Buddy Poffin TEF 144
2 Nest Ball SVI 181
2 Rare Candy SVI 191
2 Counter Catcher PAR 160
2 Night Stretcher SFA 61
1 Super Rod PAL 188
1 Energy Search SVI 172
1 Ultra Ball SVI 196
1 Pokégear 3.0 SVI 186
1 Secret Box TWM 163
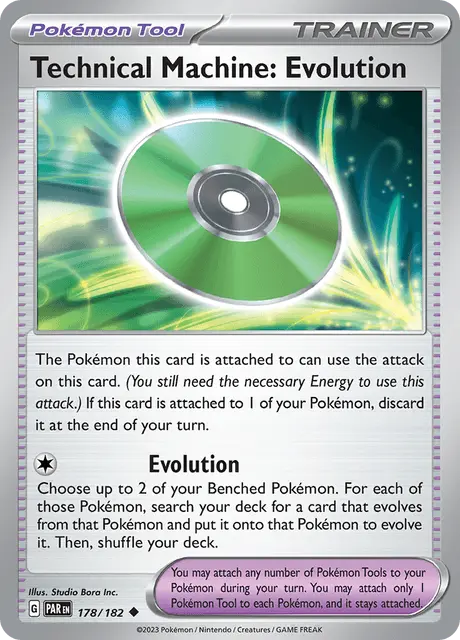
2 Technical Machine: Evolution PAR 178
1 Technical Machine: Devolution PAR 177
1 Rescue Board TEF 159
3 Spikemuth Gym DRI 169
1 Artazon PAL 171
Energy: 8
8 Darkness Energy SVE 15How to Play
Marnie’s Grimmsnarl ex


Let’s start by analyzing Marnie’s Grimmsnarl ex. This is a Stage 2 Pokémon that evolves from Morgrem (Stage 1), which itself evolves from the 70 HP Basic, Impidimp. Including one or two copies of Rare Candy can help with evolution in this deck, although we’ll discuss why this might not always be necessary.
Its Ability, Punk Up, is reminiscent of the Dark-type Charizard ex that once dominated tournaments, though it’s still a weaker version. Punk Up allows you to search your deck for up to five Darkness Energy and attach them to your Marnie’s Pokémon. Realistically, you’ll usually be attaching these to Marnie’s Grimmsnarl ex. This frees up your manual energy attachment for the turn, which is especially useful for powering up Munkidori. It also means that once Grimmsnarl ex evolves, it’s immediately ready to attack, ideal for dishing out 180 damage to the Active Pokémon and 30 to a Benched one.
Munkidori
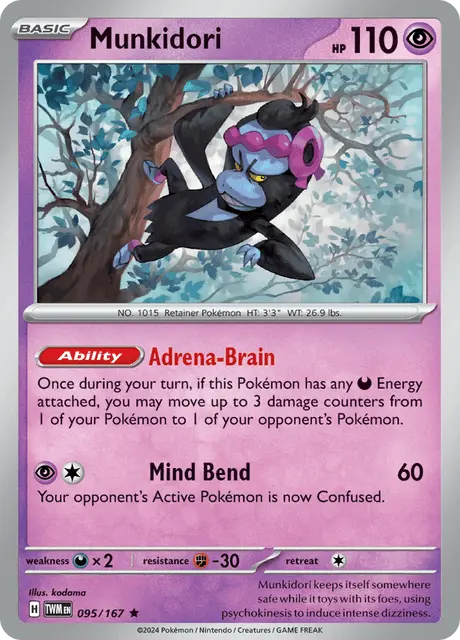
The next key piece in this tri-core strategy is Munkidori, a card also seen in decks like N’s Zoroark ex and Gardevoir ex. With its Adrena-Brain Ability, it becomes easy to move damage counters, as long as Munkidori has a Darkness Energy attached, which is simple in this mono-Dark deck.
Since Punk Up covers Grimmsnarl’s energy cost, you can focus your manual attachments on Munkidori. Including three copies of Munkidori is usually ideal, since running four would be a liability on the bench. If you manage to play all three, you can move up to 90 damage counters in a turn, helping you secure cheap knockouts or set up KOs for the next turn’s Shadow Bullet. This flexibility also puts pressure on your opponent, as they’ll know which Pokémon are at risk of being KO’d next. That said, most players will aim to have just two Munkidori in play to better manage Bench space.
Froslass


Finally, the last piece to this puzzle is Froslass, a Stage 1 Pokémon that evolves from Snorunt. Its ability, Freezing Shroud, places 1 damage counter on each Pokémon that has an Ability, on both sides of the board, excluding Froslass itself. Not only does this help spread more damage on your opponent’s side of the field, but it also provides Munkidori with damage counters to move to your opponent’s board. This ability mainly affects Marnie’s Grimmsnarl ex and Munkidori, as well as any other techs included in the deck, such as Fezandipiti ex if played, though it’s probably not advised.
With up to 2 Froslass on the board, and maybe 1 or 2 Marnie’s Grimmsnarl ex, plus another 2 to 3 Munkidori, you could be looking at 10 damage counters landing on your side of the board by the end of your turn, especially with Froslass’s ability triggering during each in-between turn.
Trainer Cards
Gust Cards
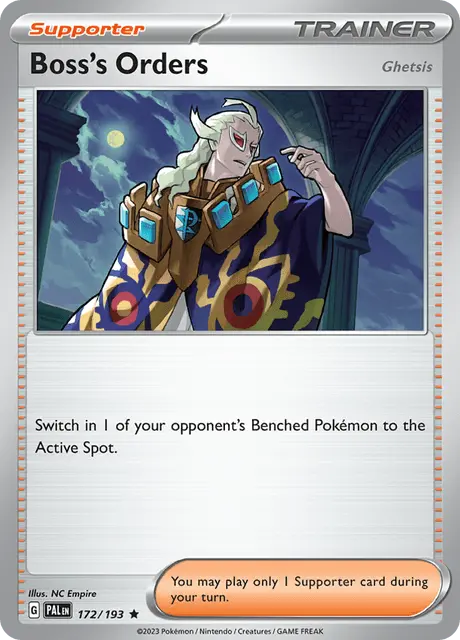

As this deck takes time to reach its full potential, Boss’s Orders and Counter Catcher are useful tools to help you catch up when you’re behind on prizes. Once you use Counter Catcher to even the prize count or pull ahead, it usually means your board is set up and ready to start taking faster prizes than your opponent. By this point, you’re likely in the mid-game with damage counters already spread across your opponent’s board. Counter Catcher or Boss’s Orders can help reposition your opponent’s Pokémon, allowing you to score multiple knockouts to pick up 3 or 4 prize cards in one turn.
Stadium Cards
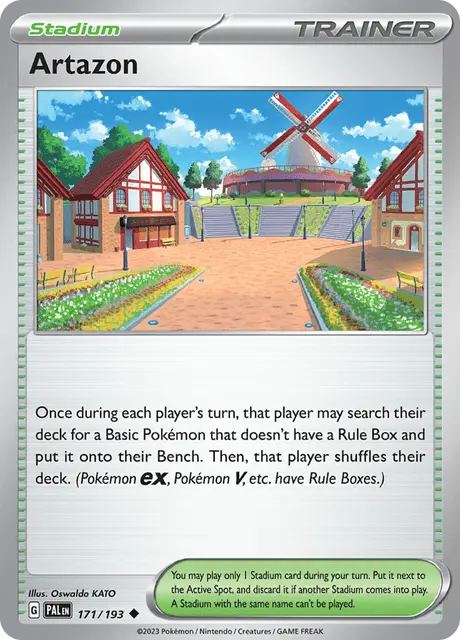

With the Stadium cards Artazon and Spikemuth Gym, you have two options for how to utilize the Stadium slot. Artazon helps you search for a non-Rule Box Pokémon from your deck and place it directly onto your Bench, which is useful for pulling out Munkidori or Snorunt. Spikemuth Gym, on the other hand, helps you search for a Marnie’s Pokémon, allowing you to find any of the three Pokémon in the Grimmsnarl line. Decks typically play between 1 to 3 copies of each Stadium, depending on what players feel is more necessary. However, it’s more common to see decks running more copies of Spikemuth Gym, as the rest of the Trainer cards, such as Ultra Ball and Buddy-Buddy Poffin, already help with general Pokémon search.
Evolution Acceleration
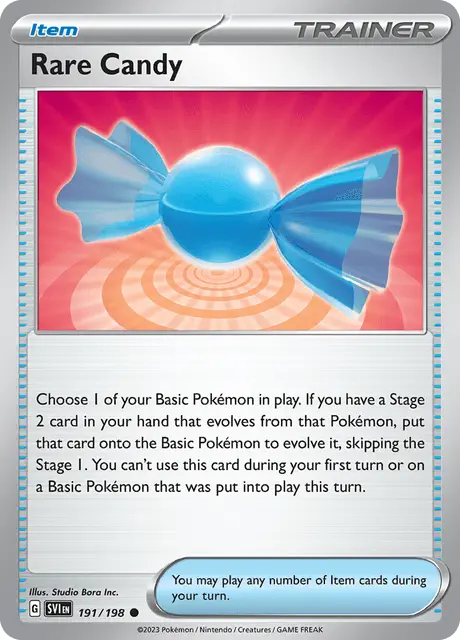
With Spikemuth Gym in the deck, Rare Candies might not be necessary, depending on how many copies of the Stadium are included. Players can decide on the quantity based on how fast they intend to play this deck.
When it comes to speed discussions, Technical Machine: Evolution naturally comes to mind. At least one copy is typically found in Marnie’s Grimmsnarl ex decks, as it helps you to evolve up to two Benched Pokémon. It only requires a single Energy to use, and if Munkidori is your Active Pokémon, this Tool becomes especially useful for evolving Benched Pokémon like Snorunt and Impidimp.
When building this deck, players should balance the number of Spikemuth Gym, Rare Candy, and Technical Machine: Evolution to find the sweet spot for speed and consistency, without increasing the risk of bricking.
Draw Cards
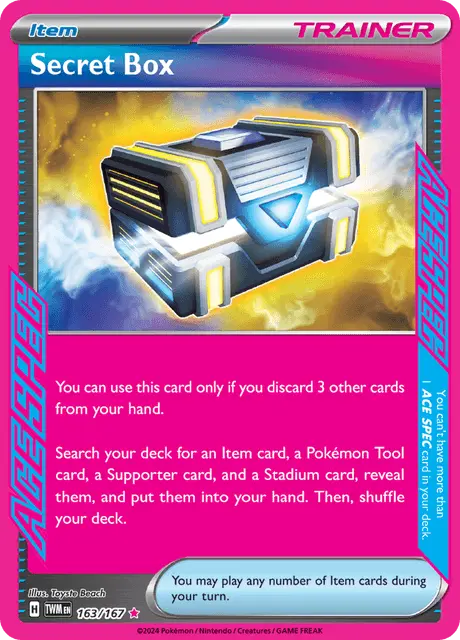
The ACE SPEC card choice for this deck typically leans toward Secret Box, which gives you the option to search for an Item, Tool, Supporter, and Stadium card. When used effectively, it can significantly shift the momentum of the match in your favor. This will shift the momentum of the match in your favour if used properly. It can help fully set up your board, or maybe search for a Boss’s Orders to take multiple prizes.
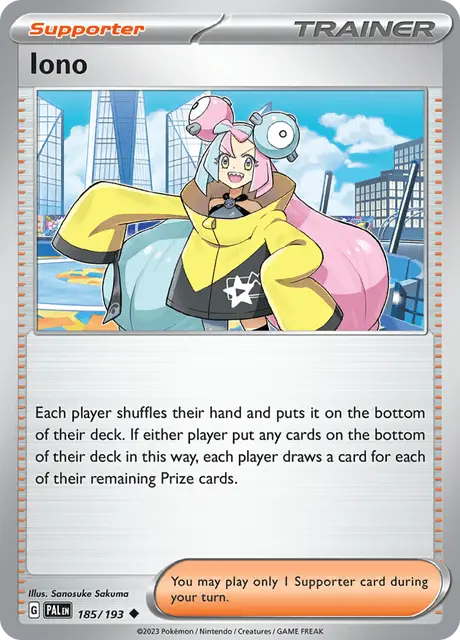
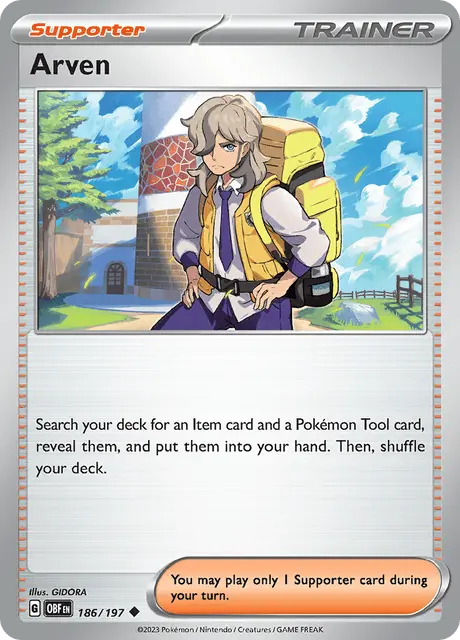
Next, draw support is crucial for this deck, especially since you likely won’t be running Fezandipiti ex for revenge draws or Mew ex. In this case, Professor’s Research, Iono, and Arven are essential to keep your hand refreshed and avoid bricking. Unfortunately, there isn’t much additional support specifically for the Marnie Pokémon line. However, since setting up the board isn’t particularly difficult, the deck should typically be up and running by Turn 4 at the latest.
With Super Rod and Night Stretcher included in the deck, Darkness Energy can be kept to a minimum, around 8 to 10 copies. Players should also be mindful not to pull all 5 Darkness Energy cards when using Punk Up, as doing so can quickly deplete this scarce energy resource.
Other Cards to Include


- Team Rocket’s Venture Bomb, regardless of the coin flip outcome, helps you place damage counters on the board, either on your side or the opponent’s side. This can help you find crucial KOs when needed.
- Next is Tatsugiri, which plays more of a supporting role. When paired with a Rescue Board, you can move Tatsugiri to the Active Spot after a KO or similar situation, allowing you to use Attract Customers to search for a Supporter card that helps prevent bricking. However, including a tech card like this comes with a trade-off, as it takes up valuable bench space that could otherwise be used for another Munkidori or Froslass.
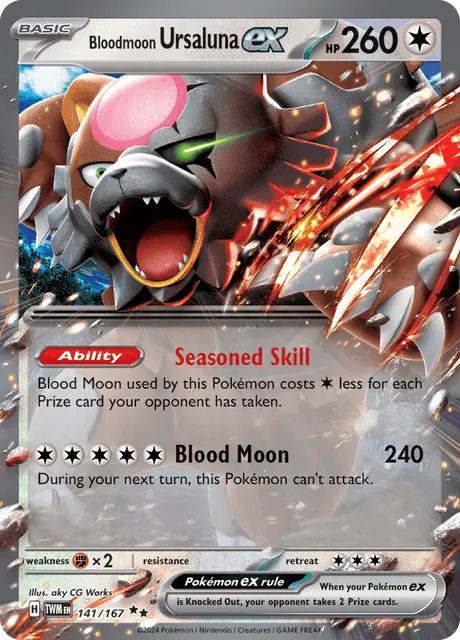
- Finally, Bloodmoon Ursaluna ex serves as an alternative attacker, especially in the late game, similar to how Radiant Charizard was used in the past. With a 240-damage output and usually needing just 1 or 2 Darkness Energy in late-game scenarios, along with the support of Munkidori and Froslass, it can be enough to break through high-HP Pokémon. One major drawback, however, is starting the game with Bloodmoon Ursaluna ex on the board, which wastes a bench slot until the late game and effectively limits you to just 5 usable spots.
Important Matchups
Dragapult ex
There are several Dragapult ex variants currently in the meta, with the most common being pure Dragapult ex, a mix with Charizard ex, or a mix with Dusknoir. One of the challenges in this matchup is that Dragapult ex does not have an Ability, which limits Froslass’s impact. Froslass can only begin applying pressure by dropping counters on Drakloak, thanks to its Recon Directive Ability.
With Dragapult ex hitting for 200 damage to the Active and spreading 60 to the Bench, both Froslass and Munkidori become vulnerable targets. That said, this is not an auto-loss. The outcome will often come down to which deck is more consistent and how well you manage your resources to maintain prize-trading pressure.
Facing the Dusknoir variant may feel slightly easier, as opponents may hesitate to fully set up the Dusknoir line due to its vulnerability to Froslass. If Dusknoir is KO’d before it can KO itself to place counters, your opponent may find themselves with fewer Dragapult ex resources to go toe-to-toe with you.
Gardevoir ex

This matchup is pretty decent for Marnie’s Grimmsnarl ex, as they do run some weaker Basics on their Bench, such as Scream Tail, Drifloon, and even Budew. These provide options for Munkidori to take cheap prizes when paired with Shadow Bullet. Additionally, Gardevoir ex will likely struggle to KO Marnie’s Grimmsnarl ex in two hits when protected by Munkidori’s ability. This tends to swing in favor of Marnie’s Grimmsnarl ex decks, as the deck can win any prize trades.
Raging Bolt ex

Raging Bolt ex decks include Teal Mask Ogerpon, which Marnie’s Grimmsnarl ex is weak to. Additionally, regular Raging Bolt can return the sniping pressure by dropping 60 damage to any Pokémon on the board, leaving Froslass and Munkidori very vulnerable. It can be difficult for Marnie’s Grimmsnarl ex to keep up with that pace. It is therefore essential to set up quickly and minimize the damage from building up.
With Raging Bolt ex running a strong setup and draw engine, Marnie’s Grimmsnarl ex decks will likely struggle to keep pace and get fully set up. Players will need to capitalize on early drops like Fezandipiti ex, Noctowl, or Fan Rotom to snipe for easy prizes.
Closing Words
Overall, this deck provides a different archetype compared to standard decks that focus on powering up a main Pokémon and hitting hard. Instead, it is a spread deck that can help take multiple prizes in a single turn or even in between turns, making it a fun alternative to the meta decks.


