The Blue Purple Monkey D. Luffy is taking the OP11 meta by storm, using its draw effect to find key {Straw Hat Crew} type cards while also controlling future draws. This deck uses Purple ramp cards to quickly reach 8 Don!!, enabling the Leader’s effect and accelerating the play of high-cost Characters.
As a ramp deck, it runs many high-cost Characters that serve as win conditions while also forming a defensive wall with a couple of your blockers. This makes it harder for opponents to damage your Leader, extending the game until your attackers are ready to push for the final blow.
Leader
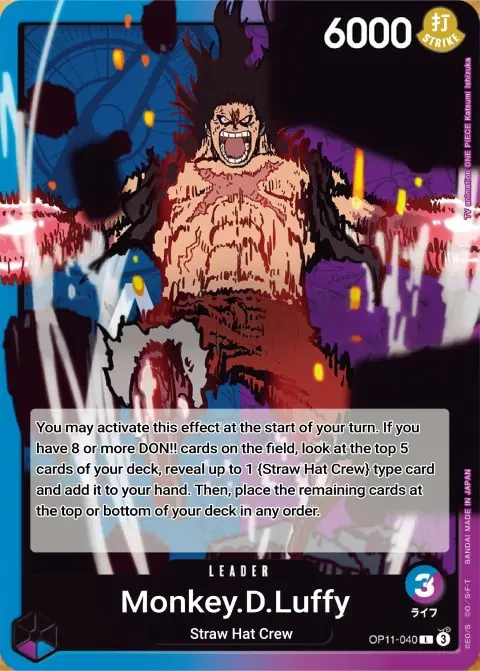
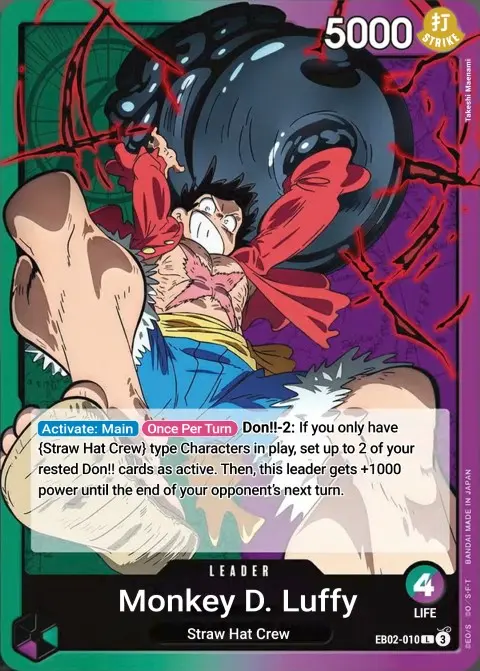
Blue Purple Monkey D. Luffy is a 3 Life card Leader with 6,000 Power. So although he has less Life cards than most Leaders, the 6,000 Power can play a role in slowing down the opposing playing aggression and making it easier for you to Counter certain attacks.
Leader Monkey D. Luffy has a built-in search effect that activates at the start of your turn if you have 8 or more Don!! on your field. It lets you look at the top 5 cards of your deck and add 1 {Straw Hat Crew} card to your hand. You can then place the remaining cards on the top or bottom of your deck in any order, giving you valuable control over your upcoming draws.
At the start of your turn, you’ll check if you have 8 or more Don!!—if you do, you can activate Leader Luffy’s effect. The two Don you draw during your turn, don’t count toward this check, meaning you need 8 or more Don from the previous turn to trigger it.
The deck includes ramp cards like Zoro-Juurou and Mr. 2 Bon Clay to help accelerate your Don count. Ideally, you want to go first, so by turn 4, you’ll have 7 Don and, with a ramped Don!!, hit 8 Don!!—allowing you to activate your Leader effect starting turn 5.
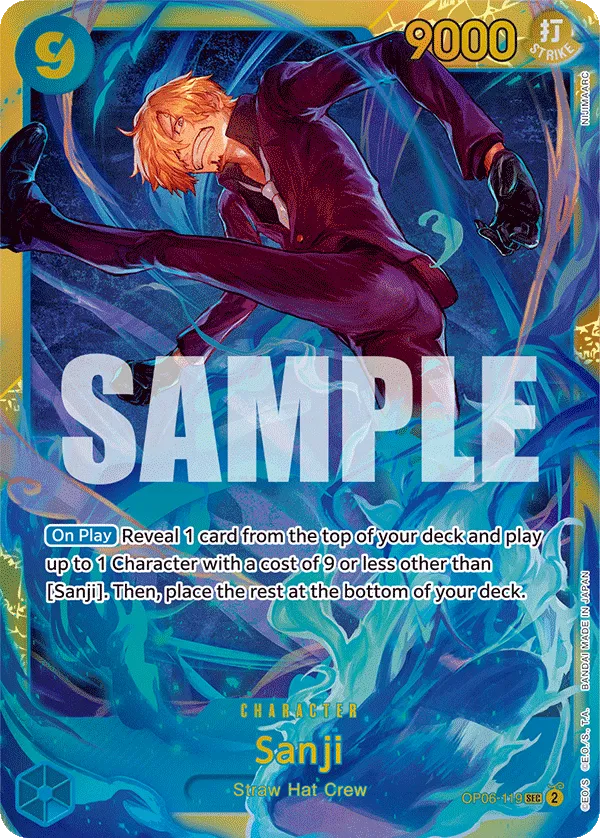
Gaining extra cards and controlling your future draws gives you a huge resource advantage. It also helps maximize the value of 9-cost Sanji, since you can plan ahead to cheat out the right Character. I’ll break down how Sanji and Leader Luffy synergize in this guide, along with the best Characters to cheat into play.
Blue Purple Monkey D.Luffy Decklist

How to Play
Ramp Cards
If we’re going first, Zoro-Juurou is the best play on turn 2, attacking with him on turn 3 to gain an Active Don. Since your Leader Luffy is already at 3 Life cards, we don’t need to take a hit from the opponent to activate Zoro-Juurou‘s ramp effect. Zoro-Juurou is a 4,000 Power Character, so you often will attach a Don to him to go for a 5,000 Power attack. In some cases, you can’t afford to attach a Don to Zoro-Juurou, but you’ll still go for the 4,000 Power attack to gain the Active Don even if you’re not getting anything out of it offensively.
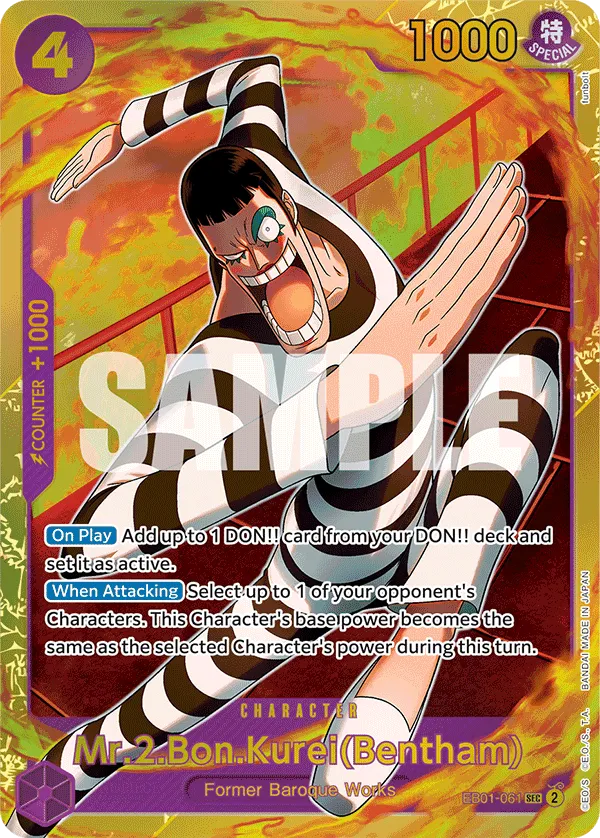
If we’re going second, then Mr. 2 Bon Clay is the ideal play, giving you an Active Don on the turn he’s played. Mr. 2 Bon Clay can match the Power of one of the opponent’s Characters when it goes for the attack, so its pressure relies on what the opponent has in play. When rested, Mr. 2 Bon Clay is extremely vulnerable with their 1,000 Power, so you’ll almost always let them go when the opponent attacks them.
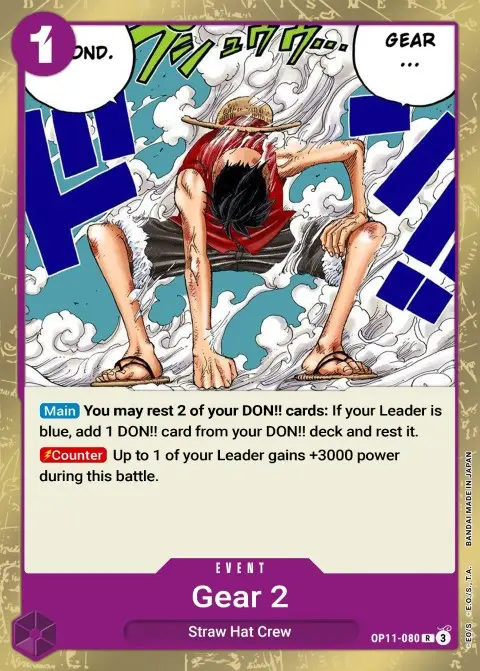
If you don’t have Zoro-Juurou on turn 2, you can still play Gear 2 to ramp 1 Don, making sure you can get your 9-cost Sanji combo on turn 5.
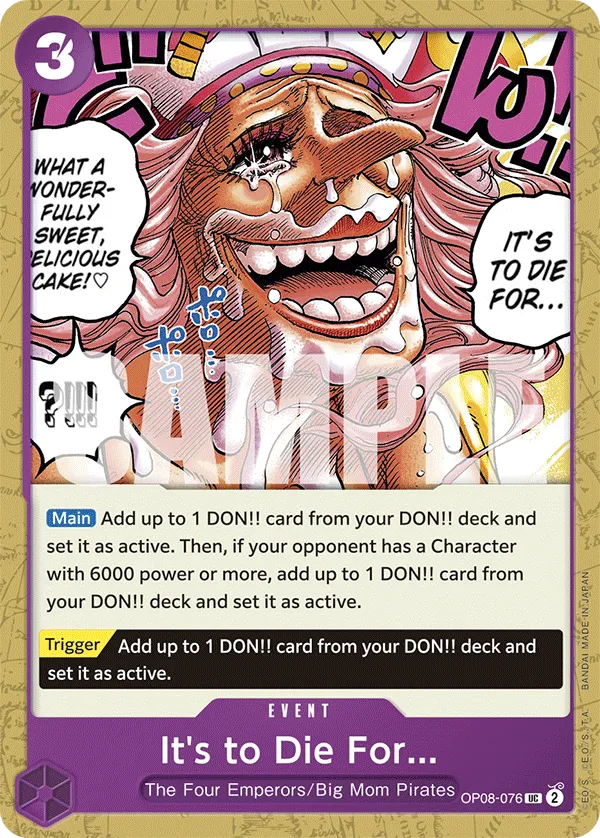
It’s to Die For is a 3-cost Event to ramp 1 Active Don. If your opponent has a 6,000 Power Character in play, you can ramp 2 Active Don instead. However, you often won’t play for the second Don, and only 1 Active Don is enough. Its trigger effect will only be useful in the early game, ramping you an extra Don to enable a strong upcoming turn.
Blockers
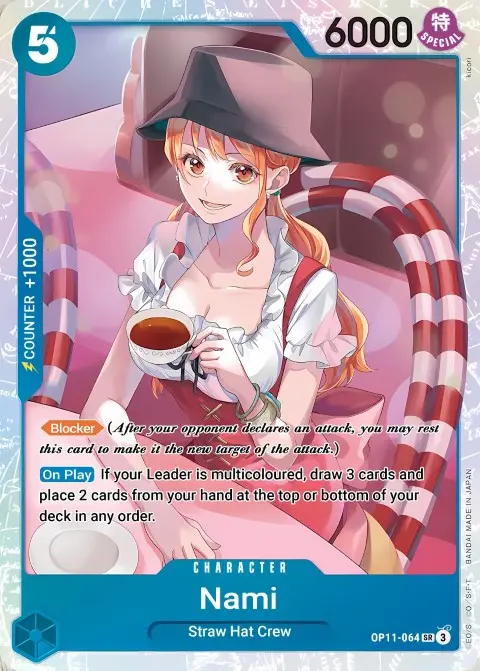
5-cost Nami is a 6,000 Power blocker that draws 3 cards and places 2 from your hand on either the top or bottom of your deck. This means you gain a card while also controlling your upcoming draws—either setting up future turns or tucking cards you don’t need to the bottom.
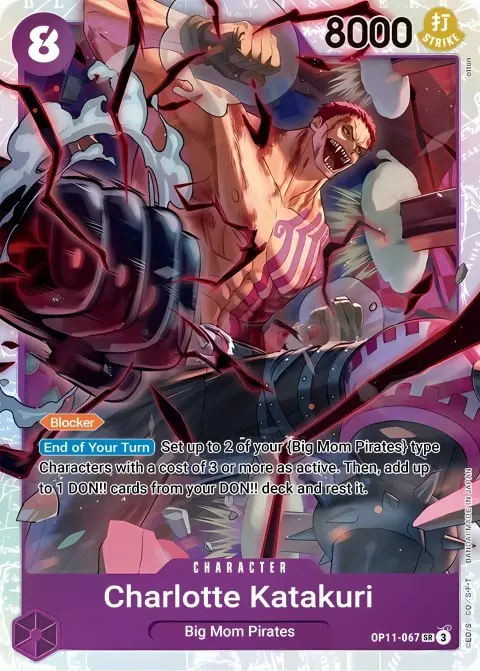
8-cost Charlotte Katakuri is your strongest defensive play, a Blocker with 8,000 Power to protect your Leader. Usually, you can’t attack with a blocker if you want to continue using them defensively on your opponent’s turn, but Charlotte Katakuri breaks those rules thanks to his effect.
At the end of your turn, you can set 2 of your {Big Mom Pirates} type Characters with a cost of 3 or more as Active. So Charlotte Katakuri can set himself and Charlotte Linlin as Active, allowing you to attack with Charlotte Katakuri and still have him as a blocker to protect your Leader.
Since Leader Luffy is a 3 Life card Leader, the defensive wall Charlotte Katakuri creates will be vital to halt your opponent’s attacks, giving you more turns to create the winning turn, and having 2 Charlotte Katakuri on the field can be devastating for your opponent if they don’t have a removal card for Charlotte Katakuri.
Charlotte Katakuri is also ramping a rested Don at the end of your turn, but this list isn’t heavily deramping, so you won’t find much use for the ramp effect in most cases.
Control Characters
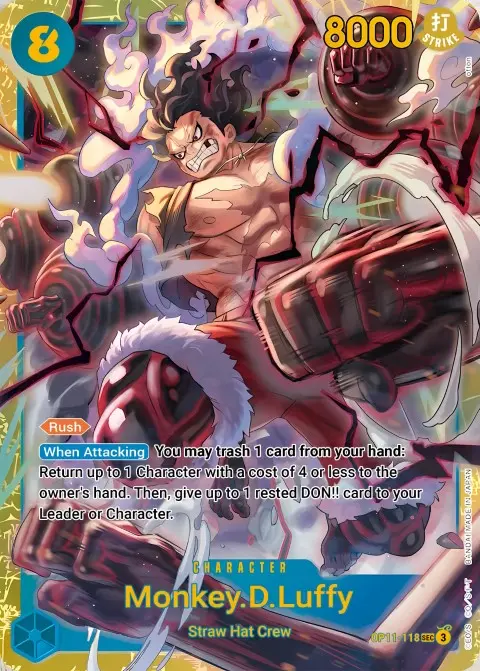
8-cost Monkey D. Luffy is a Rush Character, getting to attack the turn he’s played. When he attacks, you can trash a card from your hand to return a 4-cost Character to your opponent’s hand. While this isn’t always the best trade-off—you’re losing a card while your opponent keeps theirs—it still reduces their board presence. But if you’re bouncing a blocker, Luffy’s effect becomes incredibly valuable, clearing the way for more aggressive attacks.
Luffy also attaches a rested Don!! to your Leader or one of your Characters, so you’re getting more offensive pressure with your attacks.
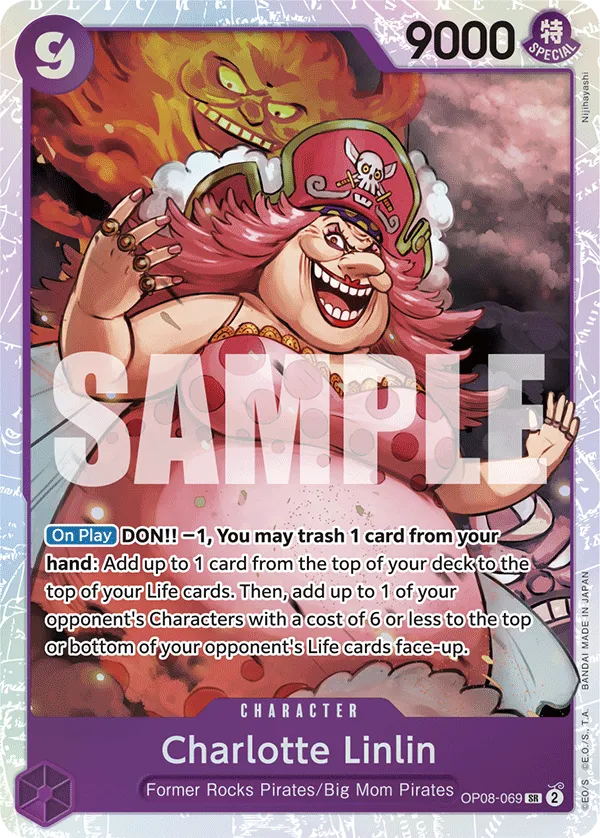
9-cost Charlotte Linlin provides an extra Life card and removes a 6-cost Character from your opponent’s field, placing it on the top or bottom of their Life Area. To activate Charlotte Linlin effect, you’ll have to return 1 Don and trash a card from your hand. The extra Life card you gain and the Character you remove from play will help stabilize the game, giving you more time to create an opportunity to win the game.
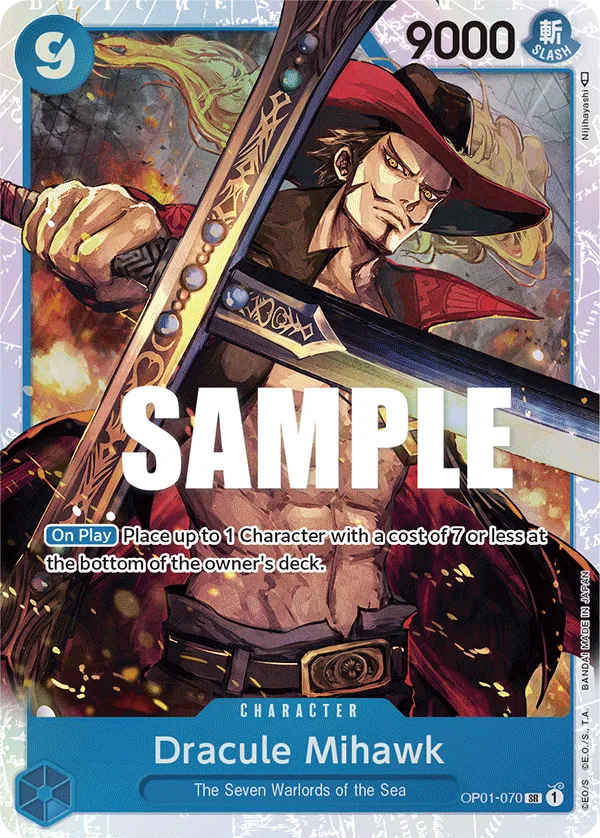
9-cost Dracule Mihawk is usually the play if there’s a 7-cost Character you want to remove. You can play that Character to the bottom of the opponent’s deck, helping you weaken the opponent’s side of the field.
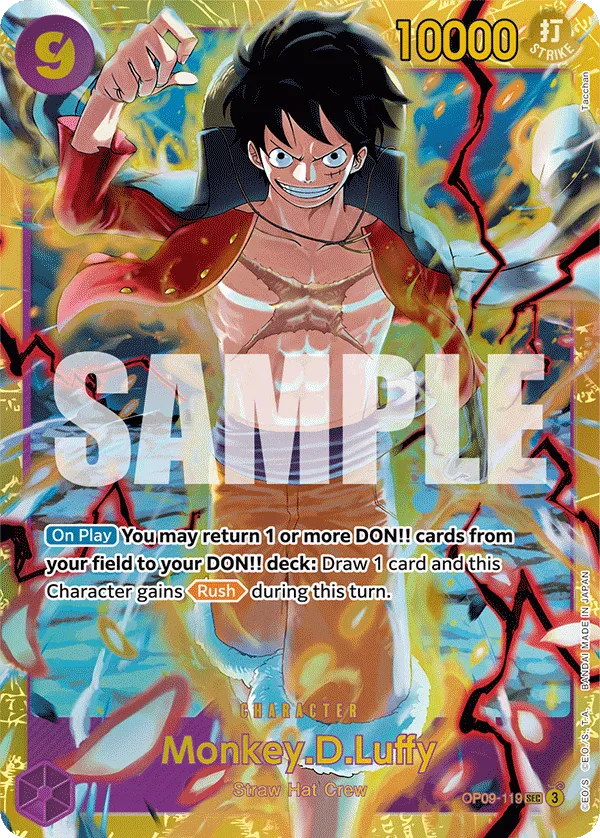
9-cost Monkey D. Luffy is a 10,000-power that gains the Rush keyword and draws you a card when you return a Don. Returning a Don at 9 Don won’t put you behind on the upcoming turn, you’ll still be at 10 Don. Monkey D. Luffy can be used defensively to KO a rested Character and help control the field or offensively by attacking the opponent’s Leader and taking a Life card.
Being a 10,000 Power Character makes him a tough target to remove, and your opponent will likely rely on a removal effect to deal with him.
Sanji Double Developments
9-cost Sanji is the strongest play in this deck, and we aim to play it on turn 5. By this point, you should be able to activate Leader Luffy’s search effect, letting you look at the top 5 cards of your deck and add 1 {Straw Hat Crew} card to your hand.
After that, you’ll have 4 remaining cards to place on the top or bottom of your deck in any order. If you find a high-cost Character you want to cheat out with 9-cost Sanji, you’ll want to stack your deck correctly:
- The top card should be the one you’ll draw naturally at the start of your turn. If you don’t have 9-cost Sanji in your hand, you can find him through Leader effect and place him at the top of your deck to draw and play him.
- The second card should be the high-cost Character you want Sanji to bring into play.
- The remaining two cards can be placed depending on which one you’d prefer to draw first later in the game.
This ensures that Sanji brings out a strong Character, developing two big bodies in one turn. If we’re trying to go for more aggression, 8-cost and 9-cost Monkey D.Luffy are great to cheat out through Sanji’s effect. However, if we need a defensive card, then 8-cost Charlotte Katakuri or 9-cost Charlotte Linlin are your best plays.
If you don’t find a high-cost Character in the top 5 cards of your deck, you can place all the cards at the bottom of your deck and pivot to a different play instead of committing to 9-cost Sanji.
However, you can still go for the Sanji play and rely on the luck of the draw, hoping to hit a high-cost Character. Whether or not this is the right call depends on how much risk you’re willing to take and if landing Sanji’s effect could swing the game in your favor.
Events
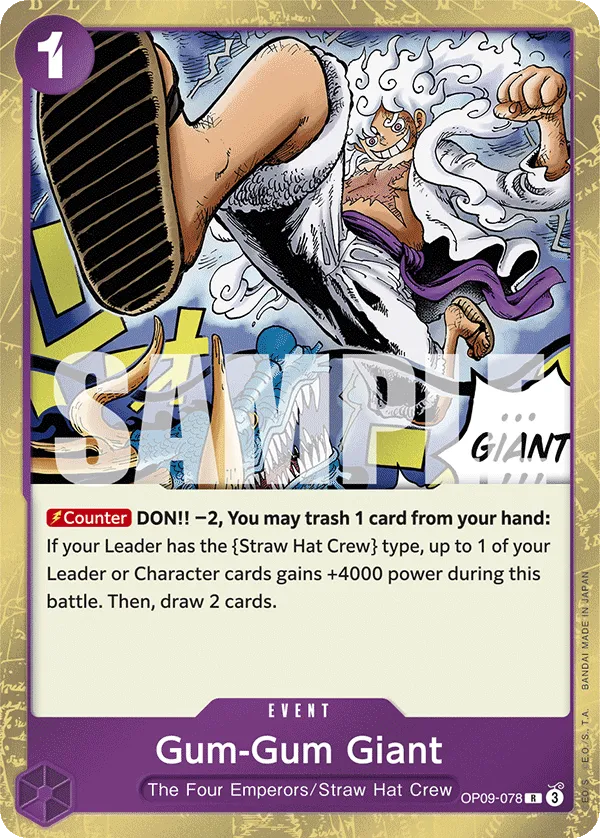
Gum-Gum Giant is a powerful defensive event that returns 2 Don to give your Leader or one of your Characters +4,000 Power. It also draws two cards and lets you trash a card from your hand, ensuring you have more plays to make or even find more Counter cards. Since Gum-Gum Giant is returning 2 Don, you won’t play it until you’re at 8+ Don so you don’t struggle to play your high-cost Characters on the upcoming turn.
If you don’t use Gear 2 for the ramp effect, it can be played as a Counter event, giving your Leader +3,000 Power to Counter an attack.
+2,000 Counters
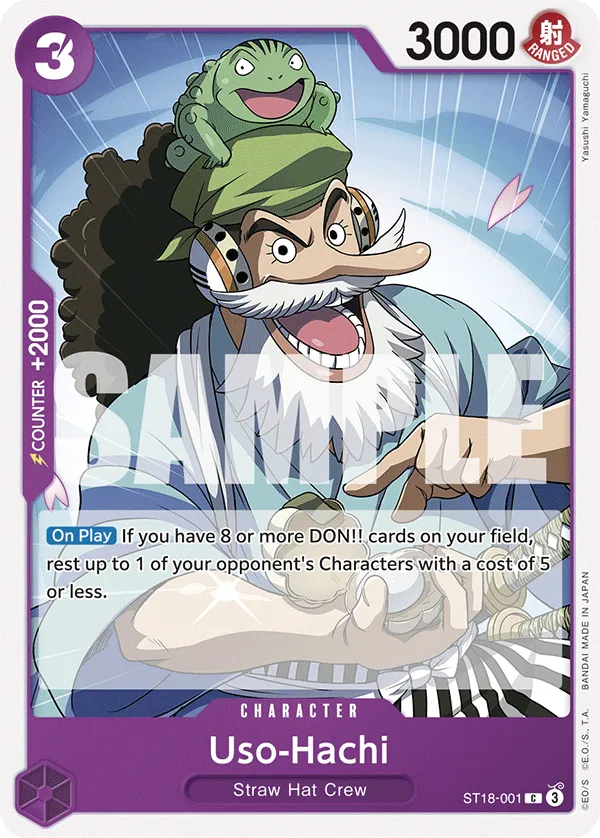
Uso-Hachi can be used to rest one of the opponent’s 5-cost or less Characters, enabling you to attack and KO that Character or ignore it if it’s a blocker and focus your attacks on their Leader.
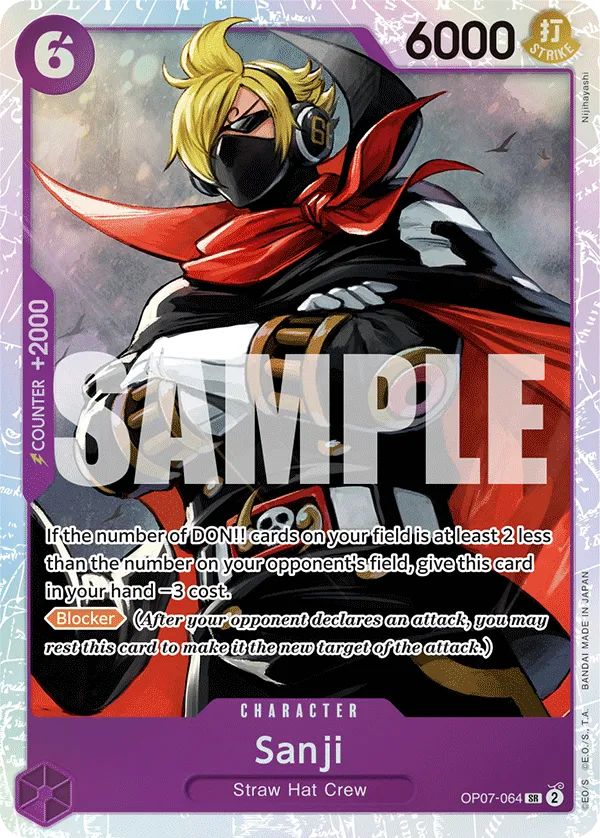
6-cost Sanji is a blocker, but you’ll usually play him as a Counter card. You often won’t fall 2 Don behind your opponent, so you won’t reduce Sanji‘s cost to 3 Don. However, since he can be searched and added to your hand through Leader effect, you can draw him to use the +2,000 Counter effect.
Mulligan
- Ramp cards like Zoro-Juurou, Mr.2 Bon Clay, or Gear 2 to play your high-cost Characters on an earlier turn.
Turn-Based Gameplay
Going First
- Turn 1 (1 Don):
- Turn 2 (3 Don): 3-cost Zoro-Juurou, It’s to Die for, or Gear 2.
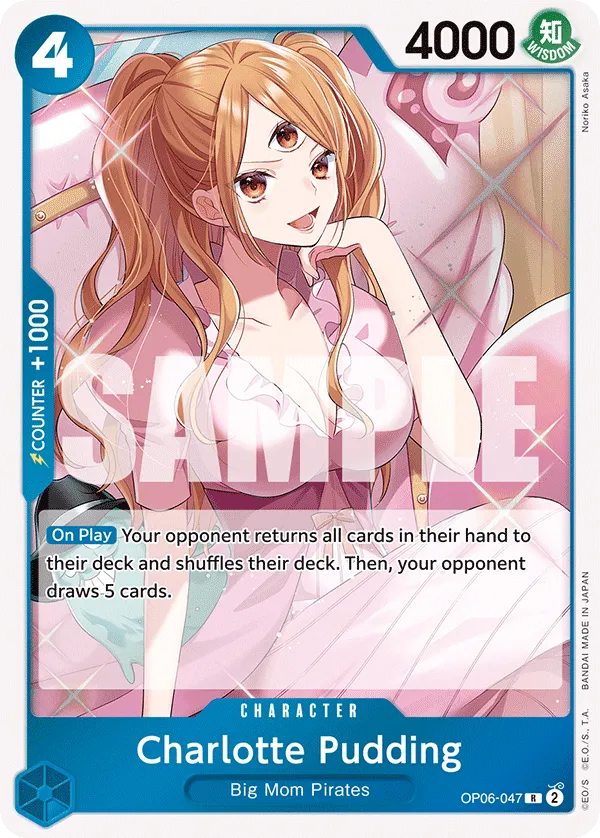
- Turn 3 (5 Don 6 Don): 5-cost Nami or Pudding.
- Turn 4 (7 Don 8 Don): 8-cost Charlotte Katakuri or 8-cost Monkey D.Luffy.
- Turn 5 (9 Don 10 Don): Leader effect, then play 9-cost Sanji + cheat out a Character.
- Turn 6 (10 Don): Leader effect,t then play 9-cost Sanji + cheat out a Character. You can save 1 Don to play a Counter event.
Going Second
- Turn 1 (2 Don):
- Turn 2 (4 Don): Mr 2 Bon Clay. If you don’t have Mr 2 Bon Clay, you can play 3-cost Zoro-Juurou, It’s to Die for, or Gear 2.
- Turn 3 (6 Don 7 Don): 5-cost Nami or Pudding. You can also ramp to draw through Leader effect on the next turn.
- Turn 4 (8 Don 9 Don): 9-cost Monkey D.Luffy or 9-cost Charlotte Linlin. You can also play 8-cost Charlotte Katakuri or 8-cost Monkey D.Luffy. If you’ve played 5-cost Nami on the previous turn, you can go for the 9-cost Sanji play.
- Turn 5 (10 Don): Leader effect, then play 9-cost Sanji + cheat out a Character.
Other Cards to Include
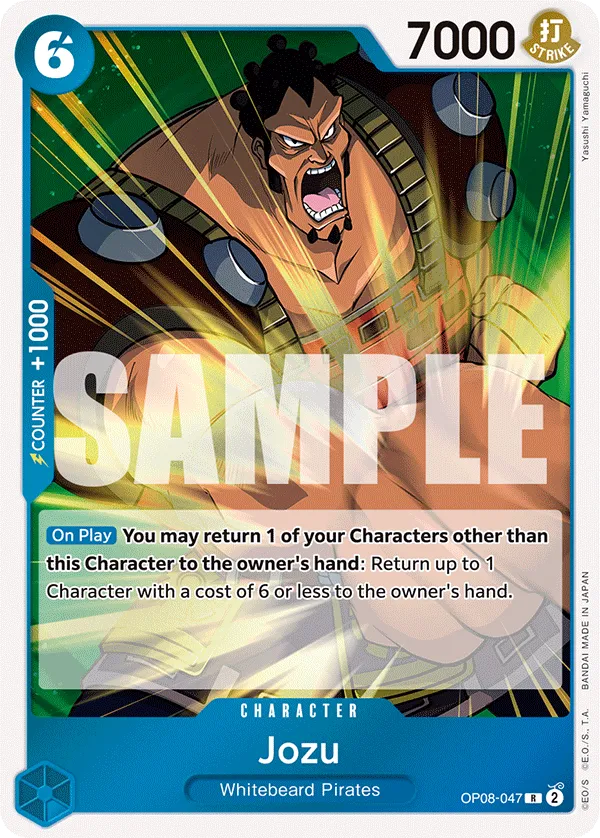
- 6-cost Jozu has been a popular choice among blue decks, developing a 7,000 Power Character and returning a 6-cost or less Character to the opponent’s hand. You’re shifting the field pressure in your favor by playing Jozu, but you will have to return one of your Characters to activate the effect. 1-cost Trafalgar Law is the best Character to return to your hand, which you can replay later for the card draw or use as a Counter.
- As for 5-cost Monkey D.Luffy, he’s a 7,000 Power blocker, so you can block a 6,000 Power attack without having to use any of your Counter resources. You can even use Monkey D.Luffy to block an attack and use fewer Counter cards to keep him in play. If you have 5 or more cards in your hand, Monkey D.Luffy cannot attack, so you can’t use him offensively, but he will still be useful defensively. If you have 6 cards in your hand, you can play a card to drop to 5 cards and then get to attack with 5-cost Monkey D.Luffy.
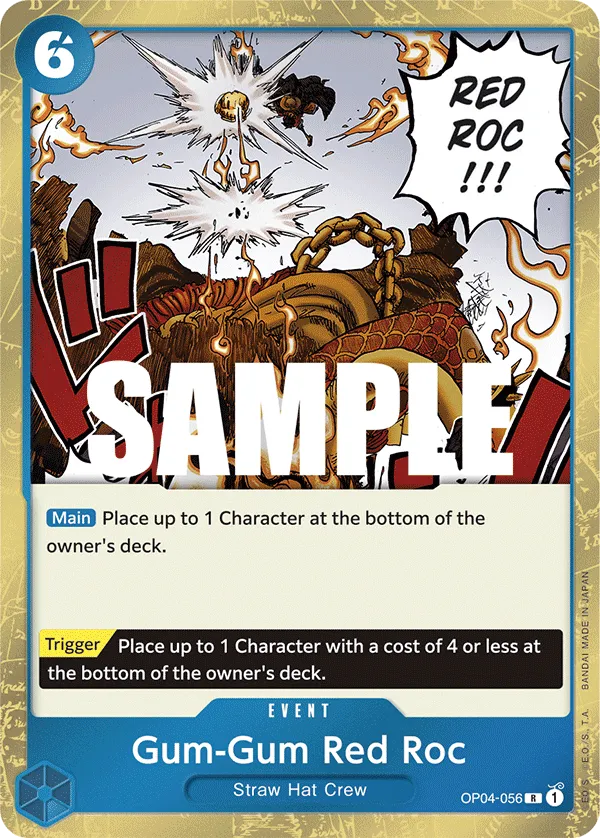
- 6-cost Gum-Gum Red Roc is an answer for a high-cost Character, placing it at the bottom of the opponent’s deck.
Matchups
Against Green Purple Monkey D.Luffy, we’ll mainly focus on controlling their side of the field, removing key Characters like Sanji & Pudding and 6-cost Luffy. They will eventually struggle to go through our 8-cost Katakuri blockers, running out of steam in the late game. They don’t have answers for high-cost Characters, so they’ll have a tough time in the late game to match your field.
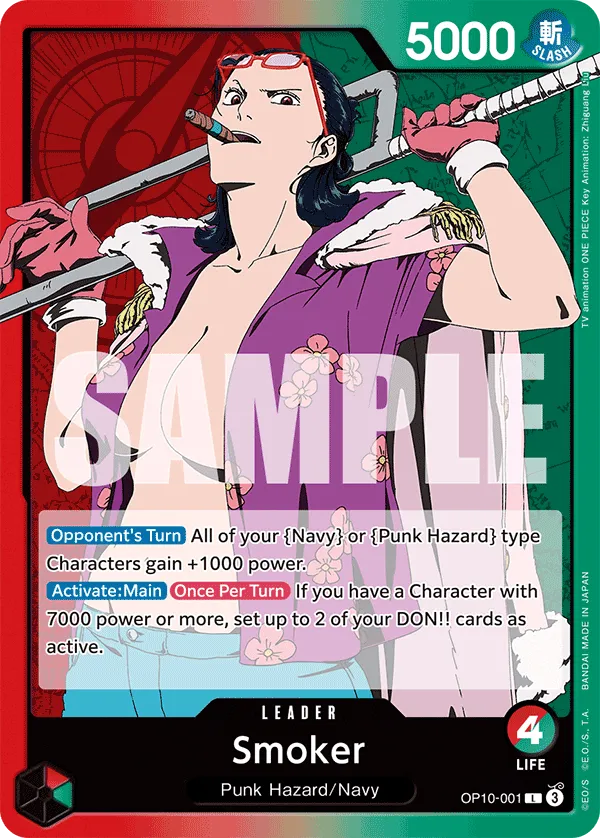
Red Green Smoker can play aggressively with 5-cost Luffy and 7-cost Hody Jones, trying to drop you low on Life cards and close out the game. Even with multiple blockers in play, if they drop Hody Jones, they can rest your blockers and attack your Leader directly, so remaining at 1 Life card is a must. Hody Jones can also rest your Don to shut off your 1-cost Counter Events.
Kid can slow us down, but if we have multiple high-cost Characters, we can eventually KO him. 8-cost Luffy can return Rosinante or another low-cost blocker to the opponent’s hand, making it easier to KO their Kid.
Red Roronoa Zoro plays aggressively, going wide on the field and lining up multiple attacks. The Katakuri blockers are important in this matchup, but we can’t fall below 1 Life card. Your opponent can use 2-cost Sanji to bypass your blockers and attack your Leader directly. We want to control their field, forcing them to rely on Rush attackers only, eventually running them out of resources and stabilizing the game.
Black Marshall D. Teach trashes one card from their hand to shut down our On Play effects. That means powerful cards like 9-cost Charlotte Linlin, 9-cost Monkey D. Luffy, and Sanji won’t get their abilities when they hit the board. This does slow us down, but just dropping big bodies onto the field can still be a huge problem for the opponent.
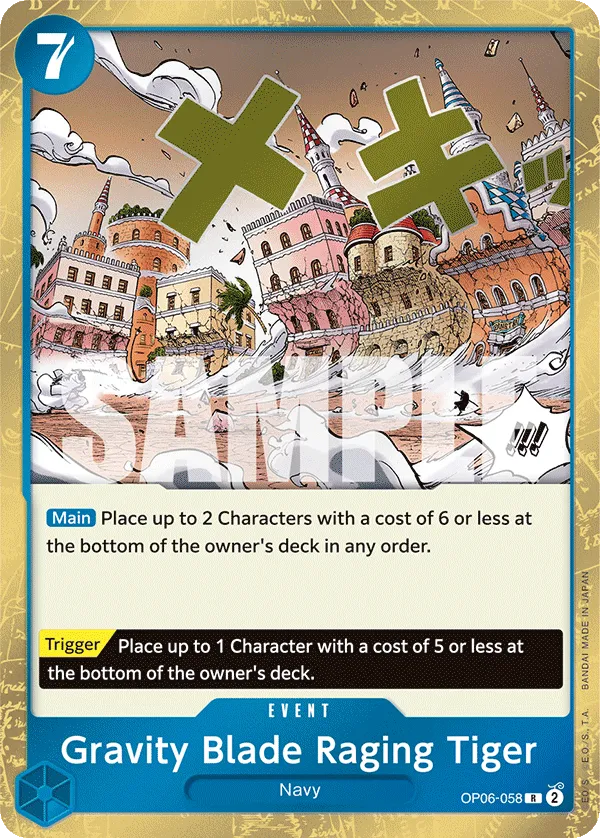
They don’t have strong cost reduction tools to manage our threats. Their main cost reducers are Laboon and Van Auger. If we can take those out with something like Gravity Blade Raging Tiger or 8-cost Luffy for Laboon, we limit their ability to control the board. Jesus Burgess can become a win condition, so we’ll often remove him from the field through Gravity Blade Raging Tiger or 8-cost Luffy.
The main threat is 10-cost Marshall D.Teach, acting as a blocker to slow us down and can later go for high-power attacks. The plan is to aggro our opponent down, forcing them to keep 10-cost Teach Active or forced to attack one of our rested Characters instead of our Leader. If they attack a rested Character, we can try protecting it to keep an attacker in play, enabling us to go for a more aggressive turn to win the game.