We’re gearing up for an exciting, never-before-experienced, OP10 meta in the West! In One Piece TCG, we usually learn from the East’s solved meta, trying to find hidden gems or improving lists to perform better against the top decks. However, this time around, the bans to Jinbe, Ice Age, Kingdom Come, and Gecko Moria have shaken the meta, completely kicking out a couple of the top performers in the west like Black Yellow Monkey D.Luffy.
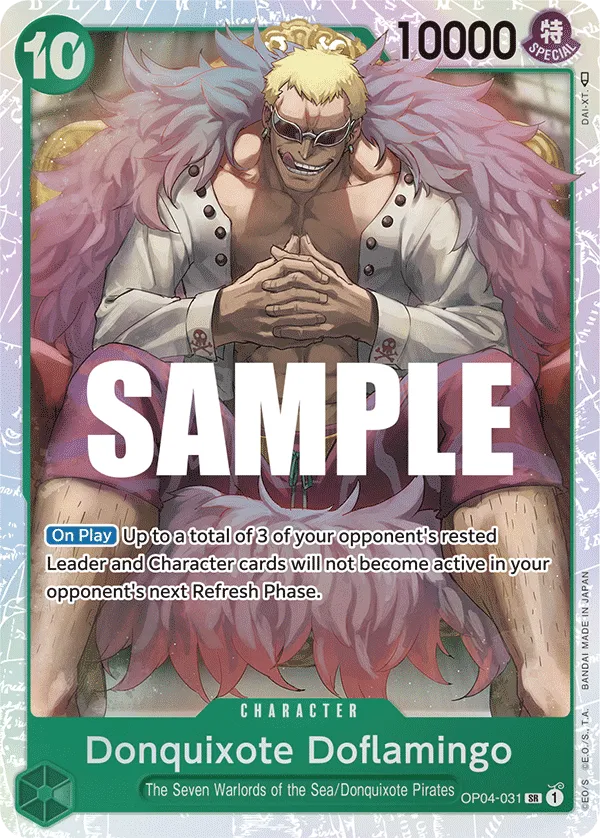
With Blue Doflamingo and Black Rob Lucci taking huge hits, the OP10 meta looks different than what it looked like in the East, and it will likely continue to evolve as players experiment with various Leaders.
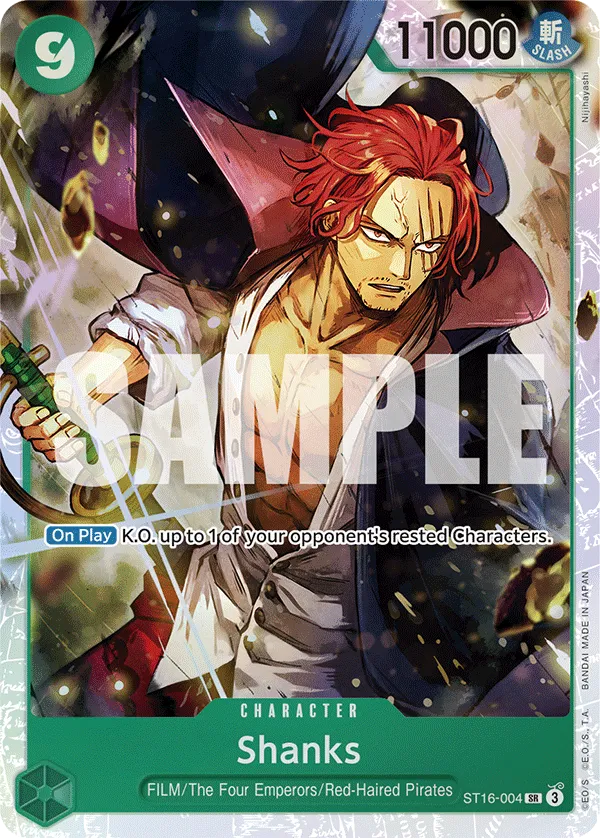
Red Shanks
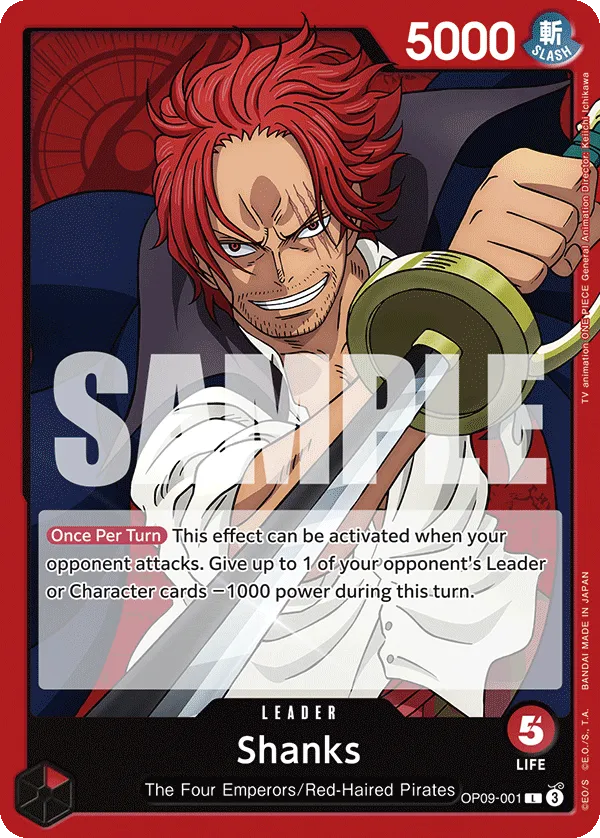
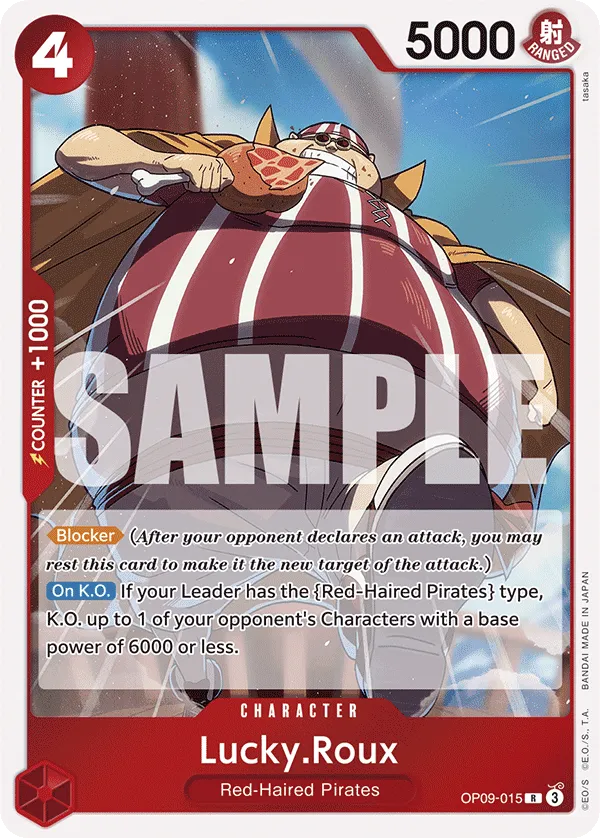
Red Shanks has quickly risen to the top of the meta with Blue Doflamingo losing Jinbe, becoming the top meta deck to beat. This Leader can reduce the Power of one of the opponent’s attackers by 1,000, weakening their attack and making it harder for them to get an attack through. You can stall out games thanks to the Leader effect, especially since you’re saving Counter resources. On top of that, the list has multiple control cards to keep the opponent’s side of the field in check, preventing them from easily taking over the game.
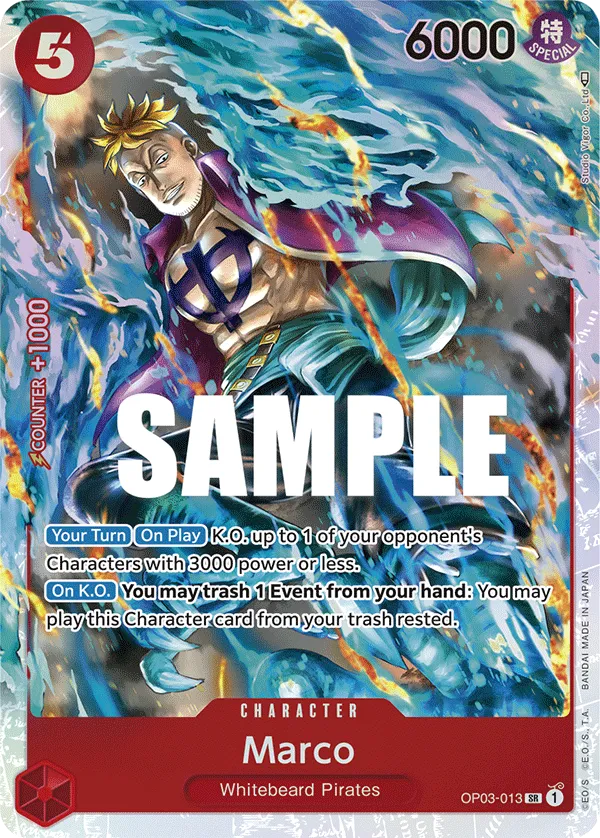
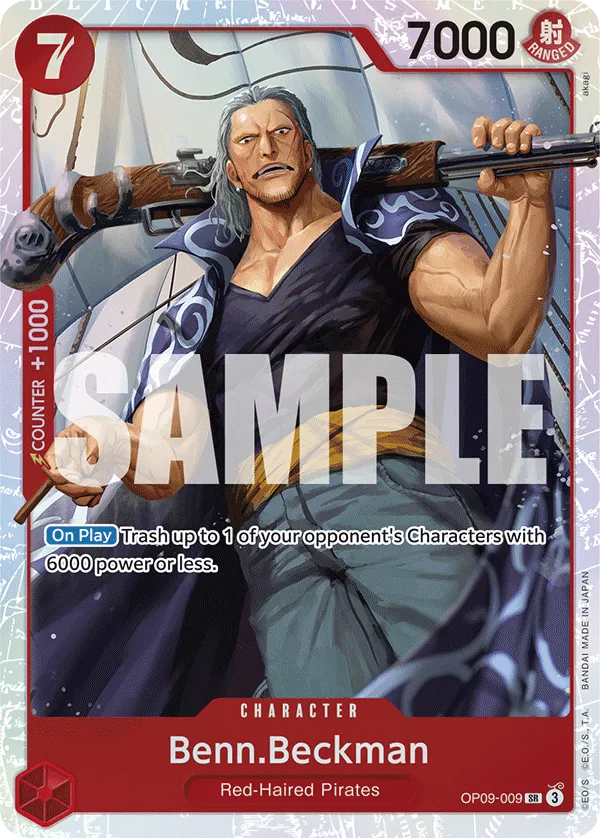
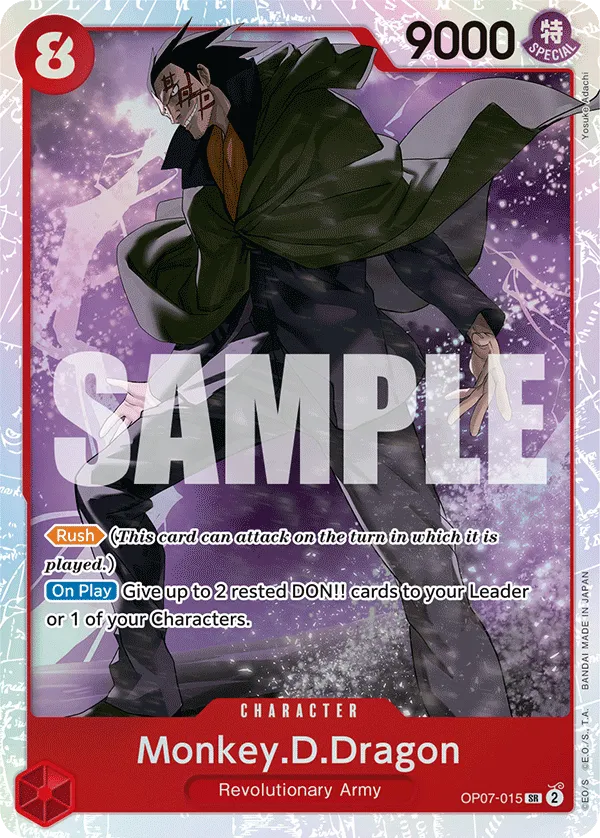
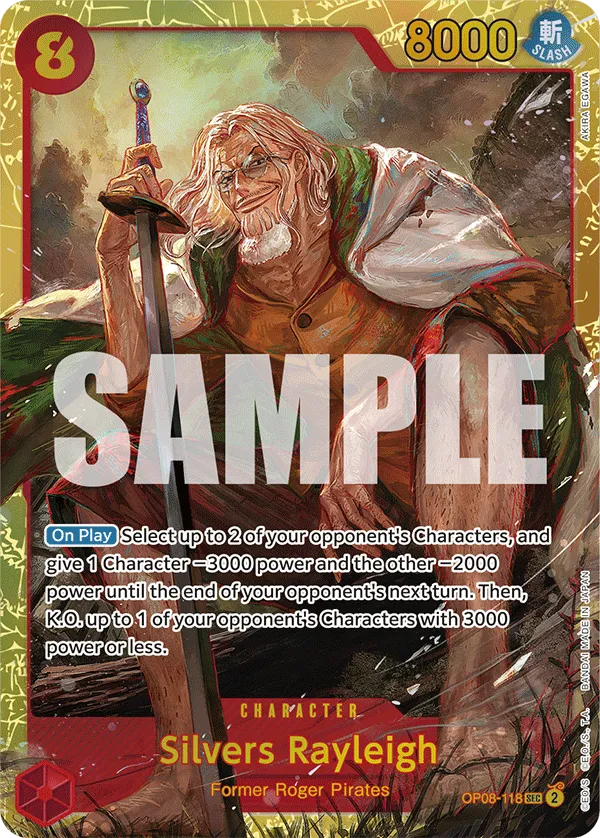
5-cost Marco, 7-cost Benn.Beckman, and 8-cost Silvers Raylegih can remove an opponent’s Character from play. Combined with your Power reduction cards, you can target higher-power characters.
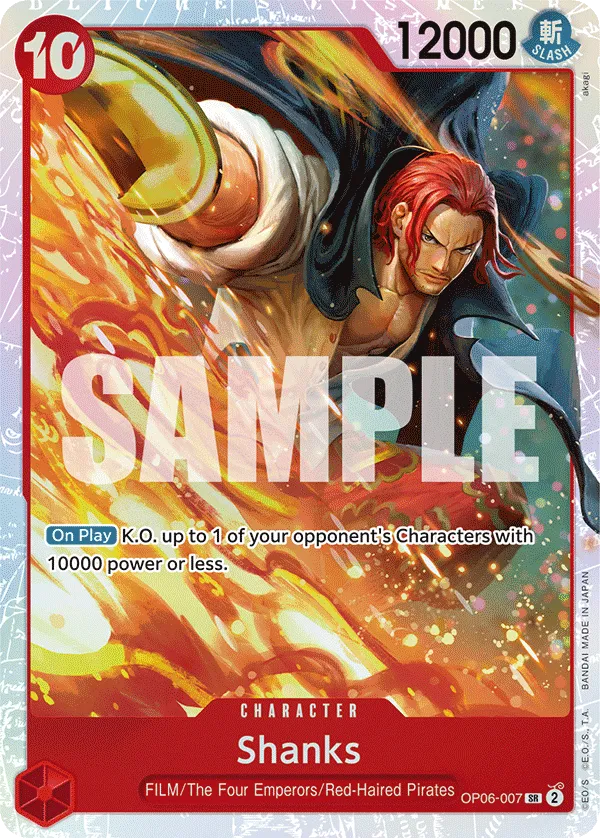
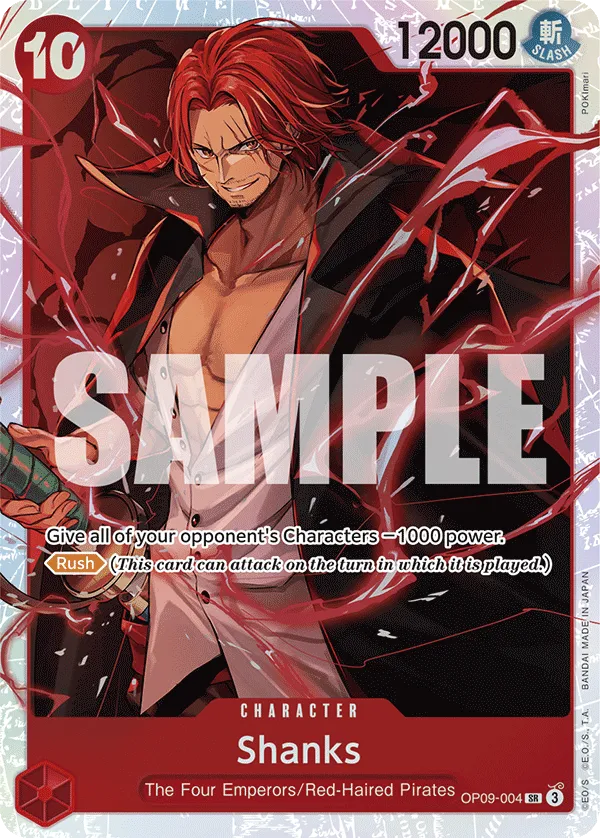
The 10-cost Shanks’ Rush attack creates an aggressive turn, having 12,000 Power at your disposal to KO a rested Character or take the opponent’s Life card. Shanks is also reducing the Power of all of the opponent’s Characters by 1,000, making it even harder for them to get an attack through.
Bad Matchup: Red Purple Monkey D.Luffy.
Black Marshall D.Teach
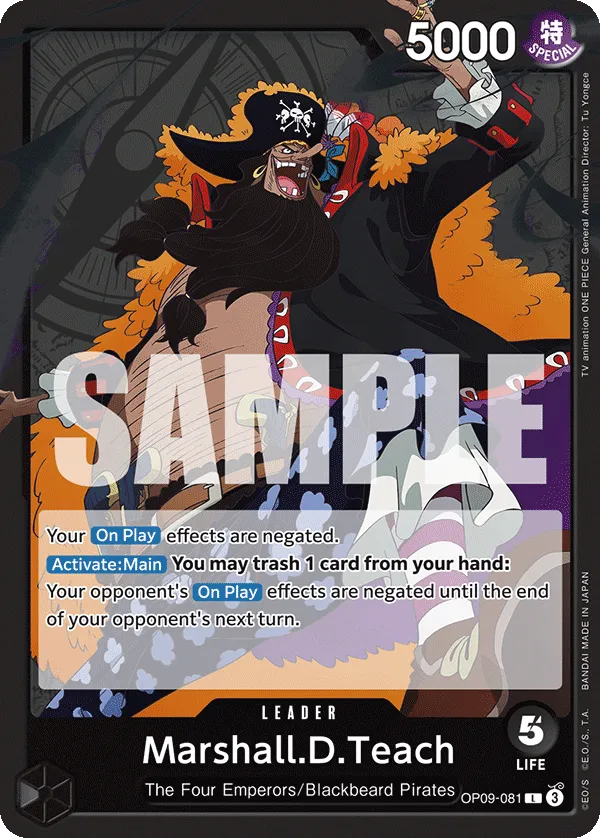

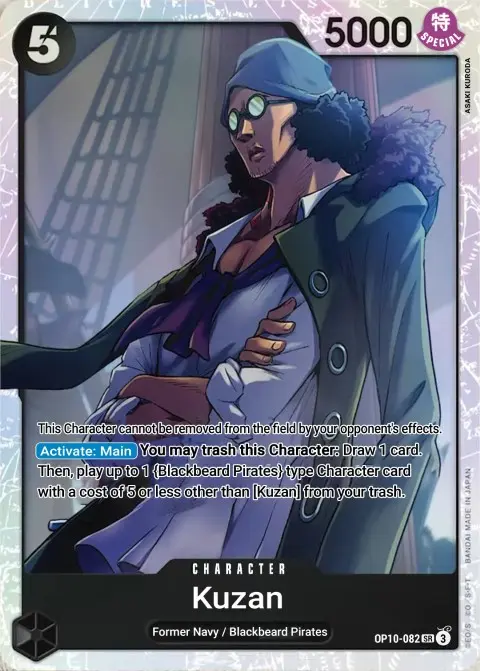

Black Marshal D.Teach wasn’t affected by the Gecko Moria ban since he, well, doesn’t run it. On the other hand, the Ice Age ban is a hit to Teach, making it harder in a meta where high-cost Characters are prevalent.
Teach can’t use On Play effects, so the list is built around Activate:Main effects and Events, having the tools to control the field, but also can drop strong Characters in play that will become your heavy hitters. Jesus Burgess will gain +1,000 Power for every 4 cards in your trash, and in the late game, he’ll become your win condition, going for high Power attacks that will be tough for the opposing player to Counter.
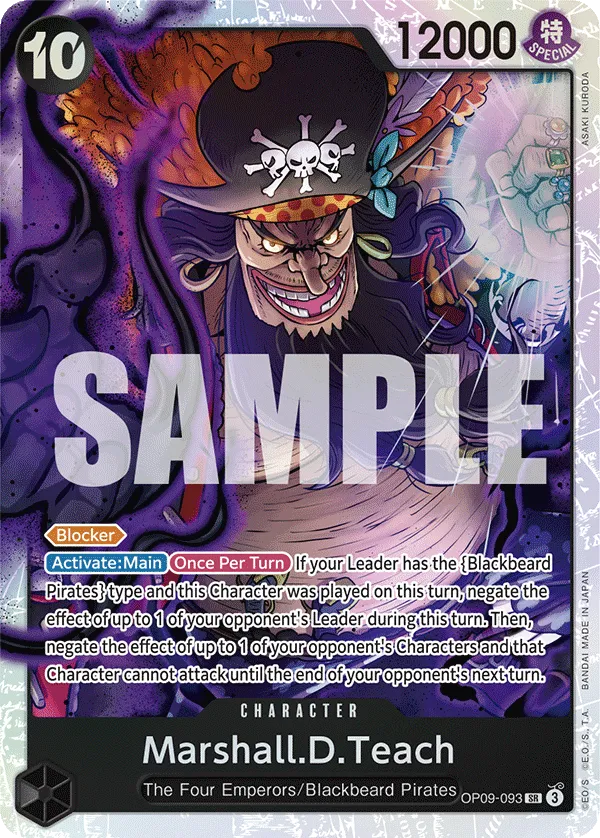
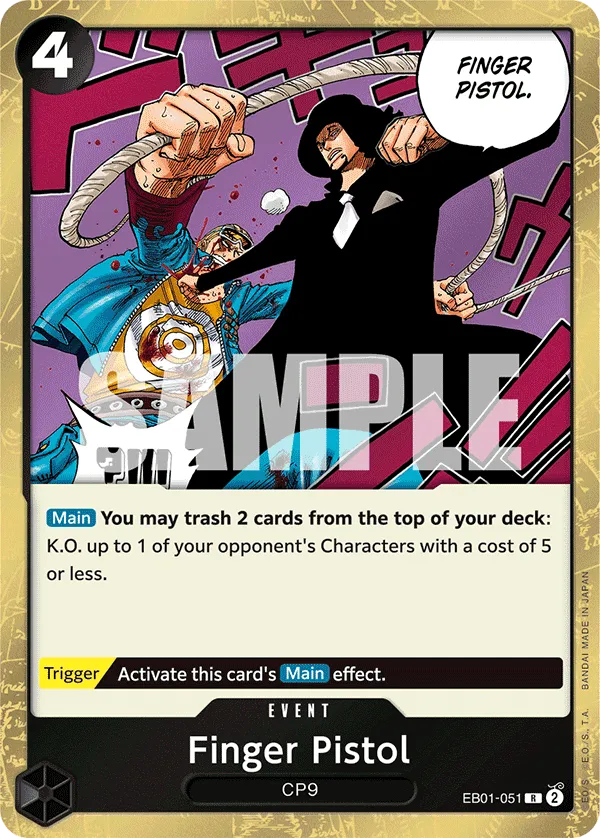
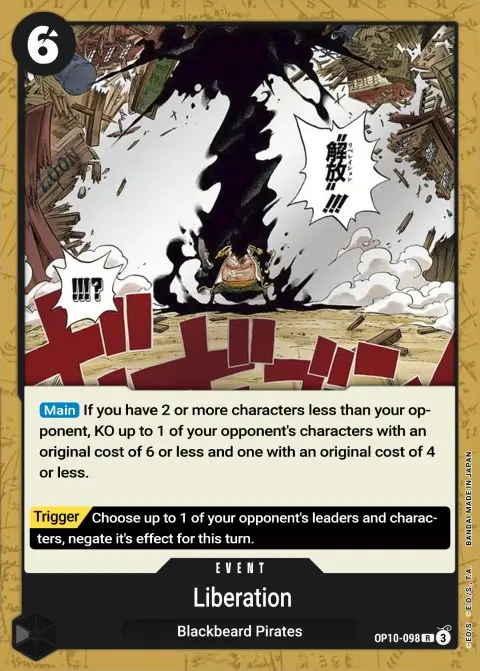
Finger Pistol, Black Hole, and Liberation are your control Events, which will ensure your opponent doesn’t win the field and can’t aggro you down. They’ll buy you enough time until you start playing you 10-cost Marshall.D.Teach, preventing your opponent from easily attacking your Leader.
Bad Matchup: Red Roronoa Zoro, Purple Luffy, and Blue Doflamingo.
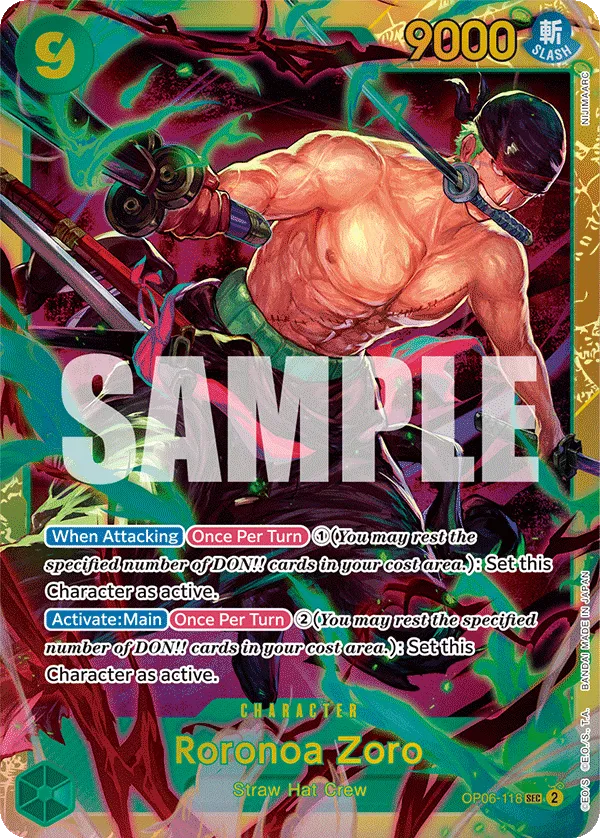
Red Roronoa Zoro
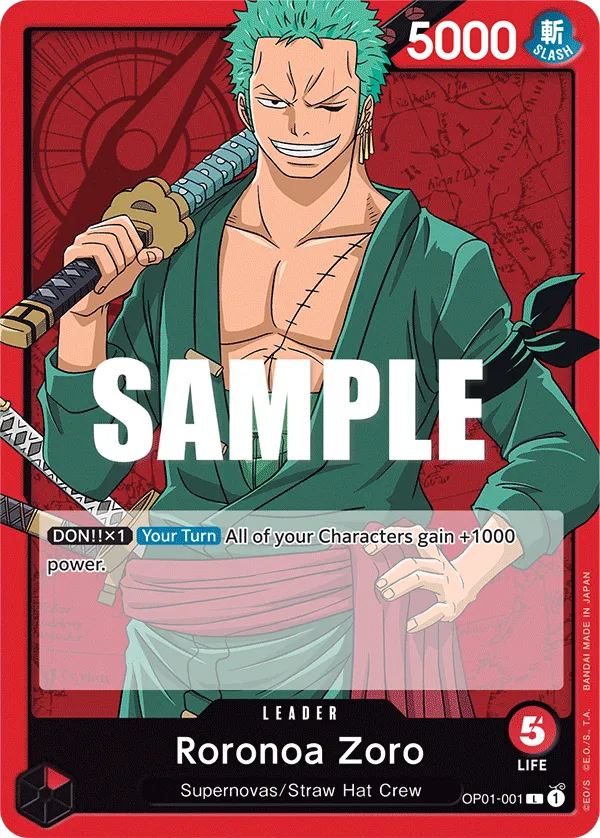

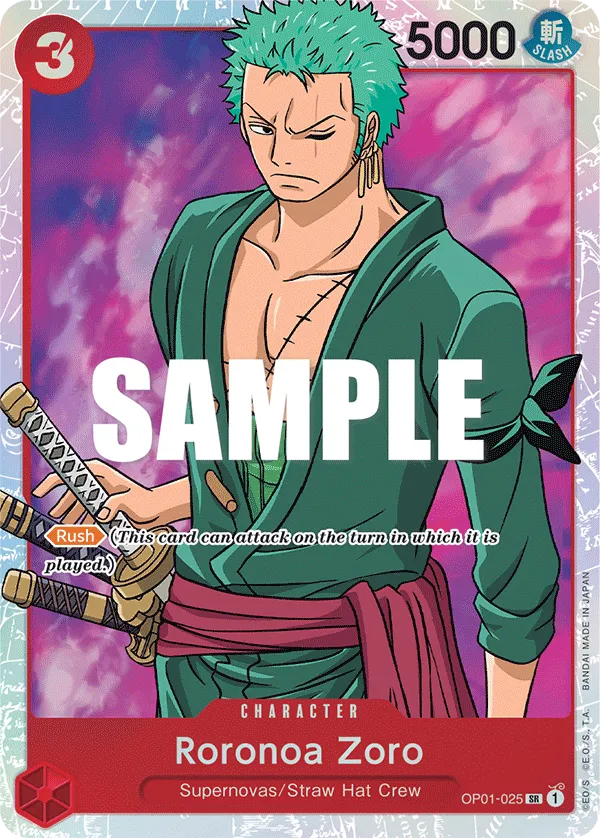
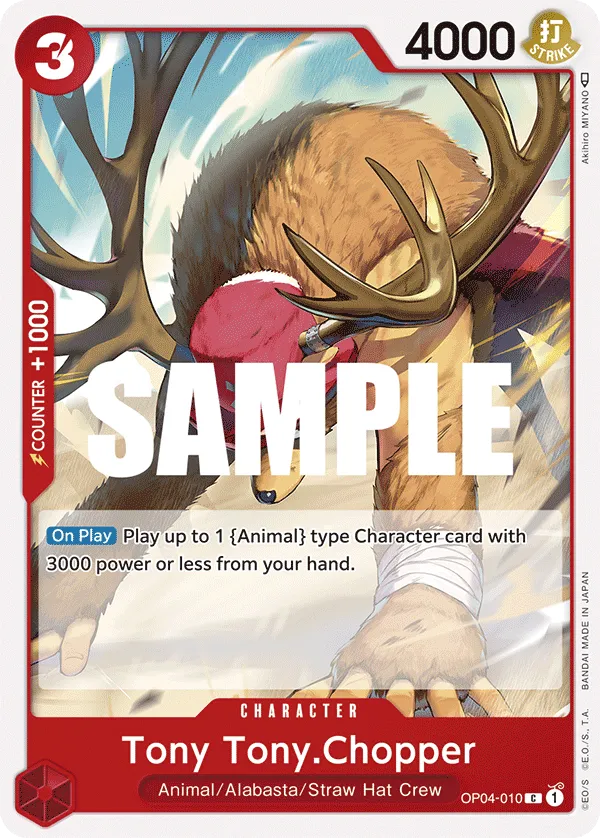


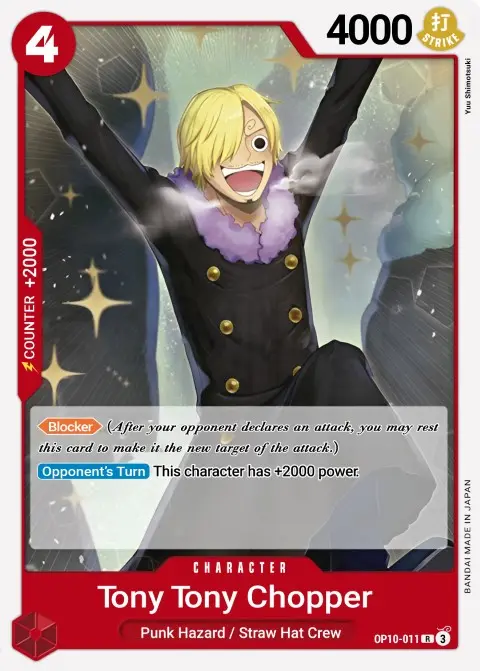
The card bans hit multiple of Red Roronoa Zoro’s tough matchup, bringing the aggressive Leader back into the spot the light. This deck plays aggressively, filling the field with multiple Characters using the OP08 Tony Tony Chopper and boosting their Power by 1,000 using your Leader’s effect.
The main goal is to pressure your opponent’s Leader, take as many Life cards as possible, and bleed them from Counter resources. The Rush attackers are a crucial part of this deck’s strategy, keeping the aggression going with an additional attacker they’re forced to Counter or block.
Bad Matchup: Green Bonney, Blue Black Usopp.
Green Jewely Bonney
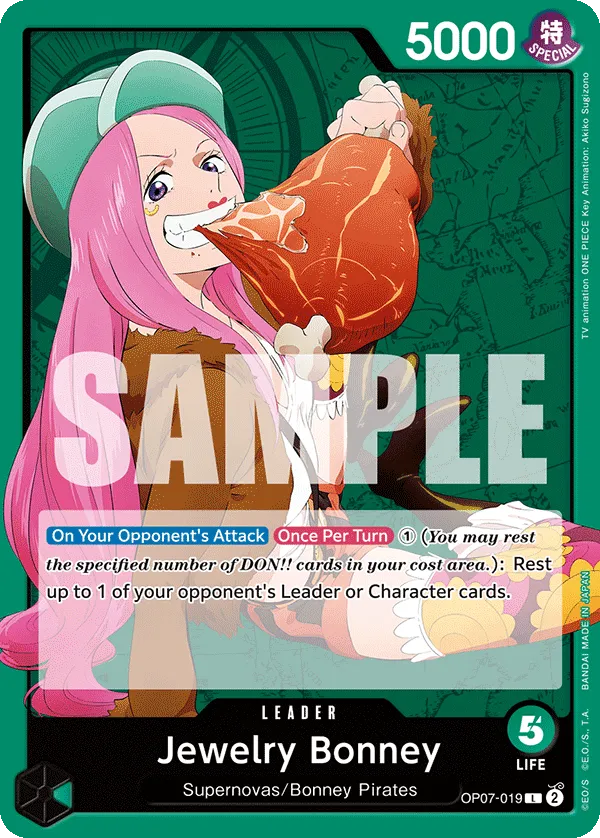

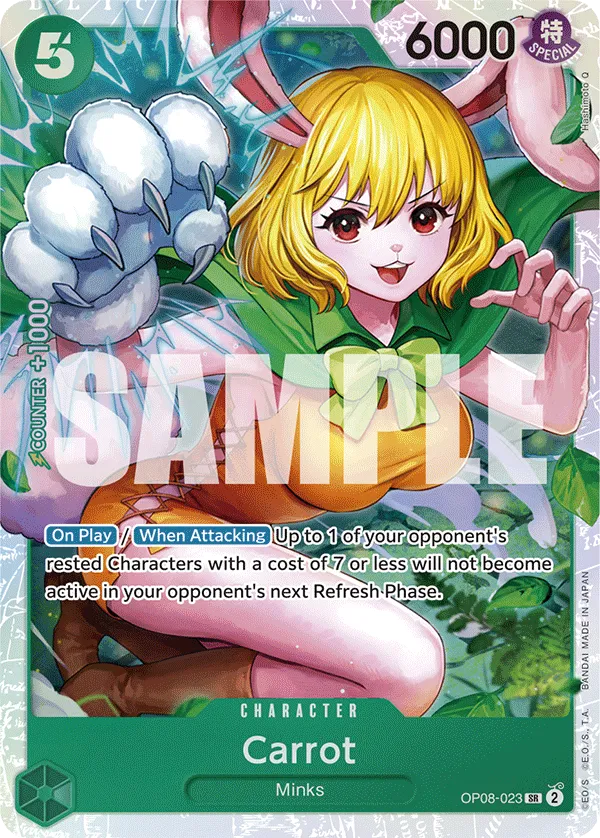
Green Jewelry Bonney is a stall Leader, resting one of the opponent’s attackers and preventing it from attacking. This will save you Counter resources, which you can use later in the game when needed.
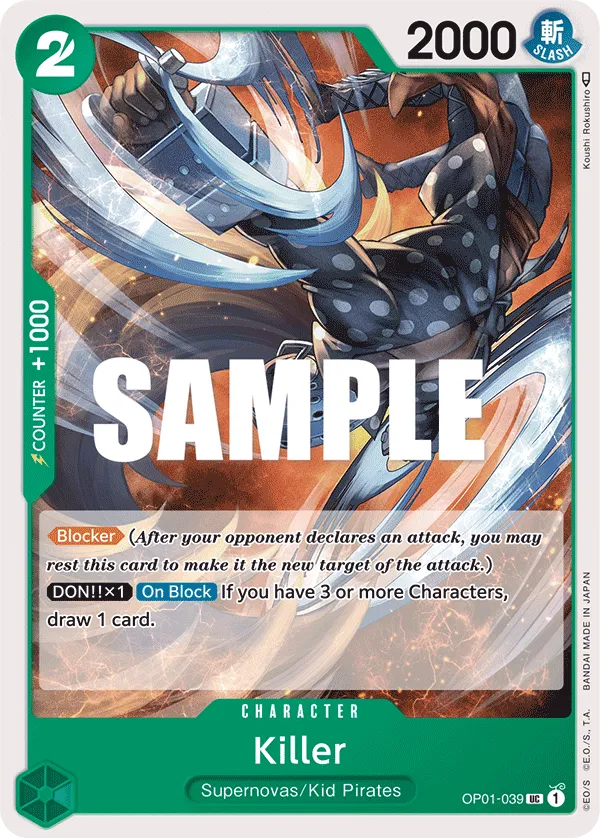
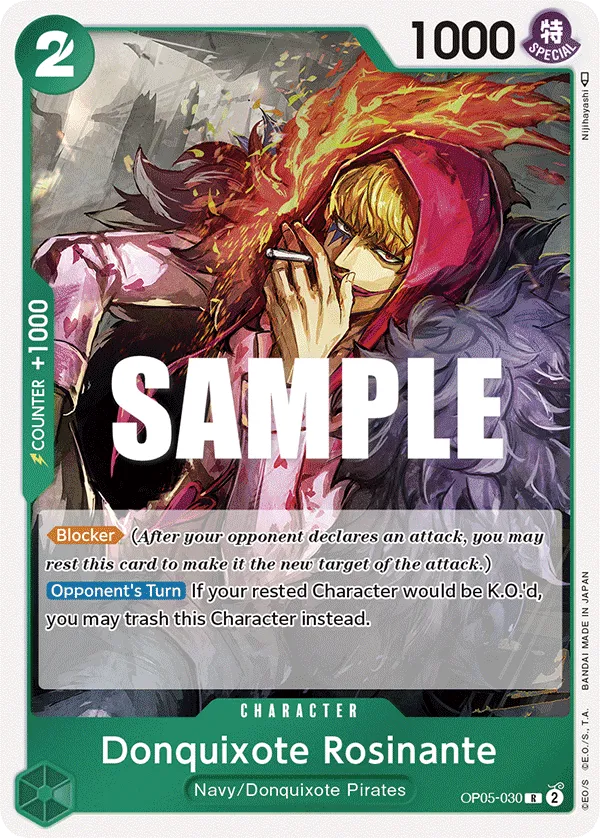
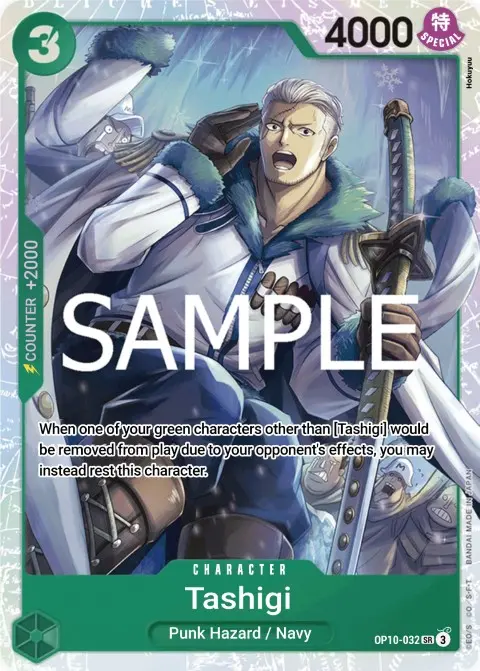
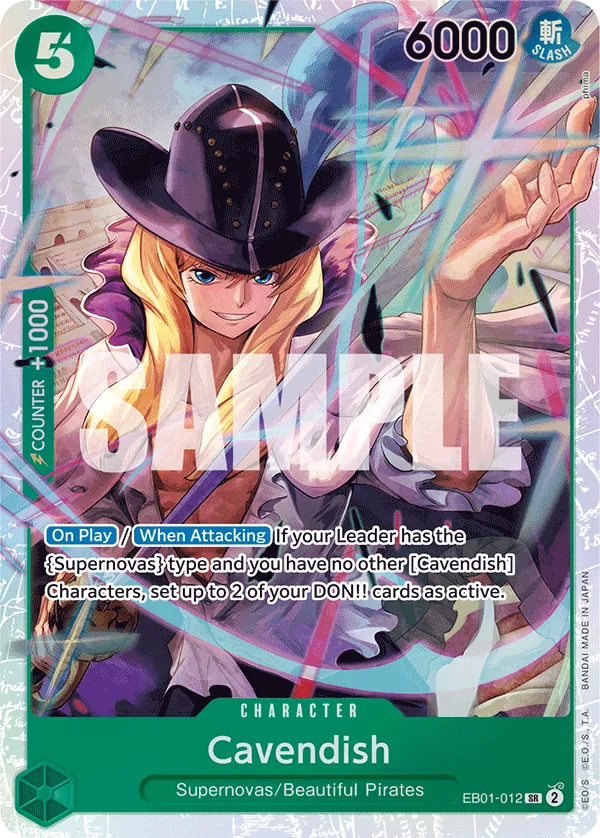
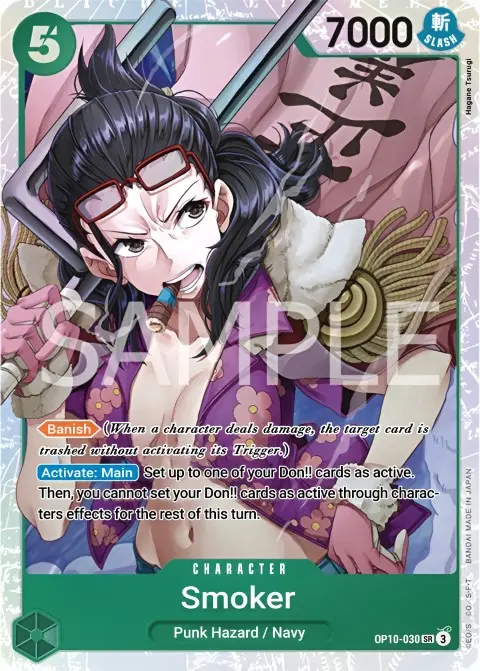
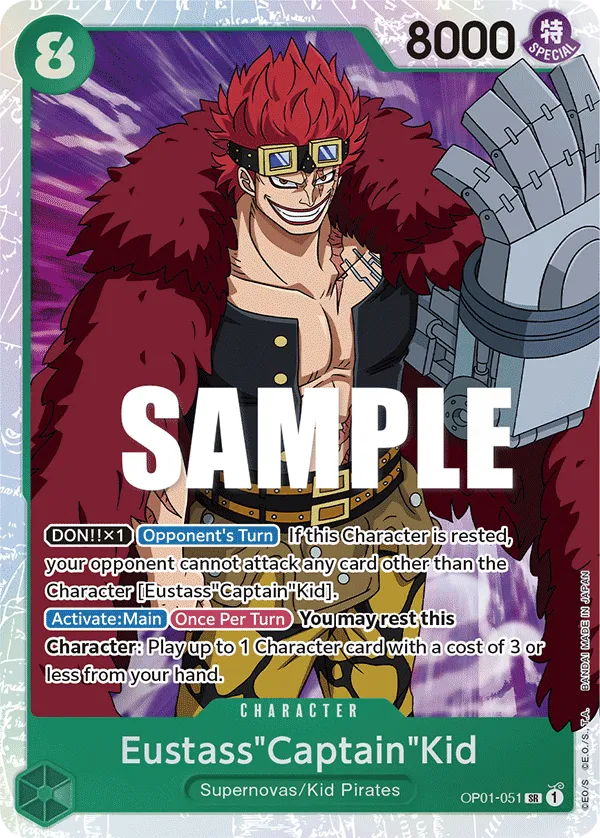
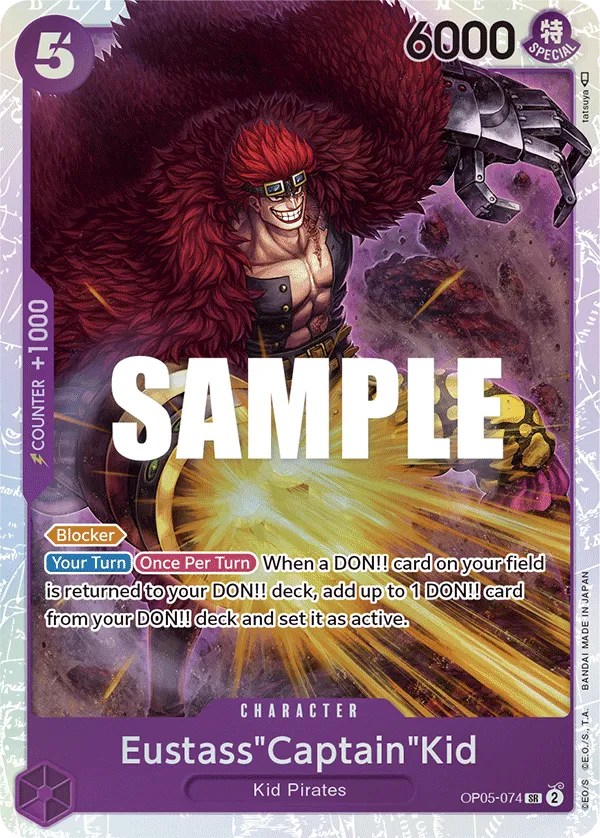
Cavendish and Smoker are your strongest plays early into the game, giving you additional Don to activate your Leader effect or make more plays. The Fortress Strategy is a core part of Bonney’s defensive game plan, forcing the opposing player to attack Eustass”Captain”Kid if they want to break through the Fortress’ walls. With Donquixote Rosinante or Tashigi in play, it can be challenging for most decks to break through, forcing them to commit most of their Don resources into KOing Kid, which should put you ahead of your opponent.
9-cost Shanks can KO a rested Character, which is best played if there’s a high power rested Character you can’t simply attack to KO. As for Roronoa Zoro, he can single-handedly win you games with his 3 attacks in one turn. Your opponents have two options when they see Roronoa Zoro in play: remove him or rush you down to win the game as quickly as possible.
Bad Matchup: Red Shanks and Black Marshal D.Teach.
Purple Monkey D.Luffy
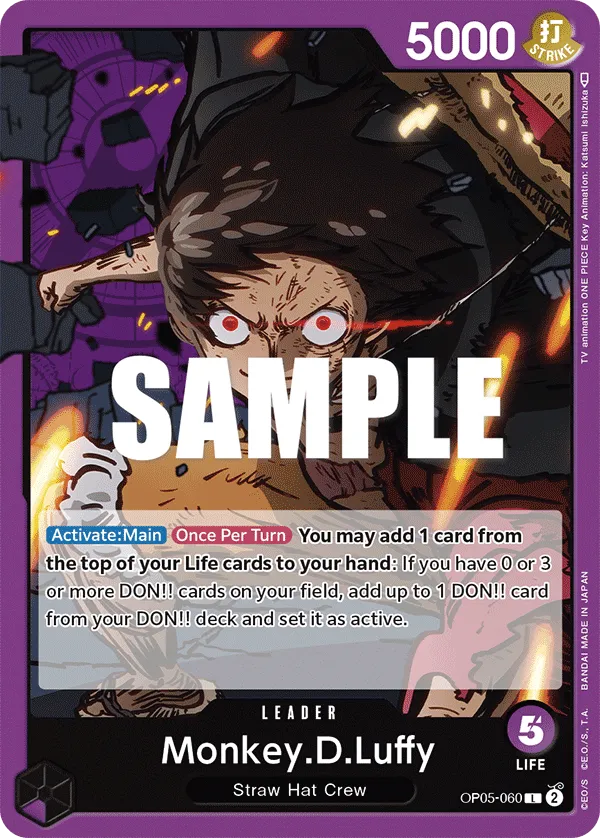
Looks like Purple Monkey D.Luffy is still in this race, using its Life cards as a resource to ramp Don and start dropping higher-cost Characters a turn earlier.
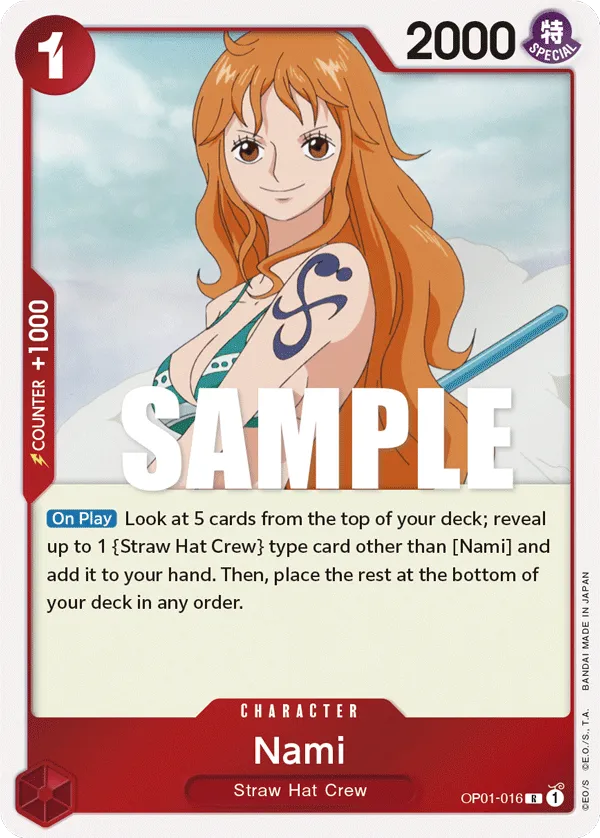
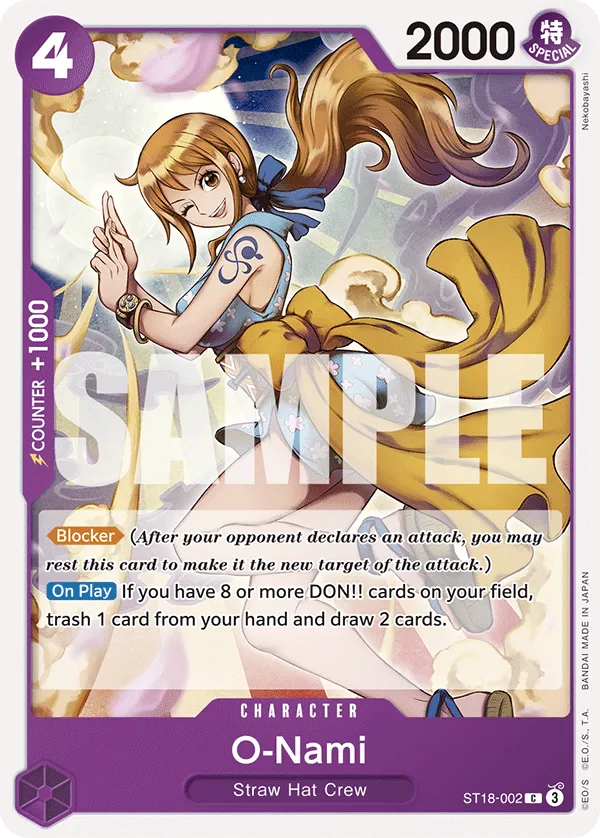
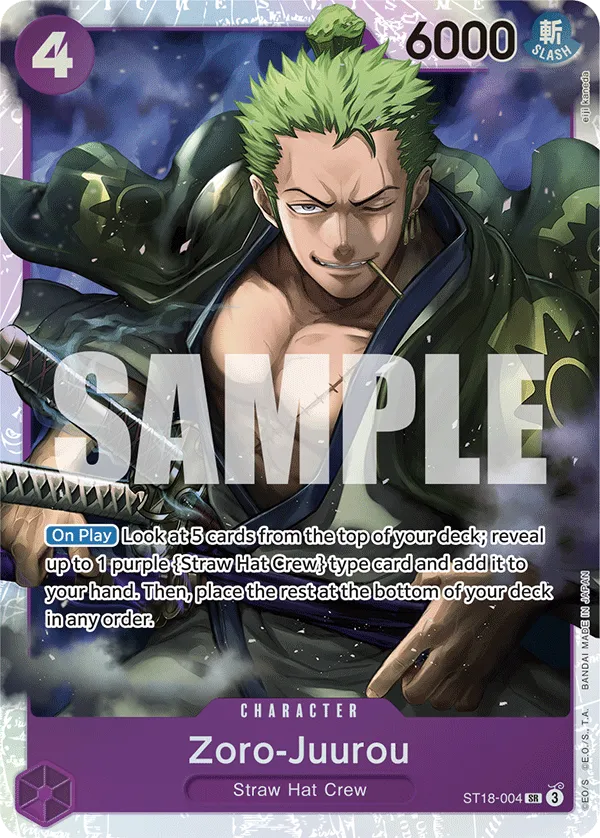
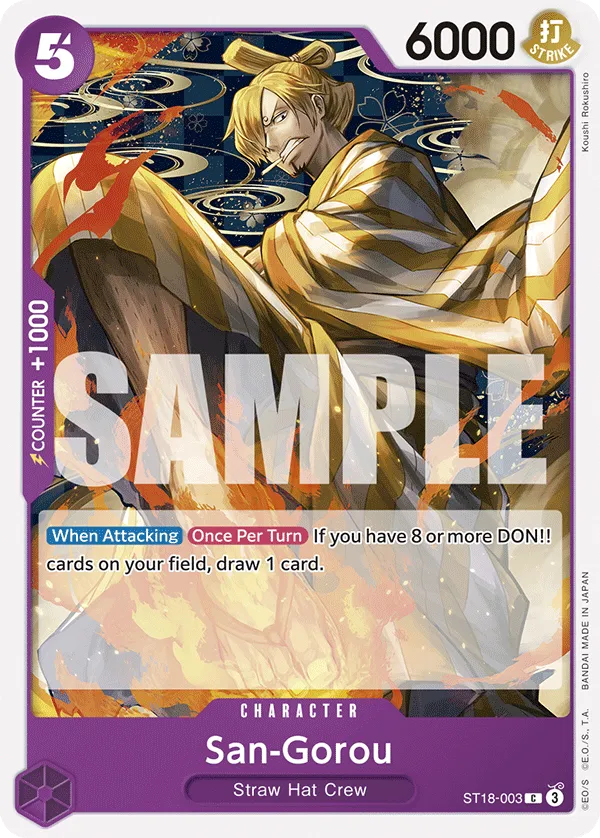
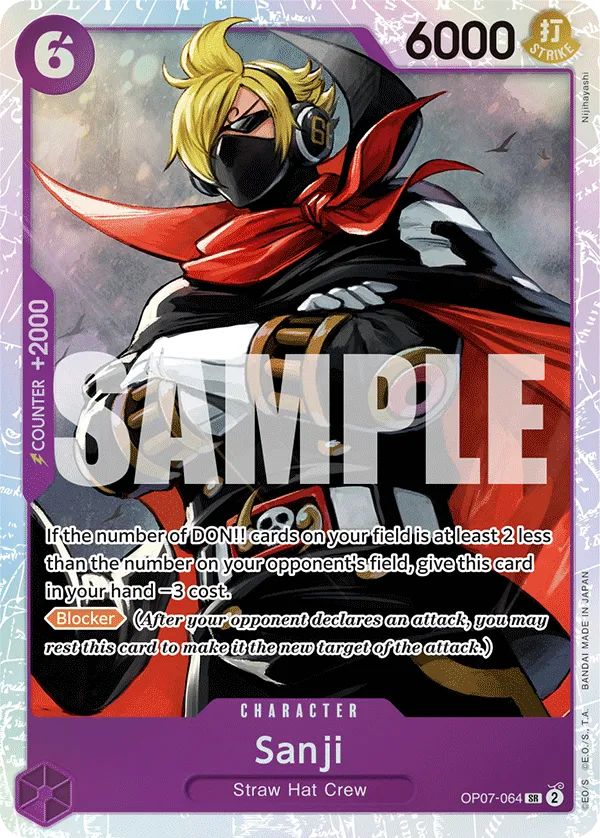
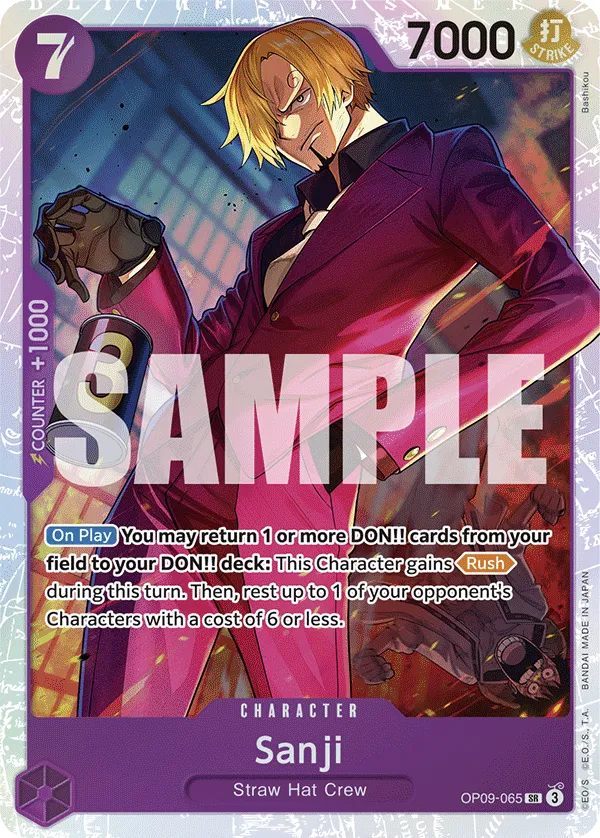
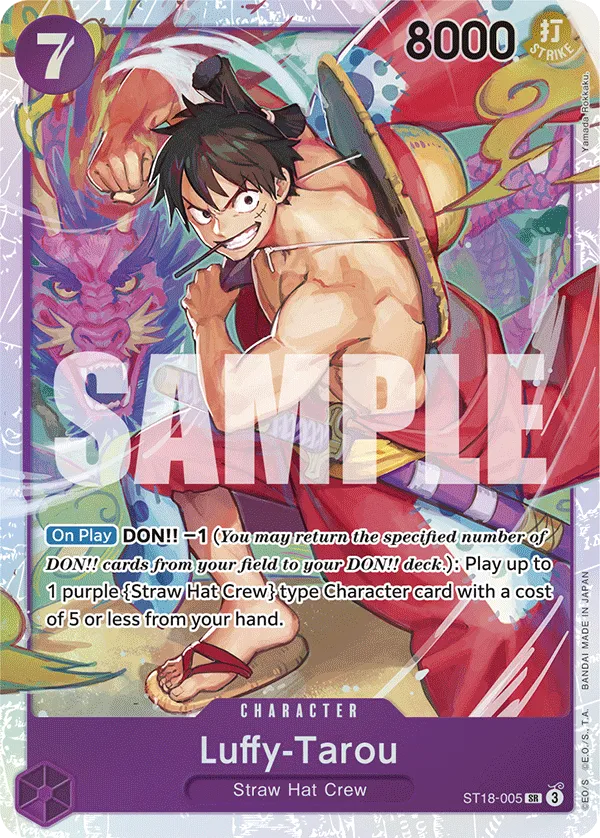
This deck is full of {Straw Hat Crew} type Characters, mainly because Zoro-Juuro can draw one of them and Luffy-Tarou can cheat one of them with a cost of 5 or less on the field. With Luffy-Tarou, you’re creating a strong mid-game, presenting two Characters that put the opposing player behind.
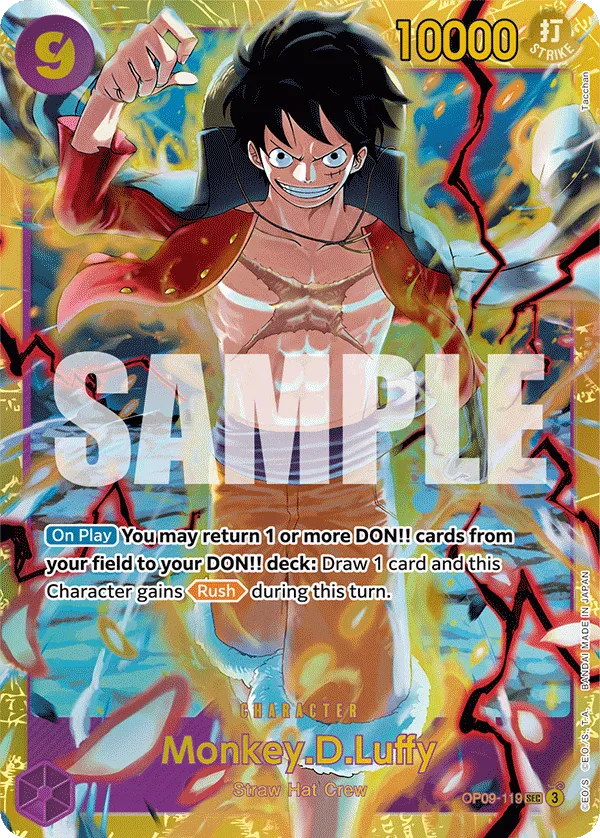
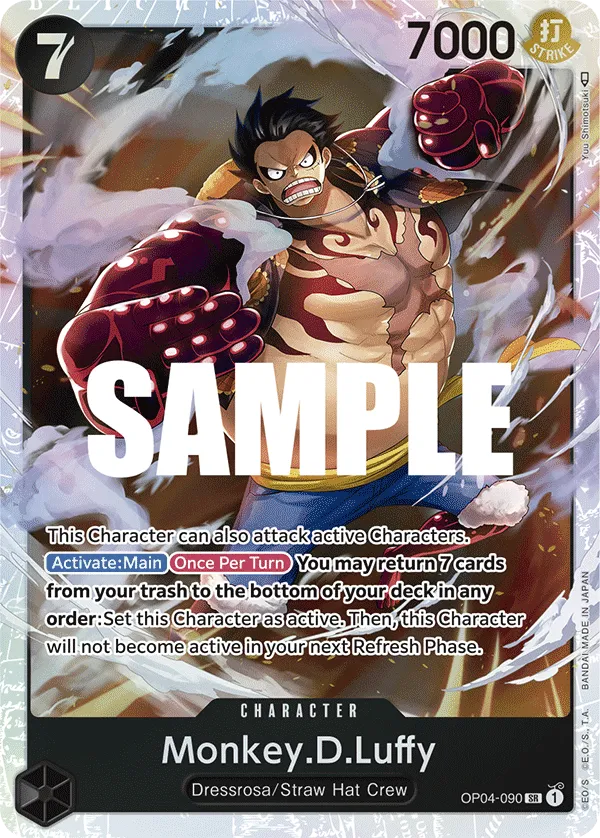
Alongside 9-cost Monkey D.Luffy, you can go for an aggressive strategy, pushing your opponents to their limits, eventually overwhelmed with the pressure of your attackers.
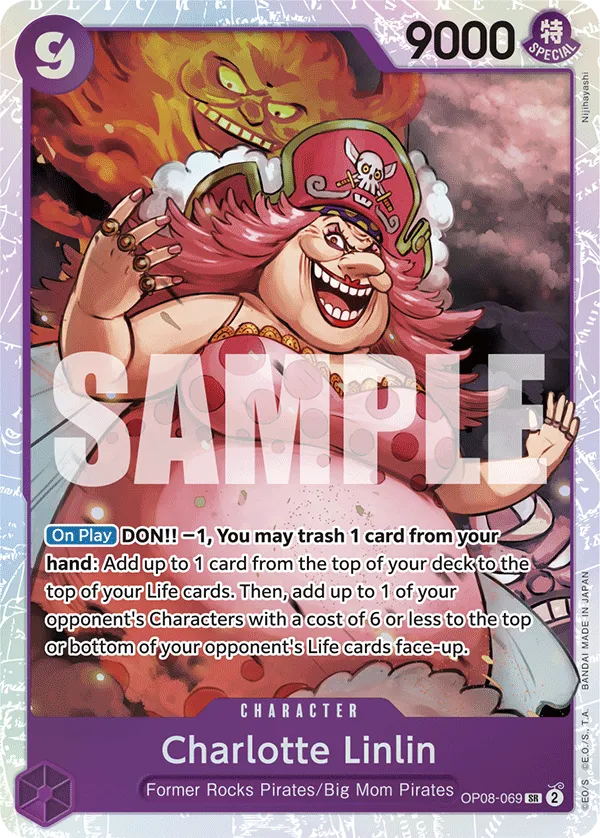
9-cost Charlotte Linlin plays differently, removing one of the opponent’s 6-cost or less Characters from play and giving you a Life card, making your opponent do extra work to win the game.
Bad Matchup: Green Bonney.
Red Green Smoker
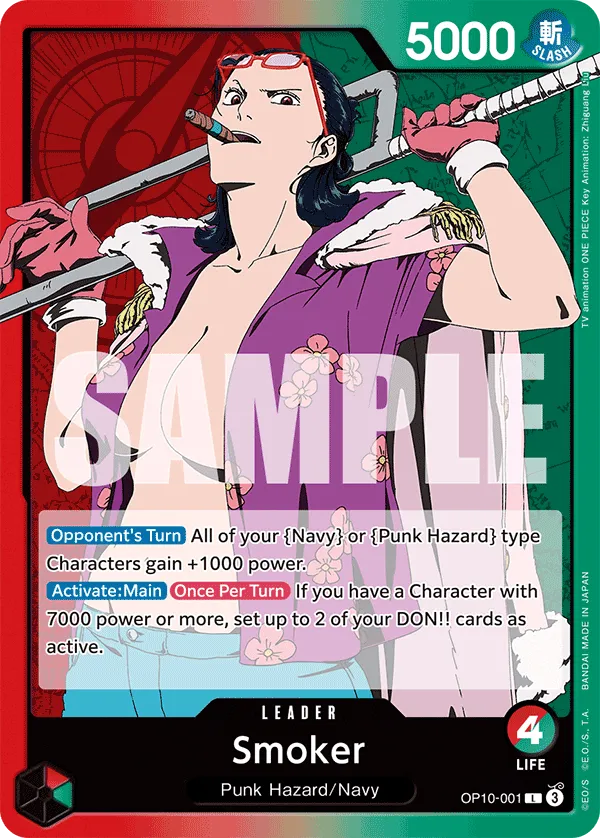


Leader Smoker gives your {Punk Hazard} and {Navy} Characters +1,000 Power during your opponent’s turn, making them difficult to KO. Additionally, your Leader can give you 2 Active Don during your turn, allowing you to make more plays and go for aggressive attacks.
It also lets you set up the Eustass”Captain”Kid fortress strategy way more easily, creating a wall that forces your opponent to use their resources to go through it if they wish to win the game.
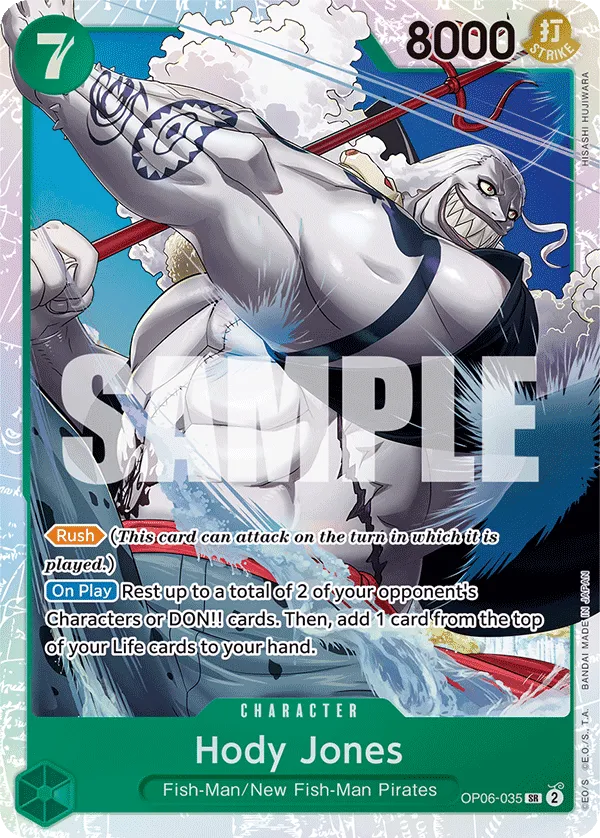
Hody Jones can go for aggressive attacks, resting two of the opponent’s Characters and attacking immediately with Rush. You’ll have to choose whether you want to focus your attacks on the opponent’s Leader or attack their rested Character to weaken their presence on the field.
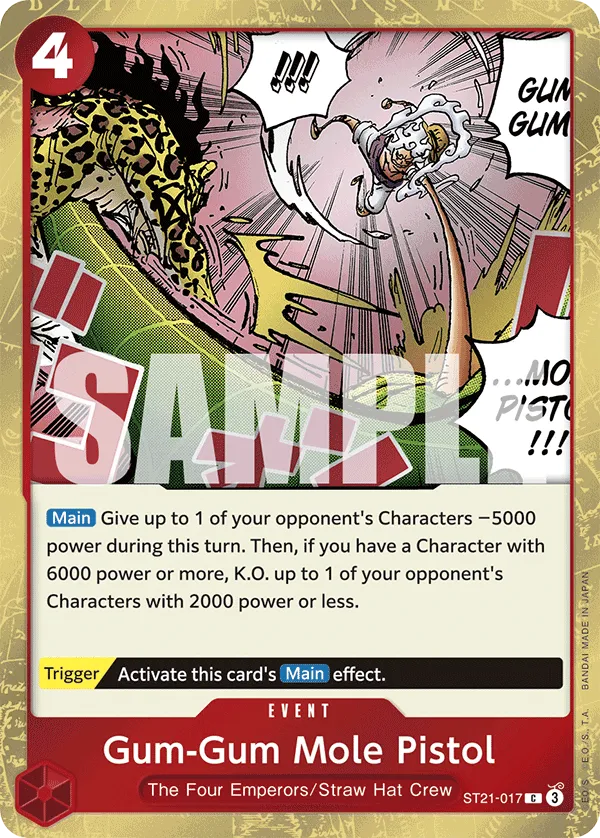
This list is also running Gum-Gum Mole Pistol as a control event, reducing the Power of one of the opponent’s Characters by -5,000, and if you have a Character with 6,000 Power or more, you get to KO a 2,000 Power or less Character.
Bad Matchup: Red Shanks, Red Roronoa Zoro.
Blue Black Usopp
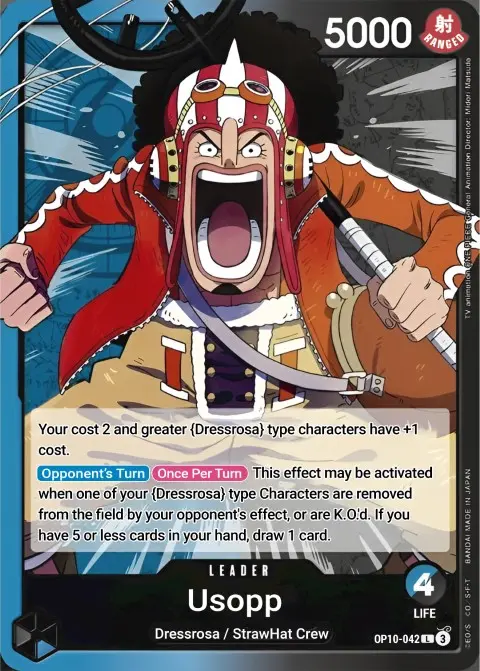


Leader Usopp synergizes with your {Dressrosa} type Characters, allowing you to draw a card whenever one of them is removed by an effect or KO’d. This allows players to use up more Counter plays since they’re guaranteed a draw engine within their Leader’s effect.
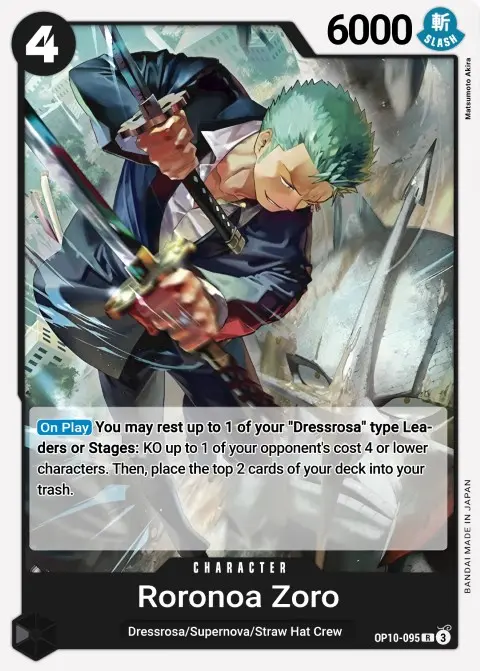
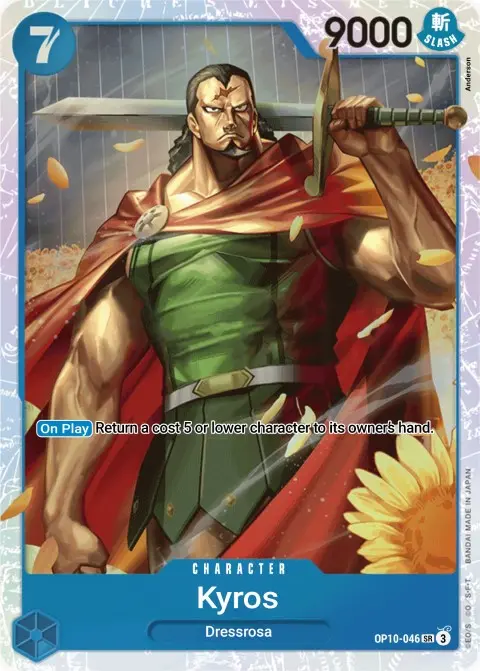
This deck is all about outvaluing opponents and keeping them from winning the board. 4-cost Roronoa Zoro and 7-cost Kyros to remove Characters from play. You’re developing a Character while removing one of the opponent’s Characters is a great way to shift the game in your favor.
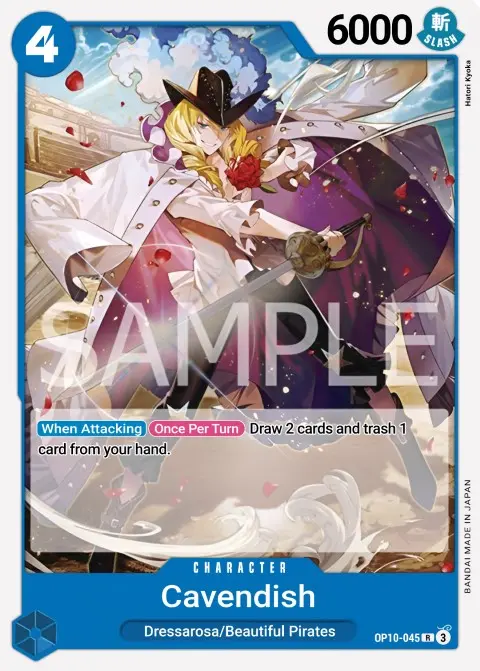
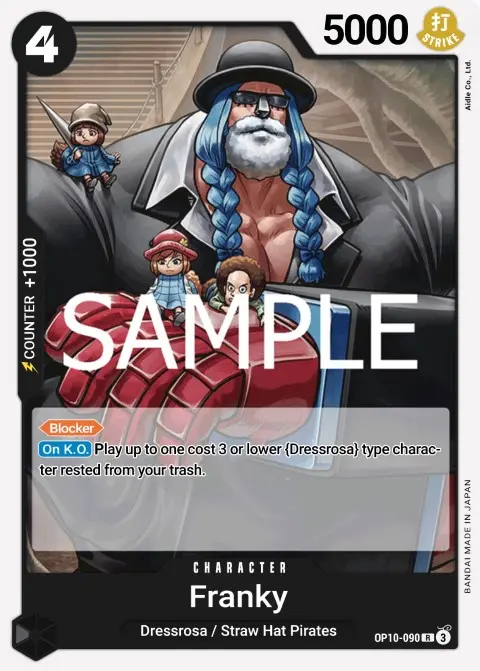
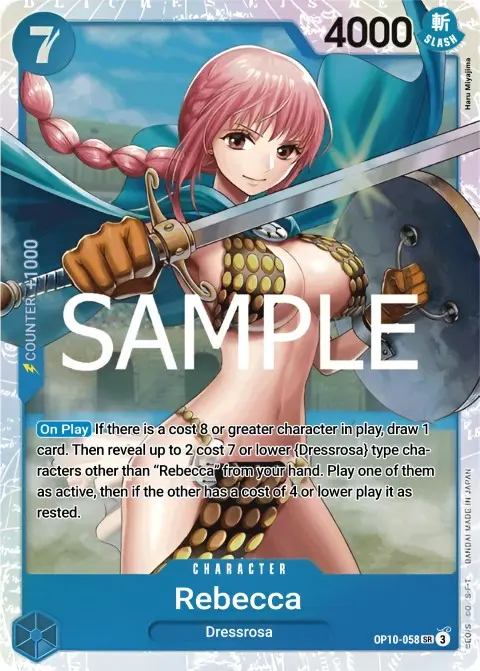
7-cost Rebecca becomes an 8-cost through Leader Usopp’s effect, which allows you to activate her effect and cheat out two {Dressrosa} type Characters with a cost of 7 or less and 4-cost or less on the field. So we can play 7-cost Kyros to return one of the opponent’s Characters and 4-cost Characters like Roronoa Zoro, Cavendish, or Franky.
Bad Matchup: Red Shanks, Purple Luffy, Red Purple Luffy.