
Blue Purple Monkey D. Luffy remains a strong deck in the OP12 format, despite the loss of Charlotte Katakuri and Charlotte Linlin! This deck has dominated the East meta, forcing players to adapt and bring decks that can stand a chance against it.
Many players are picking up Blue Purple Luffy, so if you’re playing in a tournament, you’re bound to face it a couple of times. That’s why it’s crucial to come prepared, understand how the deck works, and what it’s trying to do! In this article, I’ll break down how Blue Purple Luffy operates and share the best Leaders you can use to beat the best deck in the format!
If you’re trying to beat Green Purple Luffy, we have the guide for you!
The Deck to Beat: Blue Purple Luffy


Before we talk about the counters, let’s go through the Blue Purple Luffy deck real quick. Leader Luffy has a built-in search effect, allowing you to look at the top 5 cards of your deck, add 1 {Straw Hat Crew} type Character to your hand, then place the rest at the top or bottom of your deck in any order. This effect can only be activated once you start a turn at 8 Don (before you draw 2 Don cards), so ramp cards can speed up the process.
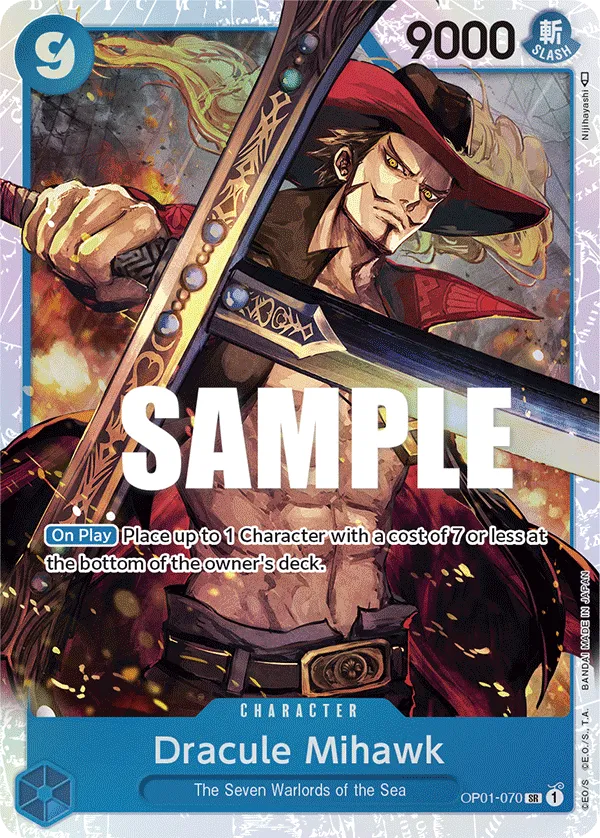
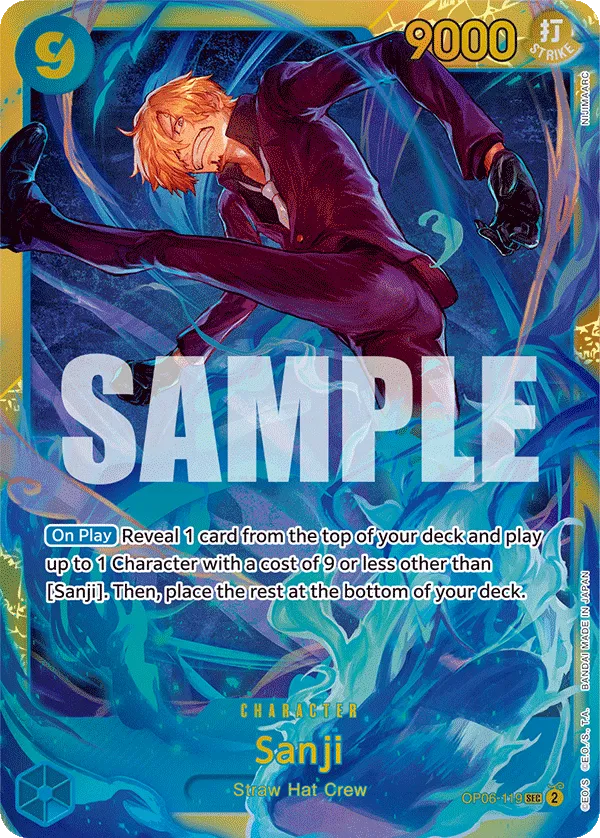
You’re adding more resources to your hand, but the ability to place the cards in any order you want at the top of the deck allows you to synergize your Leader’s effect with the 9-cost Sanji play. You can make sure 9-cost Sanji cheats out high-cost Characters like 8-cost Luffy and 9-cost Mihawk, developing two big bodies on the field to overwhelm the opposing player.
The Counters:
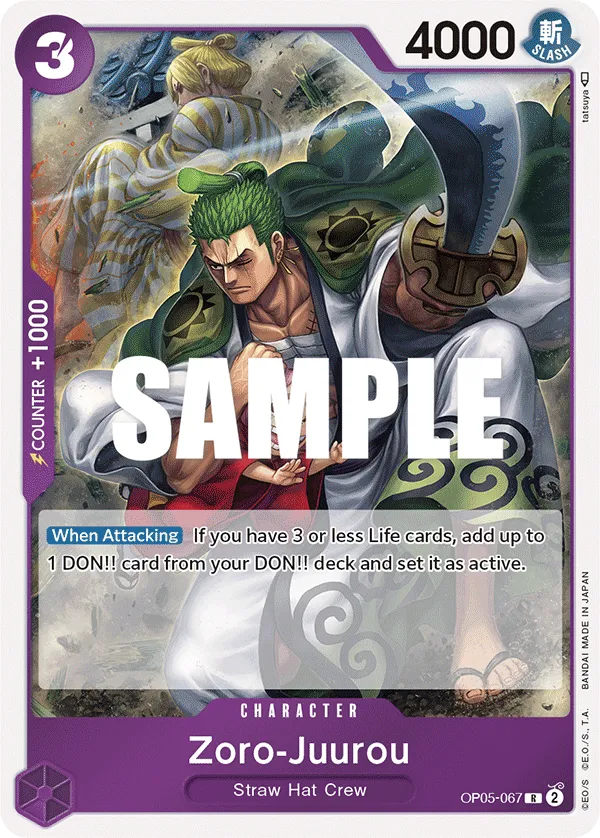
Green Roronoa Zoro


With Green Roronoa Zoro, we’re trying to aggro the opposing player while still pressuring their rested Characters.
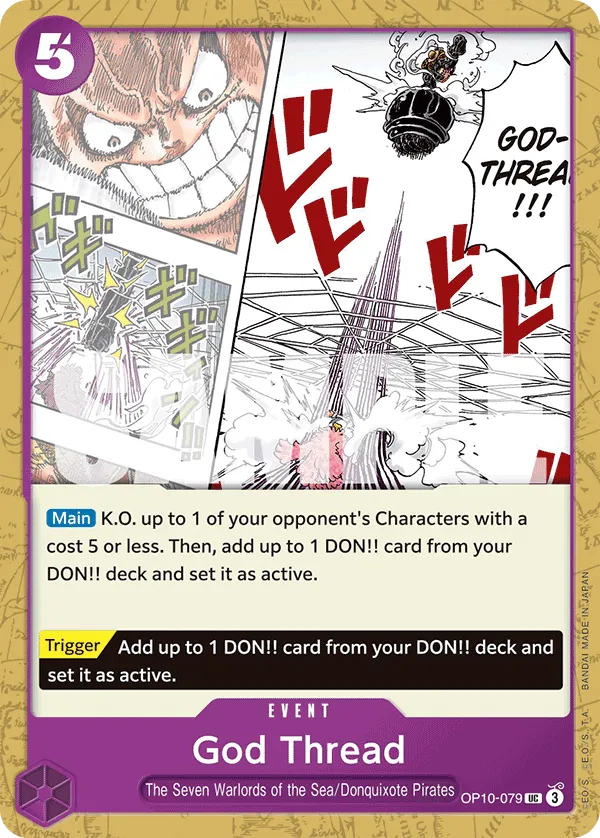
Kuina is great to rest Zoro-Juurou and prevent an early ramp. Koushirou will also be extremely important in this matchup, protecting the likes of Cavendish and Tashigi from getting KO’d by God Thread. The more attacks we can set up, the more resources we’re forcing out.
Tashigi works best for resting Bon Clay, Nami, or Rosinante while allowing your Leader to attack into them and potentially KO them. At the same time, we’re still going for their Leader with Roronoa Zoro, threatening to take a Life card.
If they don’t have any blockers in play, we can target a rested Character with our Leader first before attacking their Leader to threaten a Life card. However, suppose they have blocker Nami in play and we’re trying to play aggressively. In that case, we’ll often opt to attack their Leader directly to ensure their blocker is useless, forcing them to expend their counter resources.
Demon Aura Nine Sword Style can rest two of their Don, which shuts down their ability to play Counter events like Gum Gum Giant unless they’re holding onto more than 2 Active Don.
Red Silvers Rayleigh


Red Silvers Rayleigh is an aggressive deck, going wide on the field with the help of 4-cost Luffy to overwhelm Blue Purple Luffy.
Since they don’t have access to Life card gain, it can be difficult for the opposing player to keep up with our aggression. We’re going to completely ignore their high-cost win conditions, focusing solely on their Leader or low-power Characters like Zoro-Juurou or Bon Clay.
Gum Gum Mole Pistol is great for removing Nami, paving the way for our attackers to strike their Leader.
Yellow Kalgara
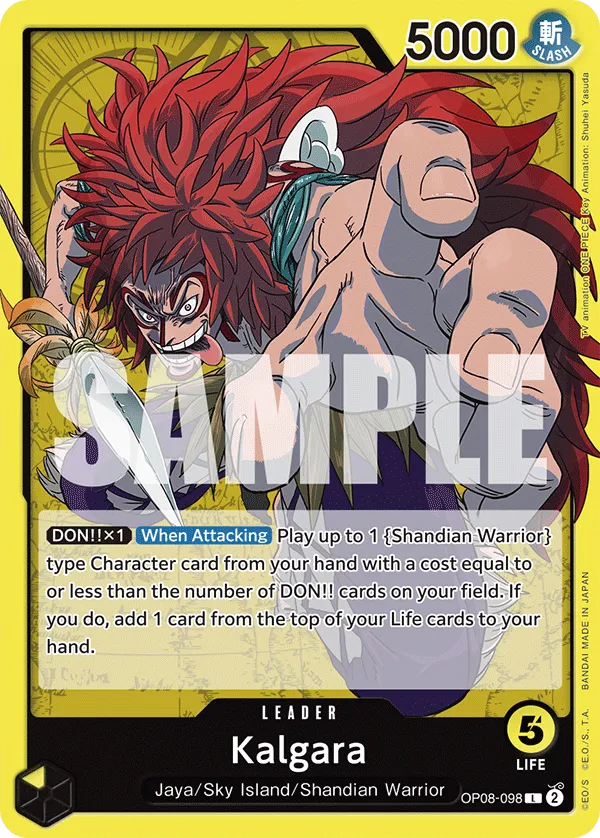


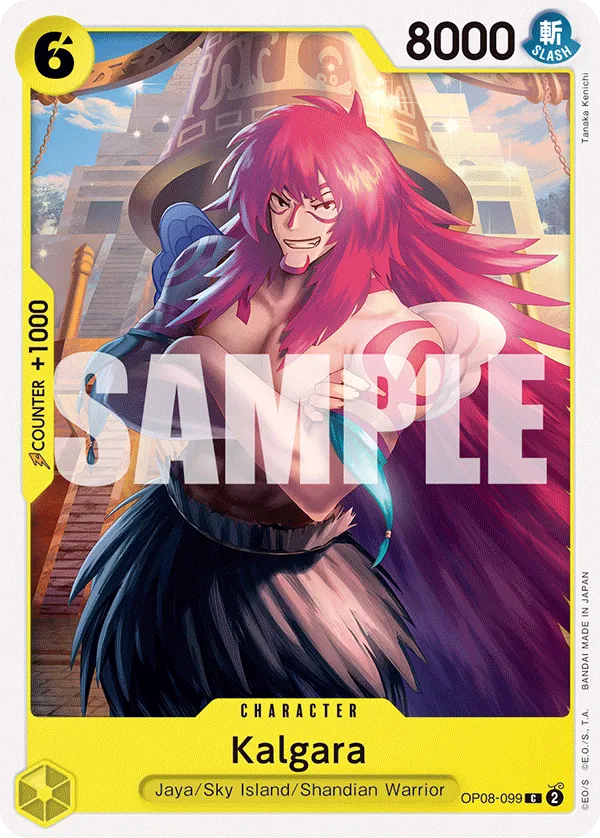


Yellow Kalgara plays aggressively, sacrificing a Life card to cheat out a Shandian Warrior, planning multiple attacks in one turn to overwhelm the opposing player.
Gum-Gum Fire-Fist Pistol Red Hawk or Zeus are perfect for removing blocker Nami, letting your attackers connect with their Leader. The 5-cost Rosinante can be an issue as it allows your opponent to play 9-cost Characters while still having Active Don to play multiple Counter events.
The 6-cost Kalgara acts as a heavy hitter, forcing a Counter Event or multiple Count cards to defend their Leader. Your opponent will be forced to control your side of the field, as it’ll feel difficult to race you.
Mont Blanc Noland and Bartholomew Kuma give us additional Life cards, buying us an additional turn or two until we can plan our finishing turn.
Green Purple Luffy


Green Purple Luffy has a good matchup thanks to its ability to play aggressively and pressure the opposing player. Luffy-Tarou is great for going wide, putting multiple attackers in play, and forcing the opposing player to control the field.
The 4-cost Green Zoro can rest Characters like 3-cost Zoro or Bon Clay, slowing down your opponent’s early game and putting you ahead in the game. Sanji & Pudding is the main carry, allowing you to activate your Leader’s effect as early as turn 3 without falling behind on Don. You’re gaining additional Don to make more plays and boosting your Leader’s Power by 1,000, allowing you to slam their Leader without being forced to attach Don.
6-cost Luffy is usually the finisher, going for two attacks in one turn and threatening to close out the game or at least put your opponent low enough that they can’t afford to give you an additional turn.
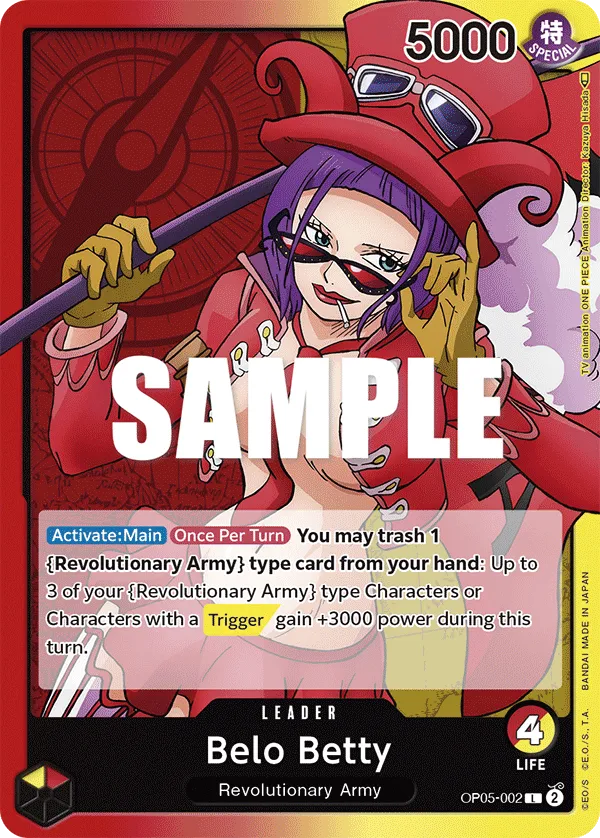
Red Yellow Belo Betty


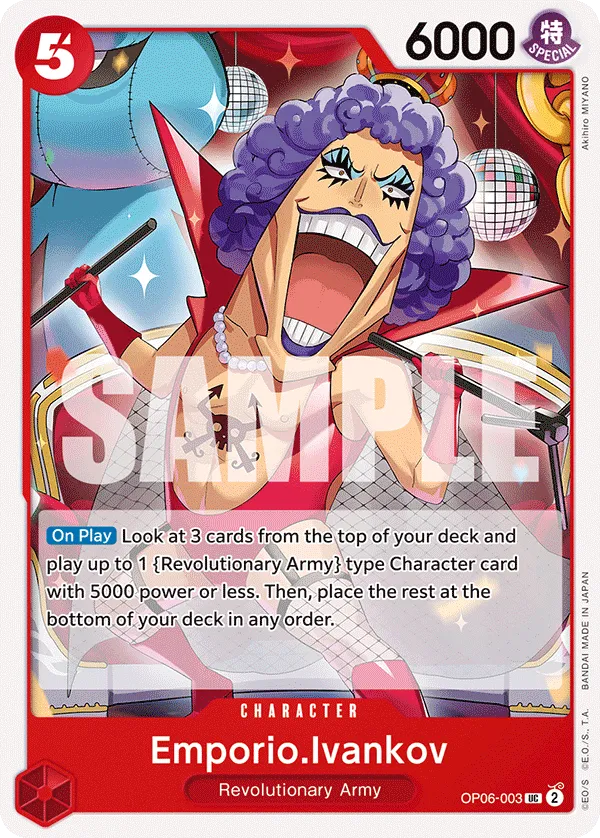


The Red Yellow Belo Betty deck plays aggressively, swarming the board with multiple attackers and then boosting their attack Power through Leader effect. The 4-cost and 5-cost Emprio Ivankov are key cards for this deck, allowing you to cheat out a Character on the field and put you ahead of your opponent.
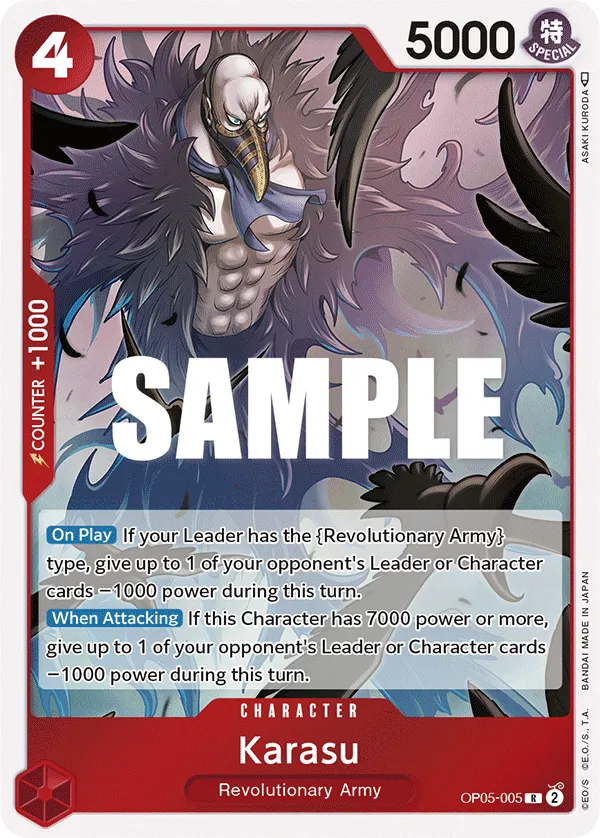
Karasu will be a strong play to reduce the Power of the opponent’s Leader, making it easier for your attackers to land their blows, or at least you’re forcing more Counter plays from the opposing player.
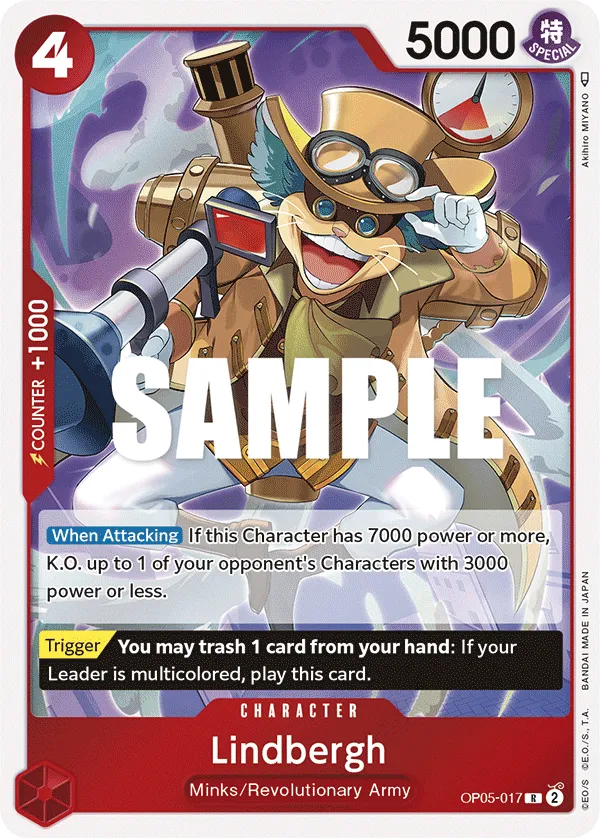
With Belo Betty, we’re trying to rush the opponent down, dropping them to 0 Life cards and then setting up the finisher turn to close out the game. We’re basically doing the “face is the place” strategy. Blockers can be a problem, but we can remove them through cards like Zeus or Kuma/Lindbergh + Koala’s power reduction. Some lists include the 1-cost Raise Max as another power reduction card.
After expending their Counter resources, a Rush attack can be a great additional attacker to help us break through a Blocker to win the game. Inazuma can become a Rush attacker if you boost a character’s Power to 7,000, which should be an easy task when using your Leader’s effect.
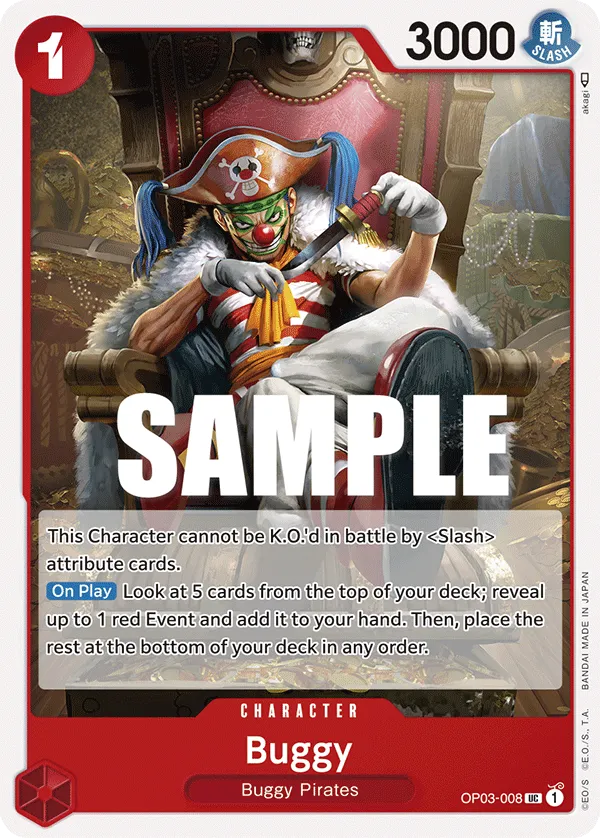
Blue Buggy
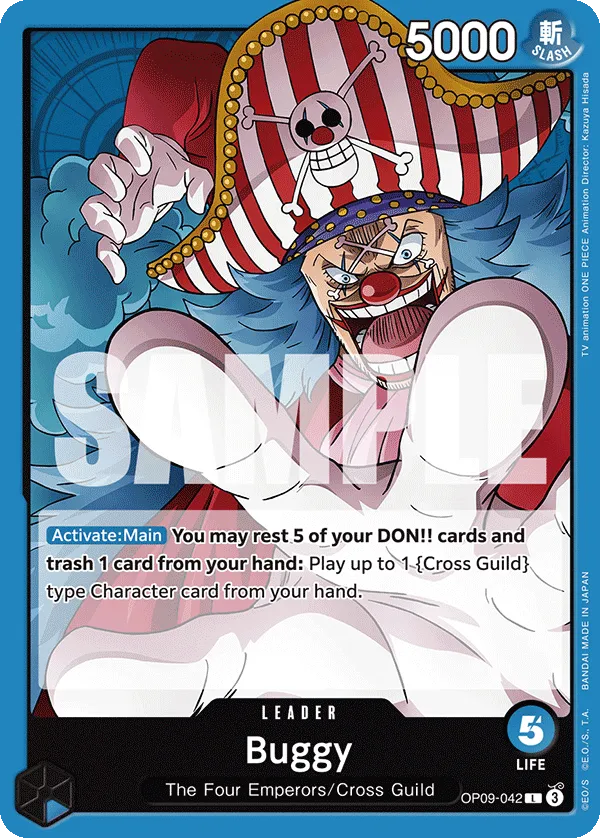


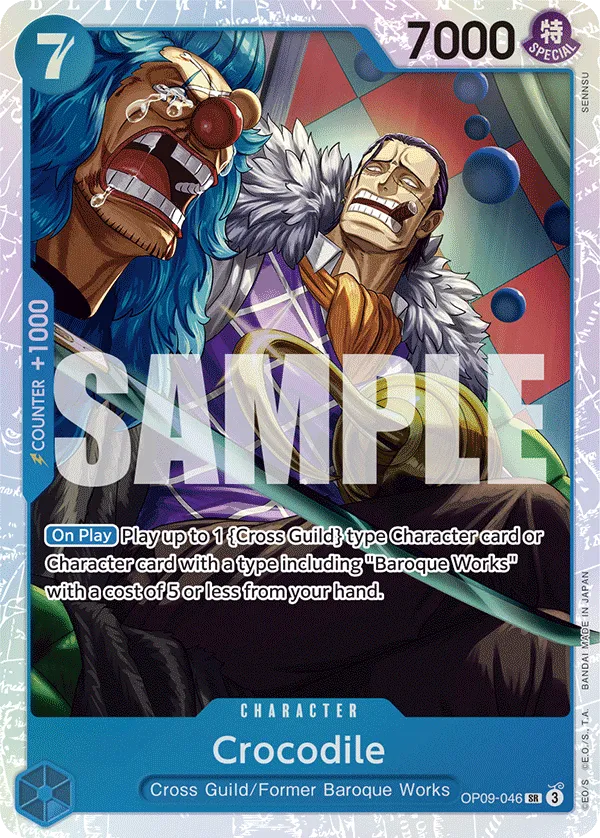


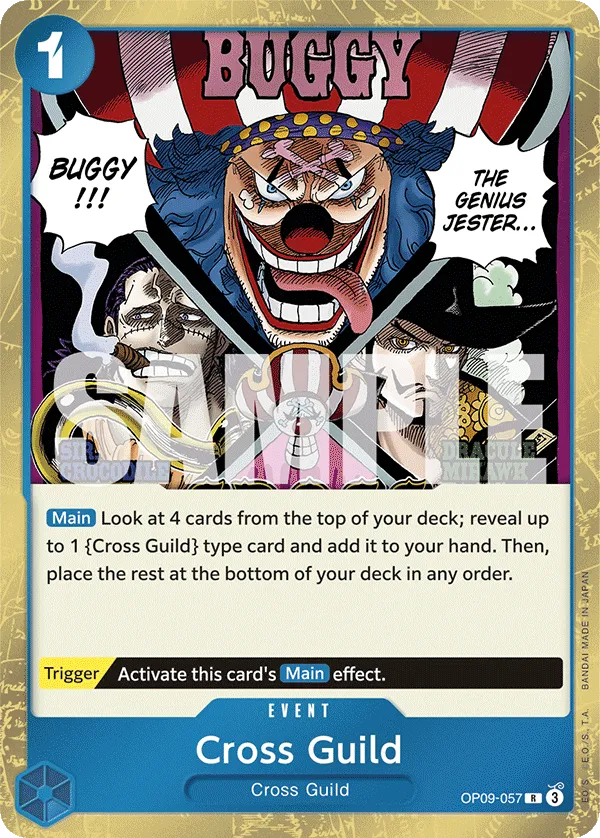

We want to go first in this matchup. Blue Buggy can go wide on the field and overwhelm the Blue Purple deck. Having Crocodile & Mihawk in play will prevent the opposing player from removing your Characters through KO effects like God Thread or removal plays like 7-cost Mihawk, Gravity Blade Raging Tiger, or Gum Gum Red Roc.
The 10-cost Buggy is how we shift the field presence in our favor, removing one of their win conditions while developing a 12,000 Power Character. So, having 4 Characters with a cost of 5 is a must to keep the Buggy in play.
If we’re shifting to a more aggressive strategy instead of focusing on board control, we can start targeting the opponent’s Leader directly, ignoring their rested Characters. Our blockers can hold the line just long enough to buy us an extra turn to close out the game.
Purple Monkey D.Luffy


Purple Luffy can go toe-to-toe with Blue Purple Luffy, matching its pace and dropping heavy Characters that are hard for the opponent to remove. We aim to go first, ramping on turn 2 to play a 4-cost Character like Bon Clay or Zoro-Juuro. Both Zoro-Juuro and San-Gorou have 6,000 Power, letting them attack the opponent’s Leader without needing a Don attachment, forcing the opponent to spend Counter resources.
When we hit 7 Don, we’ll need to decide between playing Sanji or Luffy-Tarou. If your opponent has a 3-cost Zoro-Juuro or Bon Clay in play, Sanji is the play. He can rest them, and then our Leader can finish them off. Plus, Sanji can continue to pressure the opponent’s Leader with the Rush attack, forcing them to lose a Life card or spend a +2,000 Counter.
Luffy-Tarou is also a crucial play in this matchup. He lets you cheat out Zoro-Juuro or San-Gorou, going wide on the field and threatening multiple attacks. This forces your opponent to focus on controlling your board rather than attacking your Leader, trying to remove your rested attackers to slow your momentum. We’ll want to protect our rested Characters whenever possible, keeping more attackers in play makes it harder for the opponent to catch up.
If they opt for the 9-cost Sanji play, they’ll have only 1 Don Active during their defensive turn, limiting their resources to protect their Leader. This is why using our Counter resources to protect our board is key, as it boosts our aggression and helps us close out the game a turn earlier. We’re not aiming to match their board or remove their big threats; instead, we’re taking the aggressive route, focusing our attacks on their Leader and pushing them low enough to finish the game quickly.
Many lists run low-cost blockers like Tony Tony Chopper along with 5-cost Nami, so we’ll save Uso-Hachi as our last +2,000 Counter to rest one of their blockers and give our attackers a clear shot at their Leader.
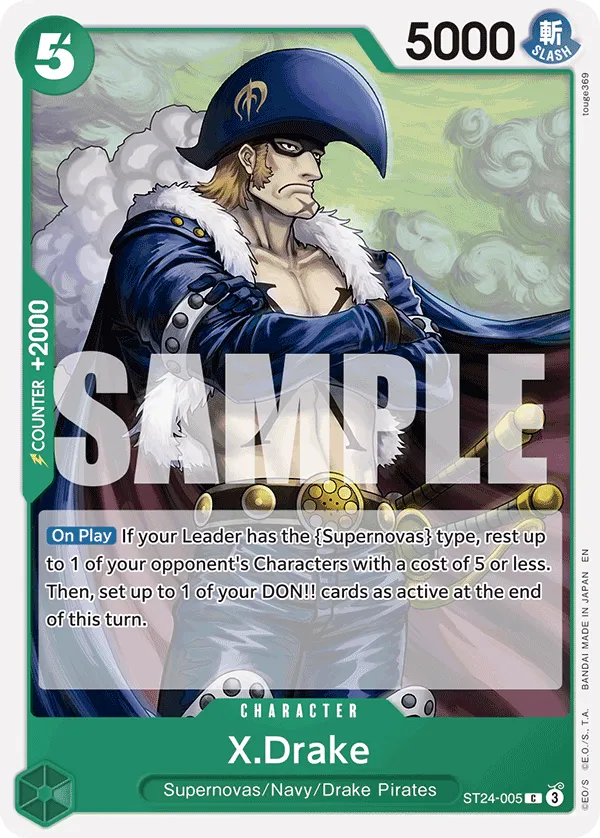
Green Yellow Trafalgar Law


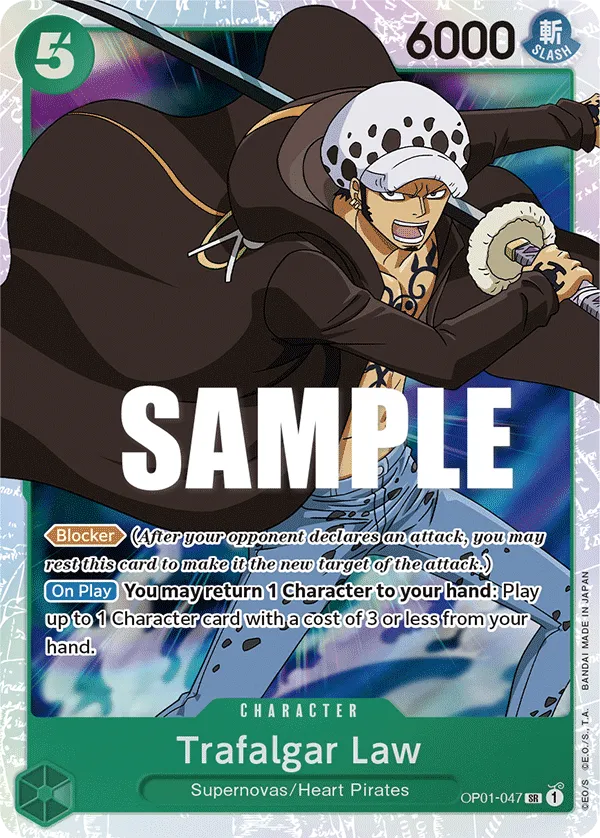


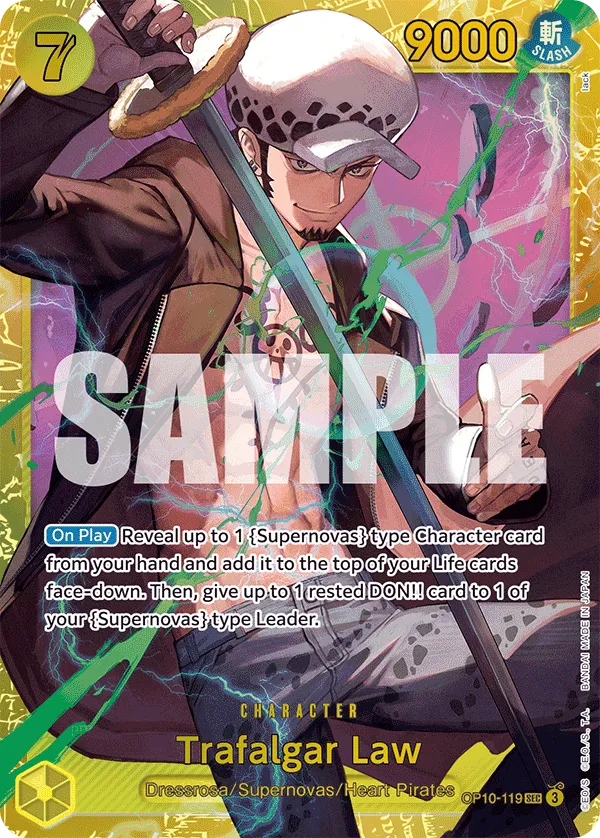


With the addition of the 2-cost Capone “Gang” Bege to the Green Yellow Law deck in the OP11 meta, the deck has become stronger and even more annoying for decks that rely on removing Characters through effects. Instead of sending your Characters to the trash or the bottom of the deck when removed, Capone “Gang” Bege places them at the top of your Life Area, adding more protection to your Leader. Plus, if they’re 5-cost Supernovas, you can cheat them back onto the field with your Leader’s effect. This effect is especially useful against Blue Purple Luffy, turning cards like Gum Gum Red Roc, Gravity Blade Raging Tiger, and Mihawk into value plays.
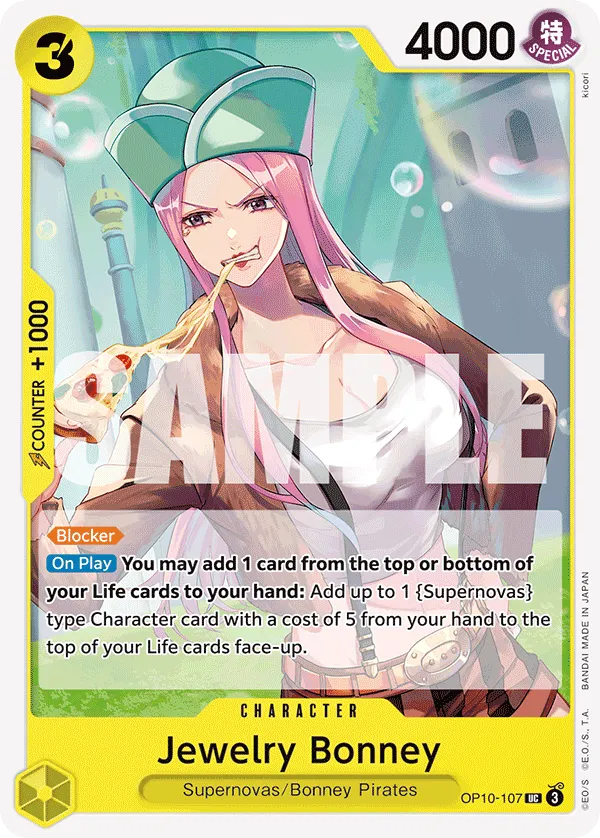
Your game plan against Blue Purple Luffy is to flood the board with multiple attackers. Fortunately, all your attackers have at least 6,000 Power, forcing Counter plays whenever they attack. With your Leader’s effect, you can cheat out a 5-cost or less Supernova Character, and cards like 2-cost Hiyori and 3-cost Bonney help you cheat out the Supernova you want.
Cavendish is a great early-game option, giving you 2 Active Don to extend your plays or push for bigger attacks. However, it’s the 5-cost Bonney that really causes problems for the opponent. She stops one of their Characters from becoming Active on the next turn, slowing down their aggression or board control. She’s perfect for shutting down a heavy attacker or keeping a blocker like 5-cost Nami rested. Low-cost blockers also help protect you in the late game, buying you extra turns to set up your win condition. Zeus can also be an answer to 5-cost Nami, however, you are losing a Life card, so it’s best to use it when you’re trying to finish the game or you feel ahead.
The 7-cost Trafalgar Law is hard for opponents to remove because he’s a 9,000 Power attacker, and you’ll want to protect him to keep that heavy pressure going. If your opponent is low on Life and you expect a Gum Gum Giant play, attach a Don to Law to make him a 10,000 Power attacker, forcing them to use both Gum Gum Giant and a Counter card.
Finally, the 7-cost Hody Jones is perfect for closing out games. If your opponent has two blockers, you can rest them with Hody, clearing the way for your attackers. If they only have 1 or no blockers but 2 or more Active Don, you can rest their Don instead, shutting down plays like Gum Gum Giant and Gear Two, making it very tough for them to stop your attackers.
Red Roronoa Zoro


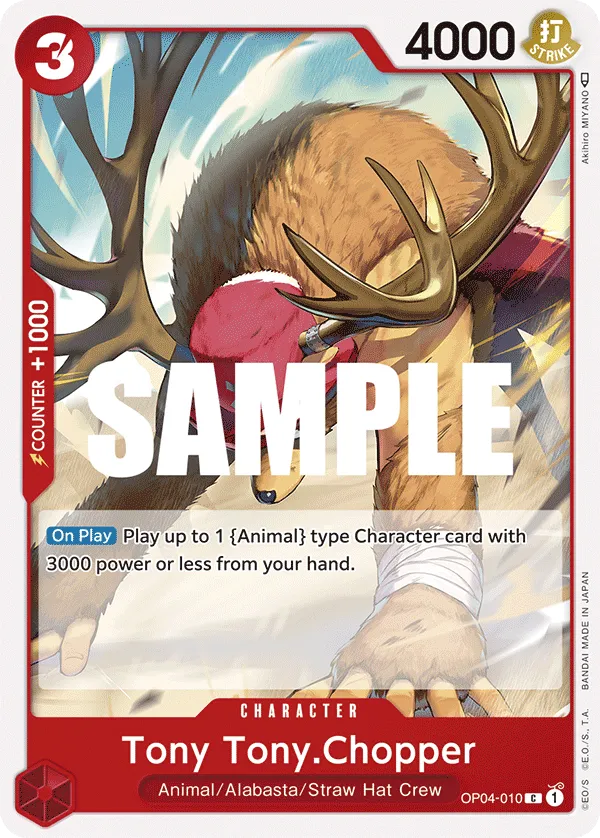

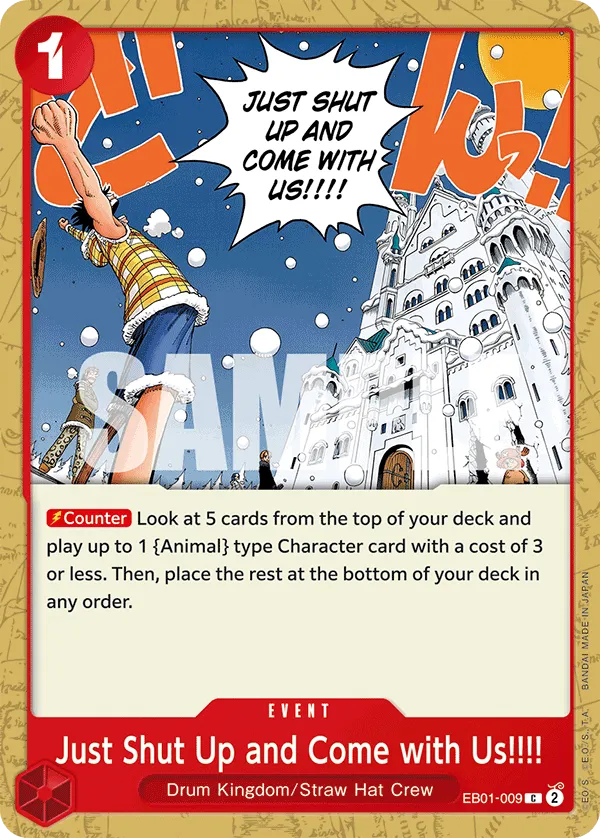
The Red Zoro deck can easily go wide with the help of OP08 Tony Tony Chopper and Just Shut Up and Come With Us, setting up multiple attackers to pressure the opponent’s Leader. Since they’re a 3 Life Leader, we can quickly drop them to 0 Life cards and from there, plan our finishing turn.
Rush attackers will play a pivotal role here in continuously applying pressure. The 3-cost Roronoa Zoro and 4-cost Kid & Killer provide immediate attackers that force the opponent to have the Counter resources ready.
With your Leader’s +1,000 Power boost, you can easily get your attacks to 6,000 Power or more, threatening to take a Life card with each swing. If your opponent plays a 9-cost Sanji in the late game, they’re limited to only one Counter event, so they’ll struggle to shut down all of your attacks.
We’ll prioritize attacking the opponent’s Leader and ignoring their Characters; the plan is to rush them down. If they have a Blocker in play, we can use Gum Gum Mole Pistole to remove them and pave the way for our attackers to strike the Leader.
Purple Charlotte Katakuri


The Purple Katakuri deck can hold its own against Blue Purple Luffy, as it can drop high-cost Characters early to keep constant pressure on the opponent. Since Purple Katakuri aims to reach 8 Don to go the 2-cost Charlotte Katakuri combo, the early ramping from Blue Purple Luffy can actually work in your favor. It enables you to play the 8-cost Charlotte Katakuri through the 2-cost version a turn earlier.
An early 3-cost Charlotte Pudding helps you establish aggression early without sacrificing your Don resources, letting you activate your Leader’s effect for a +1,000 Power boost. Similarly, the 5-cost Charlotte Perospero lets you maintain this early aggression, threatening your opponent’s 6,000 Power Leader with your Leader’s attack and forcing Counter resources.
Charlotte Anana is a low-cost blocker, protecting your rested key Characters from an attack. You don’t want to lose your Characters to opposing attacks; instead, you want to force your opponent to use costly removal cards like Charlotte Linlin, Gravity Blade Raging Tiger, or Gum Gum Red Roc.
Getting the 8-cost Katakuri as early as possible allows us to attack with an 8,000 Power Character while still having him as a blocker to protect our Life cards. Katakuri can also re-stand Charlotte Perospero, preventing your opponent from attacking him directly and forcing them to attack your Life cards and find other means to control your board.
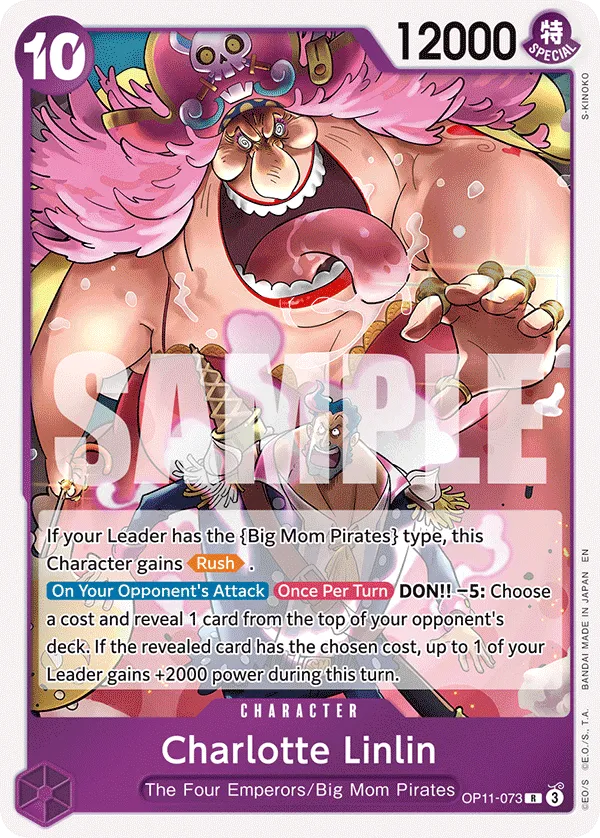
The 10-cost Charlotte Linlin is the win condition! A 12,000 Power Character with Rush, she can immediately pressure the opponent’s Life cards, dropping them low enough that they’ll have to play their 9-cost Linlin for a Life card or risk losing the game. We must not allow our opponent to KO the 10-cost Linlin through an attack. She’s the carry in this game, and if they want to remove her, they’ll either have to play Gum Gum Red Roc or commit most or even all of their Don to an attack.
Purple Yellow Pudding


Purple Yellow Pudding somewhat works like Purple Katakuri, aiming to use the 8-cost Katakuri for offensive pressure and prevent the opponent from attacking and KOing your Characters. You can also use the 2-cost Katakuri to cheat out the higher-cost version, dropping a big body that can also act as a blocker when needed.
The win condition is 10-cost Linlin, this one giving you a Life card while trashing an opponent’s Life card, putting them in a rough spot, especially if they used the 9-cost Linlin as a desperate attempt to keep their Leader safe.
The 6-cost Katakuri is great at putting pressure through his 7,000 Power attack, but he can be removed through 9-cost Linlin or Gravity Blade Raging Tiger.
If you’d rather win the game by controlling the board, you can swap out the 10-cost Linlin for 10-cost Kaido & Linlin, forcing your opponent to have a Gum Gum Red Roc or lose the game to your Kaido & Linlin attacks.
Closing Words
Blue Purple Monkey D. Luffy is still one of the strongest choices in OP12 meta. Multiple decks in the meta can give it a run for its money. Understanding how the deck works and what its game plan is can go a long way when going up against it.
This is it from me, I wish the best for your event, good luck! If you want to keep up with my content, consider following me on Twitter or BlueSky.


