
The Starter 11 Green Uta Leader is a top pick in OPTCG, making it a favorite among new players while still holding her own in competitive play. This Leader synergizes with {FILM} type cards, so you’ll include as many in the list as possible.
If you’re starting with the ST11 Green Uta deck and need some help, this guide is for you! Here’s an optimized list for the OP10 meta with the new Starter 16 cards.
Leader
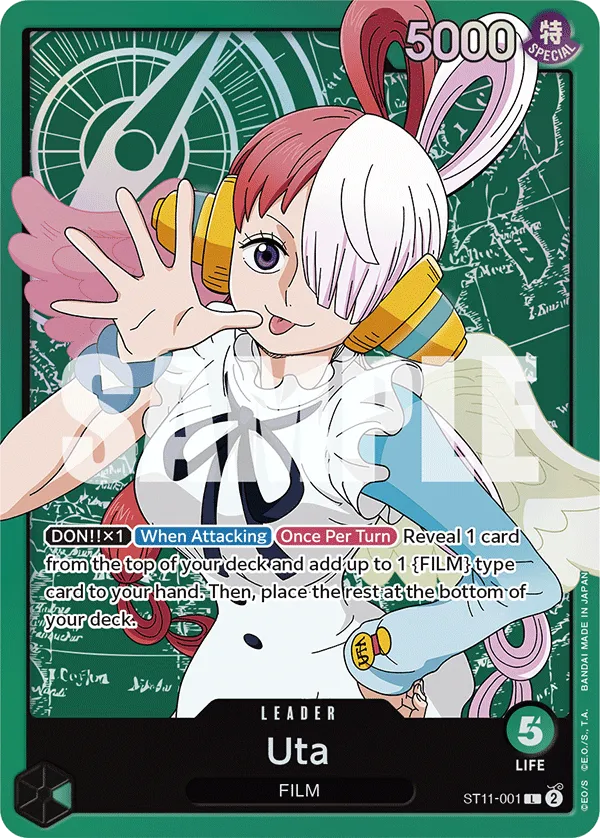
Green Uta is a draw-value leader who revolves around {FILM} type cards. When attaching 1 Don to Uta and attacking, you can look at the top card of your deck. If it’s a {FILM} type card, you can add it to your hand otherwise, it goes to the bottom of the deck. So when building Green Uta, you have to include as many {FILM} type cards as possible to maximize the draw consistency.
This effect activates once per turn when we attack, so whenever possible, we’ll attach a Don to Leader Uta to activate the draw effect.
Decklist


How to Play
Multiple Development
The Green Uta deck’s power is through developing multiple Characters a turn with Brook and Monkey.D.Luffy. Both Brook and Monkey.D.Luffy can play a Character for free if certain conditions are met.
Brook can play 1 {FILM} or {Straw Hat Crew} type Character with a cost of 3 or less from your hand. So he can play Characters like 3-cost Nami, Charlotte Katakuri, or 3-cost Uta. Brook is a 5,000 Power Character, capable of damaging the opponent’s Leader. He can be used offensively, and your opponent can’t simply ignore him.
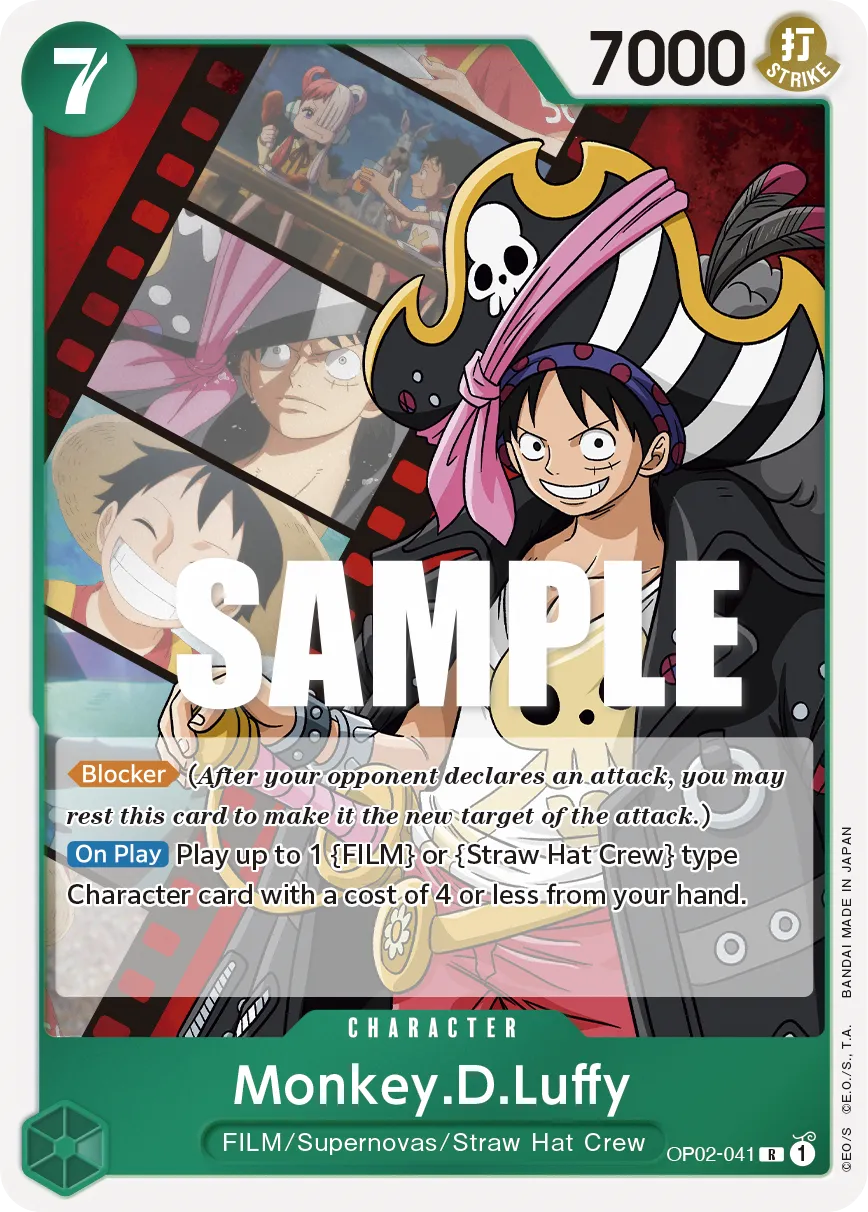
As for 7-cost Monkey D.Luffy, he can play 1 {FILM} or {Straw Hat Crew} type Character with a cost of 4 or less from your hand. So you’ll have more options to cheat out compared to Brook, like 4-cost Uta or Brook himself. Monkey D.Luffy is a 7,000 Power blocker, capable of shutting down attacks, and if needed, he can attack to KO a Character or damage the opponent’s Leader.
The ideal play is Monkey D.Luffy > Brook > 3-cost {FILM} card, developing three Characters in one turn to overwhelm the opposing player.
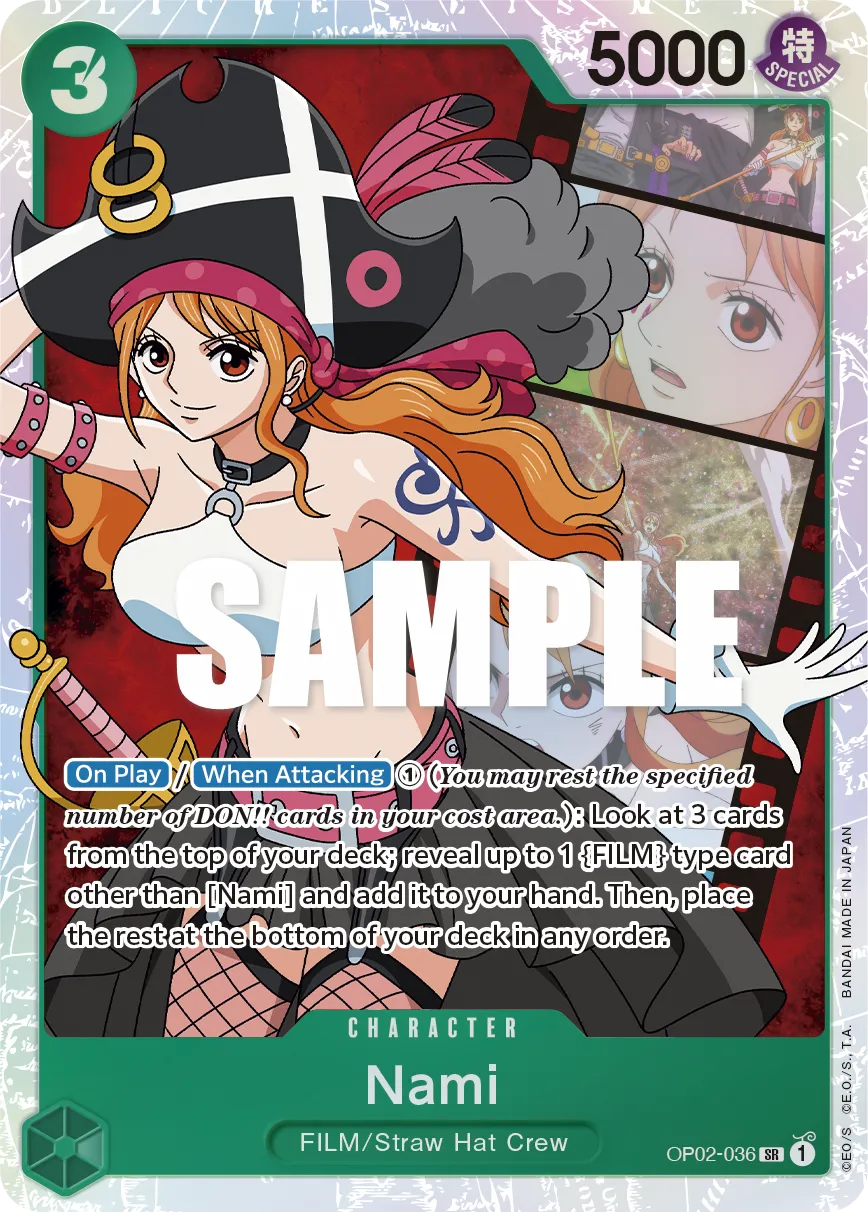
Nami adds to your value generation through her On Play and When Attacking effect. You have to rest 1 Don to activate her effect, allowing you to look at the top 3 cards in your deck and add 1 {FILM} type card to your hand. Since we can activate this effect whenever Nami attacks, your opponent will shift their focus to KOing her, and if possible, we’ll try to protect her.
Charlotte Katakuri might seem weaker with his 4,000 Power, but if you’re holding onto 6 cards or more, Charlotte Katakuri gains +2,000 Power. At 6,000 Power he poses more of a threat and can force more resources from the opponent to KO him.
If you’re down to 5 cards in hand, you can use Leader Uta‘s draw ability to put yourself at 6 cards before attacking with Katakuri.
We usually value Nami over Katakuri, so we can add more resources to our hand. However, if we’re trying to play aggressively, then Katakuri‘s 6,000 Power attack is the better choice.
Blockers
Gordon is a 2-cost Blocker to protect us from one of the opponent’s attacks. However, Godron is also useful for his effect, allowing you to trash any number of {Music} type cards from your hand to gain +1,000 Power for each card you trash on your Leader or one of your Characters. So we can trash cards like New Genesis, Backlight, and I’m Invincible. All of these are events that don’t offer anything during our opponent’s turn, so we can use them defensively to protect Leader Uta or a rested Character with the help of Gordon.
Blocker Utas
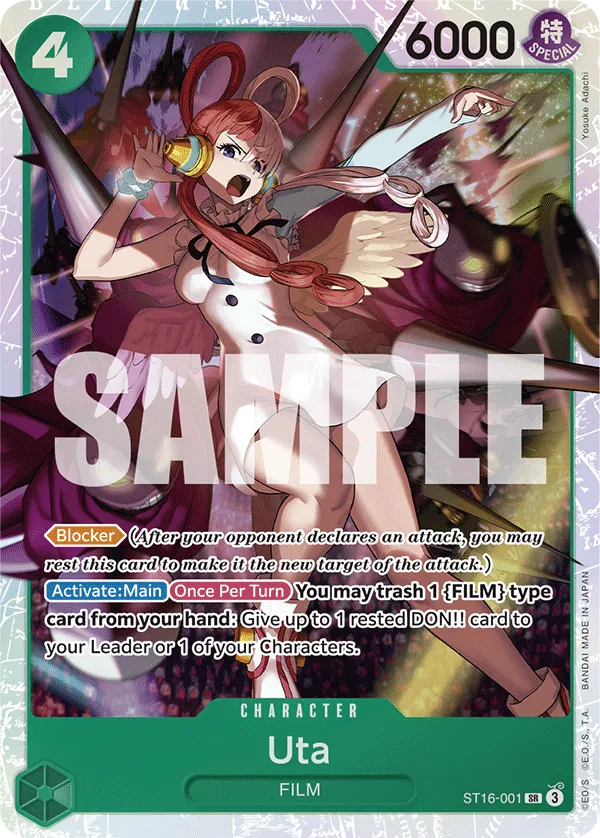
3-cost and 4-cost Uta are blockers to protect you when needed, both having powerful effects that come into use depending on the state of the game.
At the end of the turn, 3-cost Uta can trash 1 Event to restand 1 of your {FILM} type Characters. This can be used after you’ve attacked with one of your Characters and to prevent your opponent from attacking it. Most of the time, you’ll use it in combination with blockers like 7-cost Monkey D.Luffy and 4-cost Uta, allowing you to attack with those Characters and still use them as blockers during your opponent’s turn.
As for 4-cost Uta, she can trash 1 {FILM} type card to give a rested Don to your Leader or one of your Characters, perfect if you’re setting up a finisher attack to win the game or to activate your Leader effect and filter your hand for better cards.
Biggest Play
9-cost Shanks is the best choice in the late-game if there’s a rested Character to KO. The cost of that Character doesn’t matter, Shanks joins in and KO’s it on the spot, removing a Character to control the opponent’s field.
Shanks being at 11,000 Power means he’s your strongest aggressor, almost impossible for opponents to counter his attack.
Leader Aggression
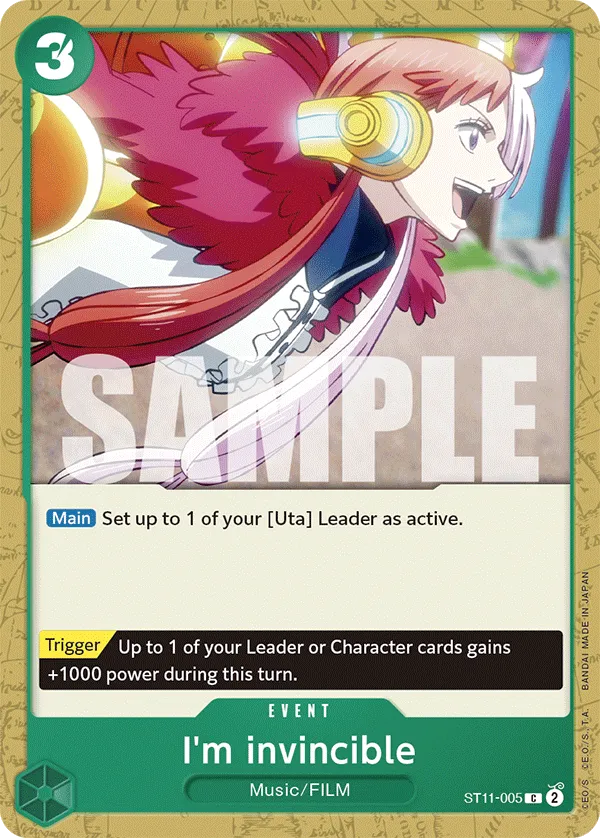
I’m Invincible is our go-to for adding more aggression with Leader attacks. The plan is to pump Uta‘s Power with Don and start swinging at their Leader, forcing them to use Counter cards or lose Life Cards. Then, we can play I’m Invincible for another attack while those attached Dons on Leader Uta are still there. If we play 2 I’m Invincible in one turn, we can set up three 9,000 attacks with Uta, which is tough for opponents to handle. Combined with 4-cost Uta, you can add 1 more Don to your Leader to gain maximum value.
Events
New Genesis is key for grabbing the right cards to make your deck click. Since it can draw us a {FILM} type card, we’re usually hunting for cards that fit well with what we have, letting us play multiple characters each turn. New Genesis will also set up one of your Don as Active, so you’re basically playing it for 0 Don.
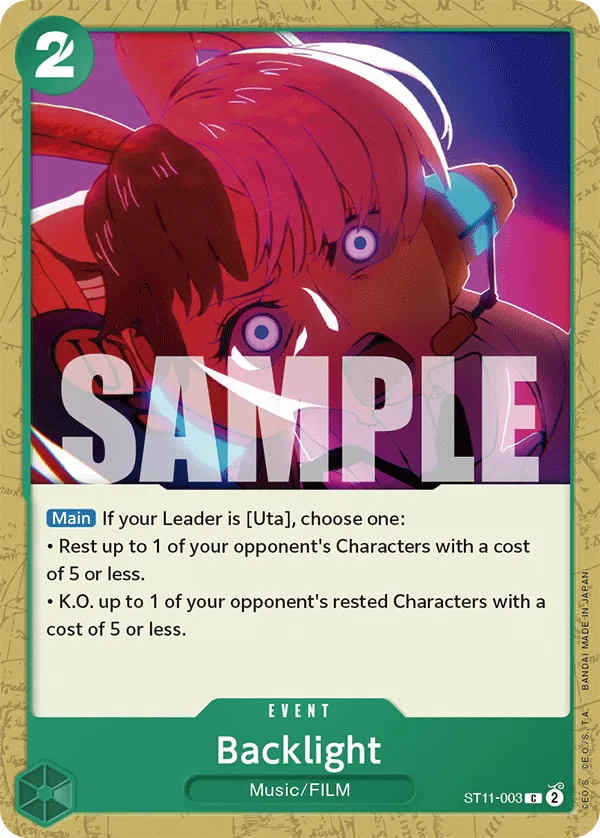
Backlight, on the other hand, is one of our strongest Events for controlling the board and making big plays. If there’s a rested 5-cost character, Backlight can KO it. But sometimes, we use it to rest one of the opponent’s blockers, making sure we can hit their Leader without any blockers getting in the way.
There are scenarios where we’ll use Backlight to rest a Character, allowing our attackers to target it and potentially KO it.
+2000 Counters
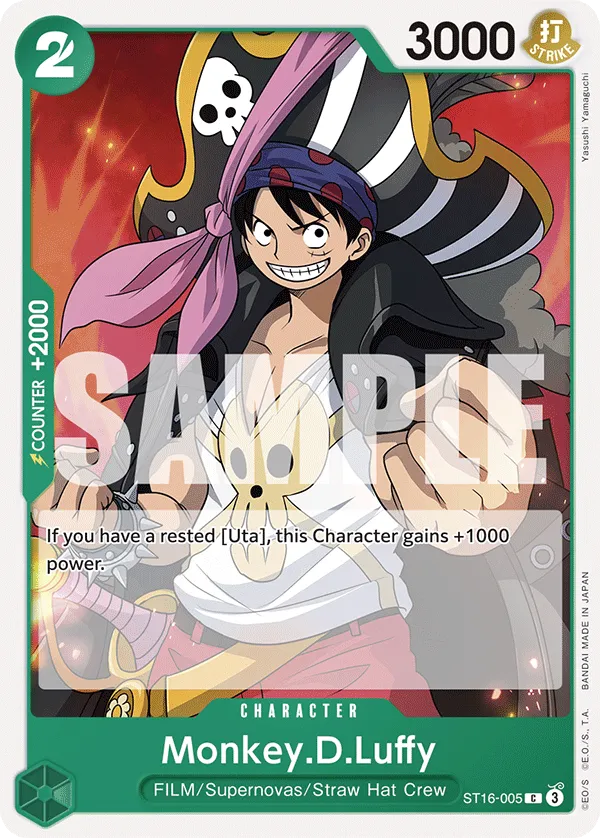
2-cost Monkey.D.Luffy, 2-cost Tony Tony.Chopper and 4-cost Sanji are mainly there for their +2k counter. You don’t really want to play them on the board, but they’re searchable and can be drawn through Leader Uta‘s ability, Nami, and New Genesis.
Other Cards to Include
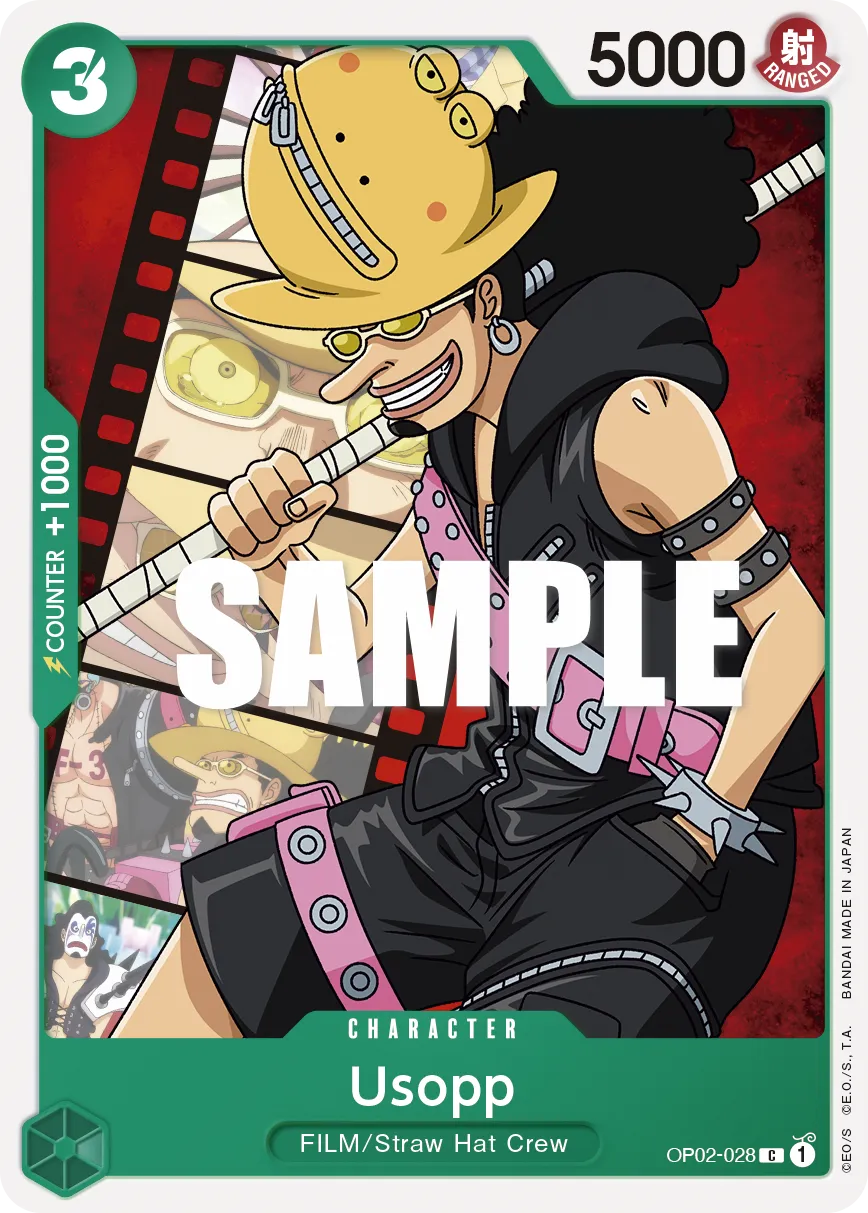


- 3-cost Usopp can be played through Brook as part of the go wide strategy.
- 8-cost Eustass”Captain”Kid is the key part of the Fortress game plan. Adding him to the list means you’re going for a birdcage strategy where you’ll force the opposing player to attack Eustass”Captain”Kid and you’ll have blockers protecting him.
- 9-cost Roronoa Zoro is a win condition on his own. If he remains in play for a full turn, Roronoa Zoro can go for a triple attack in just one turn, potentially winning the game on the spot or setting you up to win the game on the upcoming turn.
Turn-Based Gameplay
Going First
- Turn 1 (1 Don): New Genesis.
- Turn 2 (3 Don): Nami, Charlotte Katakuri, or 3-cost Uta. If none of the three, you can play Gordon + Leader effect.
- Turn 3 (5 Don): Brook + 3-cost Character + Leader effect.
- Turn 4 (7 Don): 7-cost Monkey.D.Luffy.
- Turn 5 (9 Don): 9-cost Shanks or 7-cost Monkey.D.Luffy.
- Turn 6 (10 Don): 9-cost Shanks or 7-cost Monkey.D.Luffy. Later on, if you spot a winning line, go for the I’m Invincible wincon.
Going Second
- Turn 1 (2 Don): Gordon or New Genesis.
- Turn 2 (4 Don): Brook + 3-cost Character,r 4-cost Uta, or 3-cost Character+ Leader effect.
- Turn 3 (6 Don): Brook + 3-cost Character + Leader effect or 4-cost Uta + Leader effect.
- Turn 4 (8 Don): 7-cost Monkey.D.Luffy + Leader effect.
- Turn 5 (10 Don): 9-cost Shanks or 7-cost Monkey.D.Luffy. Later on, if you spot a winning line, go for the I’m Invincible wincon.


