Black Marshall D. Teach is one of the strongest control Leaders who takes a different approach than other Black decks. The Leader’s effect shuts you down from using any On Play effects, so you have to keep that in mind when building the Black Teach deck.
Luckily, Black has lots of alternative cards to include with Teach that synergize with Black Teach’s strategy, ensuring you have a consistent game plan when playing this deck.
Leader
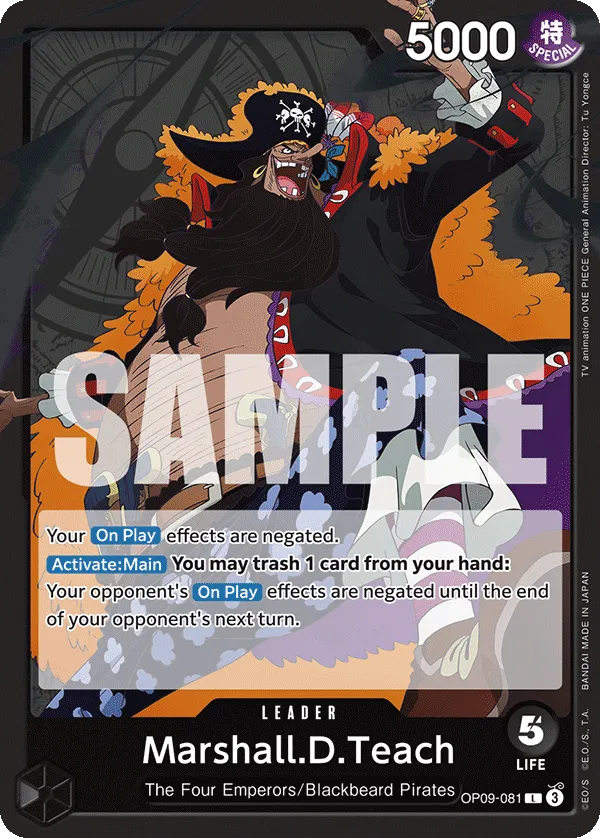
Black Leader Marshall D. Teach shuts down all your On Play effects, so the deck has to be built with that in mind. However, if you trash one card from your hand, you can prevent the opponent from activating their own On Play effects, which, depending on the matchup, might be a huge blow for them. Remember, your deck is built not to need the On Play effect; however, opponents will struggle when they can’t use their effects.
You’ll want to time this correctly, as you’re trashing a card to activate it. Only use the Leader effect on turns where you expect opponents to need their On Play effects the most.
Black Teach Decklist


How to Play
The Black Teach deck can’t run On Play effect cards, so the list is heavy with “Activate: Main” cards and Events. It has tools to KO opponents’ characters through Doc Q or 7-cost Teach. You have access to a couple of cost-reduction cards to put things in range for the removal cards. Additionally, the black deck uses Jesus Burgess and 10-cost Marshall D. Teach as carries to present strong attacks.
Early 1-costs
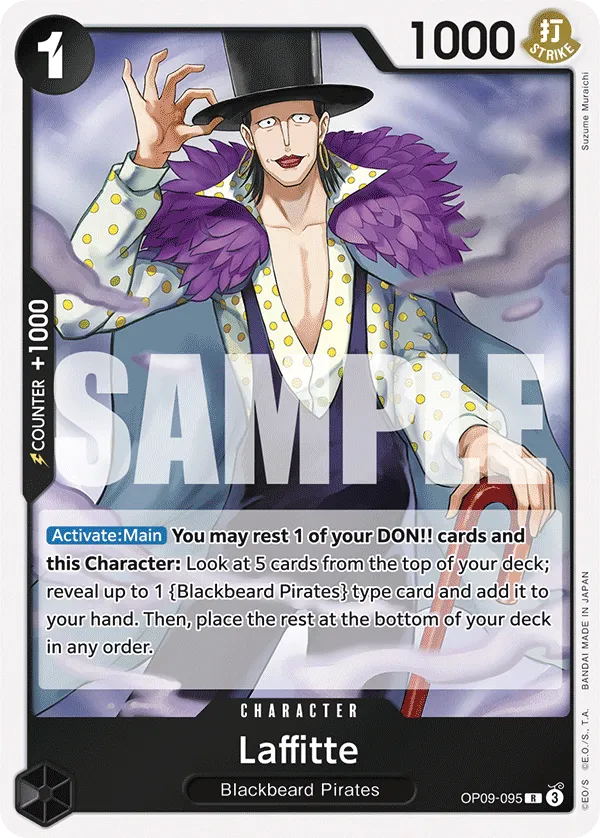
The list has multiple searchers to find you {Blackbeard Pirates} type cards. Laffitte‘s Activate: Main lets you rest him to look at the top 5 cards of your deck and draw a {Blackbeard Pirates} type card. You can reactivate his effect on the upcoming turn, but opponents will likely attack and KO him to prevent the draw value.
Fullalead Stage lets you trash one card from your hand to draw a {Blackbeard Pirates} card, cycling through your deck to find the cards you need for the upcoming turn. This is the most important card to have in the early game, as it continues to trash 1 card every single turn, which enables cards like Jesus Burgess.
Lastly, This is My Age!!! looks at the top 3 cards of your deck and draws you a {Blackbeard Pirates} card before placing the rest in the trash.
Fullalead and This is My Age!!! are trashing cards, which will be useful throughout the game, as some of your cards are tied to the number of trashed cards.
Tough to remove Characters
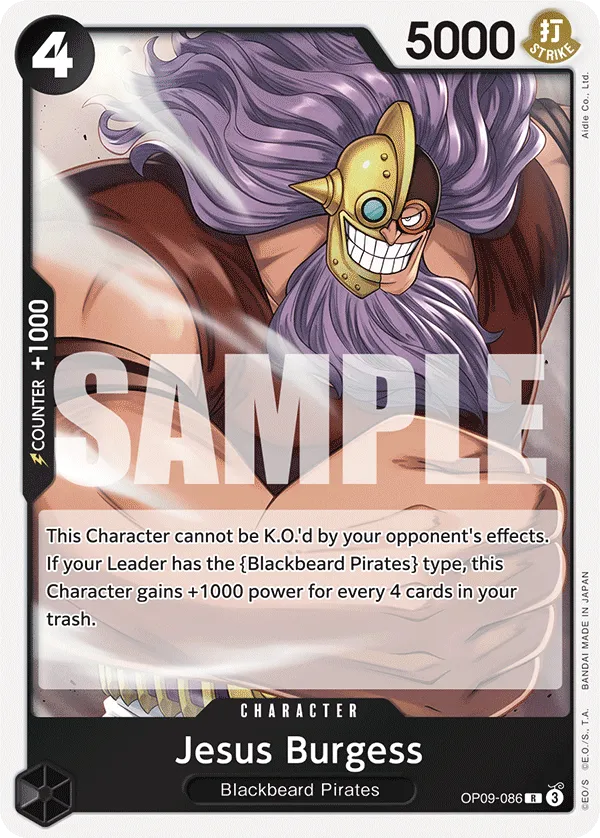
Jesus Burgess is your strongest card in this deck, thanks to his ability to prevent KO effects from working on him and the fact that he gains +1,000 Power for every 4 cards in the trash. The Power he gains will remain on him during the whole game, so you’ll end up having a Jesus Burgess with at least 9000+ Power in the late game.
This turns him into a win condition that you must protect from any attacker. You’ll want to use his high Power aggressively and put the opposing player at risk of losing the game. The only way opponents can reliably remove him from play is through effects that place him back in your hand or deck or Trash effects.
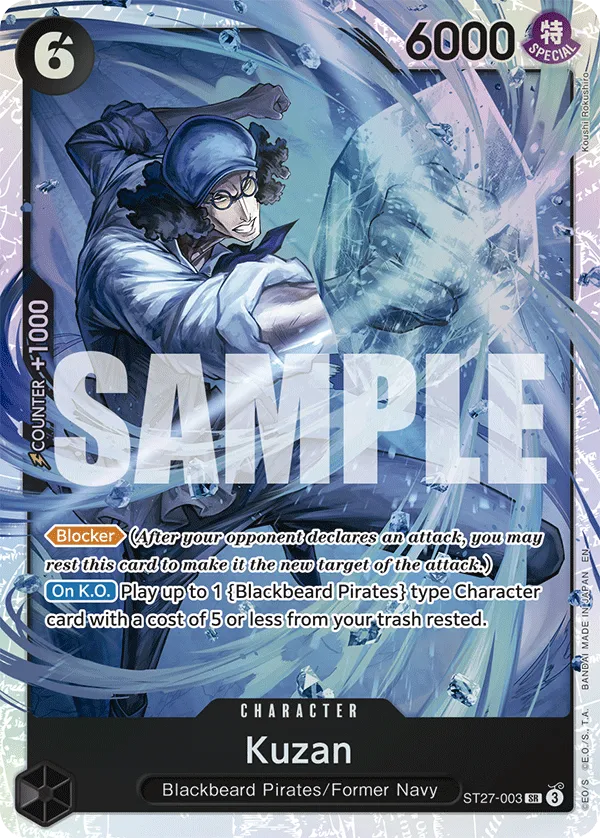
The 5-cost Kuzan is a great play in the early game to set up for future turns. It doesn’t pose much offensive threat with only 5,000 Power, but the fact that opponents can’t remove Kuzan from the field through their effects plays perfectly into your game plan.
With Kuzan‘s Activate: Main effect, you may trash him, draw a card, and then play 1 {Blackbeard Pirates} type Character from your trash with a cost of 5 or less in his place. So, after we’ve played Kuzan, we can activate his effect and play a Character like Jesus Burgess or Van Augur. If you hold off on activating the effect until he upcoming turn, make sure to attack with Kuzan first, force a Counter card from the opponent, and then activate his effect to trash him and cheat out a Character.
Kuzan is great because it ensures we can combo Van Augur with our removal cards like 7-cost Teach or Black Hole. Usually, opponents will go out of their way to remove Van Augur through an effect before you get much value from their cost reduction. By playing Kuzan, you’re dodging those removal effects, getting an attack in with Kuzan, and then cheating out your cost-reducers to activate his effect and combo him with a removal card.
Removal Cards
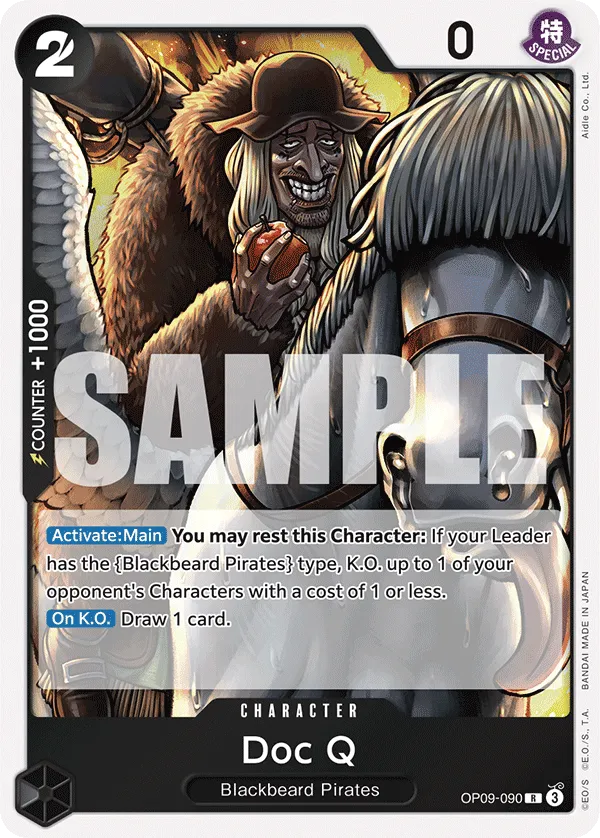
Doc Q is a 2-cost Character that, when rested, can KO a 1-cost Character. You’ll need to combo it with a cost-reduction card, so it finds use. Additionally, opponents will have to attack it on the upcoming turn, and when KO’d, you’ll draw a card, so you’re not losing on value.
Shiryu is a 5,000 Power Character that gets to KO a 3-cost or less Character on the turn he’s played through his Activate Main effect. During your opponent’s turn, Shiryu gains a +2,000 Power boost, making him a tougher target to remove.
7-cost Teach is an 8,000 Power Character that can KO a 3-cost or less Character when you rest him. This effect can be activated once per turn, so you can continue to use Teach’s control effect throughout the game. Combined with cost-reduction cards like Van Augur or Tempest Kick, you can KO up to 6-cost Characters with Teach.
If there’s nothing worth to KO, Teach can go for a high-power attack, pressuring the opposing player by either attacking a rested Character or their Leader. When Teach is KO’d, you get to add 1 black card from your trash to your hand, which means you’re not losing on resources and can pick up any card you need from your trash depending on the state of the game.
Cost-Reduction Cards
Stronger is a +2,000 Counter, which can be used for his -2 cost reduction effect to put a Character in range for a 7-cost Teach or Black Hole to remove. You have to trash a card from your hand and Stronger to activate the -2 cost reduction, but you’ll also gain a card draw, so you’re not losing 2 cards for the cost reduction.
As for Tempest Kick, ot’s a 1-cost Event that reduces the cost of an opponent’s Character by 3 while also drawing you a card. You need to have 10 or more cards in the trash for Tempest Kick to activate its cost reduction, but with the many tools in this list that let you trash cards, you’re not too stressed about fulfilling its condition.
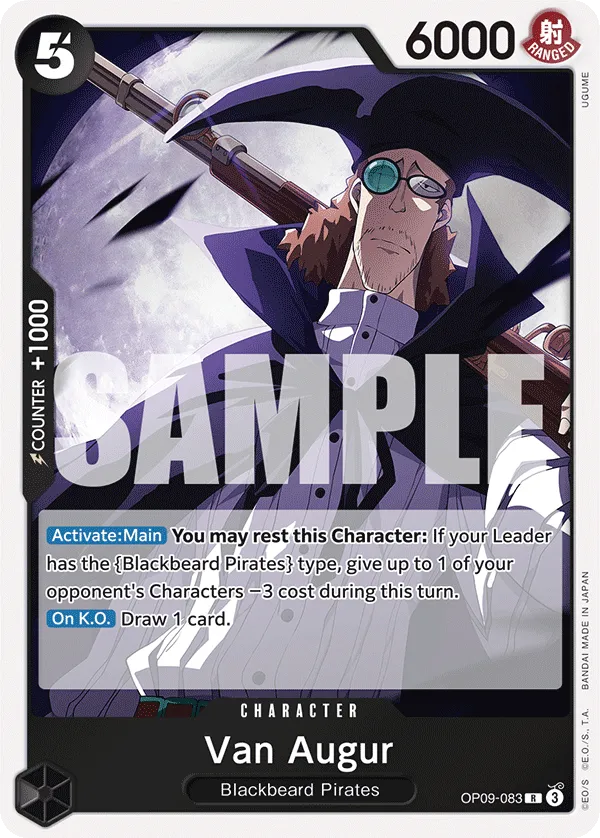
You have to rest Van Augur to activate the -3 cost-reduction effect. So, you can start activating his effect on the turn he’s played. If Van Augur remains in play, you can reactivate his cost-reduction effect if it’s needed, but that does mean you won’t be able to attack with him.
Blockers
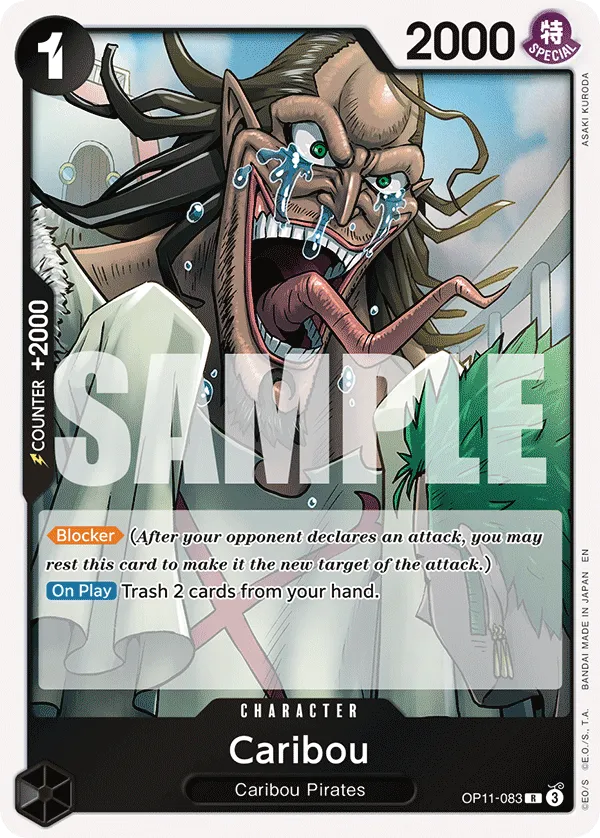
1-cost Caribou is a low-cost blocker to protect you from an opponent’s attack, especially in the late-game. He helps you push the game an additional turn to stabilize things or at least line up the winning attack. Caribou is a +2,000 Counter Character, but since it’s not a {Blackbeard Pirates}, you can’t search for him.
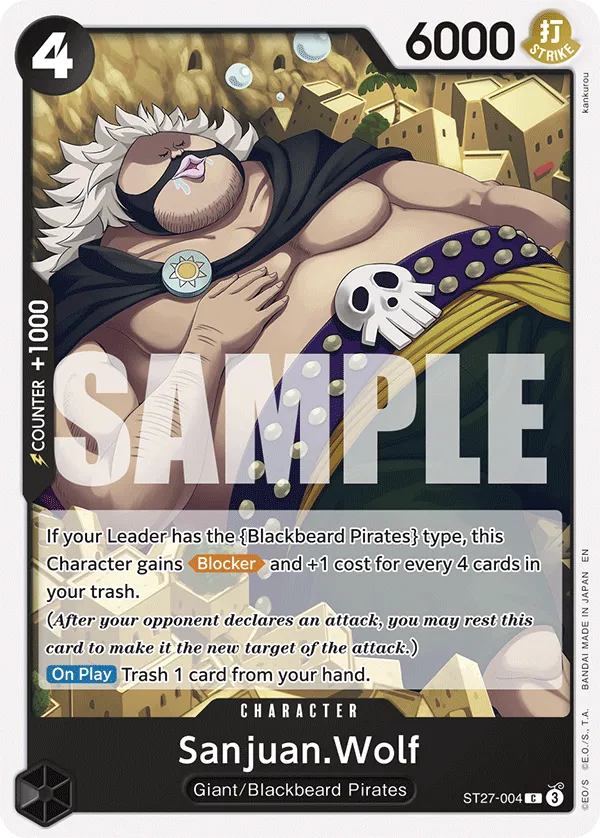
Sanjuan.Wolf is a 6,000 Power blocker that gains +1 cost for every 4 cards in your trash. When played, Sanjuan.Wolf forces you to trash a card from your hand, but since Leader Teach shuts down On Play effects, you can skip the card-trashing effect.
Late Game Teach
10-cost Marshall D Teach is your strongest play, with 12,000 Power and the Blocker keyword. You can block one of the opponent’s attacks, protecting your Leader and saving you from using Counter cards.
Through 10-cost Marshall D Teach‘s Activate: Main effect, you can negate the effect of the opponent’s Leader for the rest of the turn, and one of their Character’s effects is negated and can’t attack until the end of your opponent’s next turn.
So Leaders like Bonney and Enel won’t be able to activate their effects during your turn, forcing them to use more Counter resources. As for the negated Character, it will stick around until the end of your opponent’s turn. So if they have an Activate: Main, When Attacking, or On KO effects, they can’t be activated. Also, keywords won’t work anymore, so Blocker will be useless.
Marshall D Teach is slowing your opponent down, blocking an attack, and preventing one Character from attacking. He acts as a wall, especially if you have multiple of them in play. In the late game, you’ll have to decide whether the 12,000 Power is best used offensively or defensively. You can opt not to attack with 10-cost Teach and have him block an attack, prolonging the game until you can set up a winning turn.
Counter Events
Black Vortex is a tech card for the Green Roronoa matchup, shutting down their Leader’s ability to re-stand and go for another attack. You’re also giving a -4,000 Power reduction to weaken their attack.
Turn-Based Gameplay
Going First
- Turn 1 (1 Don): Fullalead, Laffitte, or My Era…Begins!!
- Turn 2 (3 Don): Doc Q + 1-cost card.
- Turn 3 (5 Don): 5-cost Kuzan, Van Augur, or Jesus Burgess.
- Turn 4 (7 Don): 7-cost Teach, Van Augur, or Jesus Burgess. If there’s a target to KO, you can play one of your removal Events.
- Turn 5 (9 Don): 7-cost Teach, Van Augur, or Jesus Burgess. You can go for one of your removal Events to control the field.
- Turn 6 (10 Don): 10-cost Marshall D Teach.
Going Second
- Turn 1 (2 Don): Fullalead, Laffitte, or My Era…Begins!!
- Turn 2 (4 Don): Jesus Burgess.
- Turn 3 (6 Don): Kuzan, Van Augur, or Jesus Burgess.
- Turn 4 (8 Don): 7-cost Teach, 6-cost Kuzan, Van Augur, or Jesus Burgess. You can go for one of your removal Events to control the field.
- Turn 5 (10 Don): 10-cost Marshall D Teach.
Other Cards to Include


- Laboon can reduce the cost of one of the opponent’s characters by 4, putting a 5-cost character in range for Doc Q to KO. If you want to combo it with your 4-cost events, you’ll either want to play Laboon a turn earlier and wait for the upcoming turn to activate the cost reduction or use them together on turn 8 to KO up to a 9-cost character with Finger Pistol.
- Finger Pistol is a strong removal Event, KOing a 5-cost or less Character and trashing two cards from the top of your deck. It also has a powerful trigger, activating its effect with no downside. So if the opponent has a Character on the field that falls in the range of Finger Pistol, you can KO it, which can be devastating for the opposing player if they haven’t attacked with that Character yet. Since Finger Pistol is a CP9 type, we can’t search for it.
- Catarina Devon can gain one of three keywords: Double Attack, Banish, or Blocker. So, depending on the state of the game, you can choose which one is best for you.
- 9-cost Kaido trashes a card from your hand to trash one of the opponent’s Characters with a cost of 7 or less, and your opponent will be forced to trash 1 card from their hand.

- 4-cost Black Hole is more useful to counter specific decks, negating the effect of one of the opponent’s characters and KOing it if it costs 4 or less. So, cards with a KO immunity will not be safe from Black Hole.
- 6-cost Liberation is great if your opponent is winning the field presence, having more Characters in play than you. You can KO two Characters with Liberation if your opponent has 2 or more Characters than you. The Characters you target have to have an original cost of 6 or less and another one with an original cost of 4 or less. You can’t use your cost reduction effects with Liberation, so you’re tied to KOing a 6-cost and 4-cost Characters.
- 6-cost Kuzan is a 6,000 Power Blocker with a powerful On KO effect. When KO’d, Kuzan lets you choose a {Blackbeard Pirates} type Character with a cost of 5 or less from your trash to play on the field, rested. So, you can choose to play cards like Jesus Burgess, Van Augur, or 5-cost Kuzan.
Important Matchups
Green Roronoa Zoro

- We need to KO their 5-cost Characters like Tashigi or Cavendish, which 7-cost Teach + cost reduction can do. You can run Laboon to start removing them with Doc Q. Shiryu + Tempest Kick works perfectly as well, removing an attacker to weaken the opponent’s offensive pressure.
- Multiple blockers will come in handy in the late game to stretch out the game. The 10-cost Teach and the 1-cost Caribou can buy you an additional turn against Zoro‘s multiple attacks.
- Black Vortex is how we slow down the opponent’s aggression, shutting down the opponent’s ability to re-stand their Leader through their effect. Even if they re-stand their Leader with an Event, the -4,000 Power makes it harder to get attacks through.
Red Silvers Rayleigh

- The Red Silvers Rayleigh deck wants to play aggressively, aiming to go for multiple attacks. We can use Doc Q to remove their low-cost Characters and force them to attack and KO Doc Q. Shiryu is also a great control card in this matchup, capable of KOing 3-cost Sanji or Zoro without committing any cost reduction cards.
- On Don 4/5, they’re planning to play the 4-cost Luffy to cheat out a Character. We want to use Leader Teach‘s effect to shut down the On Play effect and prevent them from developing multiple Characters.
- Make sure you keep the board in check and then transition to striking down their Leader. They can’t deal with Jesus Burgess, so often they’ll ignore him and focus on your Leader instead.
- Avoid falling below 2 Life cards, as your opponent will try to set up a two-turn win condition with their To Never Doubt–That Is Power! to dodge your blockers.
Blue Purple Luffy

- This can be a tough matchup since Blue Purple Luffy has control Events like Gum Gum Red Roc and Gravity Blade Raging Tiger to remove your Characters and control your side of the field. They’re also ramping up for the Sanji combo play, so if your opponent is hitting Don 10 on the upcoming turn, we need to activate our Leader’s effect to shut down Sanji‘s On Play effect. We’ll continue to activate our Leader’s effect to make sure they can’t activate Sanji, Luffy, or Mihawk.
Green Purple Luffy

- Green Purple Luffy heavily relies on Sanji & Pudding for the ramp effect, allowing them to activate their Leader’s effect in the mid-game with less drawback. Since it’s a 5-cost, we can use Liberation or Finger Pistol to remove, but if your opponent increases its cost by Merry Go, we’ll need to rely on cost-reduction to put it in range.
- Their strongest On Play effect is Luffy-Tarou, so we’re usually trying to shut it down through our Leader effect when the opponent reaches Don 7/8.
- Blockers are problematic for the opposing player as they don’t have reliable removal tools to deal with them. They can help you prolong the game, especially if you manage to set up two 10-cost Teach to act as a defensive wall. Jesus Burgess will be the win condition; they’re tough for the opponent to deal with once they’ve gained a lot of Power and can help you control the field or pressure the opponent’s Life cards.
Red Shanks

- Red Shanks can reduce the power of your attacker, making it harder to get your attack through. They have Benn.Beckman and Silvers Rayleigh as removal options on Don 7 and 8, so you need to use your Leader effect by turn 4 to shut off their plays. This should make it harder for them to control your field, creating an opportunity to have multiple Characters in play.
- Since we’re shutting off their removal effects, they’ll rely on attacking your Characters or Divine Departure to control the field. Luckily, Jesus Burgess can’t be KO’d through an effect, so he’ll eventually have too much Power for them to KO.
- Red Shanks has multiple Rush attackers, so they might try to aggro you down. Blockers will be important here to slow your opponent down and buy you enough time to stabilize the game and start pushing for the lethal.
- We can’t KO 10-cost Shanks unless we’re willing to attach a lot of Don to our 10-cost Marshall D.Teach. If your opponent is holding onto a lot of cards, it’s often not worth it, and we should develop on the field instead. 10-cost Marshall D.Teach can also shut down Red Shanks‘ power reduction for the turn, allowing you to go for a more aggressive attack.
Blue Buggy
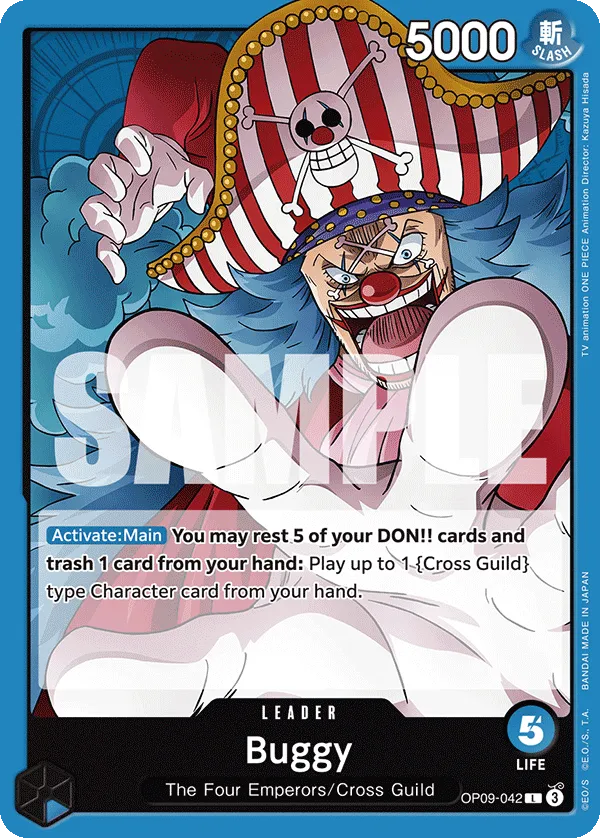
- Blue Buggy is a tough matchup, especially if they’re running Gravity Blade Raging Tiger and Gum Gum Red Roc. Using our Leader effect to shut down Blue Buggy’s On Play effect will starve them of their draw resources, which will benefit us in the long run, but we are giving them access to the 10-cost Buggy. Since the 10-cost Buggy’s On Play effect won’t trigger, it will remain on the board as a heavy hitter.
- Their 7-cost Buggy prevents you from attacking with Jesus Burgess, which will slow you down immediately. However, you can play around it on specific turns by negating the 7-cost Buggy‘s effect through cards like Black Hole or 10-cost Teach.
- Crocodile & Mihawk will protect the opponent’s Characters from being removed from the field, which limits our control capabilities.
Purple Luffy

- Purple Monkey D.Luffy adds a Life card to their hand to ramp 1 Don, allowing them to play high-cost Characters on earlier turns. They have multiple Characters with On Play effects, so we’ll often activate our Leader’s effect as early as turn 2. The more important shut downs are for 7-cost Sanji, 7-cost Luffy-Tarrou, 9-cost Charlotte Linlin, and 9-cost Monkey D.Luffy.
- We’ll force the opposing player to play their Characters without activating their effects, making it harder for them to remove our Characters. This will turn Jesus Burgess into a win condition that they can’t remove with Charlotte Linlin.
Closing Words
Black Teach is a tough deck to play correctly, especially since you’re trashing cards from your hand to shut down your opponent’s On Play effects. Understanding the matchup is a must, as you’re able to identify the best turns to your Leader’s effect to slow the opposing player down.


