The Blue Black Rebecca is an off-meta {Dressrosa} deck that focuses on controlling the field and uses Rebecca‘s built-in draw mechanic to outvalue the opposing player and start winning the late-game.
Unfortunately, the banning of Gecko Moria and Ice Age was a huge hit for Blue Black Rebecca. However, it seems Cross hasn’t given up on the Leader just yet, and managed to make top 16 in a 900+ tournament! Today, I’ll cover an updated list of Blue Black Rebecca without Moria, and I’ll share other cards to include in the list depending on your preference!
Leader
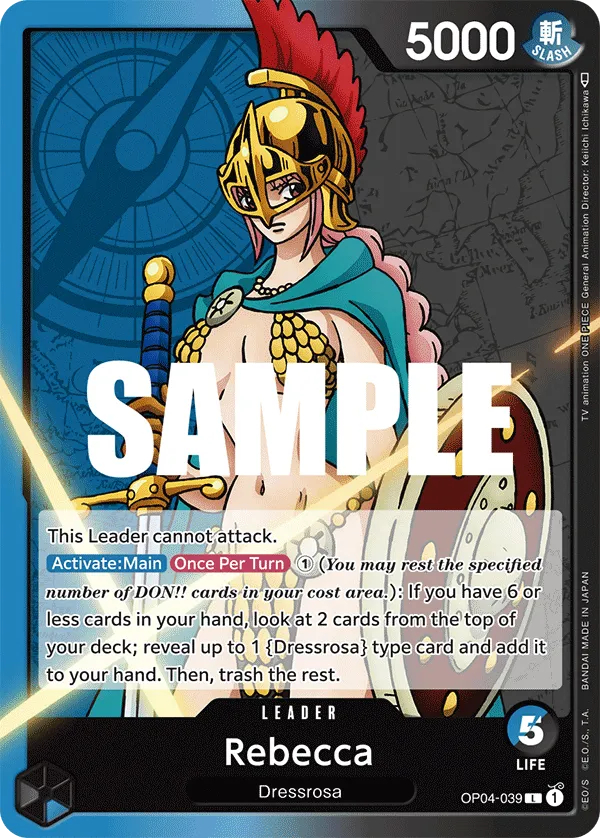
Blue Black Rebecca is a 5 Life card Leader who can’t attack, so you will find yourself in tough situations where the attack will matter a lot to control the state of the field. However, the list has cards that somewhat mitigate that, which we’ll talk more about later in the guide. Additionally, cards like 3-cost Kyros benefit from an Active Leader, so you aren’t too upset at missing your attack.
Rebecca‘s Activate:Main effect can be used once per turn for 1 Don. If you have 6 cards or less in your hand, you can look at the 2 cards from the top of your deck and add 1 {Dressrosa} type card to your hand. Then, trash the rest. So we’re drawing a card and adding another card to the trash, so that trashed card can benefit us later in the game. Since we need to have 6 cards or less to activate Rebecca‘s effect, it’s important to counter early in the game so we don’t end up with a hand stacked with cards.
Rebecca‘s draw effect will help us outvalue the opposing player in the late-game, offering to draw us Characters to develop, combo pieces, or even Counter cards to protect our Leader or rested Characters.
Blue Black Rebecca Decklist




How to Play
Corrida Coliseum

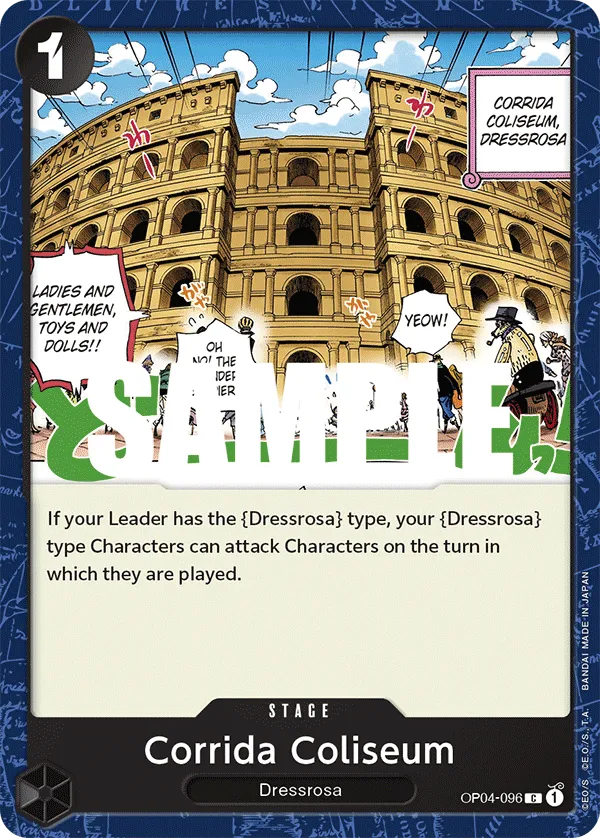
Corrida Coliseum is the Stage we want early in the game. Once in play, whenever you play a {Dressrosa} type Character, you can attack with it immediately one of the opponent’s Characters. Corrida Coliseum is giving a pseudo-rush to attack rested Characters, helping you control the field. Since you can’t attack the opponent’s Leader with a Character you just played, you’ll focus down their field with a Character that was just played and save your other attackers to potentially attack their Leader.
This makes up for Leader Rebecca‘s inability to attack, giving you another alternative to attack the opponent’s rested Characters.

1-cost Rebecca lets you look at the top 3 cards from your deck and lets you choose 1 {Dressrosa} type card other than [Rebecca] to add to your hand. 1-cost Rebecca trashes the two other cards, which you could find value in later in the game.
Control Characters


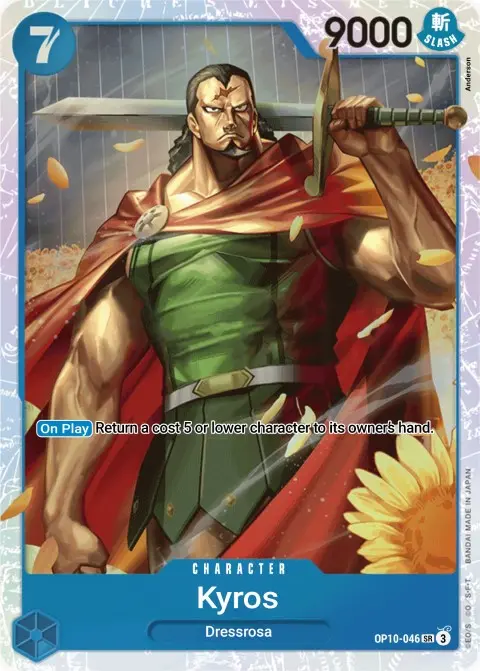
3-cost Kyros can KO 1 of your opponent’s Characters with a cost of 1 or less, so on his own, he’s not much of a control value. You’ll have to back him up with one of your cost-reduction cards to KO a higher-cost Character. However, 3-cost Kyros isn’t just for his KO effect, but can be tough for opponents to remove. If 3-cost Kyros would be KO’d, you may rest your Leader Rebecca or Corrida Coliseum Stage, making sure he sticks on the field to threaten more attacks. Your opponents might be forced to ignore him or find other ways to remove him.
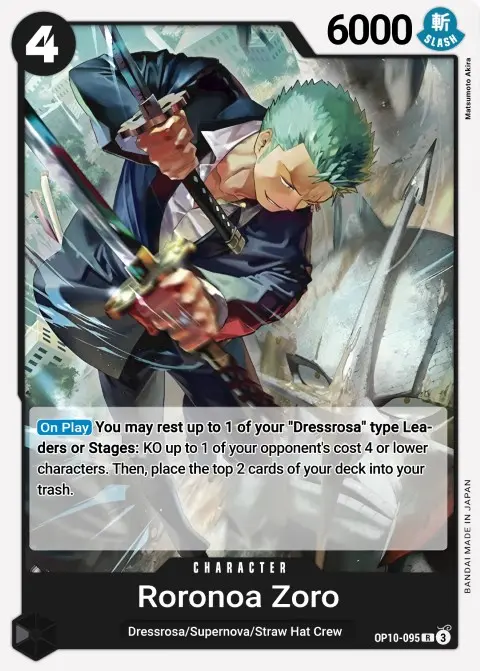
4-cost Roronoa Zoro is the strongest KO card in this deck. You may rest your Leader Rebecca or Corrida Coliseum Stage to KO 1 of the opponent’s Characters with a cost of 4 or less and trash 2 cards from the top of your deck. The card trashing will play into your strategy, allowing cards like 4-cost Rebecca, Mansherry, or Elizabello II to make use of them.

7-cost Kyros can return 1 of the opponent’s Characters with a cost of 5 or less to their hand. They’re not losing on card resources, but they will fall behind on the field with 7-cost Kyros removing one of their Characters and acting as a 9,000 Power attacker.
Control Events


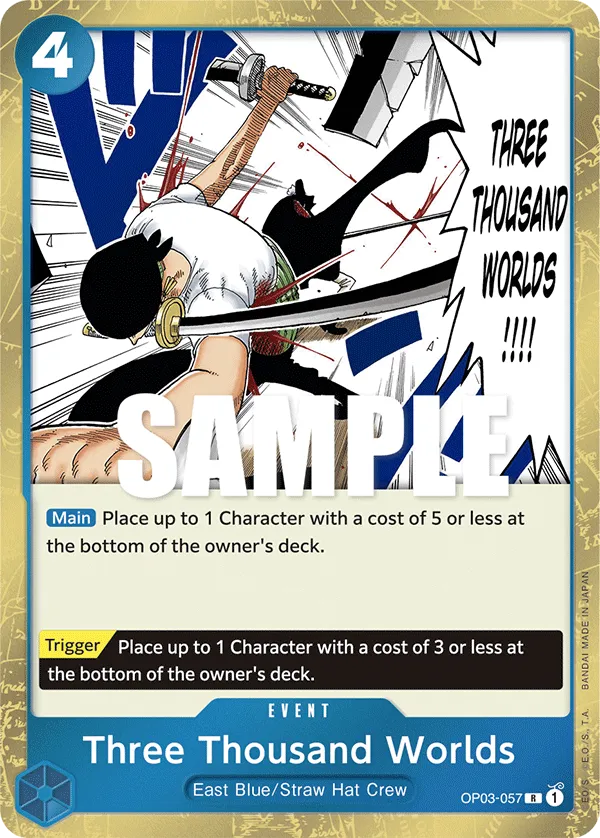
Three Thousand Worlds places 1 of the opponent’s 5-cost or less Characters at the bottom of their deck, helping you maintain control of the game.
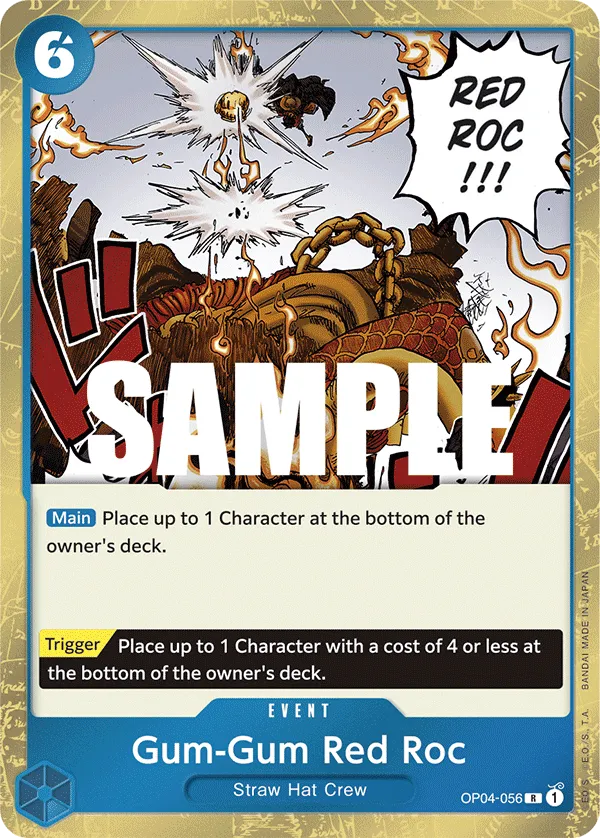
Gum-Gum Red Roc places one of the opponent’s Characters at the bottom of their deck, great for removing a high-cost win condition without having to commit your cost-reduction resources to remove it.
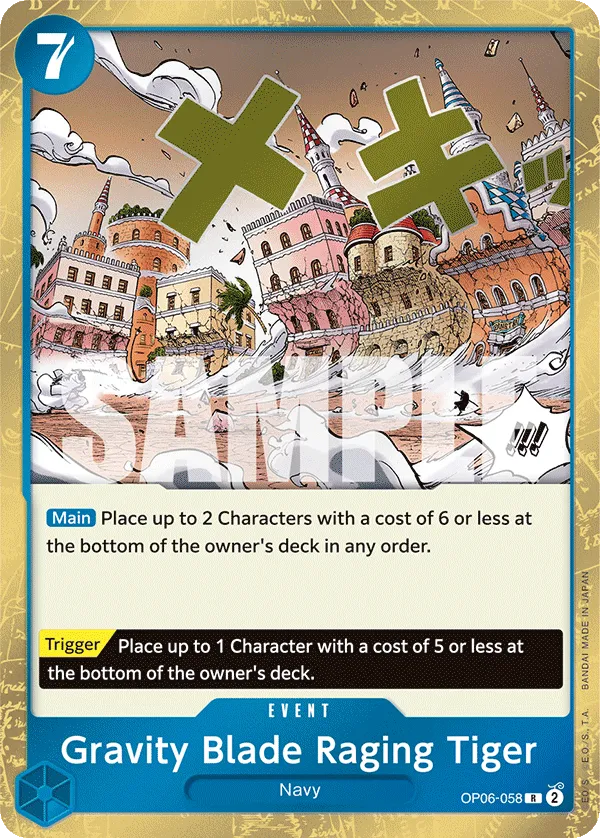
Gravity Blade Raging Tiger removes two Characters with a cost of 6 or less and places them at the bottom of the opponent’s deck. It’s a good answer for opponents that can develop multiple Characters in one turn. It also has a strong Trigger that removes a 5-cost or less Character from play, which can shut down opponents’ offensive pressure.
You can use cost-reduction cards to remove higher-cost threats with Gravity Blade Raging Tiger. Since these events place characters at the bottom of the deck rather than KO, they can be a great answer for KO immunity Characters like Jesus Burgess.
Cost Reduction
The Rebecca list has multiple cost-reduction cards that enable you to remove higher-cost Characters, helping you keep control of the board and prolong the game until you outvalue your opponent.


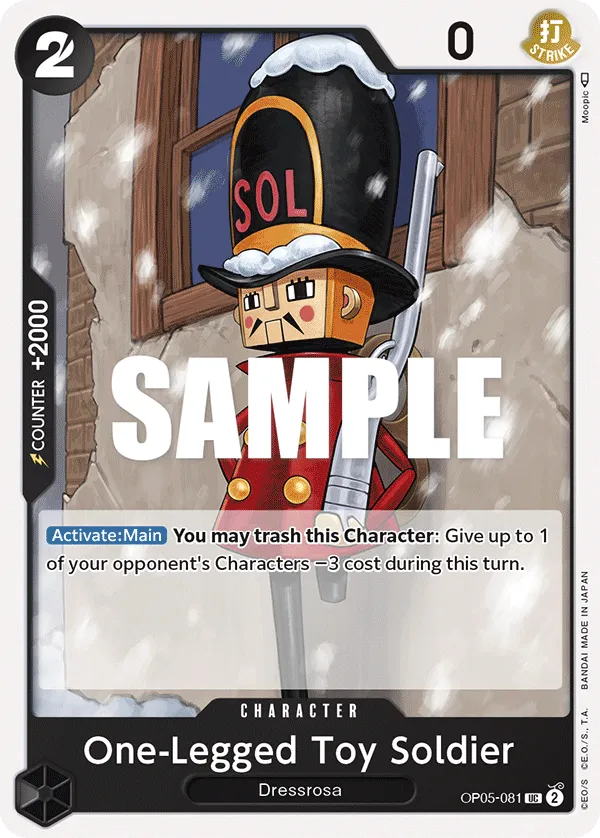
One-Legged Toy Soldier is a +2,000 Counter Character, but can also be used for the -3 cost-reduction. You will have to trash him to activate his effect, but the -3 for 2 Don can be useful to remove higher-cost Characters.
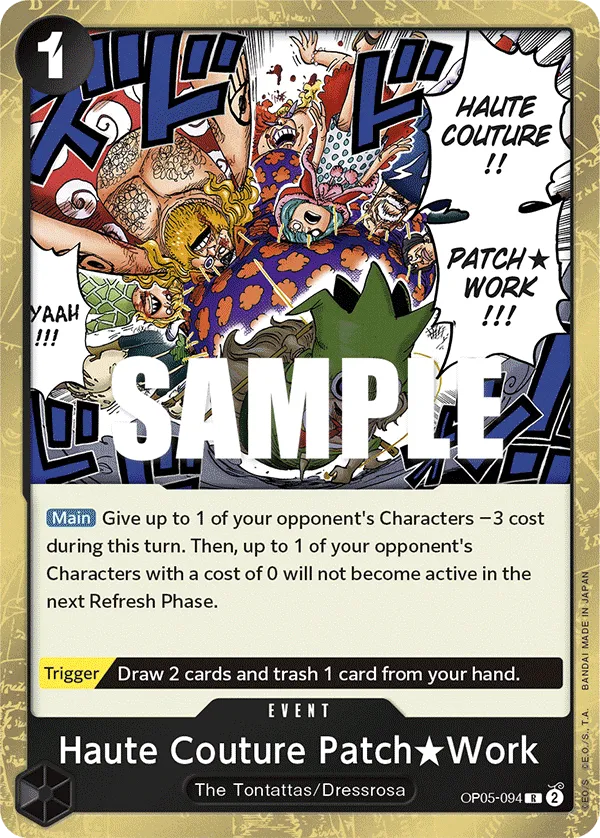
Haute Couture Patch reduces the cost of an opponent’s Character by 3 and then can keep a rested 0-cost Character from becoming Active on the upcoming turn. The second effect is situational, but it can be good in the late game if you’re trying to weaken your opponent’s upcoming turn.

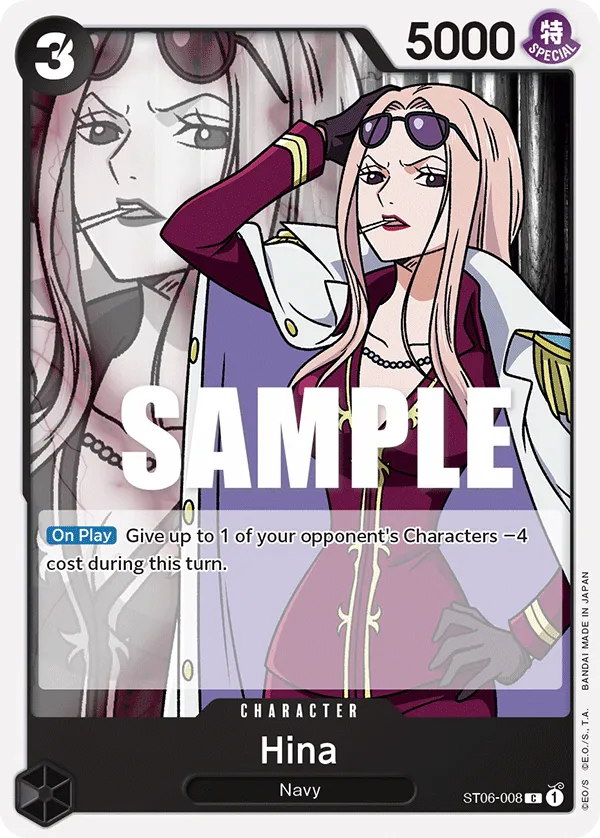
Hina has a strong On Play effect, reducing the cost of an opponent’s Character by 4. This allows you to combo her with your removal cards to deal with high-cost Characters and prevent your opponent from taking over the field. Since she’s a 5,000 Power Character, she can act as an aggressor, pressuring the opponent with her attack. Keep in mind, Hina is not a {Dressrosa} Character, so she can’t be searched or comboed with Corrida Coliseum. However, she can be played from the trash or hand through 4-cost Rebecca.
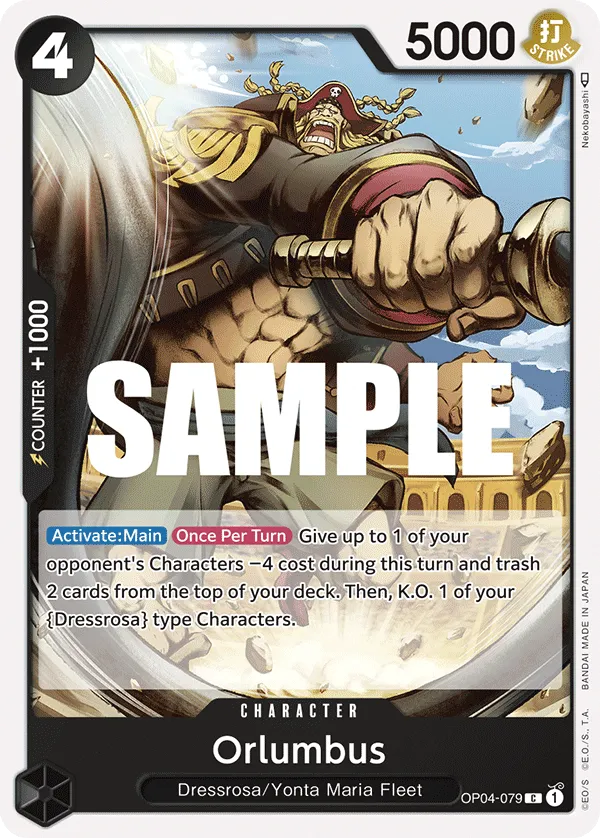
As for 4-cost Orlumbus, his Activate: Main effect lets you give a -4 cost reduction to one of your opponent’s Characters. So you can play him in the early game and then activate his effect on the upcoming turn to combo him with one of your removal cards. However, Orlumbus has to KO one of your {Dressrosa} type Characters to activate his effect, so you’ll usually pick a low-cost Character like 1-cost Masherry, or you can target 3-cost Kyros, who doesn’t get KO’d thanks to his effect.
Blockers


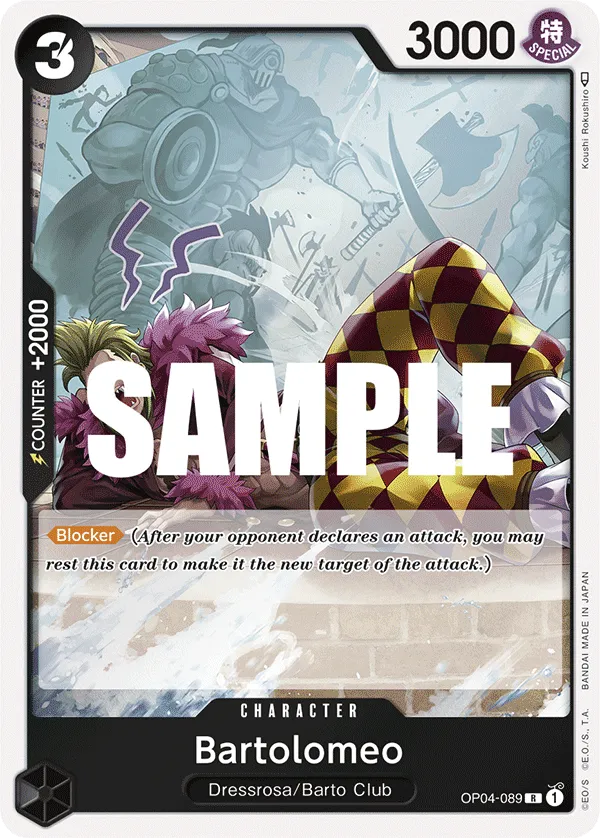
This list has 3 Blockers, each with unique effects. 3-cost Bartolomeo is a +2000 Counter effect, but can be used at times for his Blocker keyword.
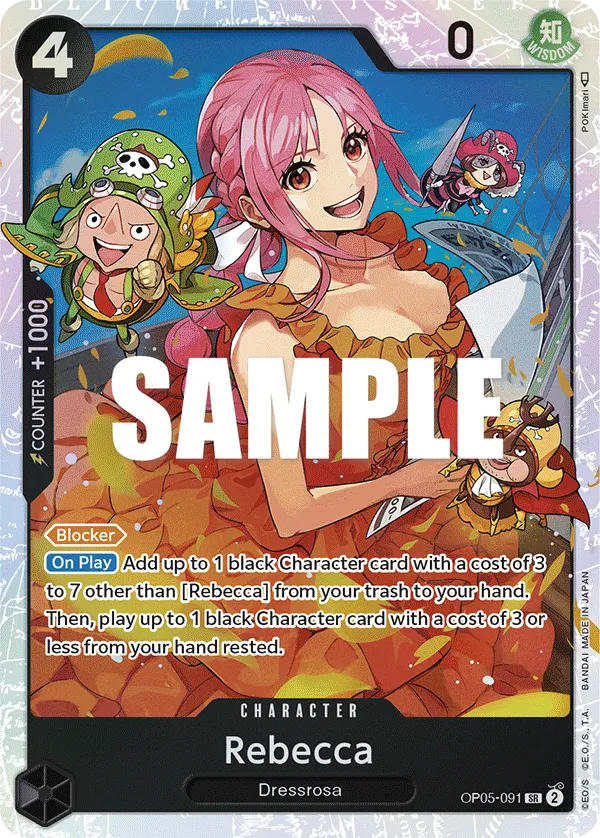
As for 4-cost Rebecca, she’s a value Blocker, allowing you to add 1 Black Character with a cost of 3 to 7 other than [Rebecca] from your trash to your hand, and then you can play 1 Black Character with a cost of 3 or less from your hand, rested. So Characters like 3-cost Kyros and 3-cost Hina are options to play through Rebecca. The choice you make will depend on the situation of the game. Kyros offers a KO effect, whereas Hina or One-Legged Toy Soldier gives you a cost reduction effect.
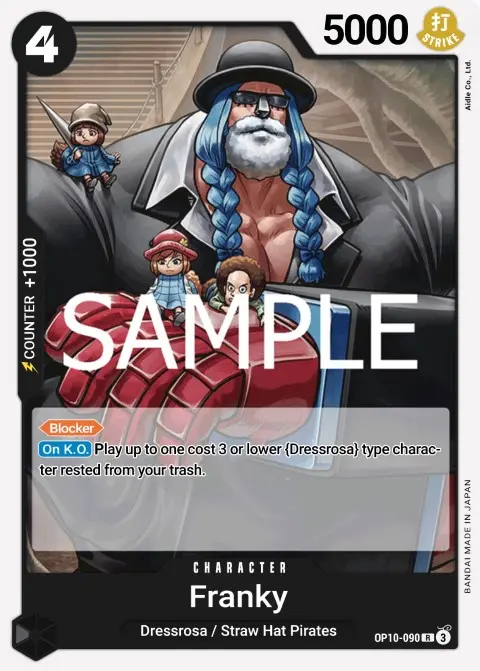
As for 4-cost Franky, his On KO effect lets you play a {Dressrosa} type Character with a cost of 3 or less from your trash. So you’re getting value when Franky is KO’d, letting you play Kyros or 1-cost Rebecca from the trash.
Heavy Hitter


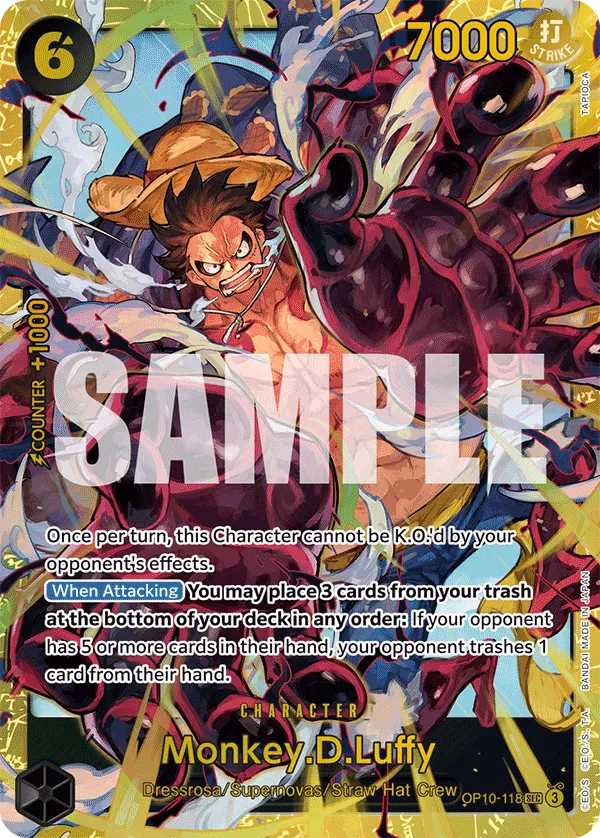
6-cost Luffy can dodge one of the opponent’s KO effects, which means they’ll usually have to rely on attacking him or using a return effect to deal with him. If your opponent has 5 or more cards in their hand, Luffy will force them to trash a card from their hand when he goes for the attack, cutting down on their resources. You can attack with 6-cost Luffy on the turn he’s played if you have Corrida Coliseum, allowing you to immediately trash a card from the opponent’s hand.
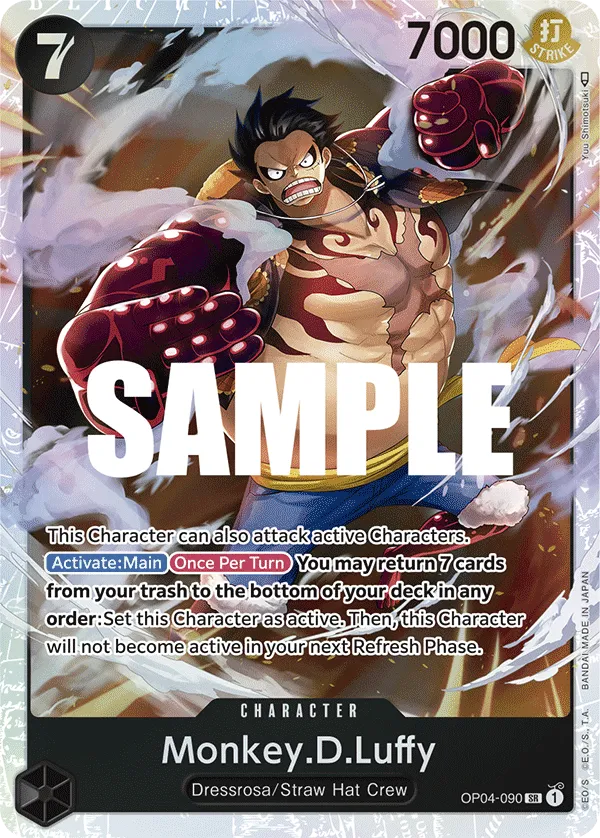
7-cost Monkey D.Luffy can attack Active Characters, so with Corrida Coliseum in play, we can immediately go for the attack, trying to KO an Active Character.
7-cost Monkey D.Luffy‘s effect allows you to attack a second time, perfect if you’re trying to clear the field from Characters or going for the winning attacks. You can attach as many Dons as possible to Luffy and go for 2 high-power attacks. To activate this effect, you have to return 7 cards from your trash to the bottom of your deck.
Keep in mind that activating Luffy‘s effect will prevent him from going Active on the upcoming turn. So you’ll only activate it if you really need the second attack to clear the field, or you value pressuring the opponent’s Life cards.
Event

Gum-Gum King Kong Gun is a 3 Don Event that gives one of your {Dressrosa} type Characters a +6,000 Power boost during your turn. If you have 15+ cards in your trash, Gum-Gum King Kong Gun will also give the Double Attack keyword to that Character.
+6000 Power and Double Attack means we can use that Character as a win condition, threatening to take 2 Life cards if we go for a high-power attack, putting our opponent at low Life cards for our other attackers to finish the job.
Gum-Gum King Kong Gun is paired best with 7-cost Monkey D.Luffy, turning him into a 13,000 Power attacker with Double Attack, and you’ll still have 7 Don left to attach if you want to boost his Power even more. Since Monkey D.Luffy can attack twice in one turn, he can take Gum-Gum King Kong Gun to another level, setting up a winning play if your opponent is at 2 Life cards. The first attack will take two Life cards, and then you can go for the second attack to win the game.
Turn-Based Gameplay
Going First
- Turn 1 (1 Don): Corrida Coliseum or 1-cost Rebecca.
- Turn 2 (3 Don): 3-cost Kyros.
- Turn 3 (5 Don): 4-cost Roronoa Zoro to KO a Character or 4-cost Orlumbus for the cost-reduction on the upcoming turn. Kyros + cost reduction to KO a Character. If your opponent is holding on to a lot of cards, you can play Pudding.
- Turn 4 (7 Don): 6-cost Luffy, 4-cost Roronoa Zoro, or Gravity Blade Raging Tiger.
- Turn 5 (9 Don): 7-cost or 6-cost Luffy, Gravity Blade Raging Tiger + Leader Rebecca‘s effect, or 4-cost Rebecca + removal play.
- Turn 6 (10 Don): 7-cost or 6-cost Luffy. Gravity Blade Raging Tiger + Leader Rebecca‘s effect or 4-cost Rebecca + removal play. Gum-Gum Red Roc to remove a high-cost Character.
Going Second
- Turn 1 (2 Don): Corrida Coliseum or 1-cost Rebecca.
- Turn 2 (4 Don): 4-cost Orlumbus or 3-cost Kyros.
- Turn 3 (6 Don): 4-cost Roronoa Zoro or 3-cost Kyros.
- Turn 4 (8 Don): 7-cost or 6-cost Luffy, Gravity Blade Raging Tiger + Leader Rebecca‘s effect, or 4-cost Rebecca + removal play.
- Turn 5 (10 Don): 7-cost or 6-cost Luffy, Gravity Blade Raging Tiger + Leader Rebecca‘s effect, or 4-cost Rebecca + removal play. Gum-Gum Red Roc to remove a high-cost Character.
Other Cards to Include
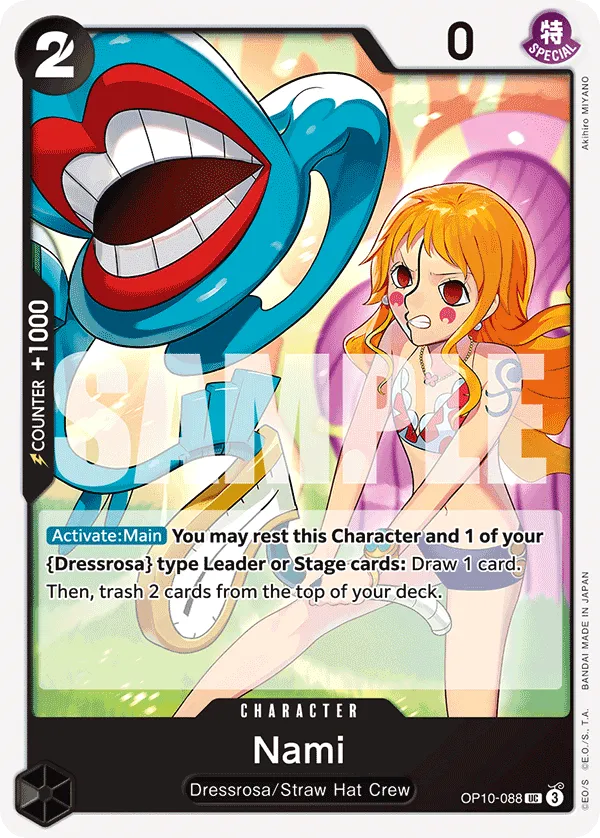
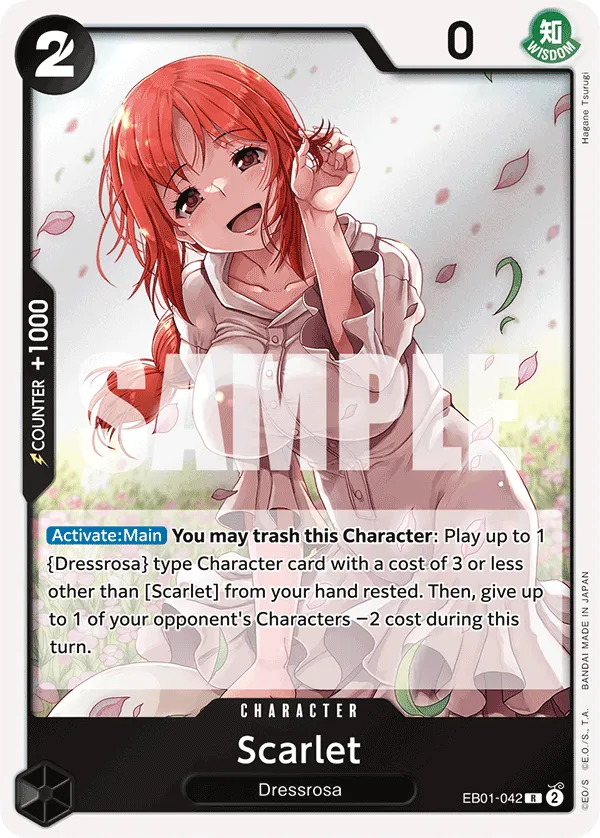
- 2-cost Nami‘s Activate: Main effect lets you rest her and your Leader or a Stage to draw a card and trash two cards from the top of your deck. This will later force opponents to attack Nami and remove her from play because she’ll continuously draw you a card every turn. Since Leader Rebecca doesn’t attack, you don’t mind resting her with 2-cost Nami. The Corrida Coliseum Stage is also another target for 2-cost Nami to rest.
- As for Scarlet, her Activate:Main effect lets you trash her to cheat out a 3-cost {Dresrossa} type Character from your hand and then give -2 cost-reduction to one of your opponent’s Characters. So we have multiple Characters we can combo Scarlet with, like One-Legged Toy Soldier, Kyros, or Bartolomeo.
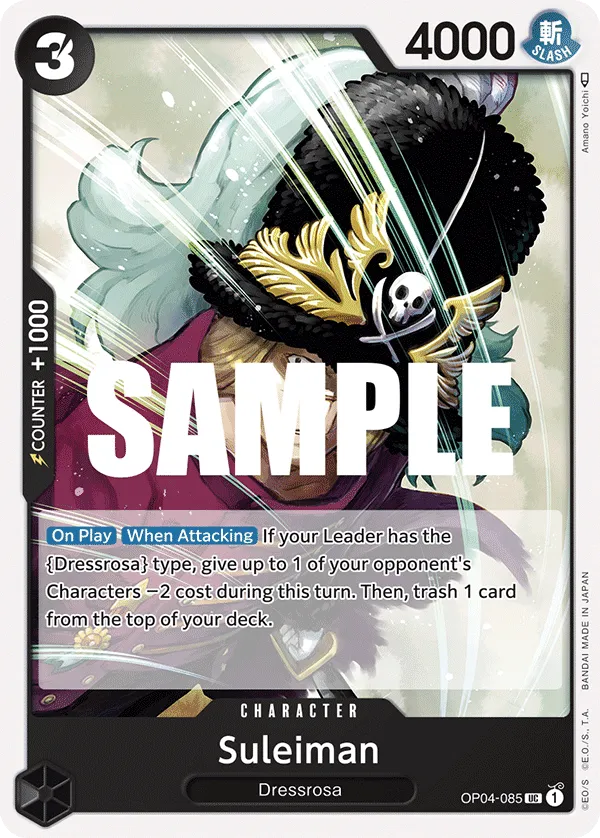
- 3-cost Suleiman and 4-cost Orlumbus are cost-reducers that can reactivate their effects. Suleiman gives a -2 cost to one of the opponent’s Characters through his On Play effect and can reactivate his effect when he attacks. So if you have Corrida Coliseum Stage in play, you can attack with him on the same turn for another -2 cost reduction.
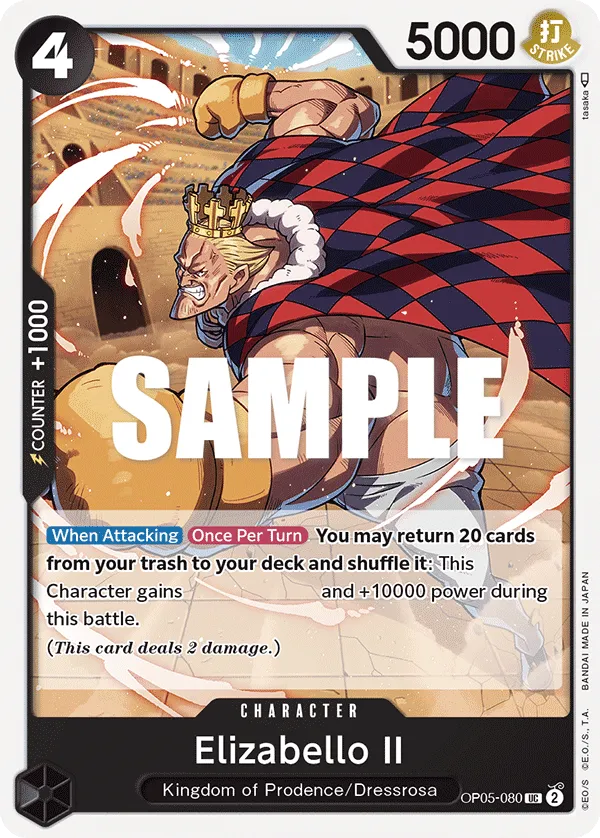
- Elizabello II is a 5,000 Power Character that can turn into a win condition in the late-game. When Attacking, you can return 20 cards from your trash to your deck to activate Elizabello II‘s effect, gaining the Double Attack keyword and +10,000 Power boost. Elizabello II will be a 15,000 Power attacker, threatening to take 2 of the opponent’s Life cards and put them at risk of losing the game to your other attackers. Elizabello II‘s attack is also great if your opponent is down to 0 Life cards, making sure you can close out the game after you’ve cleared out any blockers standing in your way.
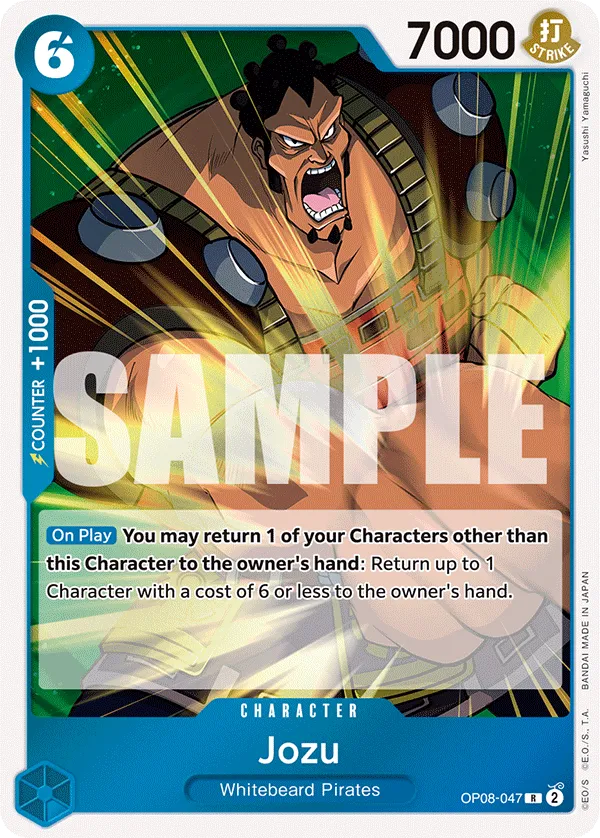
- Jozu can return a 6-cost Character to the opponent’s hand, but you have to return one of your Characters to your hand to activate his effect. So, you usually will return a low-cost Character that isn’t needed on the field to your hand so you can play it later or use it for the Counter effect. Jozu helps shift the field presence in your favor, and if you use a cost-reduction card, you can remove a high-cost carry from play, putting your opponent behind on the field.
