
Green Roronoa Zoro is one of the strongest Leaders in the OP13 meta, rivaling some of the popular decks like Black Imu and Red Blue Ace. This Leader combines field control and aggression into one strategy, making it harder for most decks to keep up, and will constantly have to watch out for the multiple Leader attacks.
In this guide, we’ll discuss how the Green Roronoa Zoro deck works, the card synergy, and the general game plan of the deck.
Leader Green Zoro

Green Roronoa Zoro is a 5 Life card Leader, which means you can’t easily be aggroed down. By attaching 3 Don to Roronoa Zoro, you can activate his effect to re-stand him and attack a second time, but there are restrictions to doing so. To activate your Leader effect, you have to attack a Character, so your first attack will be on a rested Character, and then you can re-stand your Leader to attack a second time. However, your second attack cannot be on a Character with an original cost of 7 or less, so you’ll either attack the opponent’s Leader or an 8-cost or more Character.
This is a strong effect since it allows you to threaten to KO a rested Character and still put pressure on your opponent’s Leader, trying to take a Life card or bleeding them from Counter resources. 3 Don can be expensive in the mid-game, but the list has multiple Characters that give you Don, making it easier for you to make use of your Leader’s effect.
Green Roronoa Decklist


How to Play
Early Searchers
Perona and Kouzuki Hiyori are searcher cards, looking at the top 5 cards of your deck to add a <Slash> type Character to your hand. So you can draw the likes of Cavendish, Tashigi, or Dracule Mihawk, depending on what you’re missing from your hand.
If you don’t need a Character, you can add a Green color Event, which is great if you’re in need of Luffy Is the Man Who Will Become the King of Pirates!!! to set up an aggressive turn.
Perona is an On Play effect, whereas Kouzuki Hiyori has an Activate: Main effect, which requires you to rest her and a Don to activate her effect. This means your opponent will be forced to attack her on the upcoming turn to prevent you from reactivating the draw effect. This could force them to attack her with their Leader, saving you from having to worry about one of your Life cards.
2-cost Blocker
Koushirou is a low-cost blocker to protect you from an attack, but he can also protect your 5-cost or less Characters from getting KO’d by an opponent’s effect. If your opponent tries to KO a 5-cost or less Character through an effect, you can instead rest Koushirou to keep your Character in play.
This is a strong effect to keep your board intact and continue going for aggressive attacks.
Don Gain
The 4-cost Zoro‘s On Play effect sets 2 of your Don as Active. If we’re playing this Zoro on Don 4, we can still go for 6,000 or 7,000 Power attacks without Leader to threaten Leaders like Red Blue Ace. Zoro can also be played on Don 3 through the 3-cost Mihawk, and is still capable of going for a Leader attack at 6,000 Power Leaders.
The Zoro + Mihawk enables an aggressive early game to force Counter cards from the opposing player. At the end of your turn, 4-cost Zoro can set himself as Active, which means after we attack with him, our opponent can’t just attack Zoro to kill him; they will have to rely on other means to remove him. Since Mihawk cheats out the Character rested, we’ll be bypassing the drawback through Zoro‘s re-stand effect.
Kuina only has 1,000 Power, so she isn’t played for her offensive pressure. Instead, her effect helps you control the mid-game by resting a Character with an original cost of 4 or less and attaching 3 rested Don to your Leader. This allows you to attack the rested Character with your Leader Zoro before going for another attack on their Leader. Kuina rests herself when she activates her effect, which means your opponent has to attack her on the upcoming turn to prevent you from continuing to gain value from her effect.
Both Cavendish and Tashigi are strong choices on Don 5, giving you additional Don to make stronger plays. When Cavendish is played, you can set 2 of your Don as Active, which can be used for a heavier Leader attack or to develop Koushirou. Cavendish continues to give you Don when he goes for the attack, so make sure to rest your Don before attacking to make use of his effect.
The 2 Don we gain from Cavendish will be useful in the late game, allowing us to develop a higher-cost Character when we play Dracule Mihawk, or go for a higher Leader attack after we play the 3-cost Luffy Is the Man Who Will Become the King of Pirates!!! to close out the game.
As for Tashigi, she can rest one of the opponent’s Characters with an original cost of 6 or less and then attach 3 Don to your Leader. This has perfect synergy with your Leader, as you’re able to attack that rested Character with your Leader and then go for a second attack on your opponent’s Leader to pressure their Life cards.
Tashigi is the perfect play if you’re trying to control the field early into the game, trying to put your opponent behind on the board, and forcing them to play defensively. Tashigi also doesn’t have a Counter, unlike Cavendish, so she will end up a dead card in your hand during your defensive turns.
Going Wide
Trafalgar Law is a 6,000 Power Character, capable of gaining the Blocker keyword when you’re down to 1 Life card. The Blocker keyword can come in clutch to protect us from an attack, making sure we can push for an additional turn to win the game. When played, Law can cheat out a 5-cost or less Character rested by returning one Character to your hand. This means we’ll likely be returning cards like Perona or Mihawk to play a rested Character like Tashigi or Cavendish. You’re essentially developing two Characters in one turn and activating Tashigi or Cavendish’s effects for the additional Don.
If you’re at 6 Don, Tashigi is almost always the better choice, getting to rest a Character and enabling your Leader to attack it with the 3 attached rested Don.
Leader Aggression
Luffy Is the Man Who Will Become the King of Pirates!!! allows you to re-stand your Leader to attack a second time. This is a great play if you have Don attached to your Leader, going for multiple heavy attacks to try and close out the game or remove rested Characters.
If your opponent is down to two Life cards, we can commit 7 Don on our Leader, go for the first 12,000 Power attack, and then re-stand our Leader for a second high-power attack.
The 3-cost Event does have a Trigger effect that gives your Leader or a Character +1,000 Power, which is an extremely situational play that might be a lifesaver if you’re trying to protect your Leader from an attacker.
Counter Events
Demon Aura Nine Sword Style Asura Blades Drawn Dead Man’s Game is a versatile card that can be used to rest 2 of the opponent’s Characters or Don to go for an aggressive attack, control the field, or shut down your opponent’s ability to play Counter Events. You can also use it to give your Leader a +3,000 Power boost during your defensive turn.
Because the Side of Justice Will Be Whichever Side Wins!! is a 0-cost Counter event that lets you trash a card from your hand to gain a +3,000 Power boost, perfect to protect yourself from an attack.
+2,000 Counters
Scratchmen Apoo is a searchable +2,000 Counter that can be played to rest a 2-cost or less Character. Usually useful to shut down a low-cost blocker.
Shimotsuki Kouzaburou can rest Characters, perfect to shut down a blocker and allow you to go for a more aggressive turn.
Roronoa Zoro is a blocker that can remain active if your opponent tries resting through a Character’s effect.
General Tips
- A Blocker is useless against Leader Zoro with 3 Don or more attached. Suppose you’re attacking the opponent’s Leader with Green Zoro. In that case, a blocker isn’t useful for the opposing player, as you’re able to activate your Leader effect to go for a second attack. They’ll need to have two blockers to protect themselves.
- Manage Don correctly for stronger plays. Cavendish and Dracule Mihawk set your Don as Active, perfect to go wider on the field or set up stronger attacks.
- Prioritize the opponent’s Life cards. Primarily, we’re an aggressive deck with an ability to control the field. Putting our opponent down to 1 Life card enables us to go for two heavy attacks with our Leader to close out the game.
Mulligan Tips
Going First: 1-cost Searcher, 5-cost Tashigi or Cavendish.
Going Second: 2-cost Koushirou or 1-cost Hiyori, 4-cost Roronoa Zoro, 5-cost Tashigi or Cavendish.
Other Cards to Include
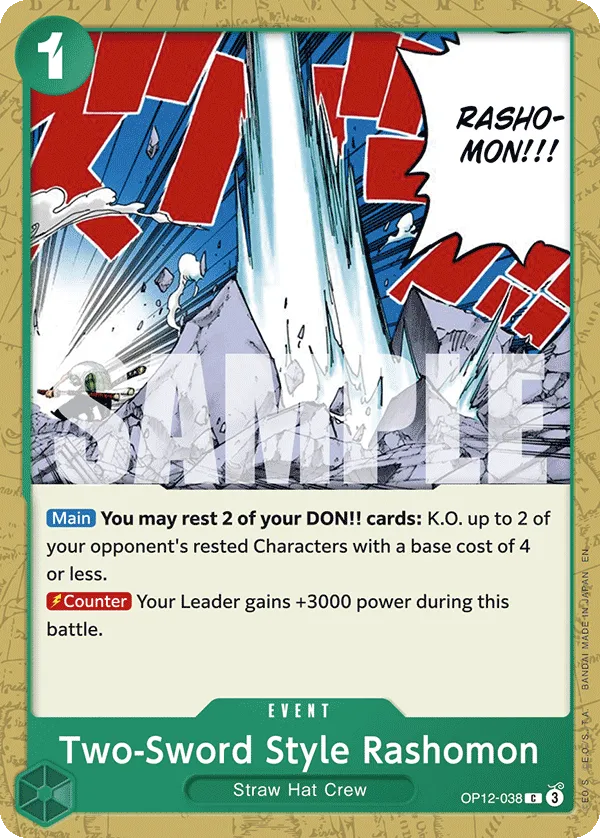


- Two-Sword Style Rashomon is a strong option to KO two rested Characters, but also can be played for its Counter effect to give your Leader a +3,000 Power boost.
- The 4-cost Roronoa Zoro gains +1,000 Power when he’s played, becoming a 6,000 Power Character to pressure your opponent early into the game. He also can’t be KO’d by a <Slash> type Character, which can come in handy in certain situations. 4-cost Zoro is good for the mirror matchup, since your opponent can’t attack to KO it with their Slash cards.
- As for 3-cost Tashigi, she’s a potential play against specific decks that rely on effects to control your field, preventing them from removing your Characters and keeping your threats in play.
- The Promo Zoro is a +2,000 Counter card that can be searched.


- Dracule Mihawk is an 8,000 Blocker that sets 4 Don as Active when he’s played. However, playing Mihawk means you are not allowed to play a 7-cost or more character for the turn. This isn’t an issue for us, since we’re usually planning to play a 4-cost or 5-cost Character alongside Mihawk to go wider on the field. The Don you’re gaining can also be used to push for heavier attacks, forcing the opposing player to commit more Counter cards to protect themselves. If you’re playing Mihawk on Don 8, you can play Kuina or Zoro alongside him. However, in most cases, if your opponent has a rested character, you’d rather attach all 4 Don on your Leader to go for 2 heavy attacks. If we’re playing Mihawk on Don 9, we can play Tashigi alongside him, which is usually worth it, since we’re developing a 7,000 Power Character and still going for heavy swings with our Leader. Dracule Mihawk is great to protect you from an attack, and he can be used aggressively if we’re planning to aggro our opponent down or to close out the game.
- 7-cost Hody Jones is an aggressor, letting you rest two of the opponent’s Characters or Don to shut down their defensive strategy before going for a Rush attack.
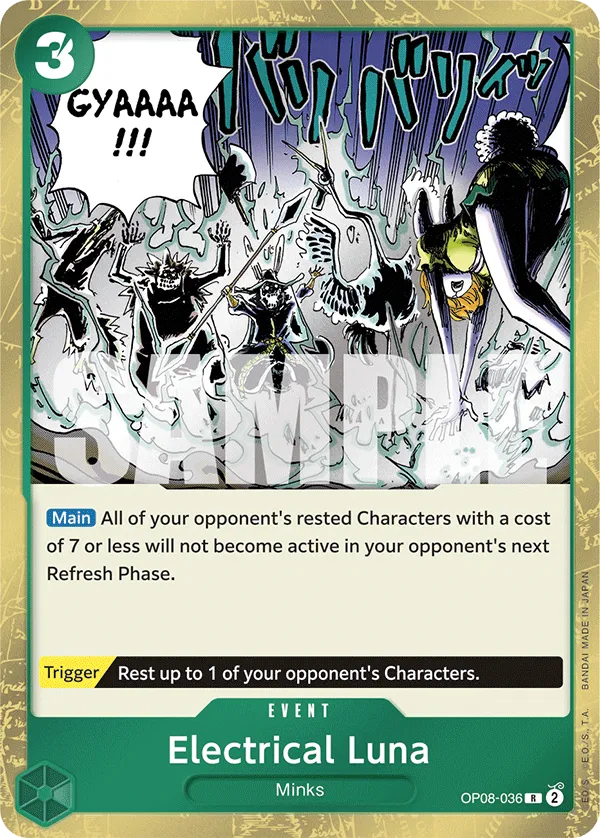
- Electrical Luna is a great defensive Event to keep all of the opponent’s 7-cost or less Characters from becoming Active on the opponent’s upcoming turn. This is great against aggressive decks that can go wide on the field, allowing you to ignore board control and stick to your aggressive strategy completely.
Turn-Based Gameplay
Going First
- Turn 1 (1 Don): 1-cost Perona.
- Turn 2 (3 Don): Mihawk + Zoro. Or 1-cost Kouzuki Hiyori or 2-cost Koushirou.
- Turn 3 (5 Don): 5-cost Cavendish or 5-cost Tashigi.
- Turn 4 (7 Don): 6-cost Law.
- Turn 5 (9 Don): 6-cost Law.
- Turn 6 (10 Don): Keep developing, and if your opponent is low on Life cards, we can plan Luffy Is the Man Who Will Become the King of Pirates!!! this turn or the upcoming turn.
Going Second
- Turn 1 (2 Don): 1-cost Kouzuki Hiyori, 1-cost Perona, or 2-cost Koushirou.
- Turn 2 (4 Don): Mihawk + 4-cost Roronoa Zoro.
- Turn 3 (6 Don): 6-cost Law.
- Turn 4 (8 Don): 6-cost Law.
- Turn 5 (10 Don): Keep developing, and if your opponent is low on Life cards, we can plan Luffy Is the Man Who Will Become the King of Pirates!!! this turn or the upcoming turn.
Important Matchups
Red Blue Ace

- Against Red Blue Ace, we can play the 4-cost Zoro and still threaten an opponent’s Life card thanks to the 2 Don you gain. You can even cheat him out with Mihawk on 3 Don.
- We can deal with Marco and Yamato through Tashigi’s rest effect, letting our Leader go for two attacks.
- We want to go wide on the field and plan aggressive turns. The main plan is to drop them low on Life cards and start going for the heavy hits.
- We don’t have the time to deal with their high-cost Newgates, especially if they have a blocker in play. Our attacking will mainly be focused on aggroing down their Leader. If they use their Newgate to block a Zoro attack, we can still re-stand our Leader for a second attack.
- Demon Sword Style can rest two of their Blockers, paving the way for our attackers to close out the game.
Black Imu
Deck not found: op13-079
- Black Imu is trying to go for the late-game and drop Five Elders to go wide on the field. We can’t keep up with their late-game, so we’re often trying to rush them down.
- We can go wide on the field through the 6-cost Law, setting up multiple Leader attacks. We’ll rely on Leader Zoro to clear rested Characters.
- Protect rested Characters from their attacks. They’ll rely on St. Marcus Mars to KO Cavendish or Tashigi, but having Koushirou.
- They can play two blockers through their Five Elders, which can shut down your two Leader attacks. We do, though, have Demon Aura Nine Sword to rest two of their blockers and push through.
- They have the 1-cost Never Existed... in the First Place... to gain a +4,000 Power boost, usually to protect their Leader. If they have only 2 blockers, you only want to rest one of them with Demon Aura Nine Sword if you’re only relying on your Leader attacks. The other target can be their Don to prevent them from activating 1 Never Existed... in the First Place....
Blue Purple Monkey D.Luffy

- Blue Purple Luffy wants to ramp early on to start dropping two big bodies in one turn.
- We want to rest and KO Characters like Bon Clay and Nami through Kuina and Tashigi.
- We need to identify if we’re going for a full aggressive turn or a control strategy. Our Leader can go for two high-power attacks, and since our opponent is dropping 8-cost and 9-cost Characters, we can use both Leader attacks to control the board and force the opposing player to have the Counter plays. This forces them to continue playing Characters rather than bank 3 or more Don for their Counter Events
- Even if we go for a control strategy, the fact that our opponent is getting an additional card every turn means it’s less likely we can outvalue them if the game stretches too much.
- With Dead Man’s Game, you can rest two of the opponent’s Don, potentially preventing them from playing their Counter Events.
Green Jewelry Bonney

- Our primary goal is to KO mid-game Characters like Urouge and Cavendish to shut down the opponent’s ability to set Don as Active. We can rest them through Tashigi and have our Leader attack them.
- We often want to attack with our Leader first to prevent the opposing player from resting him. Having Leader Zoro rested by Bonney‘s effect means we can’t attack twice with him in one turn.
- Blockers are nice to have for protection, but keep in mind that they can be played by Hody Jones and rested.
- Your opponent can keep Leader Zoro from becoming Active on the upcoming turn using Donquixote Doflamingo. However, Luffy Is the Man Who Will Become the King of Pirates!!! can re-stand your Leader to attack with him.
- You’ll have to ignore the big bodies in the late-game and focus down their Leader, trying to close out the game before they can land their finishing blow.
Red Silvers Rayleigh

- We’re up against an aggressive deck that tries to go wide to overwhelm us before relying on their Rush attackers to close out the game.
- We can’t deal with a Buggy through our Slash attackers. Instead, if we can afford to, we can attach Don to 1-cost Perona and have her try to KO a rested Buggy.
- Kuina and Tashigi are great for resting and removing threats. Your opponent can remove Tashigi through their Gum-Gum Mole Pistol.
- Blockers are great to protect you and stretch out the game. However, try to avoid falling below 1 Life card as your opponent can play To Never Doubt–That Is Power! to go for a heavy Leader swing that ignores your blockers.
- Gum Gum King Kon Gatling can create an extremely aggressive turn for the opponent, so having a blocker can be a lifesaver.
- We’ll end up in a race, both players trying to rush the game before the other can set up the winning line.
Green Purple Monkey D.Luffy

- Against Green Pruple Luffy, we’ll prioritize KOing their Sanji & Pudding as it ramps 1 Active Don for them when they use their Leader attack, enabling them to develop more on the board or go for aggressive attacks. We can use Tashigi to first rest Sanji & Pudding and go for a Leader attack on them; however, your opponent will likely commit their Counter plays to protecting them in the mid-game.
- With Leader Roronoa Zoro‘s attack, we can somewhat control the board while still pressuring the opponent’s Leader. This means the opposing player will have to choose between keeping a more aggressive board state or protecting their Life cards.
- They don’t have direct removal to your blockers, so they can protect you and buy you more time. However, in the late-game, they can use Dead Man’s Game to rest your blockers and go straight for your Leader.
- With Dead Man’s Game, you can rest two of the opponent’s Don, potentially preventing them from playing their Counter Events like Gum Gum Giant.
Closing Words
The Green Roronoa Zoro is one of the strongest decks to play in OP13 meta, demanding players to prep for it if they’re going into a competitive tournament. This deck’s ability to control the field while also pressuring the opponent’s Life cards makes it a threat that can quickly deplete your Counter resources and start planning its winning turns with its multiple Leader attacks.


