
After a standout performance at the Fukuoka Championship Series, the Green Blue Zoro & Sanji deck is drawing attention in the OP12 meta! This Starter 12 Leader has always sparked discussion thanks to its powerful effect that supports a more aggressive playstyle. Until now, it was just waiting for the right support cards and build to shine in a major tournament.
In this guide, I’ll break down the deck that secured 2nd place at the Fukuoka CS. I’ll explain the general game plan, what we’re aiming to do, and also highlight a few additional cards worth considering for your own version of the deck.
Leader

Green Blue Zoro & Sanji is a 4 Life card Leader that requires you to attach a Don to him before attacking to activate their effect. When attacking, you get to choose to return one of your 2-cost or more Characters to your hand, then set up one of your 7,000 Power or less Characters as Active.
We’re doing two things with Leader Zoro & Sanji, returning a low-cost Character to our hand to use them for their On Play or Counter effect, and going for a second attack with one of our Characters to add more aggression to our turn and pressure the opposing player.
Keep in mind that Zoro & Sanji can only re-stand 7,000 Power or less Characters, so if you attach Don to a Character and boost it above 7,000 Power, you can’t re-stand it through your Leader’s effect. Additionally, we don’t always have to use our Leader’s effect just for the extra attack. If we don’t have an attacker to re-stand but we need more Counter resources, we can still return a Character to our hand and skip the re-stand effect.
Green Blue Zoro & Sanji Decklist


How to Play
Low-cost Draw Characters
2-cost Nami looks at the top 5 cards of your deck to add 1 Green {East Blue} type card to your hand. This means we can draw the likes of Koushirou, Shimotsuki Kouzaburou, Roronoa Zoro, and Arlong.
As for the 3-cost Nefeltari Vivi, she activates her effect if your Leader is multi-color (they are) and you have 5 or less cards in your hand. Vivi draws us 2 cards, adding more resources to keep up with the opposing player as games stretch out.
2-cost Nami and 3-cost Vivi aren’t in the list just for the draw, but they also act as targets for our Leader to return to our hand. We get to activate their draw effect and later return them to our hand to re-stand one of our attackers. We can later decide whether we prefer to re-play them for their On Play effect or to use their +1,000 Counter effect.
Defensive Cards
2-cost Koushirou is a low-cost blocker that can take a hit for us. However, he can also act as a protector from the opponent’s KO effects for our 5-cost or less Slash attribute Characters. If your opponent tries to KO a 5-cost Slash Character, we can instead rest Koushirou to keep our Character in play. We can protect the likes of Cavendish and Smoker, two Characters that pose a threat to the opponent, and they’ll likely want to remove them from play as early as possible.
As for the 3-cost Tashigi, she’s a +2,000 Counter, but in some matchups, we’ll opt to play her on the field for the removal effect immunity. If the opposing player tries to remove a Green Character from play through an effect, we can instead rest Tashigi to keep our Character on the field. Tashigi isn’t limited to KO effects; she can shut down all effects like Trash or place a Character in hand or bottom of the deck removal plays.
Mihawk Go Wide
3-cost Dracule Mihawk is a premium card in this list. He’s a +2,000 Counter, but we want to play him early in the game for his effect, allowing us to cheat out a 4-cost or less Character with the Slash attribute. We can cheat out the likes of Zoro, Cavendish, or Edward Weavil, developing two Characters in one turn to try and pressure the opposing player. Mihawk shines the most if you’re going first, as you’re able to play him on turn 2 to cheat out a 4-cost Character. Later on, we want to return Mihawk to our hand through our Leader’s effect to use him for his +2,000 Counter.
Value Characters
4-cost Cavendish is a 6,000 Power attacker who activates his effect when he goes for the attack, drawing you 2 cards and letting you choose 1 to trash from your hand. So, we want Cavendish to stick on the field for the upcoming turn to get the value draw effect. Keep in mind that Cavendish can activate his effect once per turn, which means re-standing him with Leader effect and attacking a second time won’t activate his effect again.
As for Edward Weavil, he’s drawing us a card on the turn he’s played, so we’re immediately gaining value while developing a 6,000 Power Character.
Since both Characters have no Counter effect, we’ll prioritize playing them early into the game so they don’t end up dead cards in our hand. We can use them as trash fodder later in the game through cards like Vivi or Arlong.
Banish Aggression
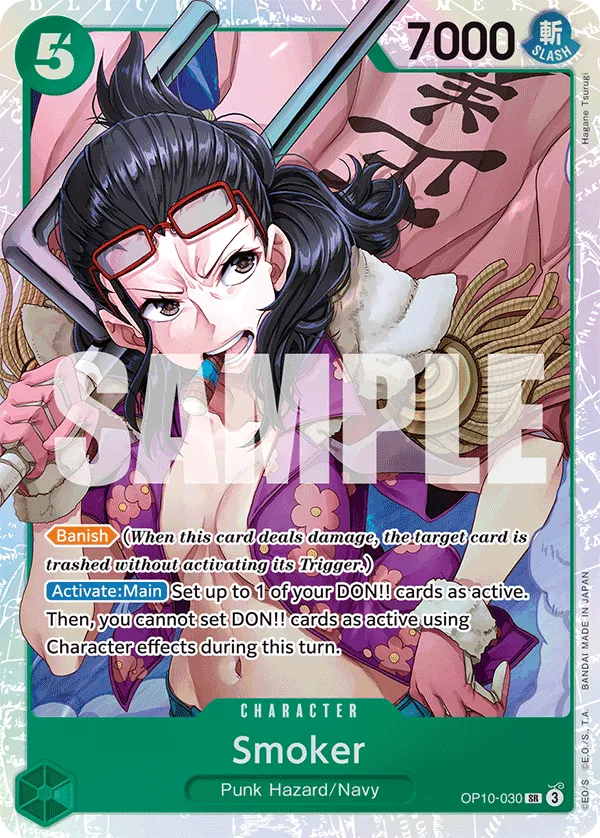
5-cost Smoker is a 7,000 Power Character, capable of setting up 1 of our Don as Active once every turn. This allows you to go for heavier attacks or even develop an additional Character. What makes Smoker a strong option in this list is the Banish keyword and the fact that he’s a 7,000 Power Character, meaning we can re-stand him through Leader Zoro & Sanji‘s effect.
When it comes to Smoker, we’ll prioritize attacking the opponent’s Leader, threatening to trash one of their Life cards. We can then set him as Active to go for a second attack, and if need be, we can attach Don to him to make sure the attack goes through, and we trash their Life card.
When Smoker attacks the opponent’s Leader, they’re forced to either expend Counter resources or have a Life card trashed, cutting down on their resources and putting them behind for the later stages of the game.
Control Characters
4-cost Zoro can rest a 4-cost or less Character, creating a target to attack and potentially KO. We can also use Roronoa Zoro to rest a blocker, allowing our attacks to go through to aggro down the opposing player.
If your opponent has 2 or more Characters in play, 4-cost Roronoa Zoro can attack Characters on the turn he’s played, think of this as a pseudo-rush to try and KO a Character immediately, or at least force the opposing player to use their Counter cards.
Vander Decken IX is a removal play, capable of KOing a rested Character regardless of its cost or power. He’s a great play to KO a high-cost win condition, but you have to trash a Fish-Man type Character to activate his effect, so cards like Arlong, Hatchan, or Hody Jones are targets to trash. We usually want to trash a card with no Counter effect, and we don’t expect to play it in the upcoming turns.
Since Vander Decken IX costs only 2 Don, we can combo him with Hody Jones in the late game. Hody Jones rests two Characters, and then Vander Decken IX joins in to KO one of them. We can also return Vander Decken IX to our hand through Leader effect to re-stand an attacker.
4-cost Arlong trashes a card from your hand to prevent the opposing player from re-standing their rested Leader, removing their Leader attack from the equation. This can be an extremely strong play against the popular Green Roronoa Zoro, shutting down their core multiple Leader attack strategy.
Aggressive Hody Jones
7-cost Hody Jones damages your Leader for 1 Life card to rest two of the opponent’s Characters or Don before going for a Rush attack. An 8,000 Power aggressor can put a lot of pressure on the opposing player, especially if they’re relying on Blockers or Counter Events to protect their Life cards.
Since Hody Jones is an 8,000 Power Character, we can’t set him as Active through our Leader’s effect.
+2,000 Counters
Shimotsuki Kouzaburou can rest a 2-cost or less Character, which can be useful if there’s a 2-cost blocker slowing you down.
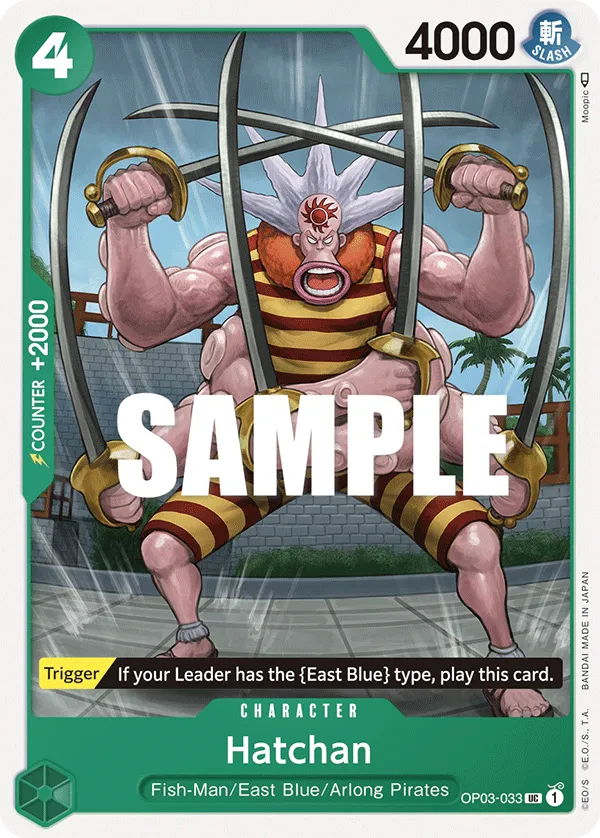
Hatchan is mostly there for the +2,000 Counter and to act as a potential trash fodder for Vander Decken IX.
General Tips
- Maximize your attack output. You can attach Dons to your Character to get them up to 7,000 Power, attack with them, then re-stand them with your Leader’s effect for a second attack.
- You can use your Leader effect even if you don’t have an attacker to re-stand. You can return a Character to your hand to re-play them or save them for their Counter effect.
Mulligan Tips
Going First: Dracule Mihawk, Cavendish, Smoker.
Going Second: Nami, Cavendish, Edward Weavile, Smoker.
Other Cards to Include


- 5-cost Carrot can prevent one of the opponent’s 7-cost or less Characters from becoming Active, allowing you to focus down the opponent’s Leader without worrying about a Character’s upcoming attack. If you use your Leader effect on Carrot, you can prevent two rested Characters from becoming Active.
- Since we run multiple Characters with no Counter effect, Because the Side of Justice Will Be Whichever Side Wins!! makes sense to trash 1 of them and gain a +3,000 Power boost.
- Protect Smoker when possible. The two attacks with Banish keyword can be dreadful for the opponent, so when possible, we should protect Smoker to keep him in play.
Turn-Based Gameplay
Going First
- Turn 1 (1 Don):
- Turn 2 (3 Don): Dracule Mihawk + 4-cost Character.
- Turn 3 (5 Don): Smoker + Leader effect.
- Turn 4 (7 Don): Hody Jones.
- Turn 5 (9 Don): Continue developing on the field and using your Leader effect to attack twice with a Character. Hody Jones + 2-cost Vander Decken IX to KO a Character.
- Turn 6 (10 Don): Continue developing on the field and using your Leader effect to attack twice with a Character. Hody Jones + 2-cost Vander Decken IX to KO a Character.
Going Second
- Turn 1 (2 Don): 2-cost Nami.
- Turn 2 (4 Don): Dracule Mihawk + 4-cost Character or just playing a 4-cost Character without the Mihawk if you don’t need him as a return target.
- Turn 3 (6 Don): Smoker.
- Turn 4 (8 Don): Hody Jones.
- Turn 5 (10 Don): Continue developing on the field and using your Leader effect to attack twice with a Character. Hody Jones + 2-cost Vander Decken IX to KO a Character.
Closing Words
Green Blue Roronoa Zoro & Sanji is an interesting deck to play, giving you the ability to set up aggressive turns and accelerate the pace of the game. With the deck’s amazing performance in the Championship Series, we might see more players picking up the deck!


