Hey everyone! The OP13 meta has seen a massive power creep with the introduction of new Leaders, pushing many older archetypes out of the spotlight. Decks like Black Imu, Red Blue Ace, and Green Roronoa Zoro currently dominate the meta, though each comes with its own weaknesses.
Black Imu, in particular, plays a fairly straightforward game plan, relying heavily on the 10-cost Five Elders to flood the board with Characters and take control of the match. I’ll start by breaking down how the deck operates before moving on to its counter matchups.
Keep in mind that even if a deck has a favorable matchup against Black Imu, that doesn’t guarantee an easy win. The opponent can still turn the game around—especially if you don’t draw the right cards at the right time.
Red Blue Portgas D.Ace


Against Black Imu, Red Blue Ace mainly tries to avoid getting aggroed down, develop its big Newgate bodies, and take things to the late game. Removal effects like Jozu and Gum-Gum Red Roc won’t be useful in this matchup against the Five Elders Characters.
With the card draw we’re gaining and the high-cost Characters, we can win the late game since the opponent doesn’t have many removal cards to deal with our win conditions, other than Stussy—and not all lists run her. They’ll often try to aggro us down, developing multiple Characters through the 10-cost Five Elders and relying on Blockers to protect their Leader for an extra turn or two. However, we can try to KO St. Shepherd Ju Peter to shut down the +2,000 Power on the opponent’s Characters.
Leader Ace, Marco, Yamato, and the 10-cost Newgate provide a lot of card draw to outvalue the opponent in the late game, allowing us to protect our Leader’s Life cards.
Although Edward.Newgate is a great Blocker, we usually want to use him as an attacker in this matchup, forcing the opponent to sacrifice a Blocker or give up one of their Life cards. The goal is to drop the opponent to 0 Life cards; from there, Gol D. Roger can carry the game, preventing them from using any of their Blockers.
Having the opponent at 1 Life card can also work in our favor. If they attack our Leader to take our Life cards and fall to 0 Life cards (make sure you can protect against a finisher attack), we can then drop Gol D. Roger to disable their Blockers and have our multiple high-power attackers close out the game.
Red Purple Gol D. Rogers


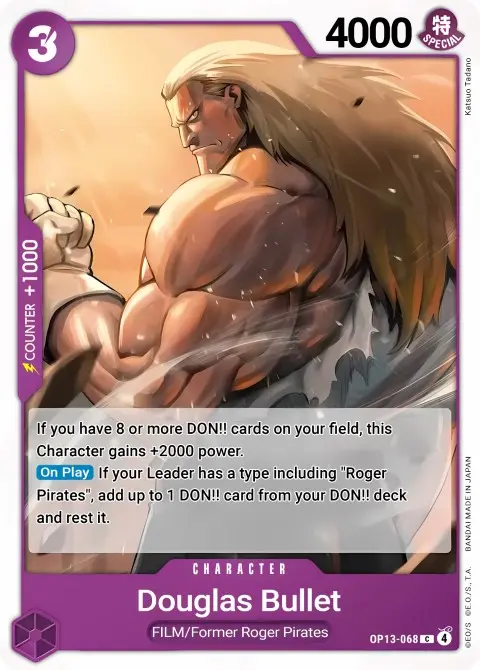

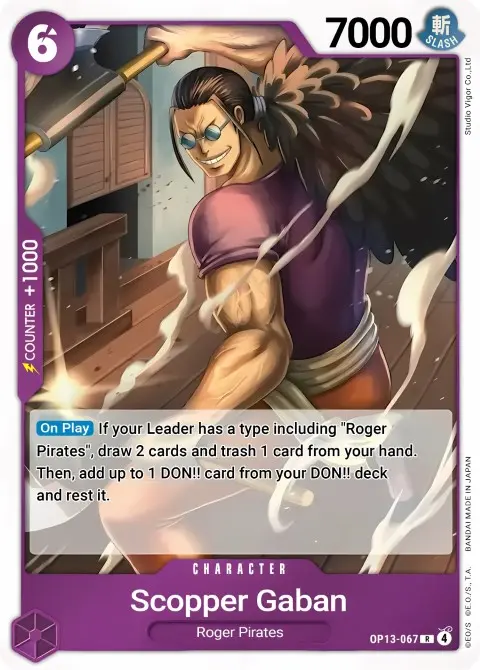


Gol D. Roger relies on Ramp cards like Douglas Bullet, Bon Clay, and Scopper Gaban to speed up its strategy, aiming to hit 10 Don cards to remove the -2,000 Power reduction on our Leader. Once Roger becomes a 7,000 Power Leader, your opponent will have a tough time getting their attacks through, forcing them to attach more Don to their attackers to threaten a Life card.
St. Shepherd Ju Peter is their saving grace, turning all their Five Elders into 7,000 Power Characters—just enough to threaten our Leader. However, with cards like 8-cost Roger or 10-cost Shanks, we make it even harder for the opponent to land attacks. The longer Shanks stays on the board, the more value we generate from him, and the only way for the opponent to remove him is with their 9-cost Stussy, if they run her.
Rush attacks should usually target the opponent’s Leader if we’re not too worried about their board state. Remember, our Leader combined with Shanks or 8-cost Roger makes it exceptionally difficult for the opponent to get attacks through, so we can commit to a more aggressive strategy while relying on Counter cards to survive until the finishing blow.
If either player is down to 0 Life cards, we can drop our 10-cost Roger to disable the opponent’s Blockers, clearing the way for our heavy hitters to attack their Leader freely and close out the game.
Green Purple Lim


Green Purple Lim has a good matchup against Black Imu, mainly because we can go wide on the field and set up multiple attacks to rush the opponent down. Using Leader Lim’s effect, we can cheat out a 5-cost or less ODYSSEY-type Character for 3 Don, letting us play the likes of Enel, Sabo, or Doflamingo for less Don.
The plan is to aggro the opponent down, focusing our attacks on their Leader, and since we can restand our Characters, it can be difficult for them to control the board. The 9-cost Roronoa Zoro is a massive late-game win condition, and thanks to our ramp effect, we can play him a turn earlier. Developing a 9,000 Power Character that can attack three times in a row is massive, often winning the game on the spot or forcing the opponent to use their Blockers.
To bypass Blockers, we have 3-cost Uso-Hachi to rest their 4-cost Blocker or Demon Aura Nine Sword to rest two Blockers, enabling an extremely aggressive turn to close out the game.
Additionally, Dracule Mihawk adds to the deck’s aggressiveness, letting us restand one of our 5-cost or less ODYSSEY-type Characters to attack a second time.
Red Silvers Rayleigh


We’re going full aggro mode with Red Silvers Rayleigh, focusing all our attacks on their Leader and forcing them to play defensively. Often, your opponent will target your Characters, trying to weaken your upcoming attacks. Using low-cost Characters, you can boost their attack with your Leader’s effect, turning them into an attack that forces the opponent to commit a Counter card.
4-cost Luffy plays a critical role in going wide, letting you cheat out a 3-cost Sanji. With multiple attacks, we can put the opposing player low on Life cards before they get to their 10 Don Five Elder. If we manage to drop them to 0 Life cards, we can use Leader attack + To Never Doubt–That Is Power! to ignore their blockers, putting the opposing player on the spot to have the Counter resources to protect their Leader.
Purple Monkey D.Luffy


Purple Luffy is a ramp deck, using the Leader effect to accelerate Don and drop high-cost Characters a turn earlier than usual. We’re sacrificing a Life card to gain that additional Active Don, so we usually won’t activate this effect more than twice per game.
We want to go first in this matchup, dropping a 4-cost Character on turn 2, and then playing the likes of Magellan or Sanji on turn 3. We run Magellan in this list to mess up Black Imu’s curve, delaying their ability to drop the 10-cost Five Elders by forcing them to return a Don. This is especially effective if they’re going second, as it delays their Five Elders play from turn 5 to turn 6.
Sanji and Silvers Rayleigh can rest an opponent’s Character and go for a Rush attack, shutting down a Blocker and targeting their Leader to pressure their Life cards. You don’t need to worry much about their board state since they’ll likely clear everything with the 10-cost Five Elders, so aggroing them down is usually the better approach. The 9-cost Luffy is also another Rush attacker to keep the pressure on.
We also have 8-cost Katakuri as a high-power Blocker to protect us from attacks, buying time until we can set up a finishing turn. We want to protect our high-cost Characters and maintain multiple attackers to break through their Blockers and finish the game. Uso-Hachi is the easiest way to render St. Topman Warcury useless.
Gum-Gum Jet Gatling, Divine Departure, and Gum-Gum Giant are all Counter Events that help us survive longer, pushing the game into an additional turn or two.
Closing Words
Big bodies are usually great plays against Black Imu, as they only have Stussy as a reliable answer—and she’s not a common inclusion in most lists. Black Imu remains one of the strongest decks in the OP13 meta, offering insane value, a consistent strategy, and blockers to protect their Leader. We need to play decks that can either overwhelm them in the mid-game or can outvalue them in the late game.