
Purple Monkey D. Luffy received new cards in the Starter 18 deck, and the ramp deck has been one of the top choices among competitive players. Thanks to its ramping abilities, you can drop high-cost Characters earlier than usual, setting up a formidable field presence. This build leans heavily on {Straw Hat Crew} Characters, which work perfectly with your searchers and the 7-cost Monkey D. Luffy, helping you cheat them into play.
I’ll cover a standard list that is played in OP12 meta, but you can make some tweaks depending on your local scene and what you expect to see. I’ll add other cards to include at the end of the guide.
Leader

Monkey D. Luffy’s ramping ability is a key part of accelerating your game plan. By placing 1 Life card into your hand, you activate his ramp effect, ramp effect, but only if you have 0 or 3 or more Don. This means that by turn 2, you can start ramping up to drop bigger Characters. Just remember, since you’re self-damaging to ramp, you’ll need to protect your Life cards from attacks to avoid getting too low on health and handing your opponent the win.
On turn 2, whether you’re going first or second, you can start ramping to put a Character on the board. If you’re first, you can ramp on Don 3 to play a 4-cost Character; if you’re second and have 4 Don, you can ramp to play a 5-cost. This early ramping also sets you up to play your high-cost Characters more easily in later turns.
The deck is packed with {Straw Hat Crew} cards, giving you plenty of draw options and extra resources.
Purple Luffy Decklist


How to Play
Early Searcher
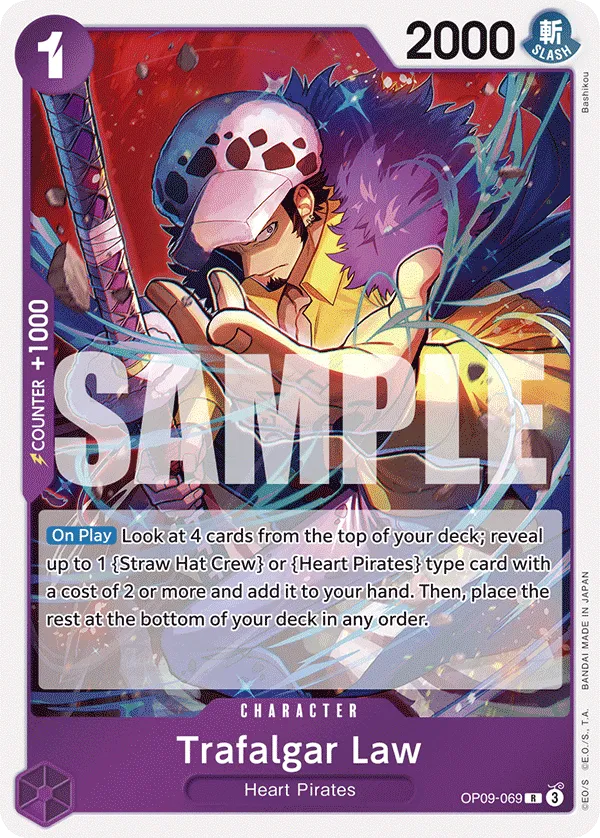
Since the list is packed with {Straw Hat Crew} Characters, it makes sense to include 1-cost Trafalgar Law in the list to search for the cards you need.
Don 4 Plays
If you’re going first, these are the best plays on turn 2. You’ll have 3 Don, so ramping with your Leader’s effect lets you drop a 4-cost Character. Bon Clay is usually the best choice, as he ramps you up to 5 Don, setting you up for better plays next turn, capable of reaching 8 Don with your Leader’s effect. Bon Clay’s Power depends on what your opponent has on the field, but he’s vulnerable on defense while rested; his 1,000 Power is easy for attackers to KO.
At Don 4, Zorojuro is your strongest option. His 6,000 Power attack is tough for opponents to deal with early on. Plus, Zorojuro draws you a {Straw Hat Crew} card, which could be the missing piece for your next turn or a +2,000 Counter for extra protection.
Onami is a 4-cost blocker with just 2,000 Power, making her less effective in the early game. She’s better suited for the late game when you have 8 or more Don to activate her effect and draw an extra card. With her blocker keyword, Onami helps protect your Leader and valuable cards, allowing you to trash a card you don’t need to draw two cards. As a {Straw Hat Crew} Character, she’s also searchable with your searcher cards. She could be played on the field through 7-cost Monkey D.Luffy‘s Play effect. Onami isn’t great in the early game as she doesn’t help you win the field, so you’ll hold off from playing her until the late game when the extra cards and blocker keyword matter.
Don 5 Plays
When going second, you can ramp on turn 2 to reach 5 Don, allowing you to play a 5-cost Character.
Sangoro is your best early play. With 6,000 Power, he also draws you a card when he attacks. However, his effect only kicks in when you have 8 Don or more. If you play him on Don 5, you’ll have 7 Don on your next turn, and by ramping with your Leader, you’ll hit 8 Don. This gives you extra card value and forces your opponent to focus on taking out Sangoro instead of attacking your Leader.
7 Don Plays
7-cost Monkey D. Luffy is one of your strongest plays, and you’ll want to get him on the field as early as possible. His On Play effect lets you return 1 Don to play a 5-cost or less {Straw Hat Crew} Character from your hand. This gives you the option to bring out Characters like Zorojuro, Sangoro, Jinbe, Onami, or Franky.
Developing two Characters at once shifts the field in your favor, opening up opportunities for more aggressive plays.
As for 7-cost Sanji, you can return 1 Don to activate his effect, gaining the Rush keyword and resting one of the opponent’s 6-cost or less Characters. This allows you to attack that rested Character with your Leader and/or Sanji to KO it and remove an attacker from the opponent’s side.
Late-Game Characters
8-cost Purple Charlotte Katakuri is your strongest defensive play, a Blocker with 8,000 Power to protect your Leader. Usually, you can’t attack with a blocker if you want to continue using them defensively on your opponent’s turn, but Charlotte Katakuri breaks those rules thanks to his effect.
At the end of your turn, you can set 2 of your {Big Mom Pirates} type Characters with a cost of 3 or more as Active. So Charlotte Katakuri can set himself and another {Big Mom Pirates} type Character as Active, allowing you to attack with Charlotte Katakuri and still have him as a blocker to protect your Leader.
Charlotte Katakuri is also ramping a rested Don at the end of your turn, so if you deramp a lot, Katakuri will help you recover that Don. However, you’re unlikely to need it unless you’re pushing to play an early Gum Gum Giants.
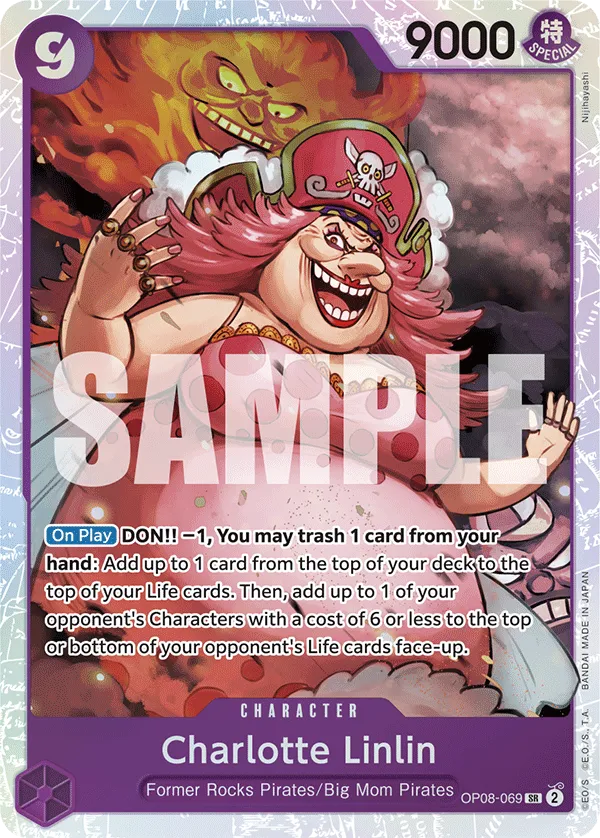
9-cost Charlotte Linlin provides an extra Life card and removes a 6-cost or less Character from your opponent’s field, placing it on the top or bottom of their Life Area. Although you’re giving your opponent an additional Life card, weakening the state of their board can put them behind in the game, and often, it can be tough for them to make a comeback. To activate her effect, you’ll need to return 1 Don and trash a card from your hand.
9-cost Monkey D. Luffy is a 10,000-power that gains the Rush keyword and draws you a card when you return a Don. Returning a Don at 9 Don won’t put you behind on the upcoming turn; you’ll still be at 10 Don. Monkey D. Luffy is great for attacking a rested Character or even targeting their Leader, threatening to take a Life Card. He’s usually the best play when you’re at Don 9, putting pressure on the field while adding more resources to your hand.
+2,000 Counters
Uso-Hachi can be played for its rest effect. When you have 8 Don or more, you can use Uso-Hachi to rest a 5-cost or less Character, allowing you to attack and KO it. Uso-Hachi can also be used aggressively, resting an opponent’s Blocker to attack their Leader directly.
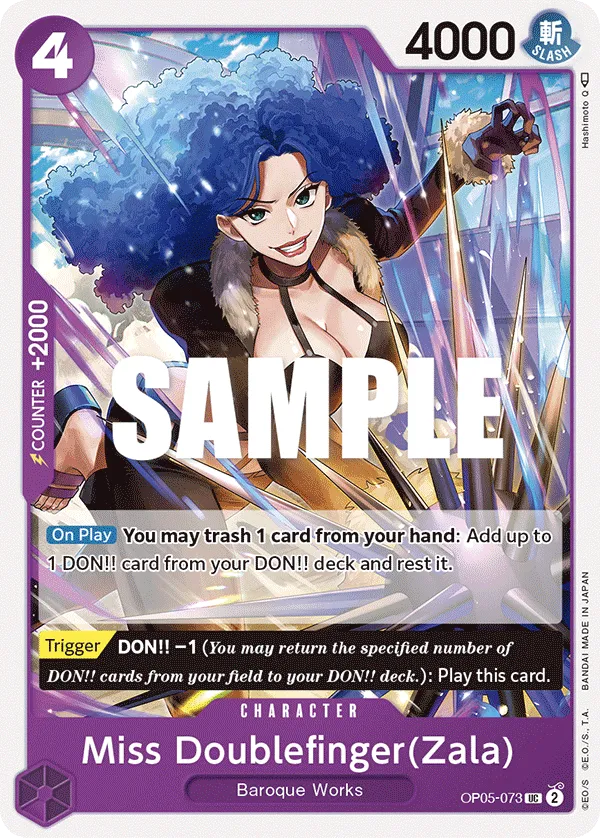
Miss Doubefinger can be used for the ramp effect if you don’t have an early Bon Clay.
6-cost Sanji is a blocker who becomes a 3-cost Character if you have 2 less Don than your opponent. Extremely situational play if you need a blocker to buy you an extra turn.
Fra-Nosuke can become a Rush attacker, which might be useful in the late game if you’re planning the winning turn and need an additional attacker.
Events
Gum-Gum Giant is a powerful defensive event that returns 2 Don to give your Leader or one of your Characters +4,000 Power and draws two cards, ensuring you have more plays to make or even find more Counter cards. Since Gum Gum Giant is returning two Don, you want to play when you’re at 8+ Don, so you don’t struggle to play your high-cost Characters on the upcoming turn.
Other Cards to Include

- Gum-Gum Jet Gatling is a Counter Event that trashes one of your cards to give a +3,000 Power boost to your Leader or one of your Characters.
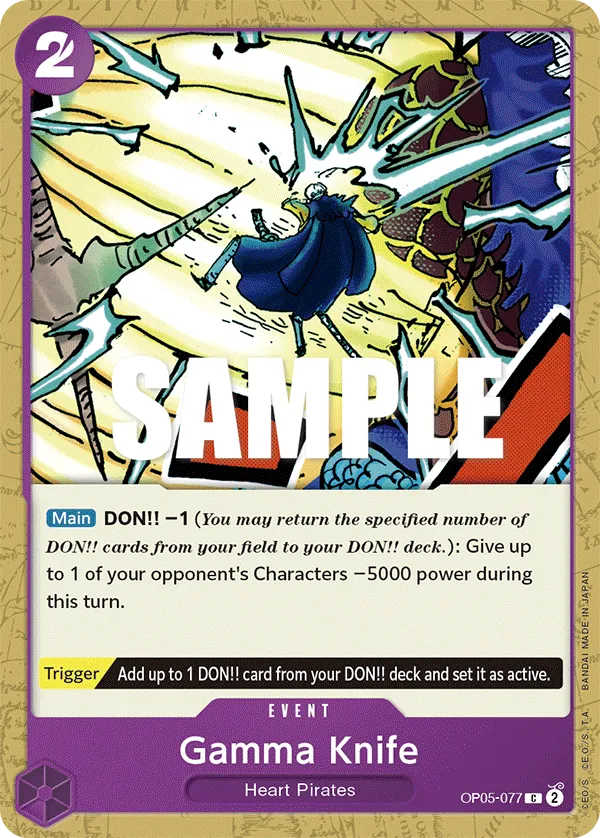
- Gamma Knife reduces the Power of an opponent’s Character by 5,000, weakening it enough for your attackers to KO. This can be great to remove a key Character for the opposing player.
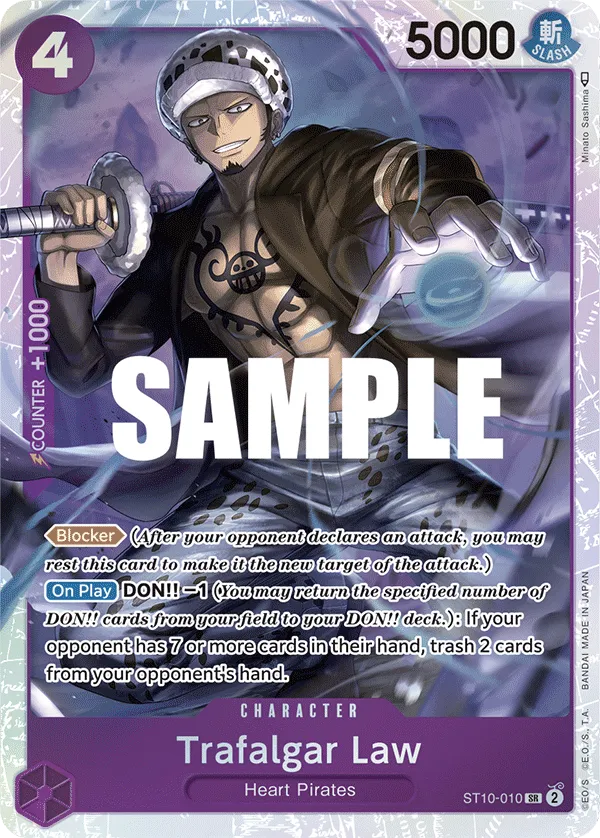

- Trafalgar Law shines in slower matchups. If your opponent is sitting on 7 cards in their hand, play Trafalgar Law, deramp, and force them to trash two of those cards. This cuts their resources and potentially trashes key cards, disrupting their strategy.
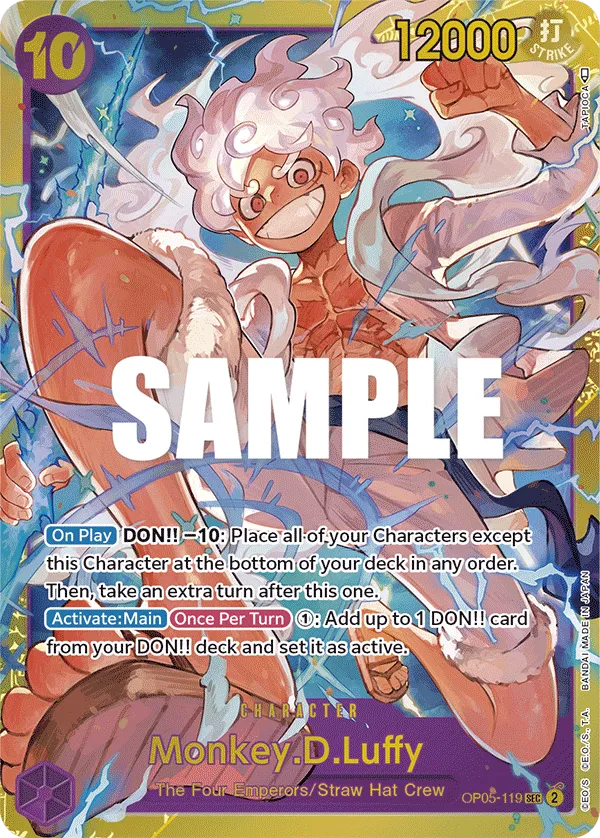
- 10-cost Monkey D. Luffy is a powerful play but comes with a massive drawback. Typically, you’ll want to set up your winning turn when you play him. Before playing Luffy, make sure to attack with all your Characters, as his On Play effect will remove them all from the field. Once they’ve attacked, you can play Luffy, return all 10 Don, and send all other Characters to the bottom of the deck.
With 0 Don left, you can use your Leader’s effect to gain 1 Don, then activate Luffy’s effect to gain an Active Don. While this may not seem impactful at first, it sets you up with more Don for the next turn. You can attach a Don to your Leader for a 6,000 Power attack before ending your turn.
When your turn ends, you’ll immediately start a new one. Since you ramped and used Luffy’s effect, you’ll have 2 Don, plus the 2 Don you gain at the start of your turn, giving you 4 Don. You can either ramp again with Leader for more Don or hold onto that Life card. Your Leader can attack again, and with 4 Don available, you can either boost his Power or play another Character. 10-cost Luffy can also attack, so you can go for the winning blow if your opponent has 0 Life cards.
Don’t forget to reactivate Luffy’s +1 Don effect at the start of your new turn. - Magellan‘s On Play deramps for both players, which can prevent certain plays your opponent is planning. If the opponent KO’s Magellan, they’ll have to deramp 2 Don, which can be awful for them in the mid-game.
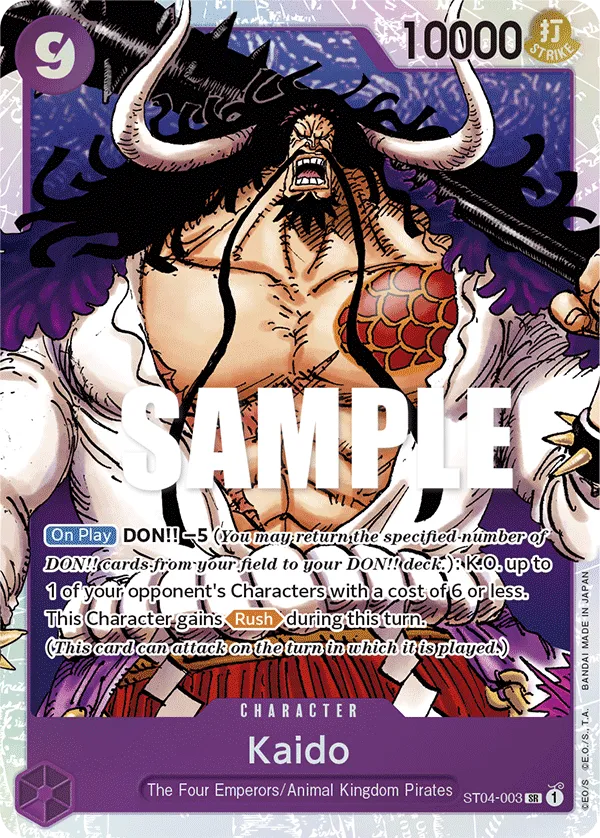
- Kaido is a powerful late-game play, KOing a 6-cost or less Character and gaining Rush. You have to return 5 Don to activate Kaido‘s effect, so your upcoming turn will be slower.
Turn-Based Gameplay
Going First
- Turn 1 (1 Don): 1-cost Trafalgar Law.
- Turn 2 (3 Don): Ramp Leader and play a 4-cost Character
- Turn 3 (5 Don 6 Don): Ramp with Leader and play 7-cost Monkey D. Luffy. Even if you’ve played Bon Clay on the last turn, you might want to ramp now since you’re still deramping with 7-cost Luffy. 7-cost Sanji if there’s a Character you can rest and KO.
- Turn 4 (7 Don 8 Don): 8-cost Katakuri, 7-cost Monkey D. Luffy, or 7-cost Sanji.
- Turn 5 (9 Don 10 Don): 9-cost Monkey D. Luffy or Charlotte Linlin.
- Turn 6 (10 Don): 9-cost Monkey D. Luffy or Charlotte Linlin.
Going Second
- Turn 1 (2 Don): 1-cost Trafalgar Law.
- Turn 2 (4 Don): Ramp Leader and play a 5-cost or 4-cost.
- Turn 3 (6 Don 7 Don): Three plays: 7-cost Monkey D. Luffy, Ramp with Leader to play 8-cost Katakuri, or 7-cost Sanji,
- Turn 4 (8 Don 9 Don): If you’ve ramped with Leader on the previous turn, you should be on 9 Don even if you returned a Don with one of your Characters. You can play Charlotte Linlin, Monkey D. Luffy, or 8-cost Katakuri.
- Turn 5 (10 Don): 9-cost Monkey D. Luffy or Charlotte Linlin.
Mulligan Tips
Going First: 1-cost Law, 4-cost Bon Clay or Zoro Juurou.
Going Second: 1-cost Law, 4-cost Bon Clay or Zoro Juurou.
General Tips
- Don’t overuse Leader effect. Usually, you’ll use the Leader effect on turns 2 and 3, taking 2 Life cards. This puts you at 3 Life cards, which is relatively safe from getting aggroed down.
- Protect your Characters. Keeping your Characters in play, especially those with high Power, puts you a step closer to winning the game. So whenever your opponent tries to KO them through an attack, we should try to protect them if we can expend the Counter resources.
- Life cards are resources. There are situations where protecting your field is more important than your Leader. You can activate Leader effect to add a card to your hand, which can be used as a Counter to protect your rested Characters.
- Use Leader effect as a finisher. If you’re confident you can win the game on this turn, and you have less than 10 Don, you can activate Leader effect to get 1 Active Don and use it to boost your attack. This increases your odds of closing out the game with the extra +1,000 Power. However, this can put you at a huge disadvantage if you don’t close out the game, making it easier for your opponent to win the game on their upcoming turn.
Matchups
Green Roronoa Zoro

- They can easily rest Bon Clay and attack him with their Leader to KO him. We might opt not to play anything on turn 2 and hold off until turn 3.
- Your 4-cost Zoro-juurou can’t KO the opponent’s Zoro.
- We’ll prioritize blocking Characters with our 8-cost Katakuri.
- We can remove their 5-cost Cavendish or Tashigi with 9-cost Linlin, weakening their board.
Blue Purple Luffy

- Purple Luffy can keep up with Blue Purple Luffy, trading heavy blows and dropping hard-to-remove Characters
- Always try to go first; ramp on turn 2 to drop a 4-cost like Bon Clay or Zoro-Juuro.
- Zoro-Juuro and San-Gorou both swing at 6k without Don, draining opponent Counters early.
- Play Sanji if they have 3-cost Zoro-Juuro or Bon Clay; rest them and clean up with Leader.
- Play Luffy-Tarou to cheat out Zoro-Juuro or San-Gorou, go wide, and force them on defense.
- Characters costing 7 or more dodge Gravity Blade, but are still in range for the Mihawk.
- Use Counters to protect board, not just Leader; aggression wins faster than trading threats.
- Most lists run blockers like Tony Tony Chopper and 5-cost Nami; keep Uso-Hachi as final 2k to rest a blocker and go for lethal.
Red Shanks

- Against Shanks, we’ll mainly focus down their Leader, trying to win the game before they take over the field. They can KO one Character a turn with the likes of Benn.Beckman and Silvers Rayleigh. However, they’ll struggle to KO anything above 6,000 Power and will need to use their power-reduction cards.
- We can’t answer 10-cost Shanks, so our best bet is to ignore him and continue attacking their Leader, trying to rush them down.
Black Teach
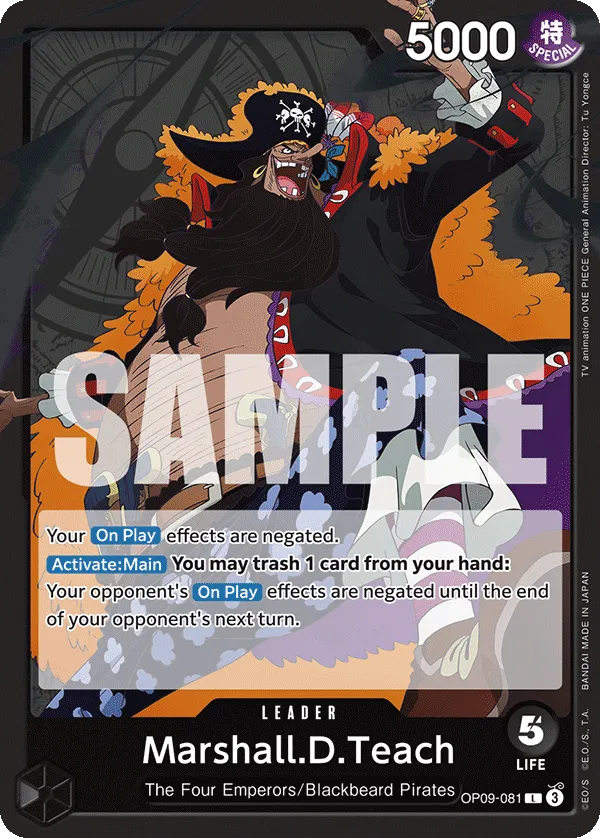
- Black Teach can shut off our On Play effects, which will slow us down, but we still have to play our Characters even without their On Play effects. San-Gorou is great because he isn’t affected by Teach‘s effect.
- We’ll mainly focus down Laboon and Van Augur to stop their cost-reduction effects. Jesus Burgess is another target to KO, but if he has a lot of Power, it’s best to ignore him and shift our attacks on the opponent’s Leader.
- As they keep activating their Leader effect, your opponent will eventually run out of resources, finding it harder to Counter your attacks and will heavily rely on their blockers.
Red Zoro

- Red Roronoa Zoro is an aggressive deck, so we often won’t activate our Leader effect more than once. We need the extra Life card to survive our opponent’s aggression, and we’ll mainly attack and KO their rested Characters and try to take things to the late-game. Remaining at 1 Life card at least is important, so they don’t go for the finisher play and ignore our blockers using 2-cost Sanji. We have to KO OP08 Tony Tony Choppers as soon as possible to shut off the extra Character development.
- They have multiple Rush attackers to keep pressuring us. We’ll eventually win the field and start going for the aggressive attacks to win the game.
Closing Words
Purple Luffy has been a strong choice in the OPTCG meta for a while now and continues to perform! The ramp effect and strong {Straw Hat Crew} package have made PLuffy a reliable choice in tournaments, capable of going up against top meta choices.
This is it from me! If you want to keep up with my content, consider following me on Twitter or BlueSky.


