
Welcome to our One Piece card game Meta Tier list for OP13 Carrying on His Will. Here, you’ll find the best-performing One Piece meta decks in the tournament scene.
| S |    |
| A |      |
| B |    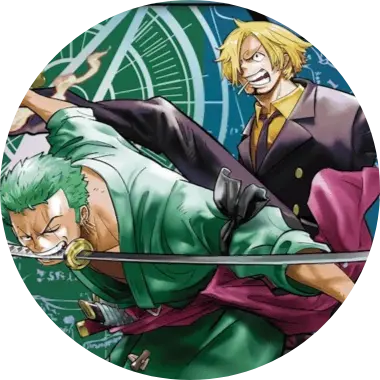    |
| C |    |
Follow our Twitter and Bluesky accounts to stay connected with our One Piece content.
Black Imu


The Black Imu deck is another top performer in OP13, keeping up with the Red Blue Ace. This deck’s core strategy is using the 10-cost Five Elders to cheat out 5 {Five Elders} type Character cards with 5000 power and different card names from your trash. You get to go wide on the field and plan multiple attacks to pressure the opposing players. Two of your Five Elders have the Blocker keyword, so they can buy you enough time until you’re confident you can finish the game.
If you want to use 10-cost Five Elders on the same turn, we need The Empty Throne in the list, which we can play for free at the start of the turn. Instead of paying 10 Don to play Five Elders, we can have it in play for 3 Don, leaving us with enough Don to activate it and make other plays.
For the mirror matchup, we need to have Mary Geoise in the list as your Black Imu opponent can play Never Existed… in the First Place… to remove your The Empty Throne.
Red Blue Protagas.D.Ace


Red Blue Ace is a 6,000 Power Leader with a defensive effect that lets you trash a card from your hand to reduce the Power of the opponent’s Leader or one of their Characters by 2,000. This effect can be activated once per turn when your opponent attacks, but it allows you to include more non-counter cards that you can trash with your Leader effect.
Additionally, once per turn, if you have a Don attached to Ace, if he takes damage or one of your 6,000 Power or more Characters is KO’d, you get to draw a card. This means we’re gaining value with our Leader effect, aiding us in the late stages of the game so we don’t run out of steam and can keep up or even outvalue the opposing player.
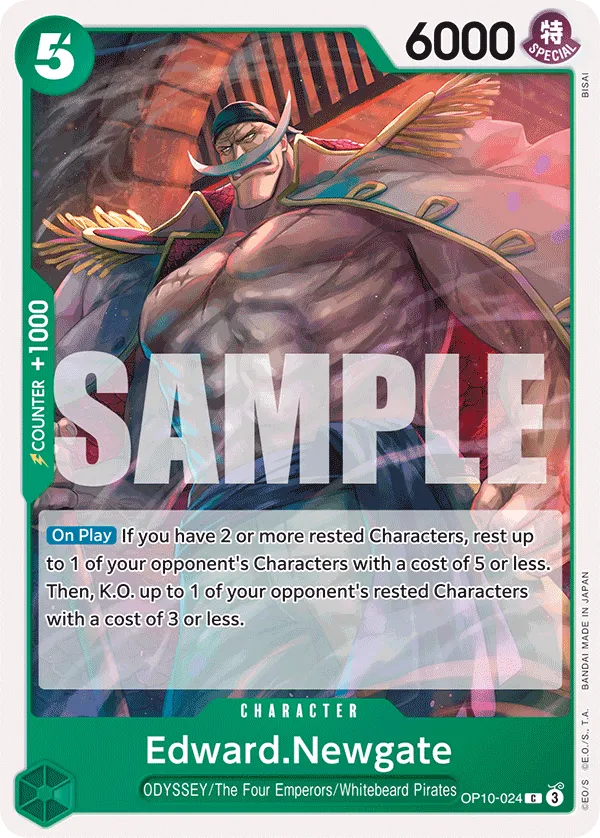
This list is also running Marco for the early value, making card draw a core part of our strategy. The OP13 Newgate is our massive 12,000 Power Blocker, protecting us from an opponent’s attack. When played, he’s drawing 2 cards and letting us trash 1 from hand. Then, lets you attach 2 rested Don to your Leader and 1 of your Characters to go for 2 heavy attacks.
The 8-cost I Am Whitebeard!!! event lets us play one of our high-cost Newgates a turn earlier than expected. We can then take a Life card to gain a +2,000 Power boost on our Leader and go for a heavy 8,000 Power attack.
Green Roronoa Zoro


Green Roronoa Zoro can go for multiple Leader attacks, putting tons of pressure on the opposing player by either KOing their Characters and threatening to take a Life card. You have to attach 3 Don to your Leader before attacking a rested Character, and from there, you can re-stand Roronoa Zoro to attack their Leader or a Character with a cost of 8 or more.
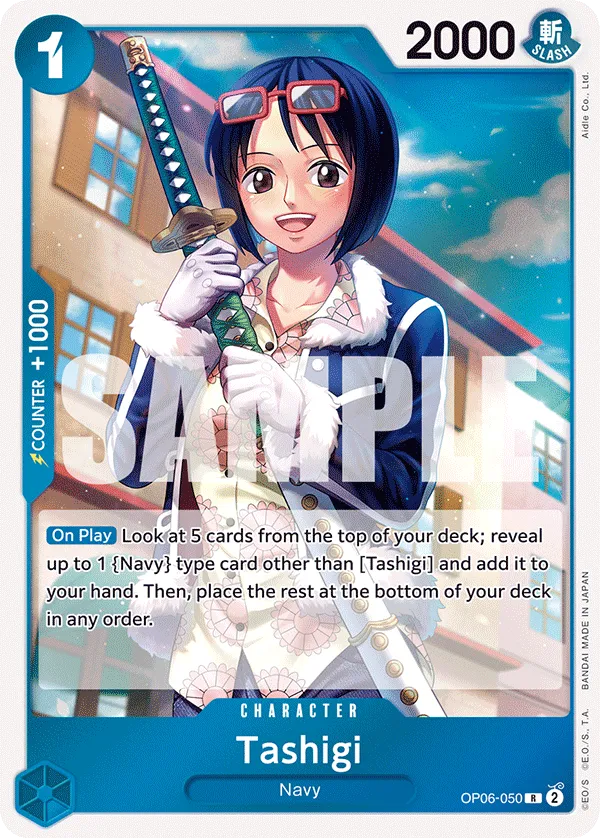
Multiple Characters in this list give us Don, such as Kuina, Cavendish, and Tashigi, allowing us to activate our Leader effect without sacrificing board development.
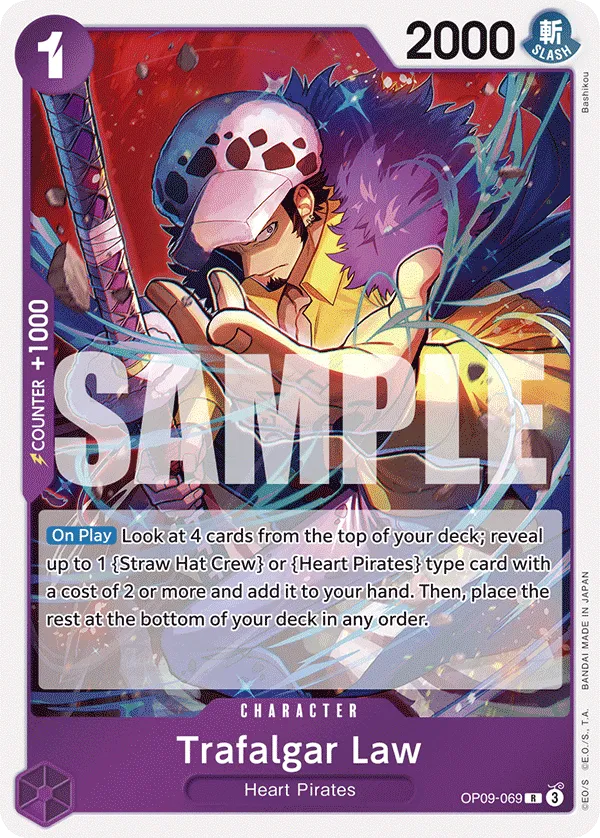
6-cost Law lets you cheat out a 5-cost or less Character from your hand, allowing you to go wider on the field to present multiple threats for the opposing player to deal with.
Luffy Is the Man Who Will Become the King of Pirates!!! is how we plan our winning turn, giving us an opportunity to attack with Leader Roronoa Zoro multiple times to aggro the opponent down.
Red Purple Gol D.Rogers


Gol.D.Roger is our first 7,000 Power Leader! However, his effect will drop him by -2,000 Power until you can hit 9 Don or more. Additionally, at the start of your turn, if you add Don, one of those Don cards will automatically attach to your Leader, which can prevent you from making certain plays.
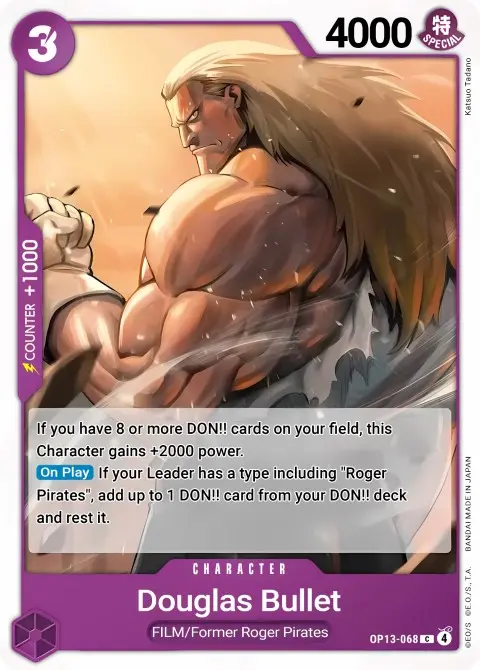
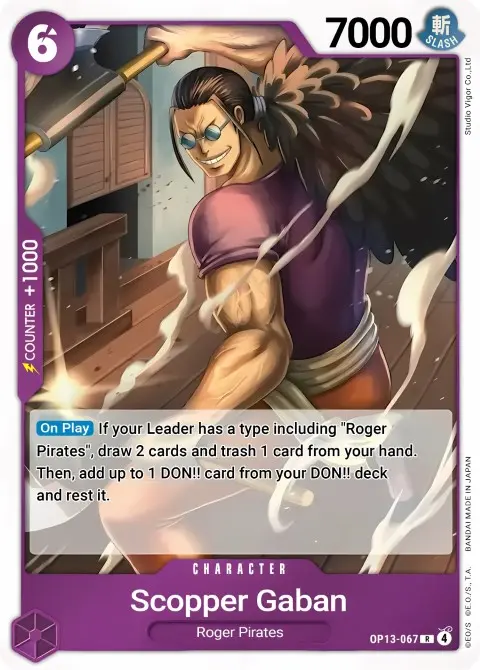
The main mid-game strategy is to ramp to hit 10 Don as quickly as possible to remove the -2,000 Power reduction. To do that, we have Douglas Bullet, Bon Clay, and Scopper Gaban to give us that early to mid-game ramp to speed up our strategy.
Once Gol.D.Roger goes to 7,000 Power, he becomes a tough Leader to break through, and can go for heavy attacks to start threatening Life cards. This list also includes 8-cost Gol.D.Roger for the +2,000 Power boost, turning your Leader into a 9,000 Power attacker with the Power boost sticking during your defensive turn.
10-cost Shanks adds to the deck’s defensive strategy, weakening the opponent’s attackers while also giving you a 12,000 Power Rush attack to pressure the opposing player. As for the 10-cost Gol.D.Roger, he’s perfect for trying to finish off games when opponents have blockers on the field, protecting their Leader from your attackers.
Blue Purple Monkey D.Luffy


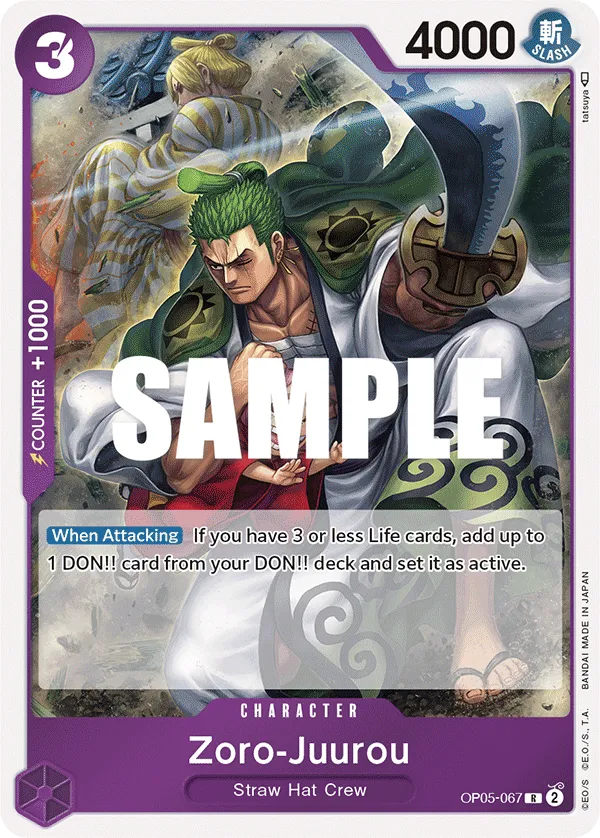


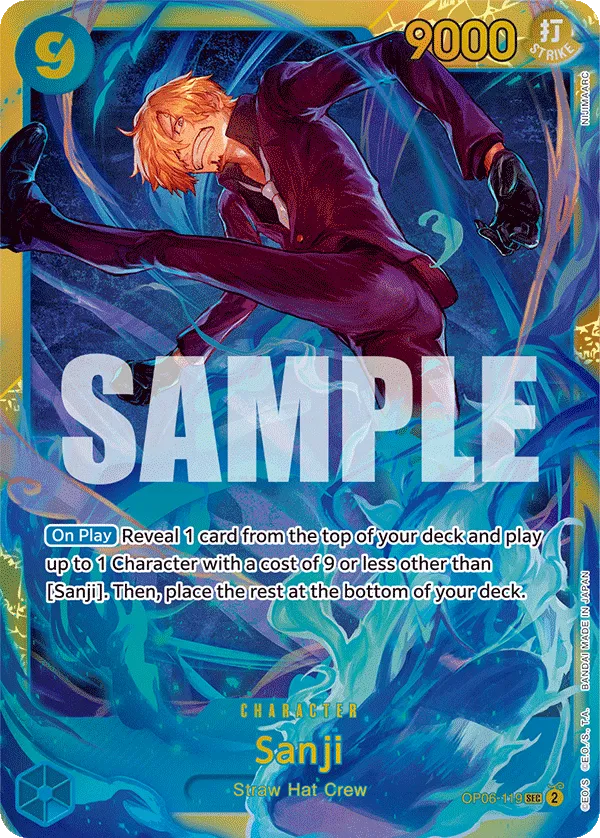


Blue Purple Luffy runs Gear 2, Zoro-Juurou, and Bon Clay as ramp cards, trying to get to its Leader effect as early as possible. When you start your turn with 8 Don, you can look at the top 5 cards of your deck to add 1 Straw Hat Type card to your hand and order the rest however you want. This comes in handy when you’re going for the 9-cost Sanji, as you’re guaranteeing the top card in your deck is worth cheating out through Sanji.
Sanji can cheat out the likes of Gol.D.Roger and Monkey.D.Luffy, developing two big bodies in one turn to overwhelm the opposing player and put them behind in the game. The longer the game stretches out, the more likely we are to win the game. This is why we rely on events like Gear Two, Gum Gum Giant, and Thunder Bagua to protect our Leader and push for an additional turn or two until our heavy hitters can finish the job.
Red Silvers Rayleigh


Leader Silvers Rayleigh changes the rules of your deck building, forcing you to add 4-cost or less cards to your deck only. This can be restrictive, but it does play into your Silvers Rayleigh’s strategy. During your turn, once per turn, you may reveal two Events in your hand to the opposing player, then pick one of your 4,000 base Power or less Characters and give them a +2,000 Power boost, turning them into a more threatening attacker.
The list runs a lot of Events to make sure you can consistently activate your Leader’s effect, boosting the Power of Characters like Boa Hancock, Sanji, and 4-cost Luffy to play more aggressively.
Rush attackers like Zoro and Kid are crucial to keep aggroing down the opposing player, keeping an attacker threat present, especially when you need two attacks to close out the late game.
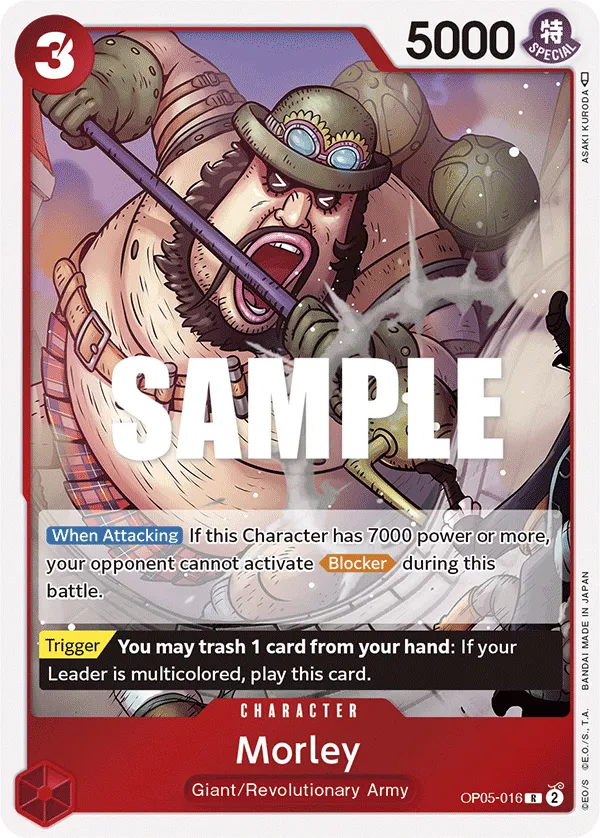
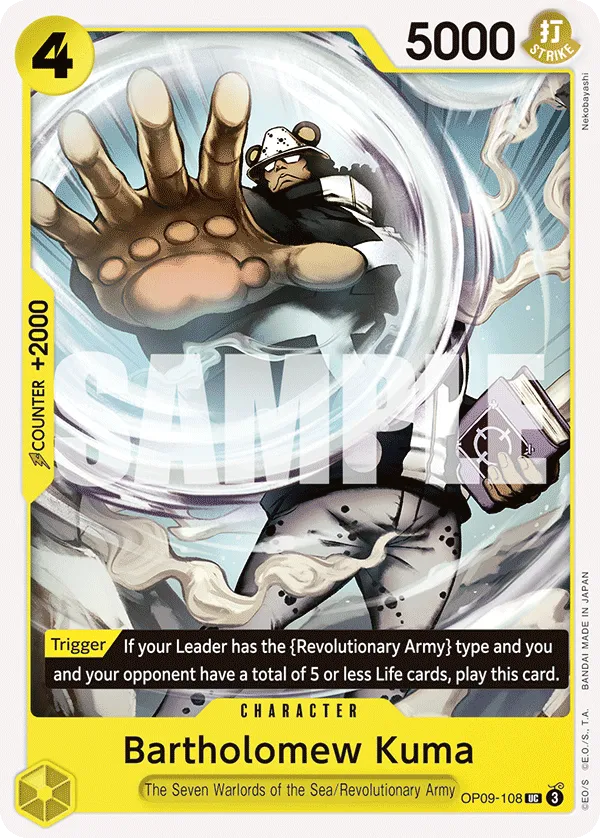
Red Black Sabo


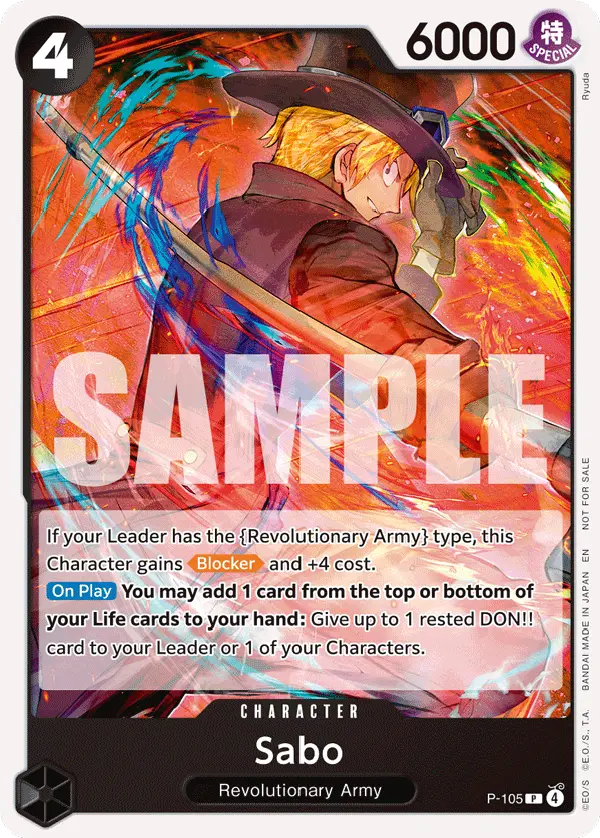


Red Black Sabo is a 5,000 Power Leader with the downside of reducing his own Power by 1,000 as long as you have 4 or more Life cards. So, you’re essentially posing less of a threat with your attacks early in the game, and your lower power makes it easier for the opponent to take your first 2 Life cards.
However, that downside changes when you play a Character with a cost of 8 or more and attach a Don to Leader Sabo. Now, you gain a +1,000 Power boost on your Leader and all your Characters during your and your opponent’s turn until the 8-cost Character is removed. This enables heavier attacks but also makes it harder for the opposing player to get their attacks through or remove your field.
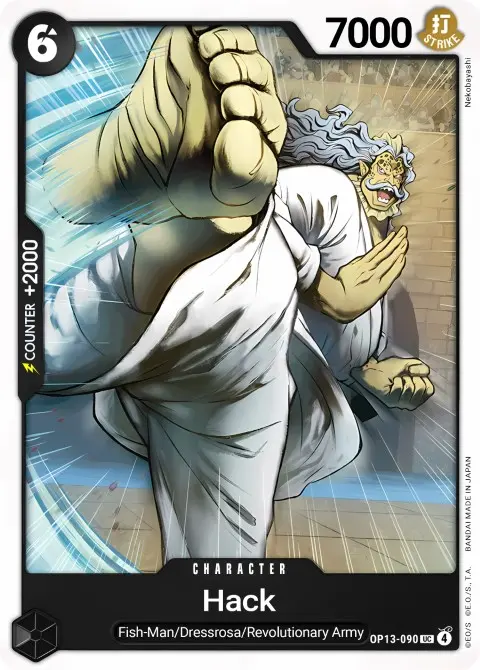
This is a Dressrosa/ Revolutionary Army type Leader, so we have access to a lot of support cards that can enable your Leader’s effect. Hack and 6-cost Sabo are perfect to get access to an 8-cost Character as early as possible to enable your Leader.
The 8-cost Black Dragon lets you go wider on the field, setting up a strong upcoming attack turn. As for the Red version, he’s best played if you need an immediate Rush attack to put some aggression on the opposing player.
Green Jewelry Bonney


Green Bonney can be frustrating to face, largely due to her ability to rest one of the opponent’s attackers. While the Bonney player needs 1 Active Don to trigger the effect, it significantly slows down the opponent’s offense and preserves the Bonney player’s Counter resources.
This deck excels at a defensive game plan, stalling out games until high-cost threats start dropping. Blockers and the 5-cost Carrot further reinforce this strategy, buying time to either clear the opponent’s field or transition into a more aggressive stance against their Leader.
The Fortress strategy with Eustass”Captain”Kid forces opponents to find an answer for the Kid or risk losing the game. It can be a challenge to break through, mostly because of Bonney’s resting effect and Rosninate protecting Kid from a KO effect.
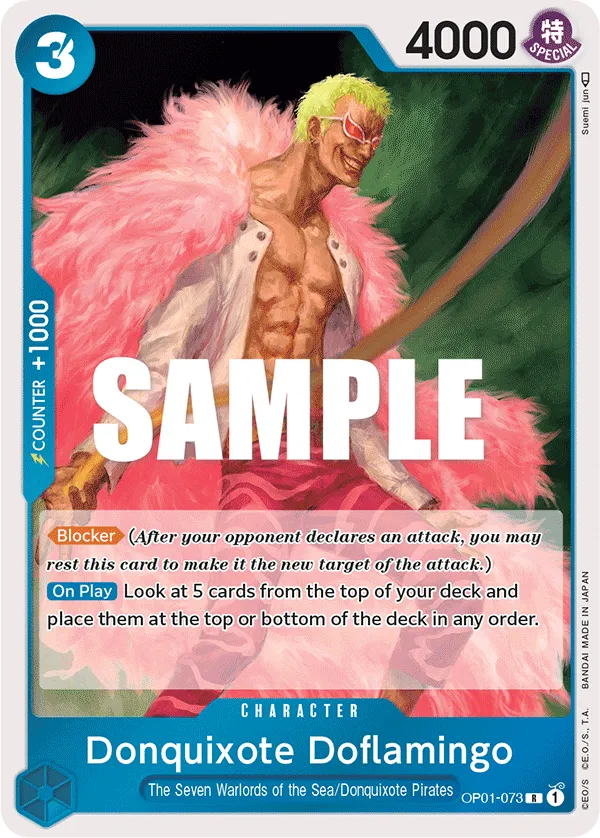
9-cost Shanks can KO a rested Character, saving you from needing to attack it. As for 10-cost Doflamingo, he lost popularity in OP10 but remains a consideration to add to the list. Doflamingo can keep three of the opponent’s attackers rested, reducing the pressure of their upcoming turn.
7-cost Hody Jones is your main aggressor, dropping on the field, resting two characters, and going for an immediate attack with his Rush keyword. Whether you focus on clearing the field or attacking the opponent’s leader will depend on the game’s current state.
Red Yellow Belo Betty
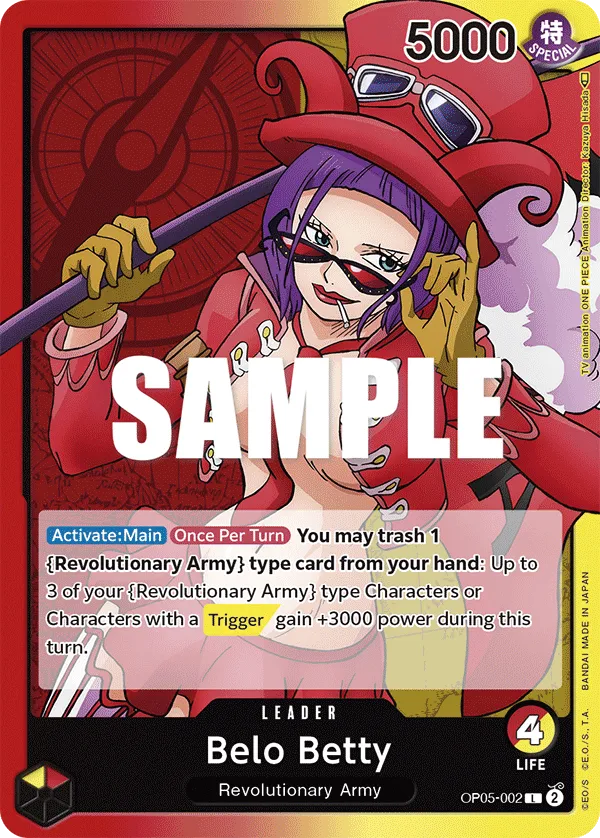


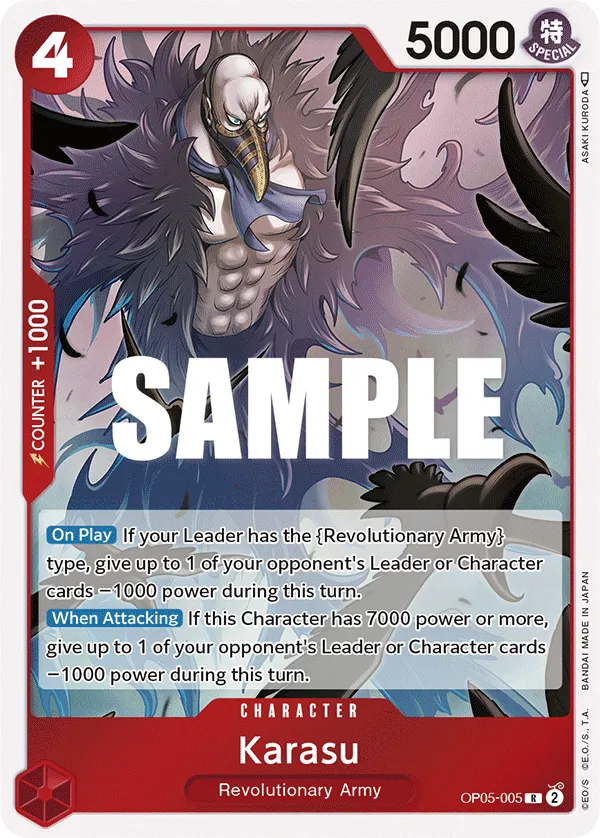
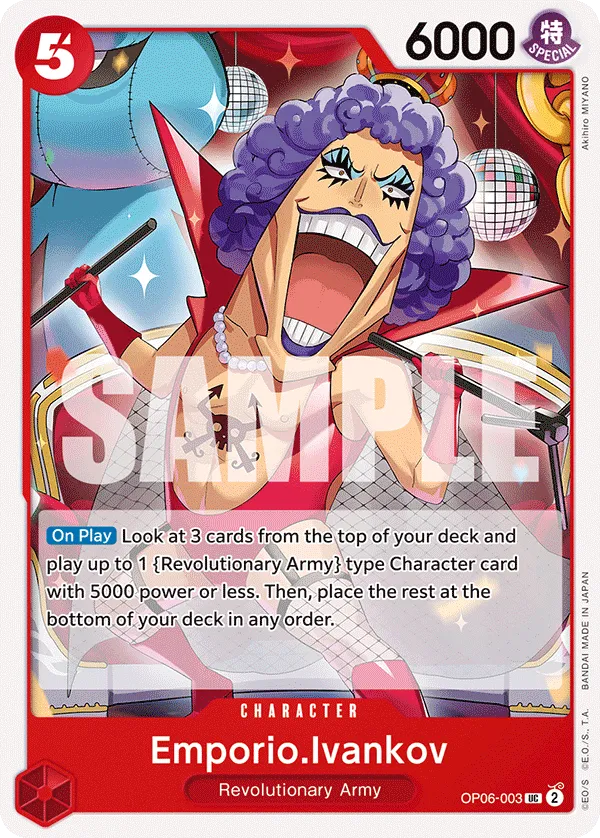

Belo Betty is an aggressive deck, using Trigger and Revolutionary Army cards as part of her game plan. She wants to go wide on the field, and with Emporio Ivankov and Trigger effects, you can easily have multiple Characters in play.
You then use Leader effect to give 3 of your Characters +3,000 Power, turning them all into a threat as they go for attacks. Karasu reduces the Power of one target, and if used on the opponent’s Leader, it can burn their Counter resources as they try to deal with your multiple attackers.
This is a glass cannon deck, focusing most of its resources on attacking the opponent’s Leader as your opponent tries to control your side of the field and slow you down.
Red Green Monkey D.Luffy


Red Green Luffy has one of the strongest defensive abilities, letting you rest Don to gain a +2,000 Power boost on your Leader or a Straw Hat Crew type Character. However, you can only have up to 5 Active Don to activate your Leader’s effect. Understanding how much Don you need during your defensive turn can go a long way, as you won’t be weakening your offensive turn as much.
The list has cards like Cavendish, Sanji, and 6-cost Luffy that set your Don as Active, making it easier for you to bank Don for defensive turns and protect yourself from attacks. This makes you less reliant on your Counter cards and holding onto them for later in the game. The 6-cost Luffy is a major threat with his Double Attack, threatening to take 2 of the opponent’s Life cards.
9-cost Roronoa Zoro is how this deck wins games. We want to have him in play as early as possible and plan for the triple attack turn, putting the opposing player at the threat of losing the game, especially if they’re down to 2 or less Life cards.
Green Purple Lim


rested Characters to activate their effects, so it ends up playing into our strategy. Lim’s effect rests 3 Don to ramp up 1 Don and cheats out a 5-cost or less {ODYSSEY} type Character from your hand, allowing you to accelerate your game plan while throwing out bodies on the field for the opponent to deal with.
This list plays aggressively, aiming to play 2 Characters each turn to go wide on the field and line up multiple attackers to overwhelm the opposing player. For the late-game win condition, we have 9-cost Zoro to go for 3 attacks per turn, along with the 10-cost Shanks to develop an additional heavy hitter without losing on Leader Lim’s effect and Zoro’s 3 attacks.
Green Blue Zoro & Sanji


The Green Blue Zoro & Sanji deck got a couple of new cards that synergize with what this Leader is trying to do. The plan is to play Characters with 7,000 Power or less and use Leader effect to re-stand one of them to attack a second time. This effect is usually good when used on characters like Cavendish or 6-cost Luffy, as you’re gaining more value from them.
3-cost Mihawk helps us early into the game to get a 4-cost Character in play, and we can later use the Leader effect to return Mihawk to hand to have him as a +2,000 Counter. The 6-cost Luffy is our strongest aggressor, threatening to take 2 Life cards with his Double Attack keyword. Using Leader effect, we get to attack with Luffy twice, making sure at least one attack will go through.
Purple Monkey D.Luffy


Purple Luffy can start ramping on turn 2, allowing you to play higher-cost characters on earlier turns. You lose a life card when activating Leader Luffy’s effect, so play more defensively to protect your Life cards from opponent attacks. 4-cost Bon Clay and 5-cost Eutass”Captain”Kid help out with the ramp game plan, making sure you play high-cost Characters earlier and you don’t fall behind on your strategy when you deramp.
This list has the {Straw Hat Crew} package, using Zoro-Juurou and San-Gorou for the extra resources. 7-cost Sanji is a better choice if you’re trying to KO one of the opponent’s 6-cost or less Characters. You can rest that Character and use Sanji’s Rush attack to KO it, or at least force Counter cards from the opponent’s hand.
8-cost Charlotte Katakuri, 8-cost Ralyeigh, and 9-cost Monkey D.Luffy are the late-game carries in the deck, both with powerful effects that you’ll want to use in different scenarios. 8-cost Katakuri is a defensive wall that can go for attacks to pressure the opposing player while remaining as a blocker during your defensive turn, whereas 9-cost Monkey D.Luffy draws you a card and has the Rush attack to either KO a rested Character or go for an aggressive Leader attack.
Red Roronoa Zoro


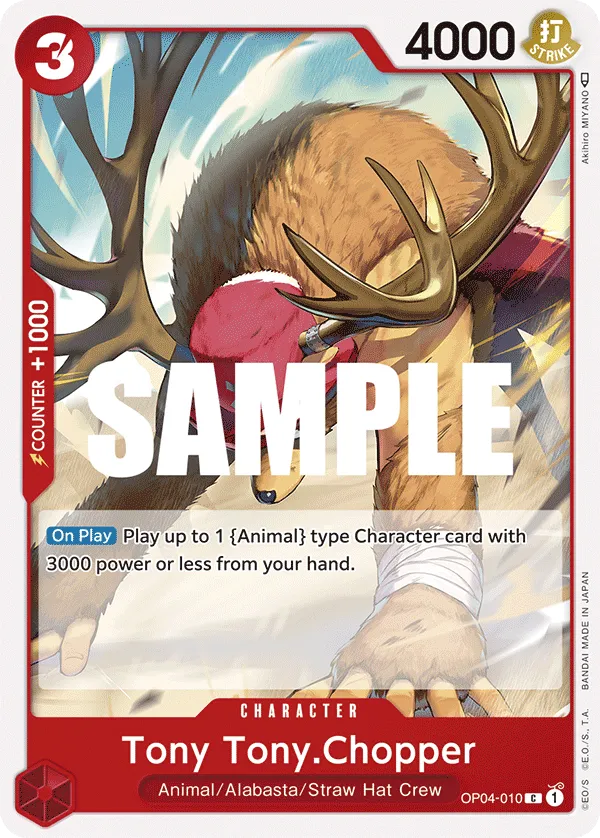
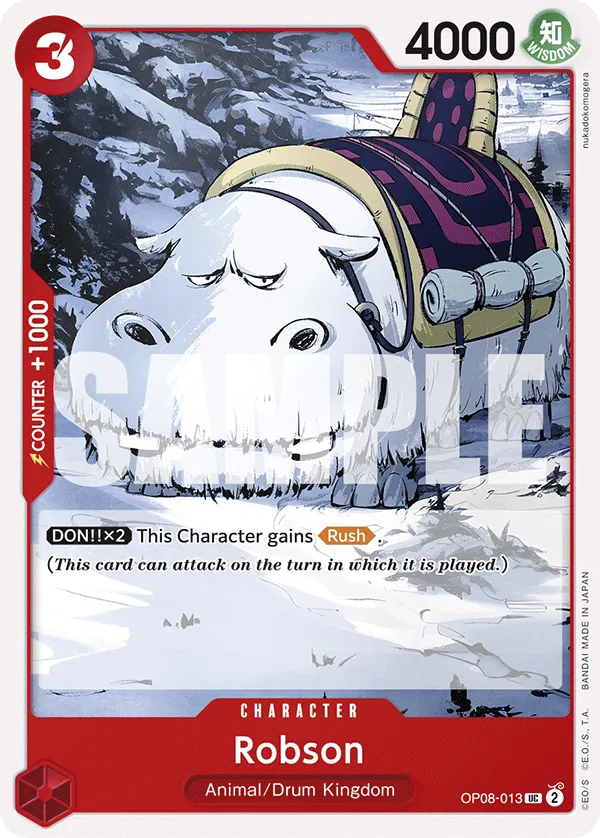
The aggressive animal zoo Red Zoro uses OP05 and OP08 Tony Tony Choppers to go wider on the field, developing multiple Characters in one turn. The plan is to attach a Don to your Leader to increase the Power of all your Characters by +1,000 during your turn, making them more aggressive and likely to get their attacks through.
Your main plan is to attack their Leader and drop them low enough so that your Rush attackers become a constant problem for the opposing player. Eventually, they’ll fall to 0 Life cards and will struggle to block your attack.
Green Purple Monkey D.Luffy


Green Purple Monkey D.Luffy relies on {Straw Hat Crew} type Characters, returning 2 Don and setting 2 of your Don as Active and +1,000 Power on your Leader. The deramping can be brutal, so it’s best to save it until the late game, so you don’t fall too behind on Don. The extra Don you gain allows you to make more plays on a specific turn and even go for aggressive attacks to win the game.
The list has Sanji & Pudding for ramping, make sure even when you deramp, you don’t fall behind your opponent in Don. 6-cost Monkey.D.Luffy is the strongest aggressor, going for two attacks in one turn, and if you combo him with Gum-Gum Giant Pistol, you could win the game if your opponent is at 1 Life card.
Luffy-Tarou acts as a great play to develop two Characters in one turn, capable of cheating out 4-cost Zoro-Juuro or 5-cost Sanji & Pudding.
Black Marshal D.Teach
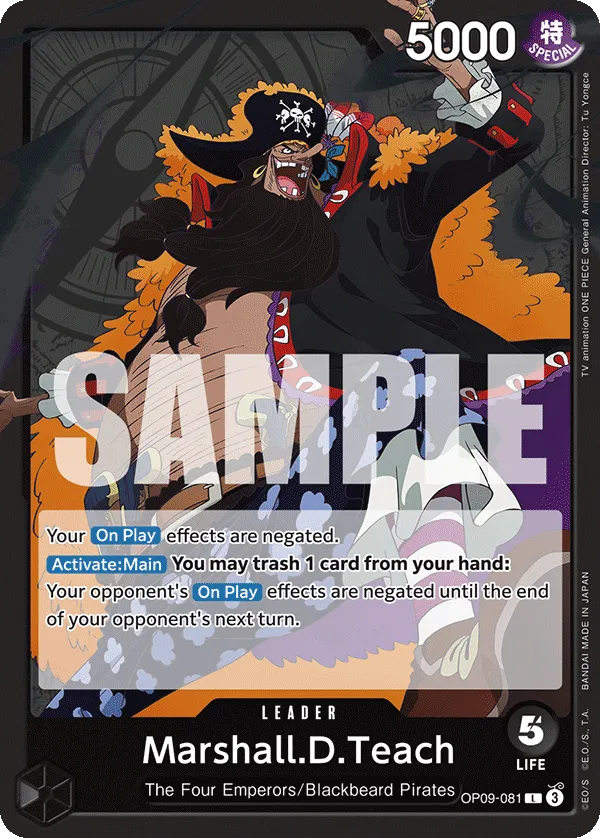

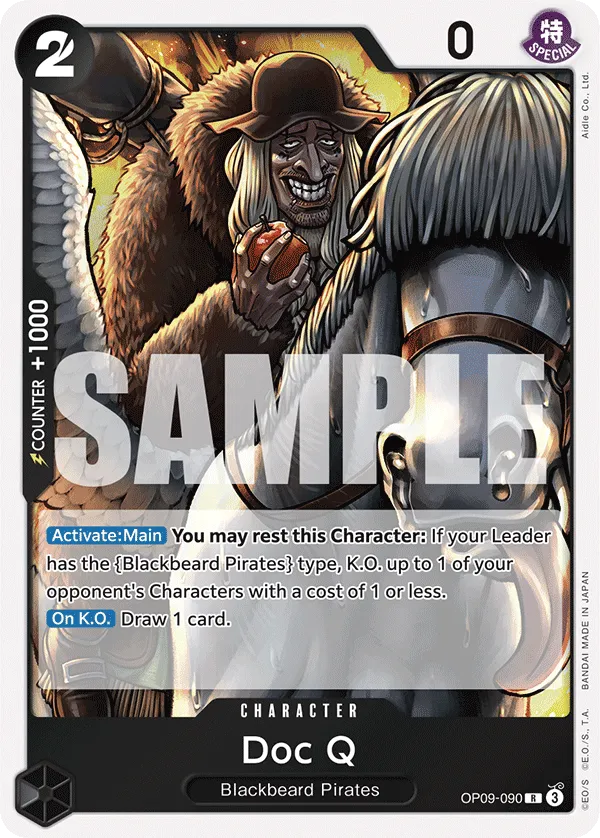
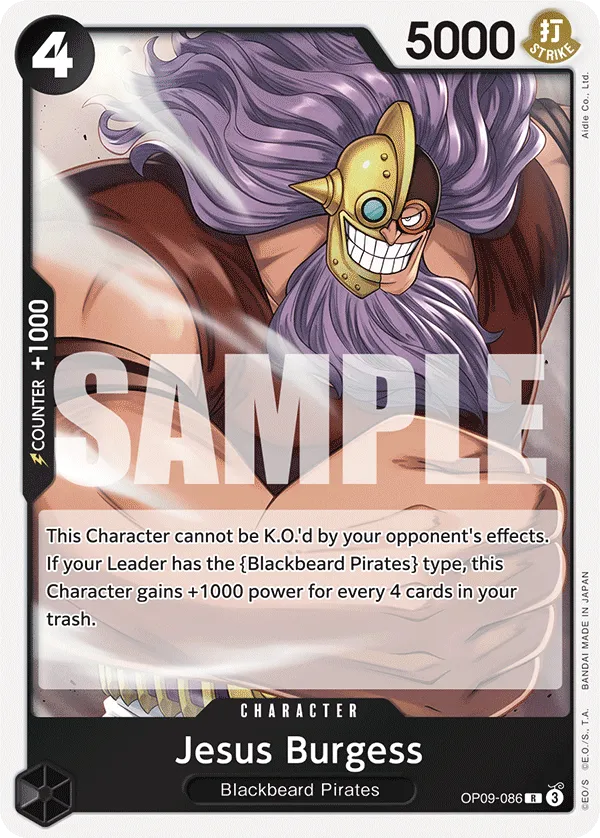


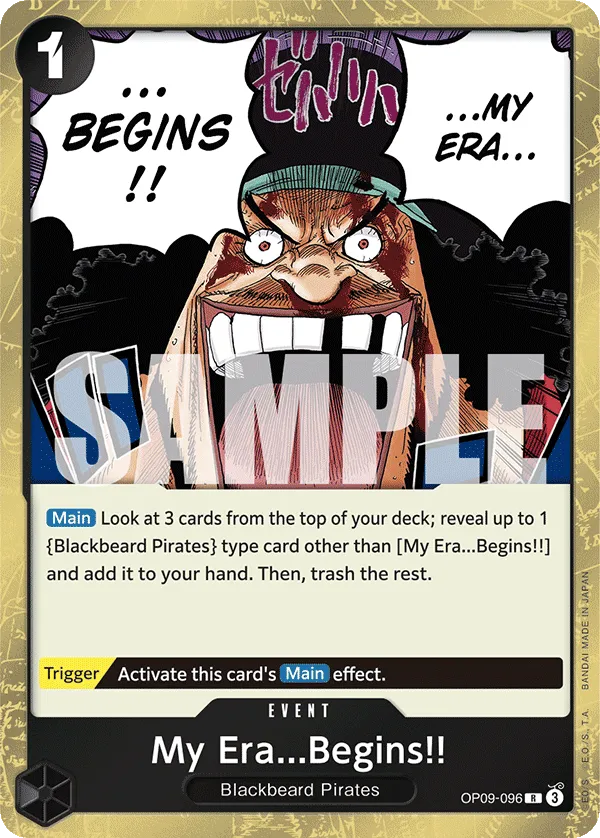
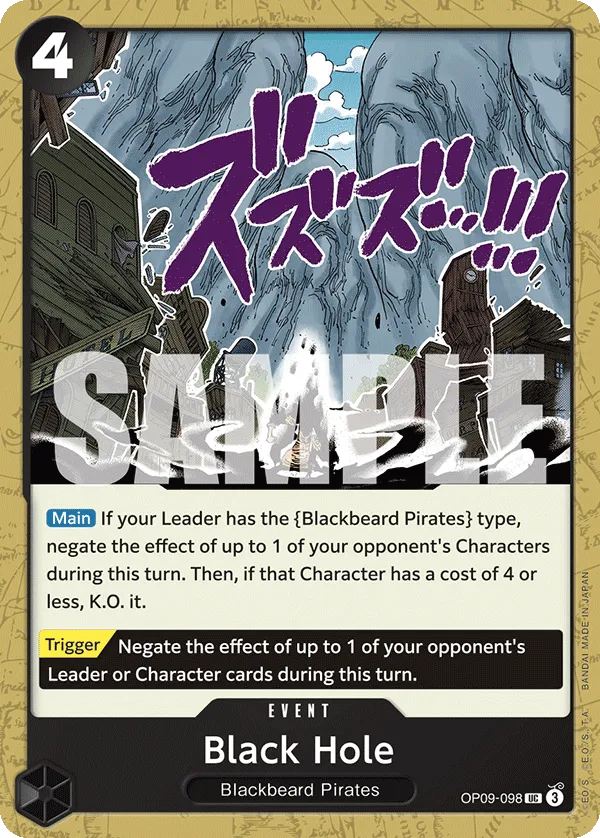

Black Marshall D.Teach shuts down all your On Play effects, so you have to build it differently. We’re avoiding any card with an On Play effect, relying on Finger Pistol, Black Hole, and Doc Q to KO the opponent’s Characters. Marshall D. Teach can prevent opponents from activating their On Play effects, but you’ll have to trash a card to activate it. You’ll usually activate the effect on turns where you expect the opponent will want to use those On Play cards the most. This will completely shut them down from playing out their strategy, setting the stage for a powerful upcoming turn on your side. If they rely On Play effect to KO your Characters, then it can put them in an awkward situation.
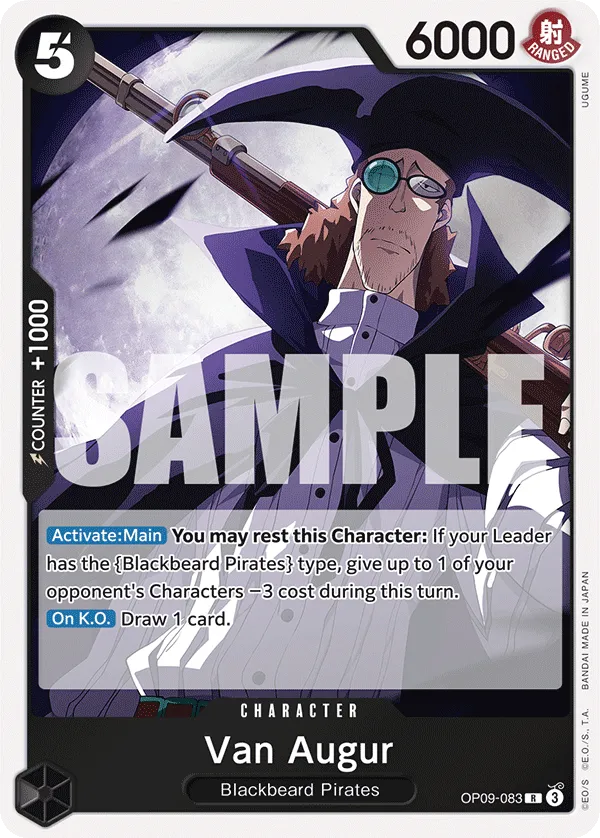
The list has multiple cost-reduction cards to help put things in range to remove. Tempest Kick and Van Augur are the best cost reducers in your list that also pose offensive pressure. Speaking of offensive pressure, Jesus Burgess is one of your toughest attackers. He can’t be KO’d by effects and will gain +1,000 Power for every 4 cards in your trash.
10-cost Marshall D. Teach is this deck’s strongest play, letting you negate the effect of the opponent’s Leader and one of their Characters. He’s also a high-power blocker, creating a wall to block one attack and protect your Leader.
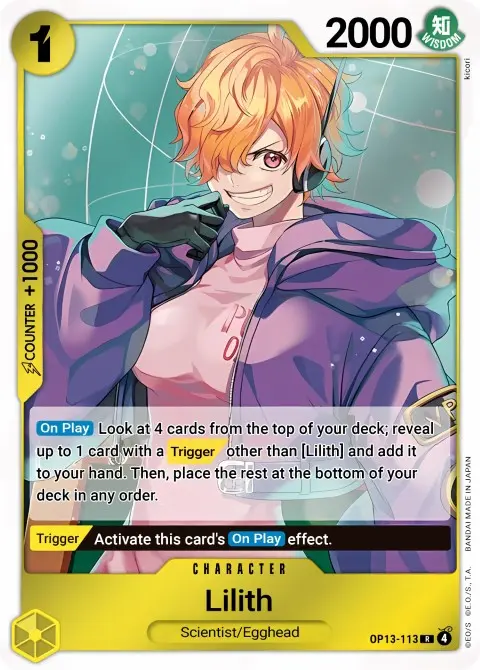
Yellow Jewelry Bonney


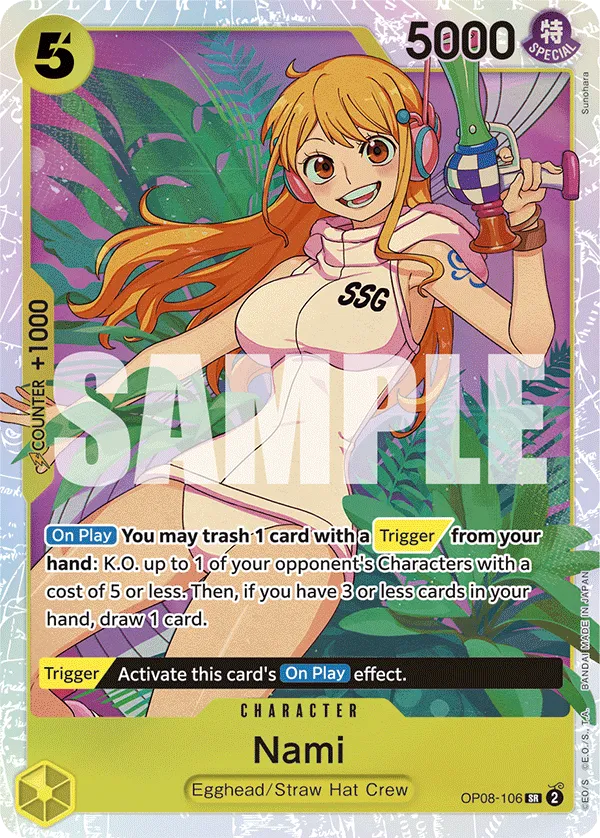


Yellow Jewelry Bonney is a 5 Life card Egghead Leader. She needs Characters with a Trigger to activate her effect. When a Character with a Trigger is played, you can attach 2 Don to your Leader or one of your Characters.
The 2 Don you’re attaching allows you to go for heavier attacks that force more Counter cards from the opponent. Additionally, some Characters may require you to attach Don to them to activate certain effects, so the Leader effect allows you to do that without sacrificing board development.
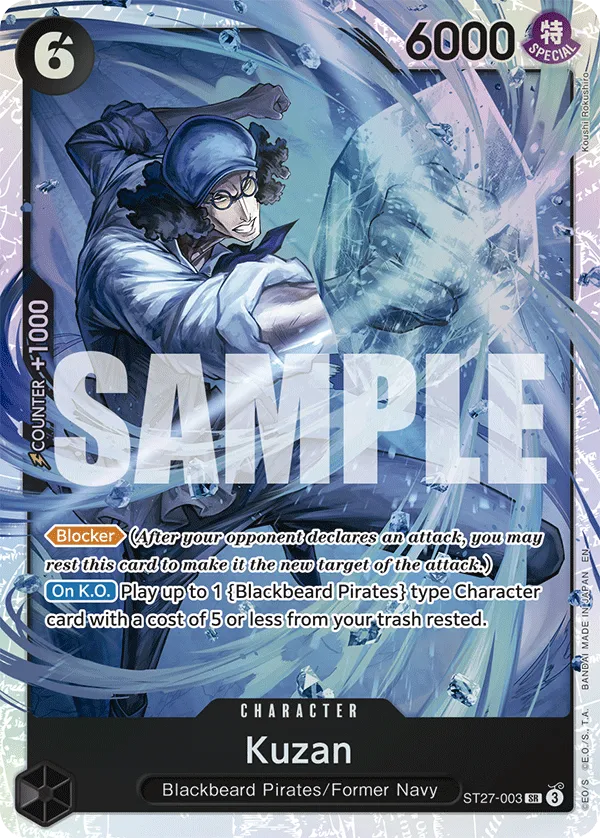
Blue Kuzan

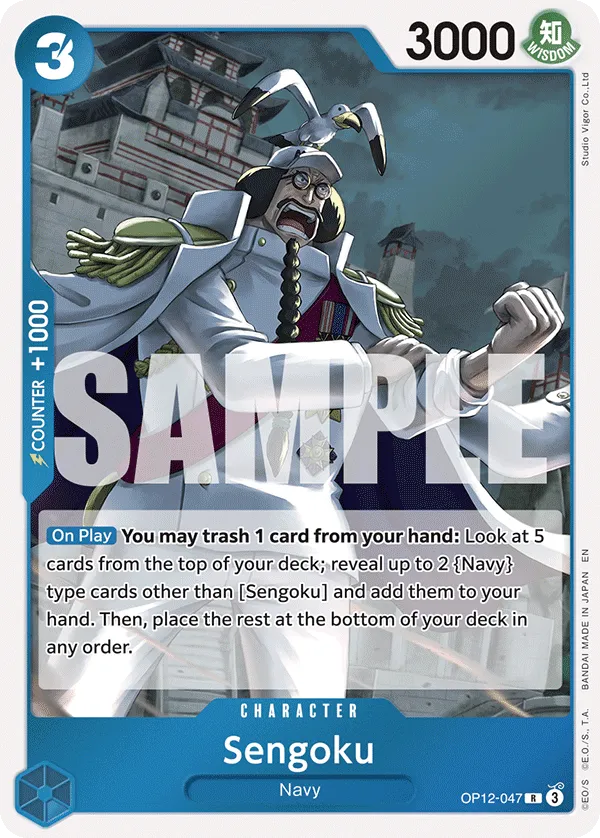
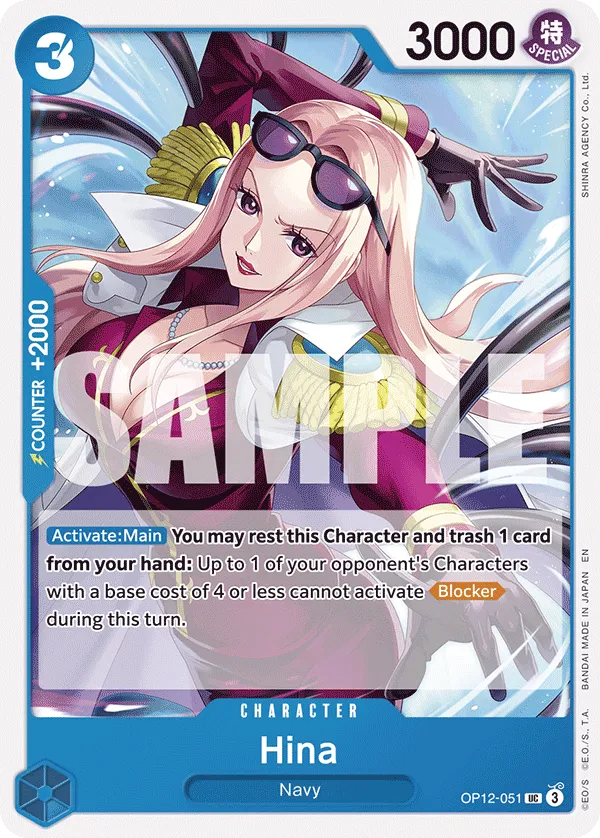

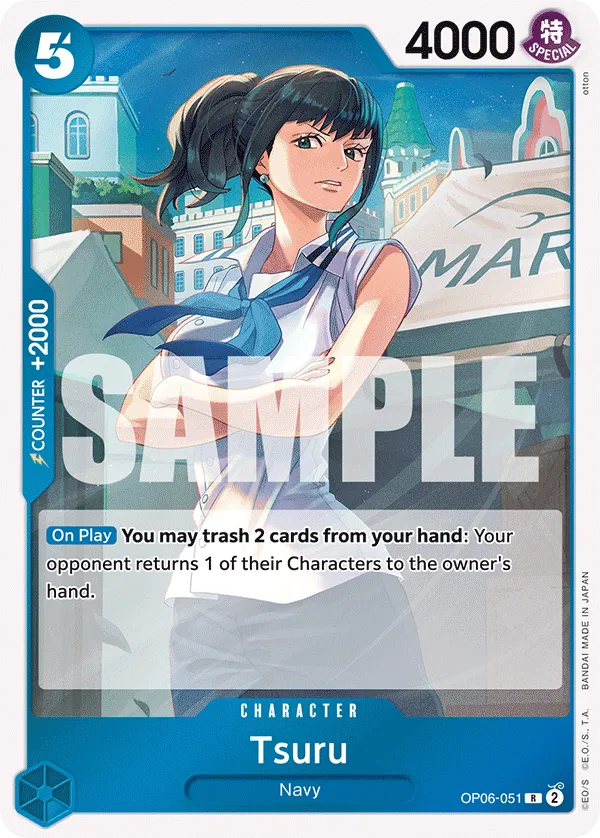

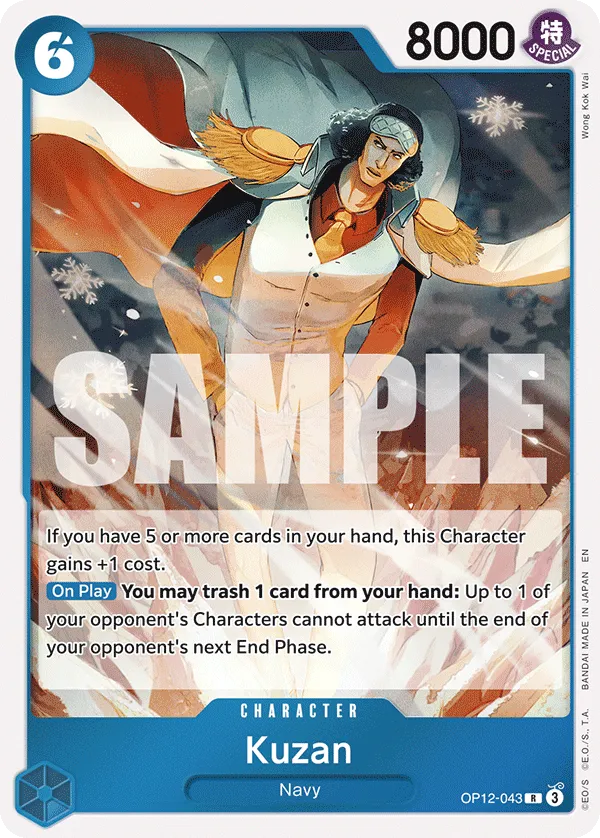


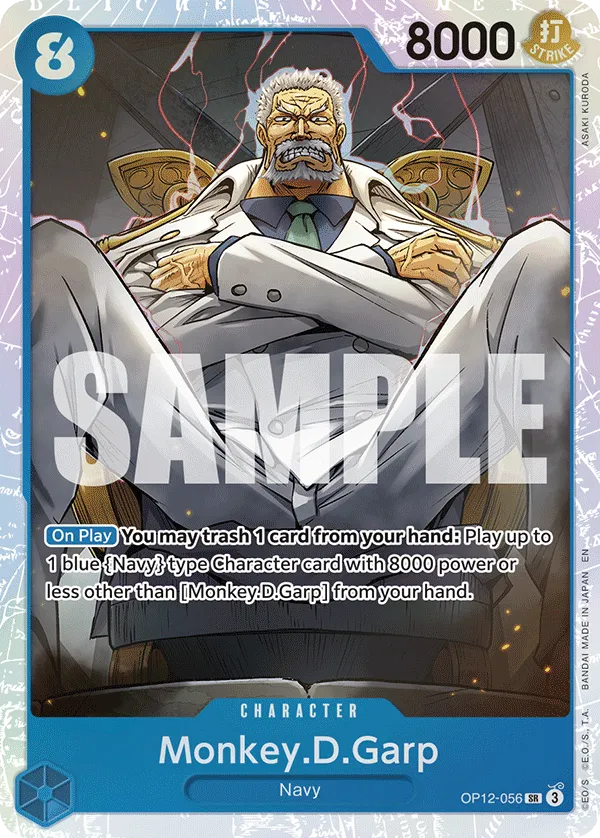
Blue Kuzan’s effect synergizes with your Navy-type cards, triggering when a card is trashed from your hand by a Navy card and drawing you a card for it. You are basically cycling your hand for better cards while activating strong Navy effects to put you ahead of the opposing player.
The list is full of Navy Characters that require you to trash a card from your hand to activate their effects. 6-cost Kuzan, 7-cost Sakazuki, and 8-cost Monkey.D.Garp have strong effects to help you shift the game in your favor. You’re trying to outvalue your opponent with this deck, and the longer the game takes, the better the odds are for you to win the game.


