
Purple Black Monkey D. Luffy is an OP09 Ramp Leader that heavily relies on deramp cards to activate his effect. To maximize value, you’ll want to include cards that return 2 or more Don, enabling both your Leader’s effect and your cards’ abilities.
This deck focuses on mid-game control before shifting to high-cost Characters that are tough to remove, trying to overwhelm the opposing player and win the game through heavy attacks that are tough for opponents to Counter. This guide focuses on the OP11 meta, but I’ve also included OP12 card considerations.
Leader

Attaching a Don to Monkey D. Luffy will give all your Characters a +1 cost, making them harder to KO for certain decks. It also allows you to activate Character effects that are tied to Character cost conditions, like 5-cost Sanji.
Leader Luffy’s second effect activates whenever you return two or more Don, giving you back two Don cards—one active and one rested. This lets us play powerful cards with deramp drawbacks without worrying about the cost. In fact, with Luffy’s effect, we can actually turn that drawback into an advantage.
Black Purple Luffy Decklist


How to Play
The Purple Black Monkey D. Luffy deck has multiple Deramp cards with powerful effects. These Deramp characters will put you low on Don, which means you’ll struggle to keep up with opponents on future turns. However, since we’re playing Purple Black Luffy, the Leader’s effect will trigger when we return 2 Don or more, ramp you by 2 Don to make sure you don’t fall behind in the game.
So we’re activating those Character effects while maintaining our Don, working toward hitting the late game to start playing our high-cost carry characters.
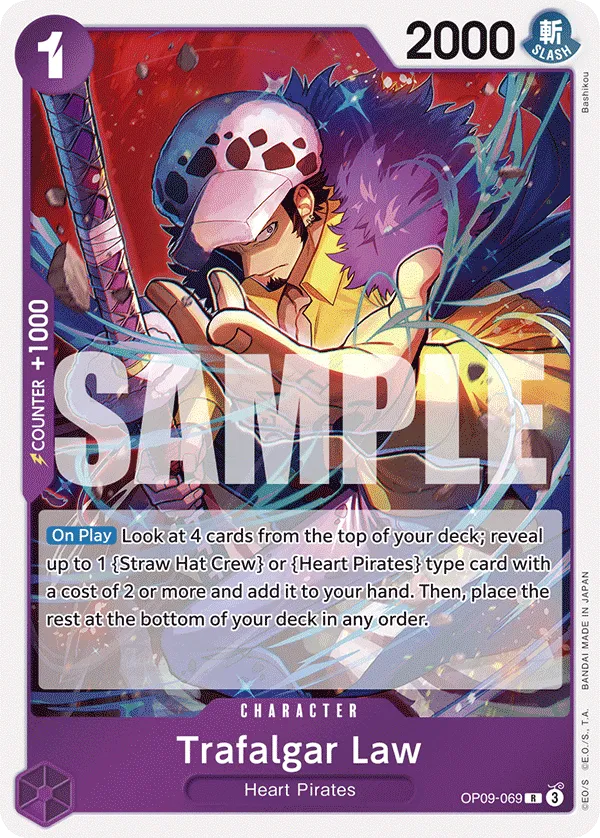
Trafalgar Law looks at the top 5 cards of our deck to add a 2 cost or more {Straw Hat Crew} or {Heart Pirates} Character to our hand. We have multiple cards to choose from, so we’ll choose a card depending on what we’re missing to plan our upcoming turns.
Ramp Characters
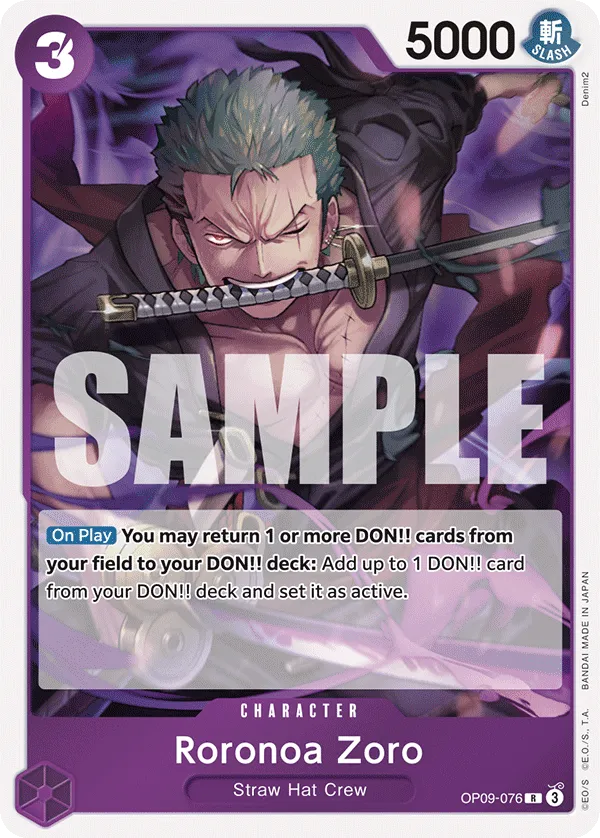
When playing Roronoa Zoro, we can return 1 Don or more to activate his effect, allowing us to ramp 1 Active Don. So we have 2 return exactly 2 Don with Roronoa Zoro, trigger our Leader effect to gain 2 Don in the process. So in one turn, we’re gaining 2 Active Don and 1 rested Don while returning 2 Don, putting us at 1 extra Don.
If we don’t have Roronoa Zoro for the ramp, we can use Nico Robin instead. By returning 1 or more Don (we’ll return 2 Don) to activate her effect, we gain 1 Active Don and also trigger our Leader’s effect to gain another Active Don and a rested Don. She’s usually best used as a +2,000 Counter, but if we need the Don ramp to play a higher-cost Character on the next turn, then it’s worth playing her.
Sanji Control
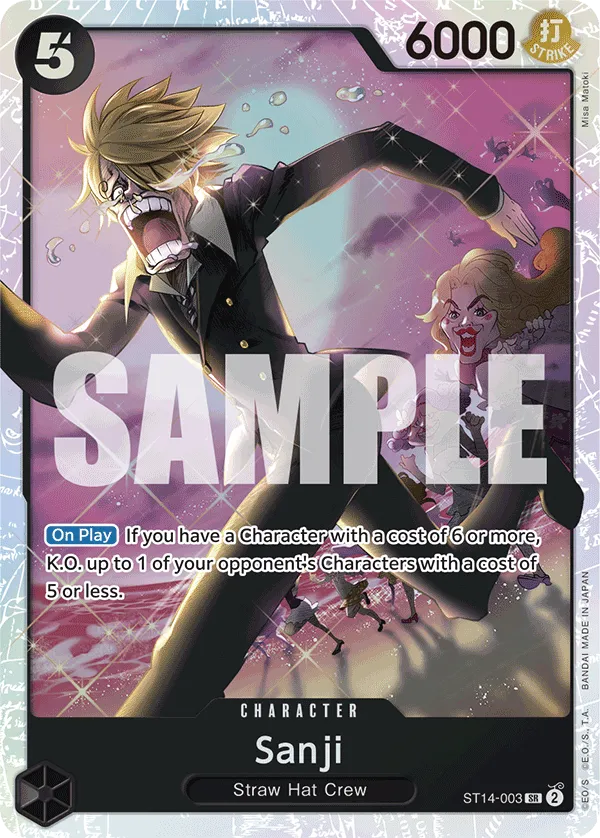
With the Leader effect giving all your characters +1 cost, you can play 5-cost Sanji on Don 6 after you’ve attached a Don to your Leader to use his On Play effect. 5-cost Sanji can KO a 5-cost or less character, removing an attacker from the field, and helping you maintain control of the field.
As for the 7-cost Sanji, he maintains control of the field through other means. Through his effect, you can return 1 or more Don (We’ll be returning 2 Don) to gain Rush on Sanji and rest a 6-cost or less character. We’re creating an opportunity for Sanji to attack that rested character and KO it, or at least force Counter cards from the opposing player.
Defensive Characters
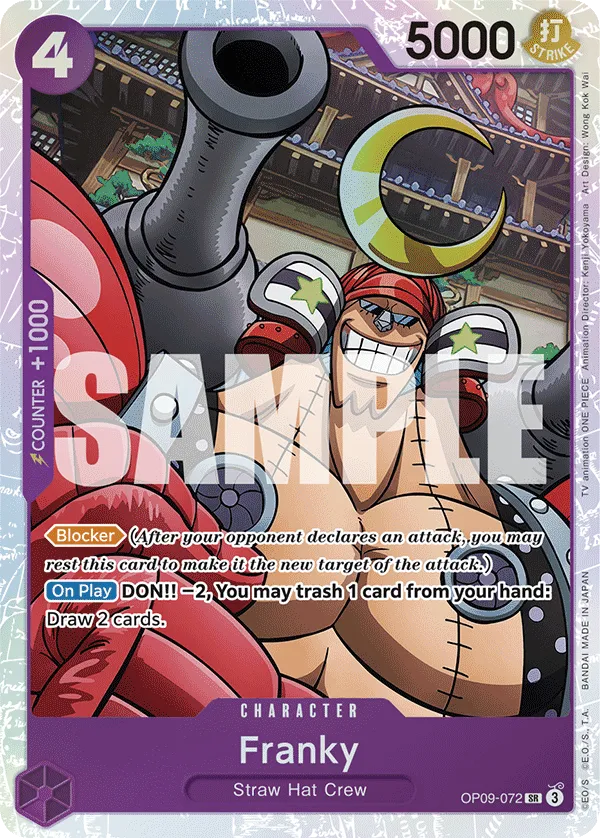
Franky is a 5,000 Power Blocker who returns 2 Don and trashes a card from your hand to draw you 2 cards. So you’re gaining a card in your hand and filtering for better cards.
The Starter 26 Luffy is your best play when you’re at 6 Don. On Play, you can return 2 Don and trigger your Leader effect to gain back the Don, then your Purple Black Luffy becomes a 7,000 Power Leader until the end of your opponent’s upcoming turn. This allows you to go for a more aggressive attack with your Leader while also making it harder for the opposing player to get their attacks through on your Leader.
6-cost Luffy reactivates his effect when he goes for the attack, giving you back that +2,000 Power boost to keep making things harder for the opponent. Usually, your opponent will shift their focus toward your 6-cost Luffy, trying to remove him from play as quickly as possible. When possible, try to protect him from attackers to keep gaining the +2,000 Power boost value.
Keep in mind that your opponent has to have 5 or more Don cards on their field to activate Luffy‘s effect. In most cases, your opponent will have the Don to activate your effect unless they’ve deramped a lot. Also, ST26 Luffy is turning, pushing your Leader’s power up to 7,000, which means having two of them on play won’t make a difference, you’ll stay at 7,000 Power.
8-cost Charlotte Katakuri is an 8,000 Power Blocker, perfect for protecting your Leader from an upcoming attack. At the end of your turn, Katakuri can set himself as Active, which means you can attack with him and still have him as a Blocker during your defensive turn. The +1 Ramp can come in handy later in the game if you’re returning too many Don through your cards’ effects.
Aggressive Rush
6-cost Luffy is a Rush attacker with 7,000 Power. His main role is to add aggression on the turn he’s played, but he can also attack a second time by returning 2 Active Don and taking the top Life card through his effect. This will trigger your Leader’s ramp ability, so the deramping won’t set you back on the following turn.
Losing a Life card is a costly condition and can leave you vulnerable on the next turn, so only go for it when you’re confident your opponent can’t win on their turn, or if you’re setting up a winning turn yourself with the two attacks.
Late Game
9-cost Luffy is one of your strongest plays, which we’ll want on the field as early as possible. When played, Luffy returns 1 or more Don to draw you 1 card and gain Rush, creating value immediately through the draw effect and its 10,000 Power attack. We can target an opponent’s rested Character to control the field or shift our focus to their Leader and take a Life card.
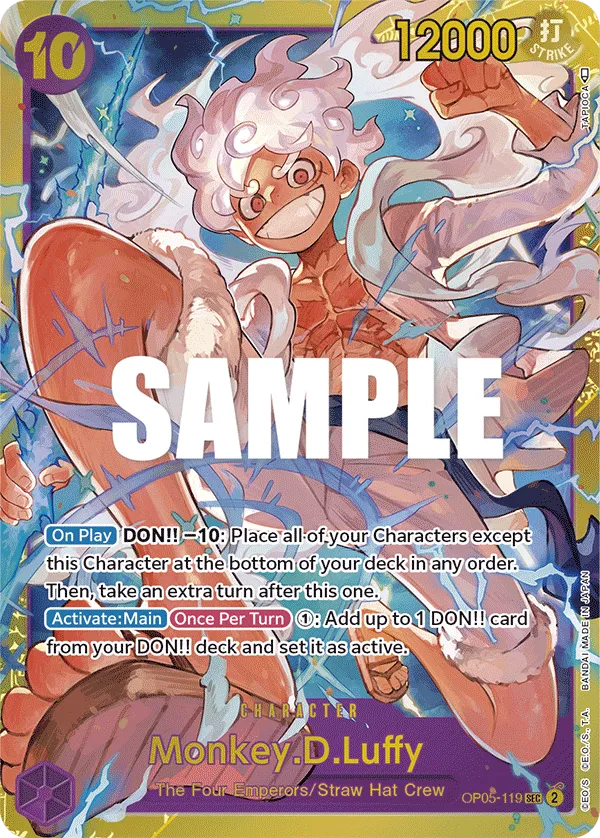
10-cost Monkey D. Luffy is a powerful play but comes with a massive drawback. Typically, you’ll want to set up your winning turn when you play him. Before playing Luffy, make sure to attack with all your Characters, as his On Play effect will remove them all from the field. Once they’ve attacked, you can play Luffy, return all 10 Don, and send all other Characters to the bottom of the deck.
When we’ve returned all our Don, our Leader will give us back Don, one of them being active, so we can use it to activate 10-cost Luffy’s effect to ramp 1 Active Don and then attach it to Leader Luffy and go for a 6,000 Power attack before ending our turn.
When your turn ends, you’ll immediately start a new one. Since you ramped and used Luffy’s effect, you’ll have 3 Don, plus the 2 Don you gain at the start of your turn, giving you 5 Don. We now have two attacks lined up, one with Leader Luffy and the other with 10-cost Luffy, presenting a threat to either win the game on the spot or put them low enough to win the game on the upcoming turn.
If we’re not trying to close out the game, we can use the 5 Don to develop a Character instead of increasing the Power of our attacks. Black Maria can ramp us back up to 10 Don, ensuring we can play another high-cost Character on the upcoming turn. We can also play 4-cost Franky to block an opponent’s attack, defending ourselves, and making sure we can go for an upcoming attack turn to win the game.
Events
Gum Gum Giant is an insanely good Counter for the late-game, returning 2 Don and trashing a card from your hand to gain +4,000 Power on your Leader or one of your characters and drawing two cards.
Gum Gum Lightning is a control Event, KOing a 6,000 Power or less character. It requires you to return 2 Don to activate it, but that’ll trigger our Leader Luffy’s effect, gaining back the 2 Don. We can use Gum Gum Lightning to remove a threat or KO a blocker standing in our way of winning the game.
Mulligan
- Going First: Trafalgar Law, 3-cost Roronoa Zoro, ST26 Luffy.
- Going Second: Trafalgar Law, 3-cost Roronoa Zoro, 4-cost Franky, ST26 Luffy.
Other Cards to Include


- Gum Gum Jet Gatling is a 0-cost Counter Event that gives you a +3,000 Power boost when you trash a card from your hand. If you have a dead card with no Counter, you can trash it with Gum Gum Jet Gatling to gain a Power boost and protect yourself from an attack.
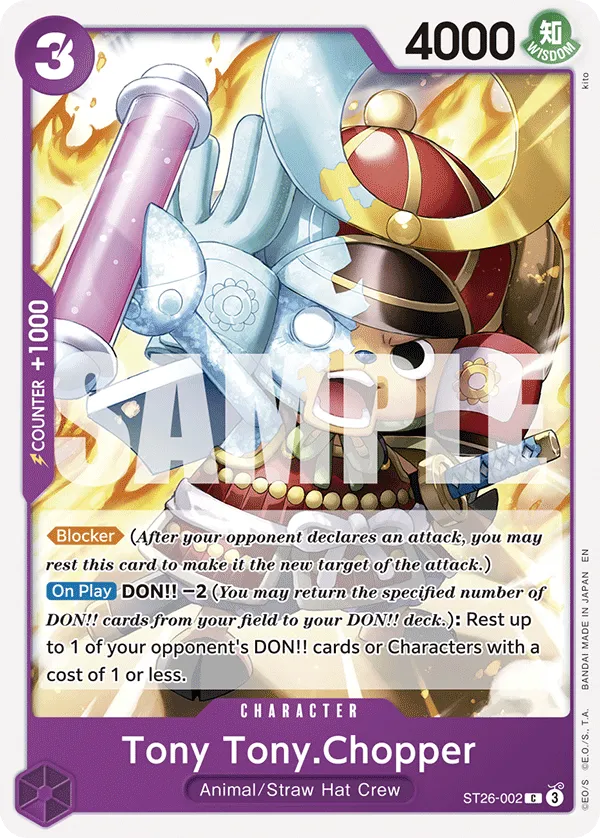
- Chopper is a low-cost blocker who can rest an opponent’s Don or a Character with a cost of 1 or less.
- When played, Bony Clay gives you 1 Active Don and can later copy the power of an opponent’s Character when he attacks. However, Bony Clay is weak during your opponent’s turn, and you usually won’t protect him when the opposing player attacks him.
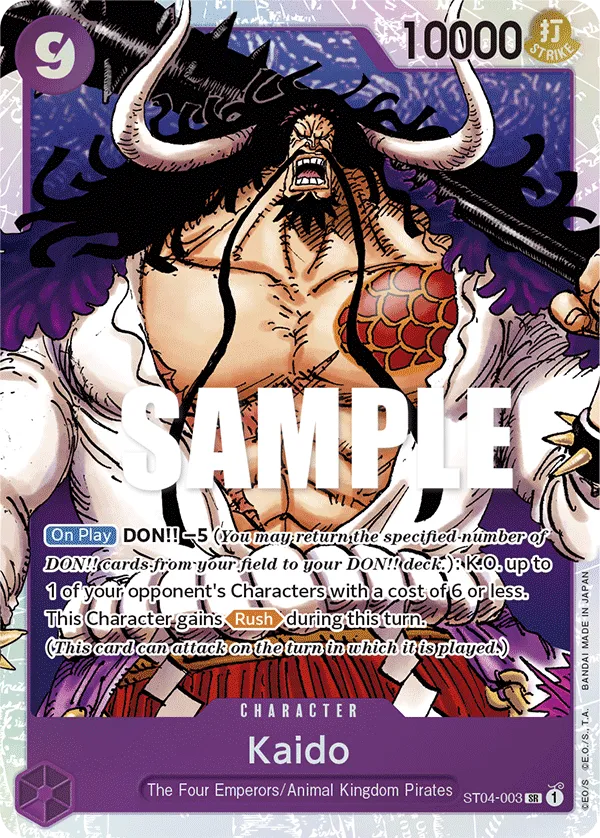
- 9-cost Kaido synergizes with your Leader’s ramp effect. Returning 5 Don can be costly, so with Leader giving you back two of those returned Don, we’re putting a lot of aggression with Kaido, and still capable of setting up powerful plays on the upcoming turn. Kaido can KO a 6-cost or less Character through his effect and then goes for a Rush attack, allowing you to either control the opponent’s side of the field by removing two Characters or at least removing one Character and attacking their Leader to take a Life card.

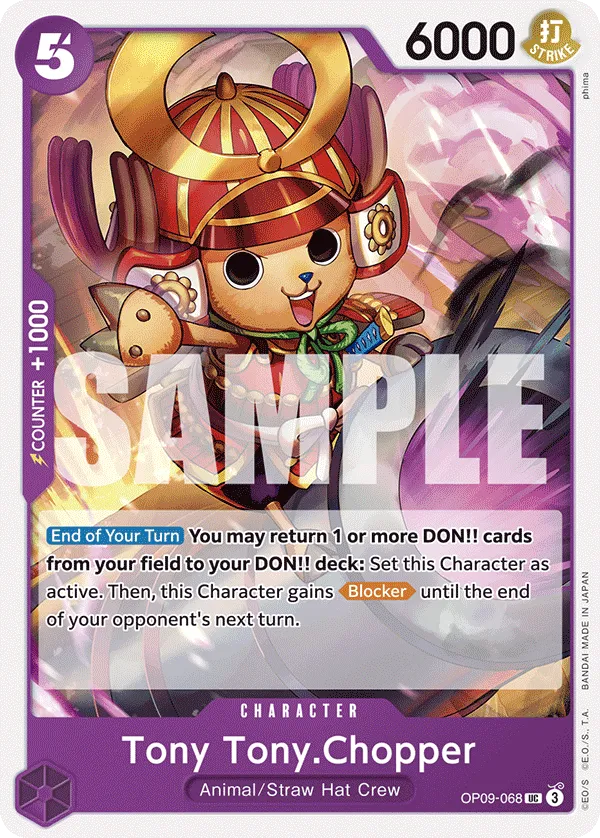
- Tony Tony Chopper is a 6,000 Power blocker, capable of shutting down an attack more easily. What makes Tony Tony Chopper unique is his “End of Your Turn” effect, which allows you to use Tony Tony Chopper as an attacker and then re-stand him to act as a blocker by returning Don.
- Nico Robin is a blocker to protect you from an attack and can cut down on the opponent’s resources.
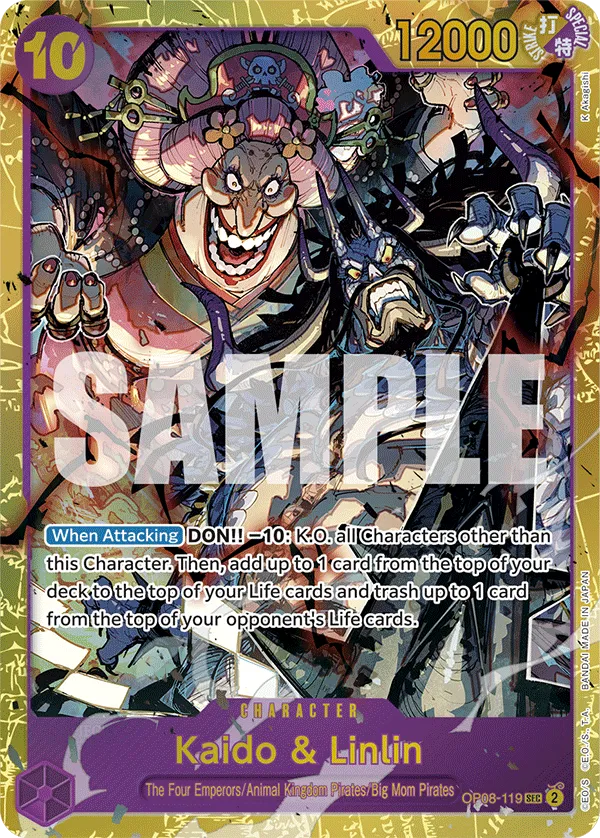
- Kaido & Linlin is an investment; you play it on Don 10 and wait a full turn to activate a strong effect when it attacks. When Kaido & Linlin attacks, you’ll return 10 Don and KO all other characters. You’ll also gain a life card and trash an opponent’s life card, creating an insane shift of value.
Turn-Based Gameplay
Going First
- Turn 1 (1 Don): 1-cost Trafalgar Law
- Turn 2 (3 Don): 3-cost Roronoa Zoro
- Turn 3 (5 Don 6 Don): ST26 Luffy or attach Don to Leader and play 5-cost Sanji.
- Turn 4 (7 Don 8 Don): 7-cost Sanji or ST26 Luffy.
- Turn 5 (9 Don 10 Don): 9-cost Luffy, 7-cost Sanji, 6-cost Luffy.
- Turn 6 (10 Don): 9-cost Luffy or 10-cost Luffy.
Going Second
- Turn 1 (2 Don): 1-cost Trafalgar Law.
- Turn 2 (4 Don): 3-cost Roronoa Zoro or Franky.
- Turn 3 (6 Don 7 Don): Attach Don to Leader and play 5-cost Sanji, ST26 Luffy, or 7-cost Sanji.
- Turn 4 (8 Don 9 Don): 9-cost Luffy, 7-cost Sanji, 6-cost Luffy.
- Turn 5 (10 Don): 9-cost Luffy.
Important Matchups:

We can pressure the Blue Purple Luffy player early in the game and try to aggro them down. The 6-cost Luffy‘s will be the mid-game carries, which we’ll try to protect for as long as possible. It’s important that we give them the +1 cost increase to put them out of range of Gravity Blade Raging Tiger and Charlotte Linlin‘s removal options.
We can’t afford to control the field; our main goal is to take their Life cards and start planning the winning turn. The +2,000 Power boost from ST26 Luffy enables our Leader to go for heavier attacks and will make it harder for the opponent to get an attack through.
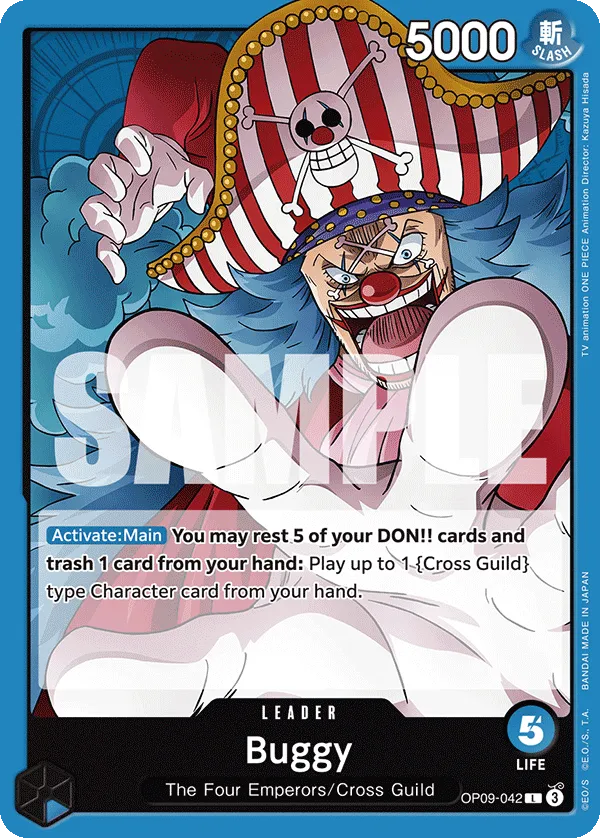
Blue Buggy is going wide on the field, and often we won’t be able to match their board. Instead, we’ll try to aggro their Leader down, using our EB02 Luffy‘s ability to attack twice to try and pressure them.
We want to increase the cost of our Characters in the case they’re running Gravity Blade Raging Tiger, we can’t afford losing our 6-cost Characters to one card removal play.
They have Mohji and Mihawk as blockers. We won’t be able to interact with Mihawk, but we can rest Mohji through Uso-Hachi or 7-cost Saji to go for a more aggressive turn.
Closing Words
With the new Starter 26 cards, Black Purple Luffy is looking stronger than ever and will likely have an impact on the meta. This deck isn’t too worried about running deramp cards thanks to its Leader’s effect, making sure you don’t fall behind in the game and continue to make strong plays on your future turns.
This is it from me! If you want to keep up with my content, consider following me on Twitter or BlueSky.


