
The Red Green Monkey D.Luffy in OP13 meta thrives on banking Don to set up a stronger defensive strategy. Understanding matchups, your deck’s capabilities, and Don management will play a massive role in protecting your Leader and Characters while also maximizing your turn’s plays.
Red Green Luffy mostly relies on Straw Hat Crew type Characters, as you’re only able to protect them with your Leader’s effect; however, there are strong options outside of Straw Hat Crew that we might want to include, even though we can’t protect them.
In this guide, we’ll talk about the strengths and weaknesses of RG Luffy, the general game plan of the deck, and other cards you can include in your list.
Leader

RG Luffy is a 4 Life card Leader with a defensive effect to protect your Leader or Straw Hat Crew type Character from opponent’s attacks. To activate Leader Luffy’s effect, you need to meet two conditions: have 1 attached Don on your Leader and have no more than 5 active Don.
We can activate this effect whenever our opponent attacks, resting any number of Don to gain a Power boost on our Leader or a Straw Hat type Character. For each Don you rest, Leader Luffy will give you a +2,000 Power boost, so at its max, you can gain a +10,000 Power boost during your opponent’s turn. However, 10,000 Power isn’t technically the max, since we have a couple of cards that set Don as Active during the opponent’s turn, allowing us to break the 10,000 Power boost mark in certain cases.
This effect enables a defensive strategy, relying less on your Counter cards. Setting up for Leader Luffy’s effect means we’ll choose to go for less lethal attacks on certain turns and even affect our board development. However, multiple cards in this deck can set our Don as Active, creating an opportunity to use our Leader’s effect without hindering board development or offensive pressure as much.
Decklist


How to Play
Early Searchers
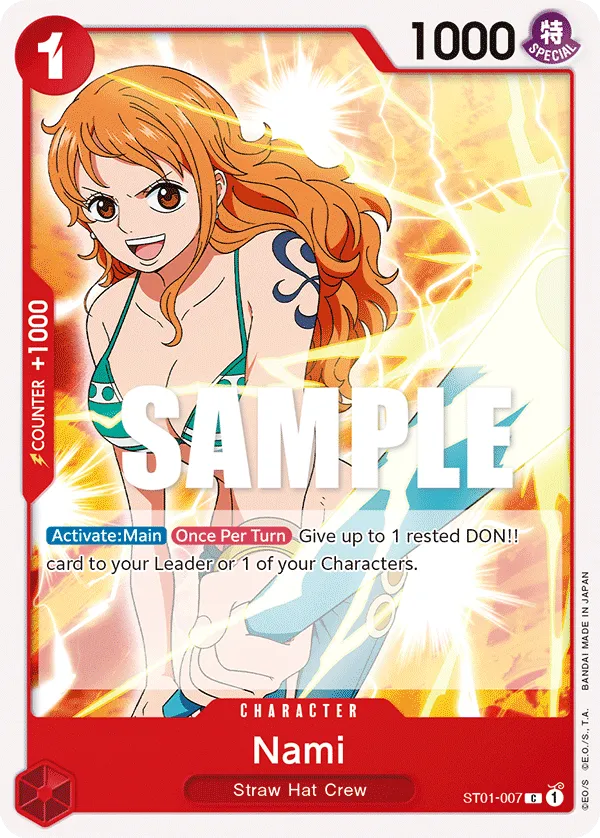
1-cost Nami looks at the top 5 cards of your deck to add 1 {Straw Hat Crew} type card to your hand. This allows us to find the cards we need for our upcoming turns. 5-cost Sanji and 9-cost Zoro are usually the cards we’re on the lookout for to make sure we have a strong mid and late-game. We can also draw Events or a +2,000 Counter to protect us from an attack.
The 1-cost Monkey D.Garp lets you draw any card with a cost of 3 or more. We can draw non-Straw Hat Crew type cards, such as Uta, Law, and Shanks.
Don Gain
The 1-cost Nami lets you attach a rested Don to your Leader or one of your Characters. Ideally, we’ll be attaching a Don to our Leader to activate his effect, making it easier for us to protect our Characters during defensive turns.
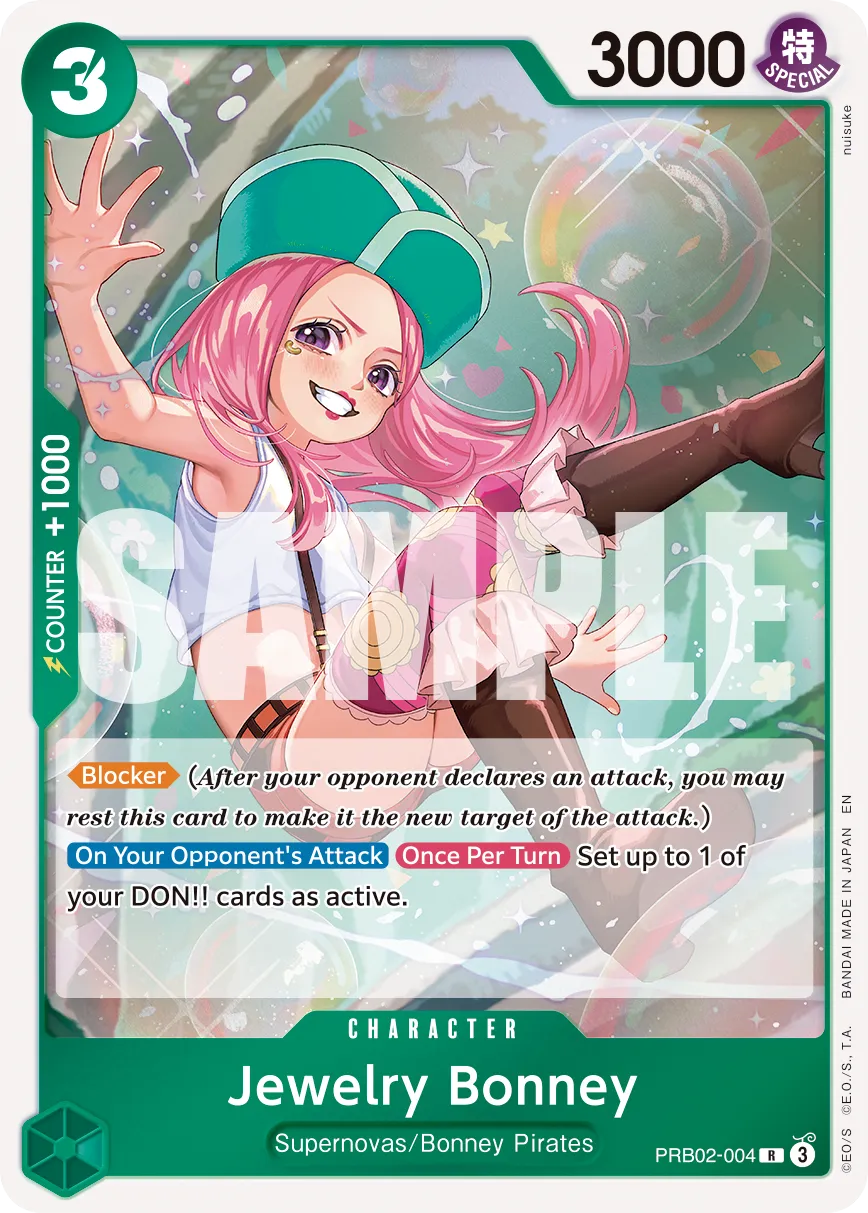
The 3-cost Bonney is a low-cost Blocker to protect you from one of the opponent’s attacks. However, during your opponent’s turn, when they go for the attack, Bonney lets you set 1 Don as Active. This enables you to activate your Leader effect for the +2,000 Power boost. We often want to keep 3-cost Bonney in play for as long as possible, getting value from her effect and then using her for the blocker keyword.
When played, Roronoa Zoro sets 2 of your Don as Active, synergizing with your Leader’s effect to give you additional Don to use defensively. On Don 4, you can play 4-cost Zoro to set 2 Don Active, attach one to your Leader for a 6,000 Power attack, and bank 1 for your defensive turn for a +2,000 Power boost. Zoro can also set himself as Active at the end of your turn. This means even when he goes for the attack, your opponent can’t simply remove him through an attack and will have to rely on removal effects to deal with him.
As for the 5-cost Sanji, he’s a 7,000 Power Character capable of dishing out offensive pressure while synergizing with your Leader. When played, Sanji sets up 2 of your Don as Active, and at the end of your turn, you get to set a Don as Active. The longer Sanji sticks in play, the more value you’re gaining from him, basically giving us a +2,000 Counter every single turn.
The 6-cost Luffy can be a win condition with his Double Attack keyword, threatening to take 2 Life cards if his attack goes through. When played, you can set 4 of your Don as Active, but you cannot play a 5-cost or more Character. We can bank the Don for our defensive turn to use with our Leader effect or play a 4-cost Roronoa Zoro to go wider on the field.
Going Wide
The 6-cost Trafalgar Law is a 6,000 Power blocker that lets you return 1 of your Characters to cheat out a 5-cost or less Character from your hand. So we’ll return a 1-cost Character like Nami or Monkey D.Garp to play the likes of 5-cost Sanji or 4-cost Zoro. 5-cost Sanji is always the better play, putting a bigger offensive threat and setting more Don as Active. Sanji also doesn’t have a Counter effect, so he’d end up a dead card in hand.
In one turn, we’re developing two bodies on the field, a 6,000 Power Blocker and a 7,000 Power attacker that sets 3 of our Don as Active, enabling our Leader effect. If you don’t have anything to play from hand, you can return a Zoro or Sanji to your hand, replay them to trigger their On Play effect.
Late Game
9-cost Roronoa Zoro is a win condition that we want in play as early as possible. He doesn’t offer anything on the turn he’s played and will put us in a tough defensive spot, but if he sticks on the field until the upcoming turn, he’ll become a massive aggressor, capable of attacking the opposing player 3 times. Often, you’ll be able to close out the game with Zoro‘s three attacks, requiring you to rest 3 Don in total to re-stand him twice.
You’re overwhelming the opposing player, but you’ll have to identify whether the three attacks are enough to finish the game, or you should target rested Characters and push for an additional turn.
+2,000 Counters
Sanji can be great to play in the late game when you’re setting up the finisher attack, letting one of your Straw Hat Characters with 6,000 Power or more ignore any blockers in play. It’s perfect when combined with the 9-cost Roronoa Zoro.
Tashigi can be played in certain matchups where your opponent has the removal plays to deal with your board. Having Tashigi in play means they can’t use an effect to remove your Character, perfect if you’re trying to protect 9-cost Roronoa Zoro.
Tony Tony Chopper is mostly a +2,000 Counter, but can be used for his blocker keyword.
Events
For 2 Don, Charlestone gives your Leader or one of your Characters a +4,000 Power boost. You can then trash 1 card from your hand to set 3 of your Don as active, basically giving you a +6,000 Power boost with your Leader’s effect.
Demon Aura Nine Sword can rest two of the opponent’s Characters or Don, perfect for planning a winning turn and removing blockers or Active Don from the equation. It can also be played for its Counter effect, giving your Leader a +3,000 Power boost.
Gum-Gum Giant Pistol can be used as a finisher, giving one of your Straw Hat Crew type Characters a +6,000 Power boost. That Character will not become Active on your upcoming turn, so it’s best to use it to win the game. 9-cost Roronoa Zoro is your best combo play here, as you’re able to use that +6,000 Power boost for 3 consecutive attacks.
Mulligan Tips
Going First: 1-cost searcher, 3-cost Bonney, 5-cost Sanji.
Going Second: 1-cost searcher, 4-cost Zoro, 6-cost Law.
General Tips
- Don management is crucial. We want to bank Don to get the most out of our Leader’s effect. Depending on the state of the game, we might go for less threatening attacks to keep more Don for the defense.
- Protect key Characters. 5-cost Sanji and 9-cost Roronoa Zoro offer a lot of value, so often we’ll protect them from the opponent’s attacks, keeping them in play for longer.
- Use blockers to protect yourself. You can block an attack with Law and still keep him in using your Leader’s Power boost effect. Since he’s a 6,000 Power Character, you’ll need fewer resources to keep him in play.
- Events can put you on the 5 Don mark. You can hold on to 6 Active Don in the late game and use Demon Aura Nine Sword to drop to 5 Don and start using your Leader’s effect. This maximizes your survivability in the late game, giving you an additional turn to win the game.
Other Cards to Include


- Cavendish fits in this deck as a 5-cost play, setting two of your Don as Active and continuing to do so whenever he goes for the attack.
- 4-cost Uta is great in the early game, offering 2 Active Don, but shutting you off from playing a Character with a base cost of 5 or more. We can use the Don she gives us for our Leader effect. On Don 4, we play Uta, attach 1 Don to Leader, and go for a 6,000 Power attack, and save 1 Don for a +2,000 Power boost. Since Uta isn’t a Straw Hat Crew type Character, we can’t protect her with our Leader’s effect. However, we almost always want her to get KO’d if the opponent attacks her, triggering her effect to cheat out a 5-cost or less Character from our hand, rested.
- 3-cost Luffy is a low-cost Blocker that sets 2 of your Don as Active. We want to hold off on blocking with him until the later stages of the game, where the 2 Don we gain will play a critical role in protecting us from other attacks.
- The 10-cost Shanks is a 12,000 Power heavy hitter, setting up to 10 of your Don as Active when he’s played. However, you cannot use those Don to play any cards; instead, you’ll use them to go for heavier attacks and to activate your Leader’s effect. Those Don can also be used to activate certain effects, so if we have 9-cost Roronoa Zoro in play, we can play Shanks and still attack 3 times with Zoro to potentially win the game or put them low enough that it’s almost impossible to survive the upcoming attack turn. Keep in mind that holding more than 5 Active Don shuts off your Leader’s effect, so when we play 10-cost Shanks, it’s a must to use 5 Active Don to boost our Leader or a Character’s attack or activate certain effects.


- 5-cost Luffy allows for more aggressive turns, going for a Rush attack to pressure the opposing player.
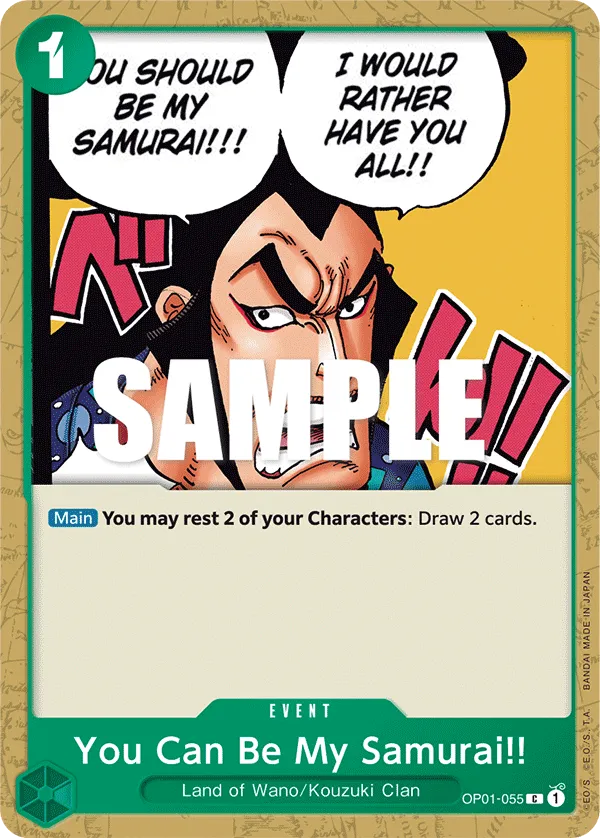
- You can change up the list to be more draw-heavy to add consistency, relying on your late-game win conditions. Nami adds to your searcher consistency, and You Can Be My Samurai!! lets you rest those low-cost searchers to draw 2 cards.
- 5-cost Bonney is a 6,000 Power Blocker, nice to protect us from an attack, and can become an offensive attacker when need be. She has a draw value effect that activates when you have a total of 8 or more rested cards. So rested Characters or Don will be great here. She’s also setting one of our Don as Active, which can benefit our Leader’s defensive effect.
Turn-Based Gameplay
Going First
- Turn 1 (1 Don): 1-cost searcher.
- Turn 2 (3 Don): 3-cost Bonney.
- Turn 3 (5 Don): 5-cost Sanji.
- Turn 4 (7 Don): 6-cost Law + Sanji or 6-cost Luffy + Zoro.
- Turn 5 (9 Don): 9-cost Roronoa Zoro.
- Turn 6 (10 Don): 9-cost Roronoa Zoro.
Going Second
- Turn 1 (2 Don): 1-cost searcher.
- Turn 2 (4 Don): 4-cost Zoro.
- Turn 3 (6 Don): 6-cost Law + 5-cost Sanji.
- Turn 4 (8 Don): 6-cost Law + 5-cost Sanji or 6-cost Luffy + Zoro.
- Turn 5 (10 Don): 9-cost Roronoa Zoro.
Closing Words
Red Green Monkey D.Luffy has a unique playstyle, relying heavily on banking Don to boost his defensive capabilities, making it harder for the opposing player to get their attacks through. Your Leader’s effect can stretch out games, buying you enough time until your high-cost win conditions can carry the late-game and start planning the finishing blow.


