
Heya everyone! With Green Roronoa Zoro becoming the top meta deck in the Western OP12 meta, it’s time to take a look at why this deck is strong and the best decks that perform well into it.
Right now, Green Roronoa Zoro is the most popular deck on the SIM and in competitive tournaments, so when choosing a deck for a tournament, you have to keep this matchup in mind, as you’ll likely face it a couple of times.
In this guide, I’ll briefly go over the general game plan of Green Roronoa Zoro, what makes the deck strong, and what it’s usually planning to do. Then I’ll share a couple of meta decks that have a good matchup against Green Roronoa Zoro and explain how those deck works and what you should be watching out for when playing against Green Zoro specifically.
Green Roronoa Zoro


Before we start talking about counters, let’s go through Green Zoro’s strategy and what makes this deck so strong. Leader Zoro gets to attack 2 times if 3 or more Don are attached to him. He gets to attack one of your Characters before re-standing to attack your Leader or an 8-cost or more Character. This means Zoro is doing two things when he attaches 3 or more Don: board control and Leader pressure.
Cards like Kuina and Tashigi enable the Zoro strategy, resting a Character and attaching 3 Don to make it easier for the Leader to start going for aggressive attacks. They’re heavily relying on their Leader’s ability to attack twice to win games, threatening your Life cards before planning a multiple-attack turn to close out the game. Luffy Is the Man Who Will Become the King of Pirates!!! is how they raise the heat, setting their Leader as Active to go for a second attack, which in most cases, will target your Leader to aggro you down.
A Blocker on its own won’t be enough to shut down Zoro as it counts as a rested Character, so they can still re-stand their Leader. It only comes in handy if you have multiple blockers in play or your opponent has already attacked a Character with Zoro.
Additionally, Demon Aura Nine Sword Style Asura Blades Drawn Dead Man’s Game lets your opponent rest 2 Characters or Don, which can shut down defensive strategy, paving the way for the Green Roronoa Zoro player to go for an extremely aggressive turn.
Red Silvers Rayleigh


Red Silvers Rayleigh is an aggressive deck that aims to play multiple Characters on the field to aggro down opponents. Using the 4-cost Luffy, we can cheat out 3-cost Sanji to develop two 6,000 Power Characters capable of going for multiple attacks in one turn to overwhelm the Zoro player.
Your opponent will rely on Kuina and Tashigi to rest your key Characters, then attack them with their Leader. If they try to remove a 6,000 Power Luffy, we can try to protect him if we’re not committing too much Counter resources, keeping him in play for an additional turn to pressure their Leader. We’ll mostly focus on their Leader and ignore their board, but Characters like Kuina can be removed with one of our low-cost Characters.
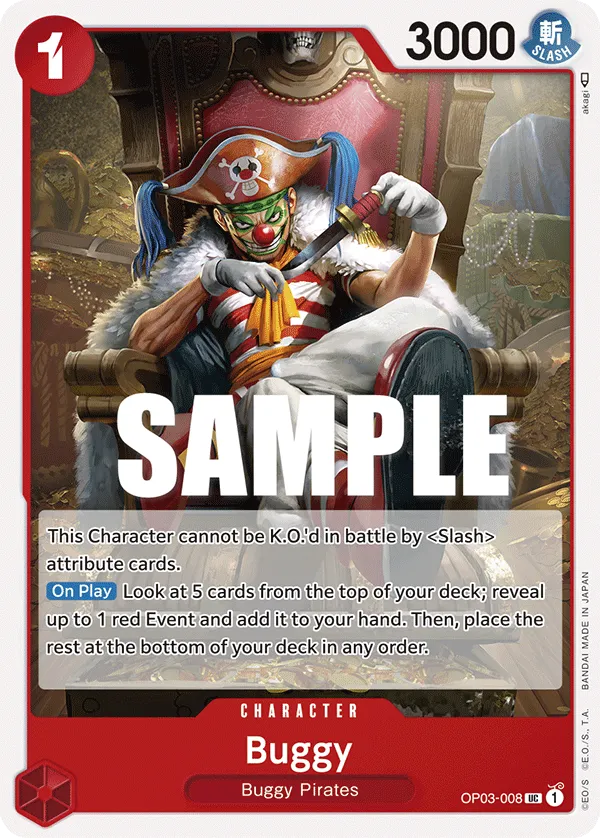
The 1-cost Buggy is insanely good in this match as he can’t be KO’d by Sword attribute Characters. This means your opponent will either ignore him or have Perona try to KO him.
The main play is to drop the opposing player to 1 Life card and then start planning our winning turn. We have two ways to set up the finisher, either using Rally Characters like 3-cost Roronoa Zoro or Kid & Killer or relying on your Leader attacks alongside To Never Doubt–That Is Power! to ignore blockers like Koushirou and Mihawk.
Green Jewelry Bonney


Green Bonney is a stall Leader, perfect for slowing down Green Roronoa Zoro’s pace. You will force your opponent to attack with their Leader first before Characters, as they don’t want you resting their Leader and shutting down two attacks.
We should protect Cavendish in the early game, as your opponent will try to rest him through Tashigi and KO with Leader attack. Cavendish giving us an additional 2 Don can put us ahead in the game.
We have a lot of blockers to protect us in the late game, which will play a pivotal role in winning, as we can shut down the opponent’s winning turn. The Kid can also make it harder for them to break through our defensive wall, but keep in mind that they can rest our blockers through Demon Aura Nine Sword Style Asura Blades Drawn Dead Man’s Game, and go for multiple attacks with their Leader on the Kid.
If they have a Mihawk on the field, we can use our Leader effect to rest him to prevent him from acting as a Blocker on the upcoming turn. Hody Jones works great here as well, resting 2 of the opponent’s Blockers or even their Don to prevent Counter Events from being played.
We are heavily relying on the 10-cost Doflamingo to shut down the opponent’s turn. Keeping their Leader and two of their Characters from becoming Active on the upcoming turn buys us tons of time to establish a stronger board and even pressure their Leader. They can still re-stand their Leader with
Luffy Is the Man Who Will Become the King of Pirates!!!, but that’s a card and 3 Don they’re forced to commit.
Blue Kuzan

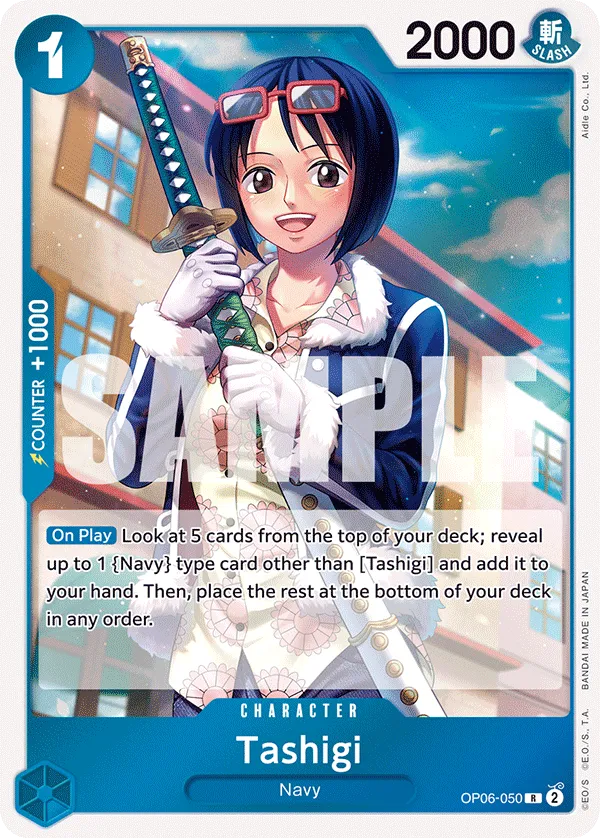


The Blue Kuzan needs tons of practice to get the hang of things. Ideally, we want to go first since most of our strong players are 6 and 8 Don. Although Borsalino is a strong play on Don 4/5, we’ll avoid playing anything since your opponent can rest them with Tashigi and KO them early into the game.
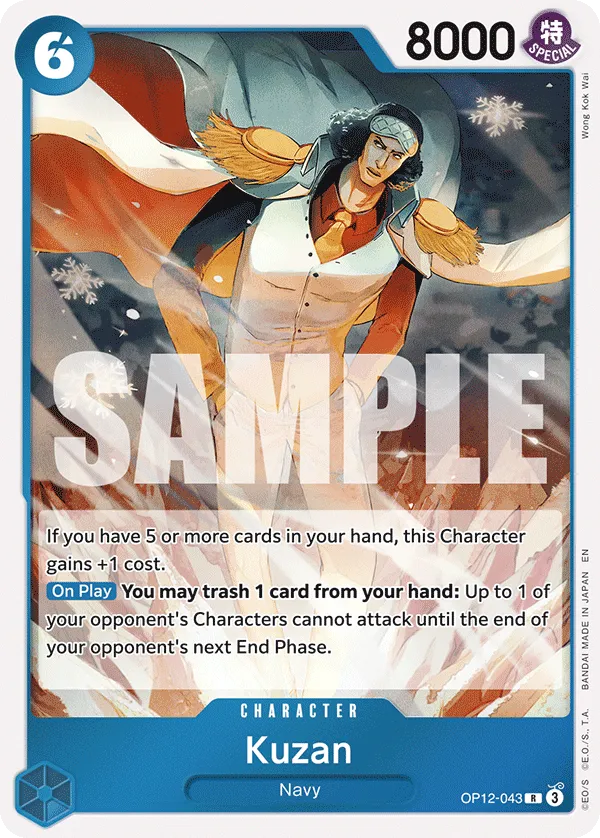
Instead, we’ll force them into playing a Cavendish, which we can prevent from attacking using the 6-cost Kuzan. Later on, they’ll likely use Tashigi to rest Kuzan, so if we have Gravity Blade Raging Tiger, we can remove two of their Characters and slow them down on the board.
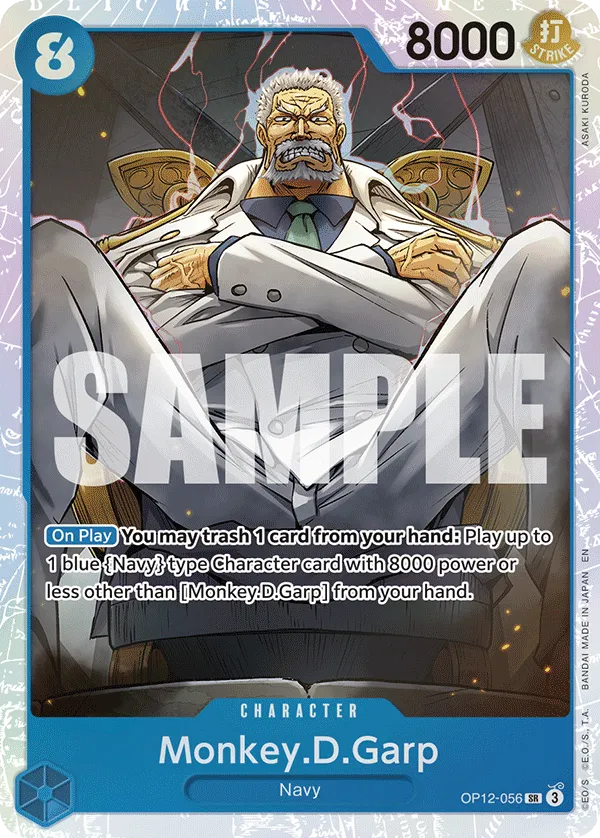
Monkey D.Garp is how we go wide on the field. We can either keep playing 6-cost Kuzans to slow the opponent down, or develop Sakazuki for the card draw and additional Don we get to attach.
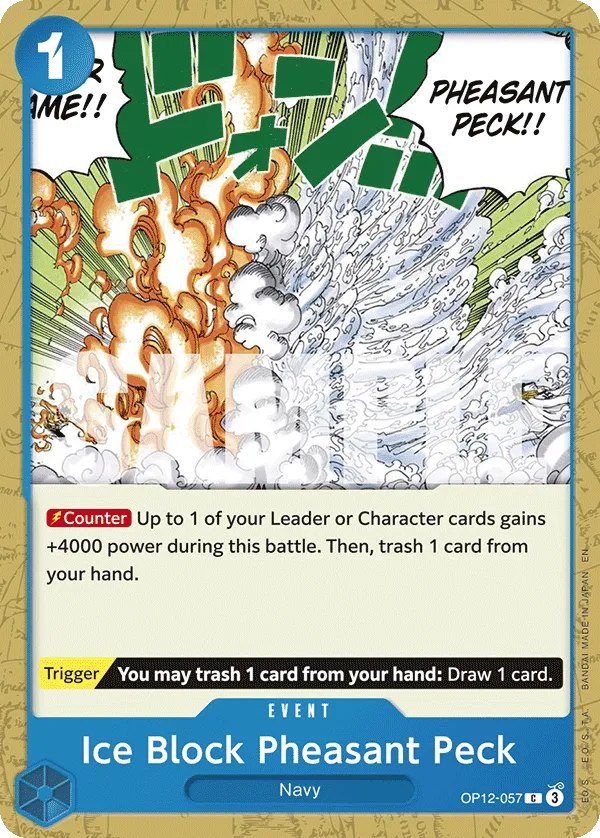
Late game is where things get tough, as you need to identify if you can defend your 8,000 Power Characters and your Leader from the opponent’s attacks. Ice Block Pheasant Peck can be brutal for the opponent, as we’re gaining a +4,000 Power boost and filtering our hand. However, Roronoa Zoro can rest 2 of our Don to prevent us from playing our Counter events, so we might have to hold onto 3 or 4 Don in the late game.
Yellow Enel


Yellow Enel is Roronoa Zoro’s biggest nightmare. Your Leader gives you an extra Life card whenever you fall to 0, making it extremely hard for Green Zoro to set up a winning turn. The plan from there is to control the board, make sure they don’t have multiple Characters in play to pressure us, and we get to prolong the game until we have multiple high-cost Characters on the field.
We’ll avoid attacking their Leader early in the game if we have Gedatsu in hand. This keeps them at 5 Life cards, which means Gedatsu can KO the likes of Cavenfish or Tashigi. However, if they have Koushirou in play, we’ll have to force them to rest it and have our Leader attack and remove it.
We also have Zeus or Gum-Gum Fire-Fist Pistol Red Hawk to deal with 5-cost or less Characters, so we’re consistently keeping the board under control and preventing the opposing player from unleashing a flurry of attacks.
Ideally, we’ll focus down their rested Characters first with our high-cost plays. The Rush attackers, Ace and Enel, are perfect for the job as they also give you a Life card if you’re at 1 or 0. If there are enough Life cards, Yamato can KO 5-cost Characters, which can be a massive game swinger. Charlotte Katakuri is another strong option to remove their Mihawk, basically getting a blocker and a high-power attacker out of the equation to weaken the state of their board.
Eventually, they’ll run out of steam and will heavily rely on weak multiple Leader attacks through Luffy Is the Man Who Will Become the King of Pirates!!! in the hopes they can steal a win.
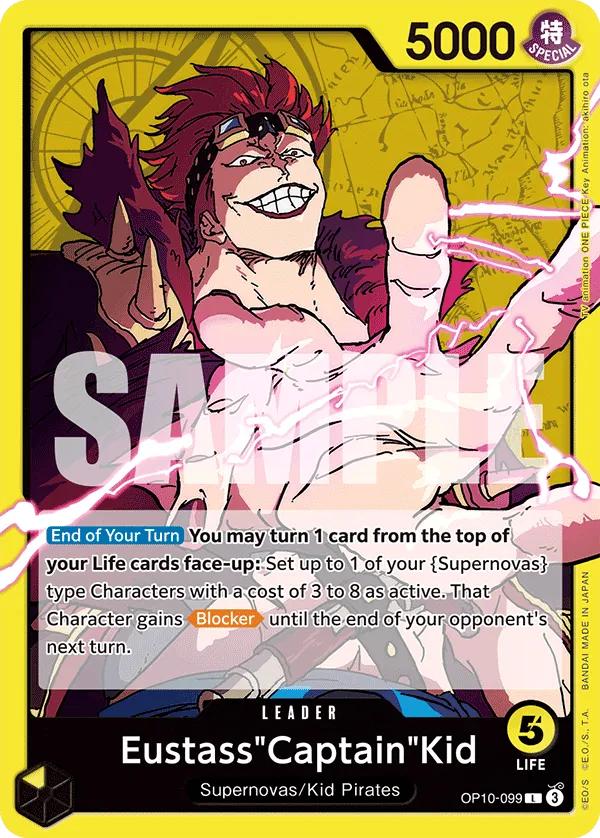
Yellow Eustass”Captain”Kid


This matchup will usually push for the late game, as you’re trying to survive the opponent’s aggression while controlling their board. 4-cost Characters like Kikunojo aren’t the best to play in the early game, as your opponent can rest her and KO her before they’re down to 3 Life cards, so you won’t get much value from her. Basil Hawkins is a better option since even when KO’d, you’re still trashing their top Life cards, putting them lower on resources, and an easier setup to close out the game.
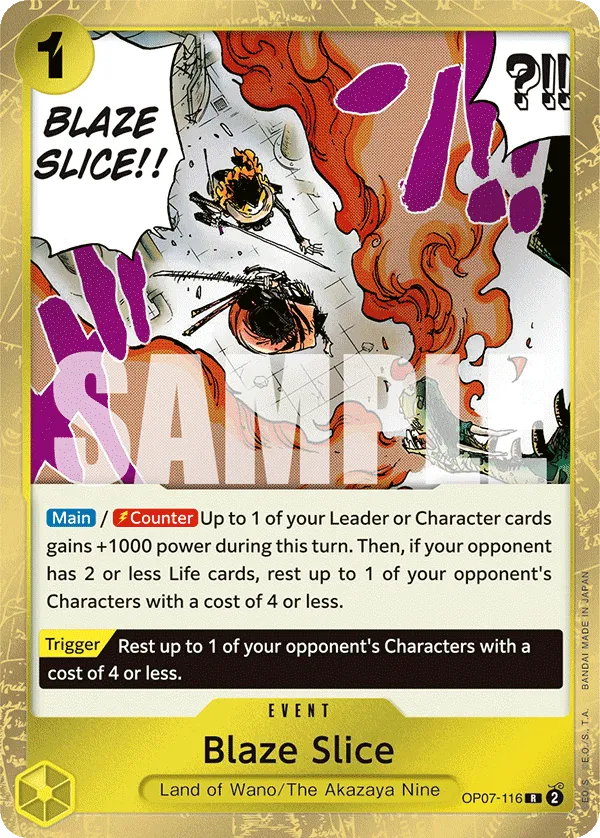
We have control cards for their Zoro, Cavendish, and Tashigi. Zeus and Gum-Gum Fire-Fist Pistol Red Hawk are great answers to weaken their board state, but if they have a Koushirou in play, things will look tougher. Blaze Slice can rest their Koushirou, letting you attack him with your Leader before going for your removal play.
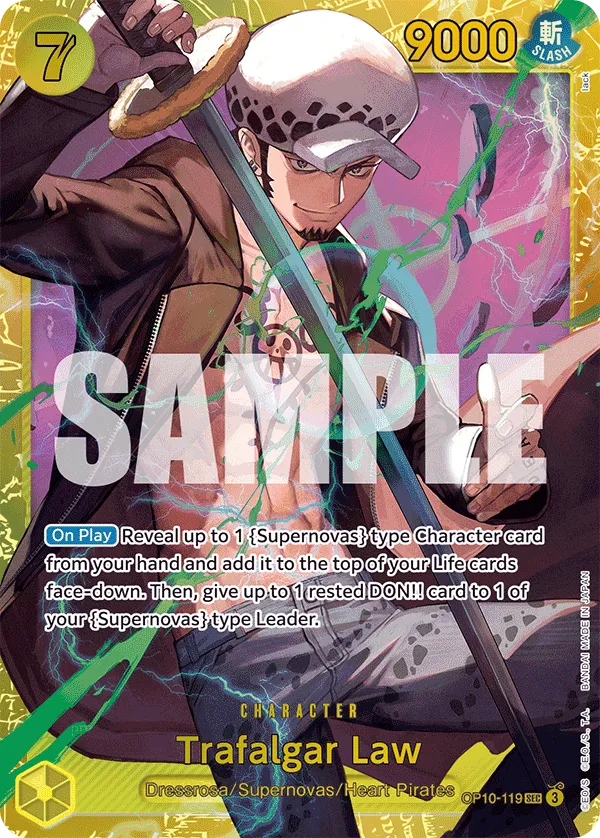
Gaining Life Cards is crucial in this matchup to help you prolong the game. So early on, you’ll favor the 7-cost Trafalgar Law over 8-cost Eustass”Captain”Kid. Law has the same Power as Kid and is a better blocker since your opponent can’t attack him twice. He also costs less and lets you attach 1 Don to your Leader, which means you can go for a heavier attack with your Leader to potentially KO a rested Character.
The Kid can join in later to start trashing Life cards, cutting down on the opponent’s resources, and putting them in a vulnerable spot. When possible, we’ll protect our high-power Characters to make sure we can push through their Mihawk blockers. 8-cost Katakuri is an option to remove a Mihawk from the field.
Closing Words
Alright, this is it from me! Green Roronoa Zoro is one of the popular decks in the meta, and it’s important to understand how the deck works as you’ll bump into it a lot. The decks I mentioned in this article have a good matchup against Roronoa Zoro, but that doesn’t mean you’ll find yourself winning every single match (unless you’re playing Enel). Understanding the flow of the matchup can go a long way and increase your odds of winning.
If you want to support my content, please consider subscribing to my Metafy.


